2006 NISSAN ARMADA ECO mode
[x] Cancel search: ECO modePage 105 of 352
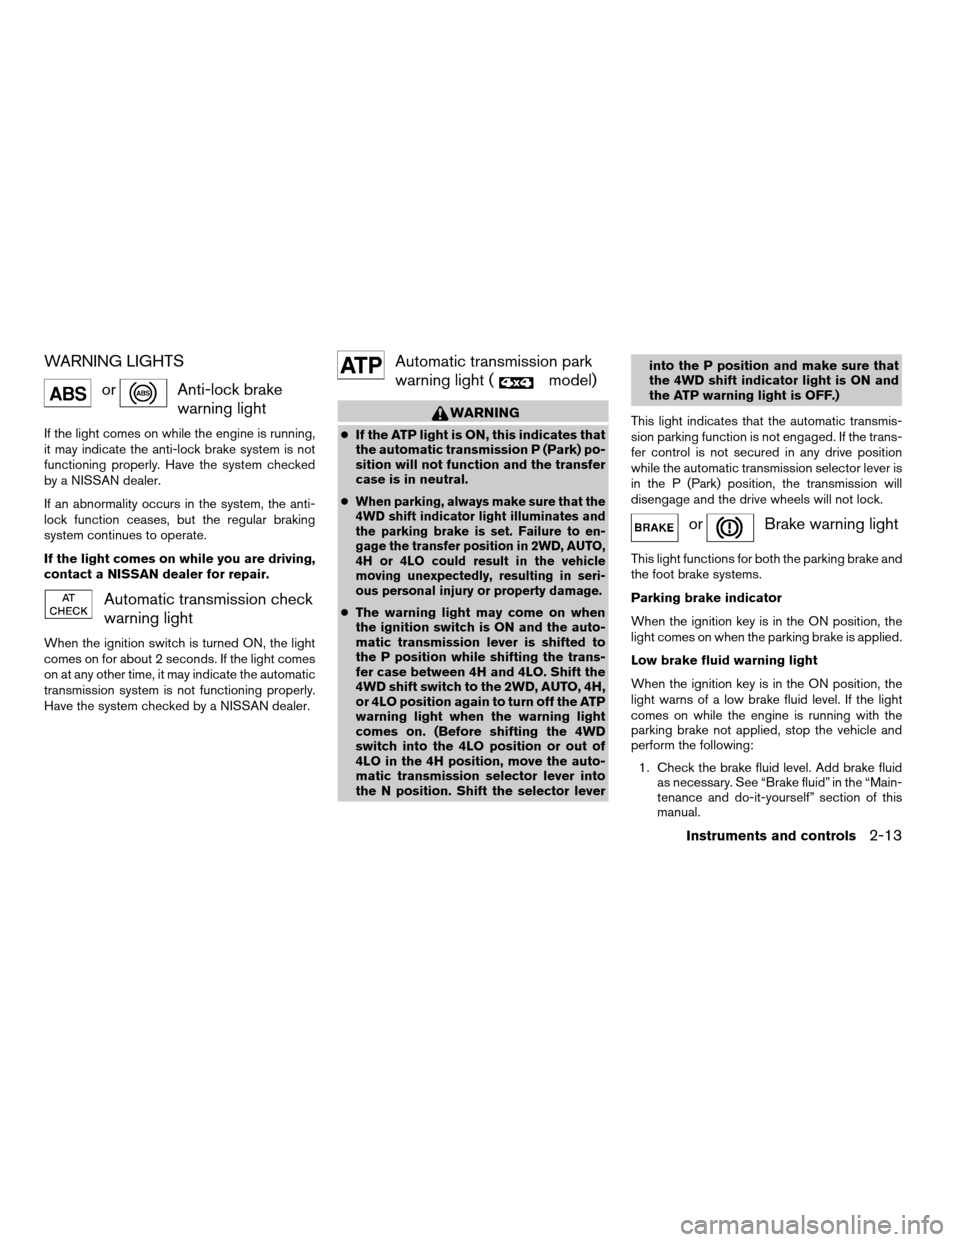
WARNING LIGHTS
orAnti-lock brake
warning light
If the light comes on while the engine is running,
it may indicate the anti-lock brake system is not
functioning properly. Have the system checked
by a NISSAN dealer.
If an abnormality occurs in the system, the anti-
lock function ceases, but the regular braking
system continues to operate.
If the light comes on while you are driving,
contact a NISSAN dealer for repair.
Automatic transmission check
warning light
When the ignition switch is turned ON, the light
comes on for about 2 seconds. If the light comes
on at any other time, it may indicate the automatic
transmission system is not functioning properly.
Have the system checked by a NISSAN dealer.
Automatic transmission park
warning light (
model)
WARNING
cIf the ATP light is ON, this indicates that
the automatic transmission P (Park) po-
sition will not function and the transfer
case is in neutral.
c
When parking, always make sure that the
4WD shift indicator light illuminates and
the parking brake is set. Failure to en-
gage the transfer position in 2WD, AUTO,
4H or 4LO could result in the vehicle
moving unexpectedly, resulting in seri-
ous personal injury or property damage.
cThe warning light may come on when
the ignition switch is ON and the auto-
matic transmission lever is shifted to
the P position while shifting the trans-
fer case between 4H and 4LO. Shift the
4WD shift switch to the 2WD, AUTO, 4H,
or 4LO position again to turn off the ATP
warning light when the warning light
comes on. (Before shifting the 4WD
switch into the 4LO position or out of
4LO in the 4H position, move the auto-
matic transmission selector lever into
the N position. Shift the selector leverinto the P position and make sure that
the 4WD shift indicator light is ON and
the ATP warning light is OFF.)
This light indicates that the automatic transmis-
sion parking function is not engaged. If the trans-
fer control is not secured in any drive position
while the automatic transmission selector lever is
in the P (Park) position, the transmission will
disengage and the drive wheels will not lock.
orBrake warning light
This light functions for both the parking brake and
the foot brake systems.
Parking brake indicator
When the ignition key is in the ON position, the
light comes on when the parking brake is applied.
Low brake fluid warning light
When the ignition key is in the ON position, the
light warns of a low brake fluid level. If the light
comes on while the engine is running with the
parking brake not applied, stop the vehicle and
perform the following:
1. Check the brake fluid level. Add brake fluid
as necessary. See “Brake fluid” in the “Main-
tenance and do-it-yourself” section of this
manual.
Instruments and controls2-13
ZREVIEW COPYÐ2006 Armada(wzw)
Owners ManualÐUSA_English(nna)
06/15/05Ðdebbie
X
Page 107 of 352
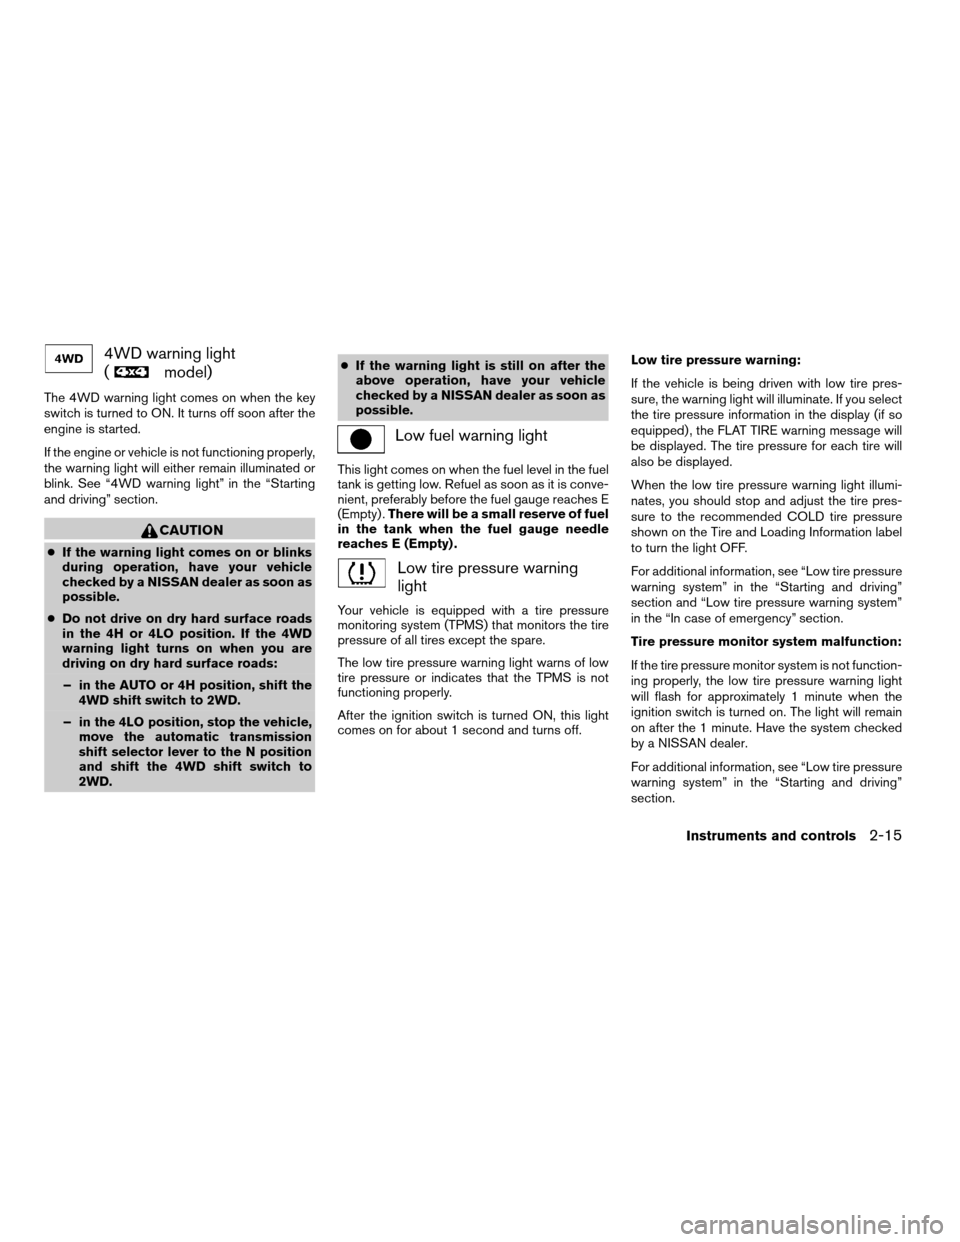
4WD warning light
(
model)
The 4WD warning light comes on when the key
switch is turned to ON. It turns off soon after the
engine is started.
If the engine or vehicle is not functioning properly,
the warning light will either remain illuminated or
blink. See “4WD warning light” in the “Starting
and driving” section.
CAUTION
cIf the warning light comes on or blinks
during operation, have your vehicle
checked by a NISSAN dealer as soon as
possible.
cDo not drive on dry hard surface roads
in the 4H or 4LO position. If the 4WD
warning light turns on when you are
driving on dry hard surface roads:
– in the AUTO or 4H position, shift the
4WD shift switch to 2WD.
– in the 4LO position, stop the vehicle,
move the automatic transmission
shift selector lever to the N position
and shift the 4WD shift switch to
2WD.cIf the warning light is still on after the
above operation, have your vehicle
checked by a NISSAN dealer as soon as
possible.
Low fuel warning light
This light comes on when the fuel level in the fuel
tank is getting low. Refuel as soon as it is conve-
nient, preferably before the fuel gauge reaches E
(Empty) .There will be a small reserve of fuel
in the tank when the fuel gauge needle
reaches E (Empty) .
Low tire pressure warning
light
Your vehicle is equipped with a tire pressure
monitoring system (TPMS) that monitors the tire
pressure of all tires except the spare.
The low tire pressure warning light warns of low
tire pressure or indicates that the TPMS is not
functioning properly.
After the ignition switch is turned ON, this light
comes on for about 1 second and turns off.Low tire pressure warning:
If the vehicle is being driven with low tire pres-
sure, the warning light will illuminate. If you select
the tire pressure information in the display (if so
equipped) , the FLAT TIRE warning message will
be displayed. The tire pressure for each tire will
also be displayed.
When the low tire pressure warning light illumi-
nates, you should stop and adjust the tire pres-
sure to the recommended COLD tire pressure
shown on the Tire and Loading Information label
to turn the light OFF.
For additional information, see “Low tire pressure
warning system” in the “Starting and driving”
section and “Low tire pressure warning system”
in the “In case of emergency” section.
Tire pressure monitor system malfunction:
If the tire pressure monitor system is not function-
ing properly, the low tire pressure warning light
will flash for approximately 1 minute when the
ignition switch is turned on. The light will remain
on after the 1 minute. Have the system checked
by a NISSAN dealer.
For additional information, see “Low tire pressure
warning system” in the “Starting and driving”
section.
Instruments and controls2-15
ZREVIEW COPYÐ2006 Armada(wzw)
Owners ManualÐUSA_English(nna)
06/15/05Ðdebbie
X
Page 109 of 352
rollover air bags, and pre-tensioner seat belt sys-
tems need servicing and your vehicle must be
taken to a NISSAN dealer:
cThe supplemental air bag warning light re-
mains on after approximately 7 seconds.
cThe supplemental air bag warning light
flashes intermittently.
cThe supplemental air bag warning light does
not come on at all.
Unless checked and repaired, the supplemental
restraint system (air bag system) and/or the pre-
tensioner seat belts may not function properly.
For additional details see “Supplemental restraint
system” in the “Safety—Seats, seat belts and
supplemental restraint system” section of this
manual.
WARNING
If the supplemental air bag warning light
is on, it could mean that the supplemental
front air bag, supplemental side air bag,
curtain side-impact and rollover air bag
systems (if so equipped) and/or pre-
tensioner seat belt systems will not oper-
ate in an accident. To help avoid injury to
yourself or others, have your vehicle
checked by a NISSAN dealer as soon as
possible.
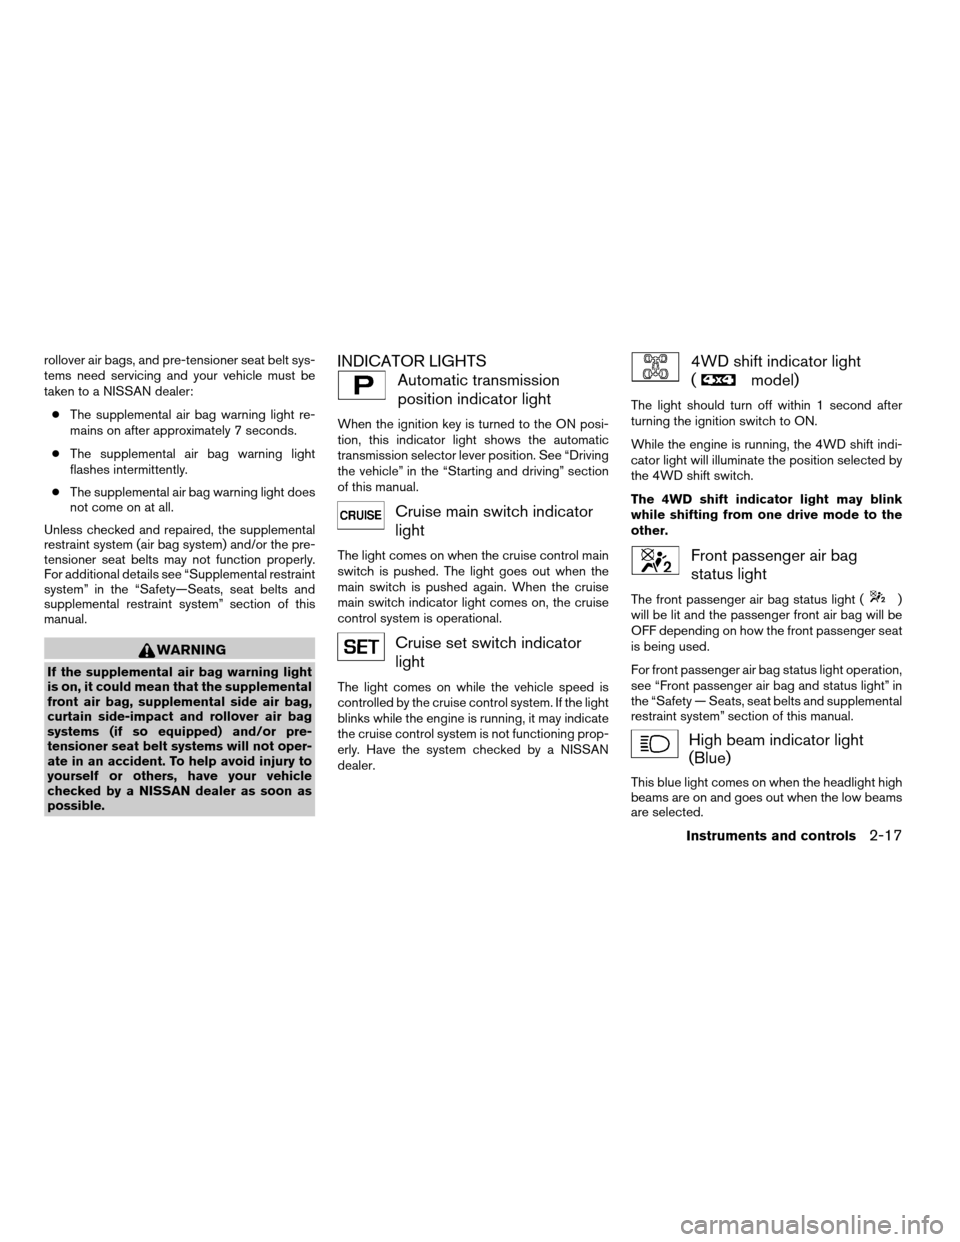
INDICATOR LIGHTS
Automatic transmission
position indicator light
When the ignition key is turned to the ON posi-
tion, this indicator light shows the automatic
transmission selector lever position. See “Driving
the vehicle” in the “Starting and driving” section
of this manual.
Cruise main switch indicator
light
The light comes on when the cruise control main
switch is pushed. The light goes out when the
main switch is pushed again. When the cruise
main switch indicator light comes on, the cruise
control system is operational.
Cruise set switch indicator
light
The light comes on while the vehicle speed is
controlled by the cruise control system. If the light
blinks while the engine is running, it may indicate
the cruise control system is not functioning prop-
erly. Have the system checked by a NISSAN
dealer.
4WD shift indicator light
(
model)
The light should turn off within 1 second after
turning the ignition switch to ON.
While the engine is running, the 4WD shift indi-
cator light will illuminate the position selected by
the 4WD shift switch.
The 4WD shift indicator light may blink
while shifting from one drive mode to the
other.
Front passenger air bag
status light
The front passenger air bag status light ()
will be lit and the passenger front air bag will be
OFF depending on how the front passenger seat
is being used.
For front passenger air bag status light operation,
see “Front passenger air bag and status light” in
the “Safety — Seats, seat belts and supplemental
restraint system” section of this manual.
High beam indicator light
(Blue)
This blue light comes on when the headlight high
beams are on and goes out when the low beams
are selected.
Instruments and controls2-17
ZREVIEW COPYÐ2006 Armada(wzw)
Owners ManualÐUSA_English(nna)
06/15/05Ðdebbie
X
Page 111 of 352

Transfer 4LO position
indicator light (
model)
The light should turn off within 1 second after
turning the ignition switch to ON.
This light comes on when the 4WD shift switch is
set in the 4LO position with the ignition key in the
ON position.
If the 4WD shift switch is set in the 4LO position
and the light blinks, stop the vehicle, drive slowly
forward and the light will turn on.
When you shift between 4H and 4LO, stop the
vehicle, move the automatic transmission selec-
tor lever to the N (Neutral) position, then depress
and turn the 4WD shift switch to 4LO or 4H.
The transfer case may be damaged if you shift the
switch while driving.
You cannot move the transfer 4WD shift switch
between 4H and 4LO unless you have first
stopped the vehicle and moved the automatic
transmission shift selector lever to N (Neutral) .
Make sure the transfer 4LO position indicator
light turns on when you shift the 4WD shift switch
to 4LO.
The indicator light may blink while shifting
from one drive mode to the other.
Turn signal/hazard indicator
lights
The appropriate light flashes when the turn signal
switch is activated.
Both lights flash when the hazard switch is turned
on.
Vehicle dynamic control off
indicator light
This indicator light comes on when the vehicle
dynamic control off switch is pushed to OFF, the
transfer case is in the 4LO position (
model) , or when the vehicle dynamic control sys-
tem is not functioning properly. This indicates the
vehicle dynamic control system is not operating.
Push the vehicle dynamic control off switch again
or restart the engine and the system will operate
normally. See “Vehicle dynamic control (VDC)
system” in the “Starting and driving” section of
this manual.
The vehicle dynamic control light also comes on
when you turn the ignition key to the ON position.
The light will turn off after about 2 seconds if the
system is operational. If the light stays on or
comes on along with the SLIP indicator light
while you are driving, have the vehicle dynamic
control system checked by a NISSAN dealer.While the vehicle dynamic control system is op-
erating, you might feel slight vibration or hear the
system working when starting the vehicle or ac-
celerating, but this is normal.
AUDIBLE REMINDERS
Brake pad wear warning
The front disc brake pads have audible wear
warnings. When a front brake pad requires re-
placement, it makes a high pitched scraping
sound when the vehicle is in motion, whether or
not the brake pedal is depressed. Have the
brakes checked as soon as possible if the warn-
ing sound is heard.
Key reminder chime
A chime sounds if the driver’s door is opened
while the key is left in the ignition switch. Remove
the key and take it with you when leaving the
vehicle.
Light reminder chime
With the ignition switch in the OFF position, a
chime sounds when the driver’s door is opened if
the headlights or parking lights are on.
Turn the headlight control switch off before leav-
ing the vehicle.
Instruments and controls2-19
ZREVIEW COPYÐ2006 Armada(wzw)
Owners ManualÐUSA_English(nna)
06/15/05Ðdebbie
X
Page 122 of 352
WARNING
The rear sonar system is a convenience
but it is not a substitute for proper back-
ing. Always turn and check that it is safe to
do so before backing up. Always back up
slowly.
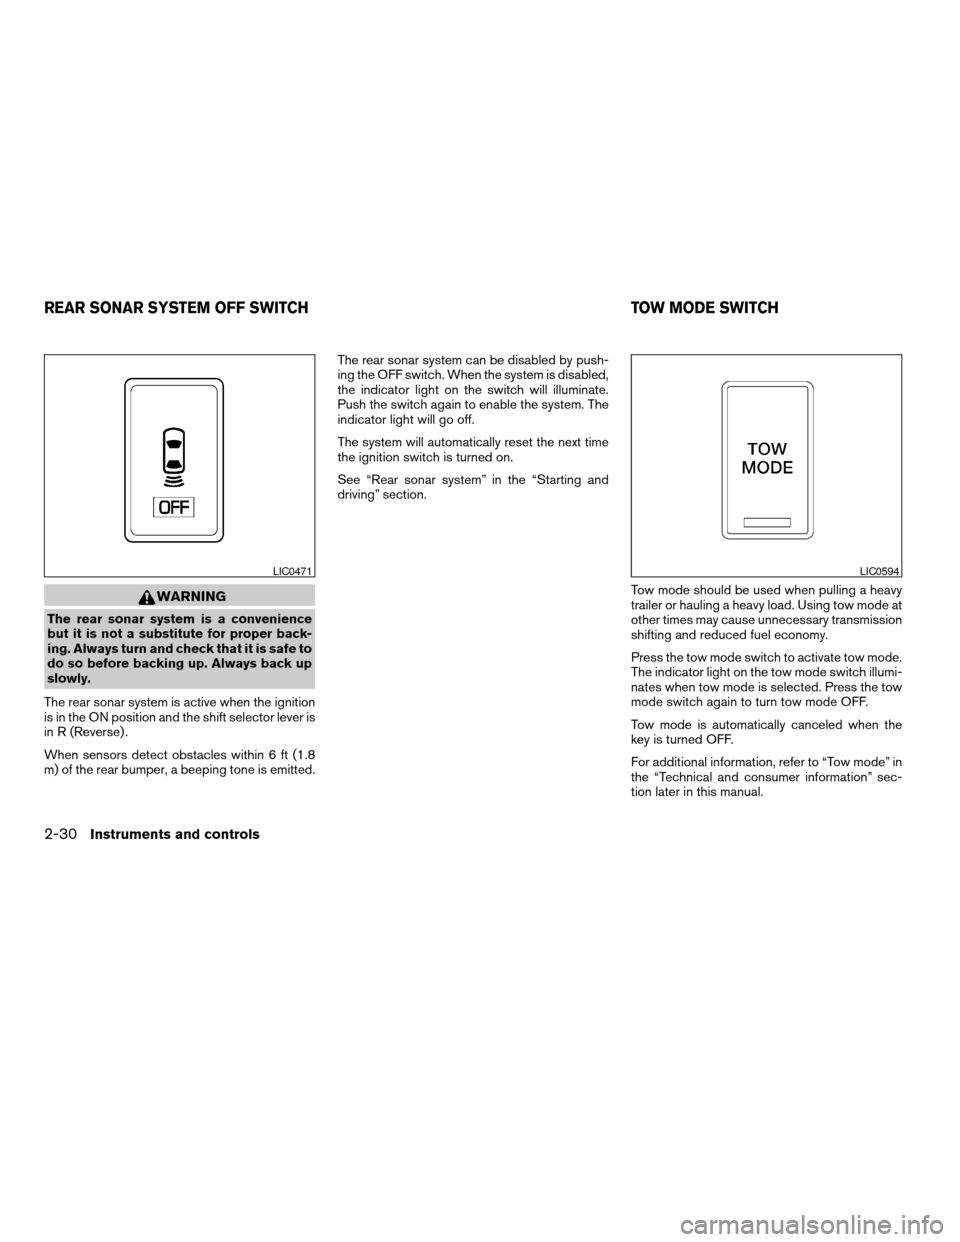
The rear sonar system is active when the ignition
is in the ON position and the shift selector lever is
in R (Reverse) .
When sensors detect obstacles within 6 ft (1.8
m) of the rear bumper, a beeping tone is emitted.The rear sonar system can be disabled by push-
ing the OFF switch. When the system is disabled,
the indicator light on the switch will illuminate.
Push the switch again to enable the system. The
indicator light will go off.
The system will automatically reset the next time
the ignition switch is turned on.
See “Rear sonar system” in the “Starting and
driving” section.
Tow mode should be used when pulling a heavy
trailer or hauling a heavy load. Using tow mode at
other times may cause unnecessary transmission
shifting and reduced fuel economy.
Press the tow mode switch to activate tow mode.
The indicator light on the tow mode switch illumi-
nates when tow mode is selected. Press the tow
mode switch again to turn tow mode OFF.
Tow mode is automatically canceled when the
key is turned OFF.
For additional information, refer to “Tow mode” in
the “Technical and consumer information” sec-
tion later in this manual.
LIC0471LIC0594
REAR SONAR SYSTEM OFF SWITCH TOW MODE SWITCH
2-30Instruments and controls
ZREVIEW COPYÐ2006 Armada(wzw)
Owners ManualÐUSA_English(nna)
06/15/05Ðdebbie
X
Page 145 of 352

5. If the indicator light on the HomeLinkTblinks
rapidly for 2 seconds and then turns solid,
HomeLinkThas picked up a “rolling code”
garage door opener signal. You will need to
proceed with the next steps to train the
HomeLinkTto complete the programming
which may require a ladder and another per-
son for convenience.6. Press and release the “smart” or “learn” pro-
gram button located on the garage door
opener’s motor to activate the “training
mode”. This button is usually located near
the antenna wire that hangs down from the
motor. If the wire originates from under a
light lens, you will need to remove the lens to
access the program button.
NOTE:
Once you have pressed and released the
program button on the garage door open-
er’s motor and the “training light” is lit, you
have 30 seconds in which to perform step 7.
Use the help of a second person for conve-
nience to assist when performing this step.
7. Within 30 seconds of pressing and releas-
ing the garage door opener program button,
quickly and firmly press and release the
HomeLinkTbutton you’ve just programmed.
Press and release the HomeLinkTbutton up
to 3 times to complete the training.
8. Your HomeLinkTbutton should now be pro-
grammed. (To program the remaining
HomeLinkTbuttons for additional door or
gate openers, follow steps 2-8 only.)NOTE:
Do not repeat step 1 unless you want to
“clear” all previously programmed
HomeLinkTbuttons.
If you have any questions or are having difficulty
programming your HomeLinkTbuttons, refer to
the HomeLinkTweb site at: www.homelink.com
or call 1-800-355-3515.
PROGRAMMING HOMELINKTFOR
CANADIAN CUSTOMERS
Prior to 1992, D.O.C. regulations required hand-
held transmitters to stop transmitting after 2 sec-
onds. To program your hand-held transmitter to
HomeLinkT, continue to press and hold the
HomeLinkTbutton (note steps2-4under “Pro-
gramming HomeLinkT”) while you press and re-
press (“cycle”) your hand-held transmitters every
2 seconds until the indicator light flashes rapidly
(indicating successful programming) .
NOTE:
When programming a garage door opener,
etc., it is advised to unplug the device dur-
ing the “cycling” process to prevent pos-
sible damage to the garage door opener
components.
Type B
LIC0677
Instruments and controls2-53
ZREVIEW COPYÐ2006 Armada(wzw)
Owners ManualÐUSA_English(nna)
06/15/05Ðdebbie
X
Page 156 of 352

Using the panic alarm
If you are near your vehicle and feel threatened,
you may activate the panic alarm to call attention
by pushing and holding the
button on the
keyfob forlonger than 0.5 second.
The panic alarm and headlights will stay on for 25
seconds.
The panic alarm stops when:
cit has run for 25 seconds, or
cany button is pushed on the keyfob.
Silencing the horn beep feature
If desired, the horn beep feature can be deacti-
vated using the keyfob.
NOTE:
If you change the horn beep and lamp flash
feature with the keyfob, the display screen
(if so equipped) will not show the current
mode and cannot be used to change the
mode. Use the keyfob to return to the pre-
vious mode and re-enable the display
screen control.To deactivate:Press and hold the
andbuttonsfor at least 2 seconds.
The hazard warning lights will flash three times to
confirm that the horn beep feature has been
deactivated.
To activate:Press and hold the
andbuttonsfor at least 2 seconds
once more.
The hazard warning lights will flash once and the
horn will sound once to confirm that the horn
beep feature has been reactivated.
Deactivating the horn beep feature does not si-
lence the horn if the alarm is triggered.
Using the interior lights
Push thebutton on the keyfob once to turn
on the interior lights and puddle lamps (if so
equipped) .
For additional information, refer to “Interior light”
in the “Instruments and controls” section earlier in
this manual.
LPD0211LPD0262
3-8Pre-driving checks and adjustments
ZREVIEW COPYÐ2006 Armada(wzw)
Owners ManualÐUSA_English(nna)
06/15/05Ðdebbie
X
Page 159 of 352
cThe lift gate can be opened by the instru-
ment panel switch and the keyfob even if the
vehicle is locked. The lift gate will individually
unlock and open. Once the lift gate is
closed, its lock will align to the vehicle’s lock
or unlock status.
cThe keyfob button must be held for 0.5 sec-
ond before the lift gate opens.
cThe lift gate must be unlocked to open it with
the outside opener handle.
cThe switch on the rear pillar cannot be used
to open the lift gate.
A warning chime will sound if the shift selector
lever is moved out of P (Park) during a power
open operation.
Power Close:
The power lift gate automatically moves from the
fully open position to the secondary position.
When the lift gate reaches the secondary posi-
tion, the cinching motor engages and pulls the lift
gate to its primary latch position. Power close
takes approximately7–10seconds. The power
close feature can be activated by the switch on
the keyfob, the instrument panel and the rear
pillar. The hazard lights flash and a chime sounds
to indicate the power close sequence has been
started.cIf the outside opener handle is activated
while the cinching motor is engaged, the
cinching motor will disengage and release
the latch.
cThe keyfob button must be held for 0.5 sec-
ond before the lift gate closes.
cThe switch on the rear pillar can only be used
to close the lift gate if the cancel switch is
not in the on position.
Reverse:
The power lift gate will reverse direction immedi-
ately during power open or power close if the
keyfob, instrument panel or rear pillar switch is
pressed or if the outside handle is lifted. A chime
will sound to announce the reversal.
Auto Reverse:
If an obstacle is detected during power open or
power close, a warning chime will sound and the
lift gate will reverse direction and return to the full
open or full close position. If a second obstacle is
detected, the lift gate motion will stop and the
drive motor will disengage. The lift gate will enter
manual mode.
A pinch strip is mounted on each side of the lift
gate. If an obstacle is detected by a pinch strip
during power close, the lift gate will reverse di-
rection and return to the full open position.NOTE:
If the pinch strip is damaged or removed,
the power close function will not operate.
WARNING
There are some small distances immedi-
ately before the closed position which
cannot be detected. Make sure that all
passengers have their hands, etc., inside
the vehicle before closing the lift gate.
Manual Mode:
If power operation is not available, the lift gate
may be operated manually. Power operation may
not be available if the cancel switch is in the on
position, if multiple obstacles have been de-
tected in a single power cycle, or if battery volt-
age is low.
Pre-driving checks and adjustments3-11
ZREVIEW COPYÐ2006 Armada(wzw)
Owners ManualÐUSA_English(nna)
06/15/05Ðdebbie
X