Page 5 of 64
TO PLAY A PREVIOUSLY LOADED CD:
1. Ensure that the navigation system is on.
2. Press MEDIA.
3. Select the CD tab or press
MEDIA repeatedly until CD is
highlighted. Press the corresponding
memory preset (1–6) to select the
desired CD. The previously loaded
CD will begin to play. The system
will begin playing the discs in order.
Note:If there are no CDs loaded
into the system, NO DISC will display in the status bar and you will not
be able to highlight or select the CD tab.
4. Press SEEK to advance to the
next (
) or previous () tracks.
TO LOAD CDS:
1. Ensure that the navigation system is on.
2. Press LOAD.
3. When LOAD CD (#) appears on
the status bar, select the desired
slot by pressing the corresponding
memory preset (1–6.)
4. Insert the disc. The CD will begin to play.
2006 Navigator(nav)
Supplement
USA(fus)
Introduction
5
Page 8 of 64
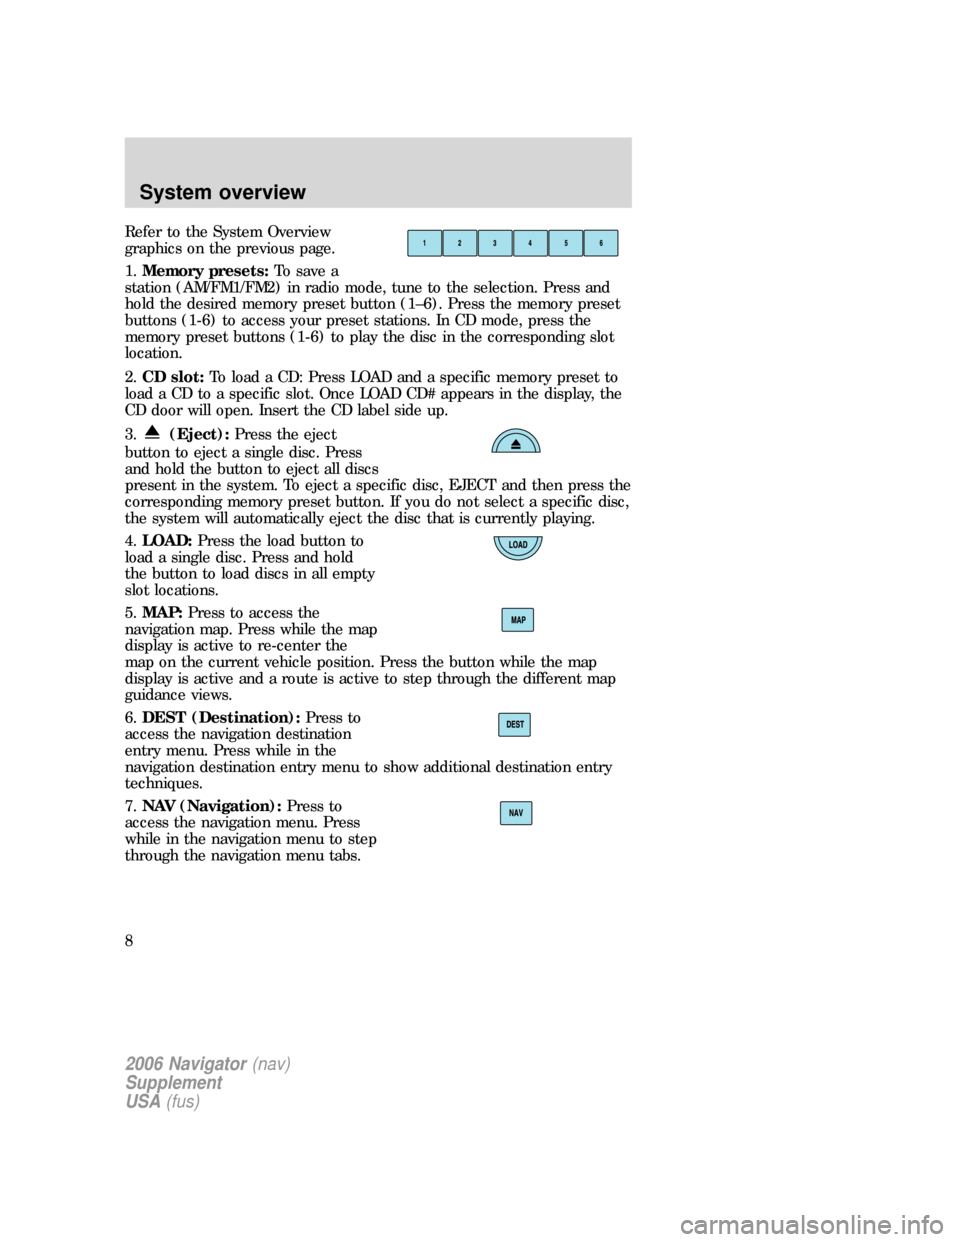
Refer to the System Overview
graphics on the previous page.
1.Memory presets:To save a
station (AM/FM1/FM2) in radio mode, tune to the selection. Press and
hold the desired memory preset button (1–6). Press the memory preset
buttons (1-6) to access your preset stations. In CD mode, press the
memory preset buttons (1-6) to play the disc in the corresponding slot
location.
2.CD slot:To load a CD: Press LOAD and a specific memory preset to
load a CD to a specific slot. Once LOAD CD# appears in the display, the
CD door will open. Insert the CD label side up.
3.
(Eject):Press the eject
button to eject a single disc. Press
and hold the button to eject all discs
present in the system. To eject a specific disc, EJECT and then press the
corresponding memory preset button. If you do not select a specific disc,
the system will automatically eject the disc that is currently playing.
4.LOAD:Press the load button to
load a single disc. Press and hold
the button to load discs in all empty
slot locations.
5.MAP:Press to access the
navigation map. Press while the map
display is active to re-center the
map on the current vehicle position. Press the button while the map
display is active and a route is active to step through the different map
guidance views.
6.DEST (Destination):Press to
access the navigation destination
entry menu. Press while in the
navigation destination entry menu to show additional destination entry
techniques.
7.NAV (Navigation):Press to
access the navigation menu. Press
while in the navigation menu to step
through the navigation menu tabs.
2006 Navigator(nav)
Supplement
USA(fus)
System overview
8
Page 9 of 64
8.REPEAT:Press the repeat button
while navigation guidance is active
to repeat the last spoken navigation
guidance prompt.
9.TUNE:In radio mode, press
TUNEto manually advance
down or up the frequency band. In
MP3 mode, press
TUNEto
advance to the previous/next folder.
Note:This feature requires a disc containing MP3 files organized in
multiple folders.
10.SEEK:In radio mode, press
SEEK
/to seek to the
next/previous available station. In
CDX6 / DVD mode (if equipped),
press SEEK
/to change the next/previous track.
11.MENU:Press to access the
system menu. Press while the
system menu is active to step
through the system menu tabs.
12.MUTE:Press to mute the
playing media. Press again to return
to the playing media.
13.SOUND:Press to access the
Sound menu. Press while in the
sound menu to step through the
sound menu tabs.
14.MEDIA:Press to access the
media menu. Press while in the
media menu to step through the
media menu tabs consisting of various sources.
2006 Navigator(nav)
Supplement
USA(fus)
System overview
9
Page 15 of 64
•SCAN:In CD mode, press to hear a brief sampling of all tracks on the
current CD. In MP3 mode, press for a brief sampling of all tracks in all
folders.
For an MP3 disc with multiple folders, pressing FOLDER MODE when
running a scan will result in brief sampling of all songs in the current
folder.
•COMP(Compression): Press to engage the compression feature.
COMPRESSION boosts more quiet music and lowers louder music to
minimize the need for volume adjustments. Press again to disengage.
•REPEAT:Press to repeat the current track. REPEAT will appear in
the Status Bar when selected. Press again to disengage.
•SHUFFLE:Press to engage the shuffle feature. When playing MP3
files, if FOLDER MODE is engaged, the system will shuffle the songs
within the current folder only; otherwise, it will shuffle all the tracks
in the disc. Press again to disengage.
•FOLDER MODE:Press to play only the tracks in the current folder,
when playing MP3 files arranged in separate folders.
•TEXT:When available, displays information from the CD.
DVD (IF EQUIPPED)
Note:The following information is intended forFreestyle, Five
HundredandMontegovehicles equipped with an optional DVD player.
If you have an Explorer or Mountaineer equipped with an optional DVD
player, please refer to the next DVD section.
Your vehicle may be equipped with a DVD player. The navigation system
can provide you interaction with the DVD system in the rear of the
vehicle. To access the DVD screen:
1. Ensure that the navigation system is ON.
2006 Navigator(nav)
Supplement
USA(fus)
Audio features
15
Page 29 of 64
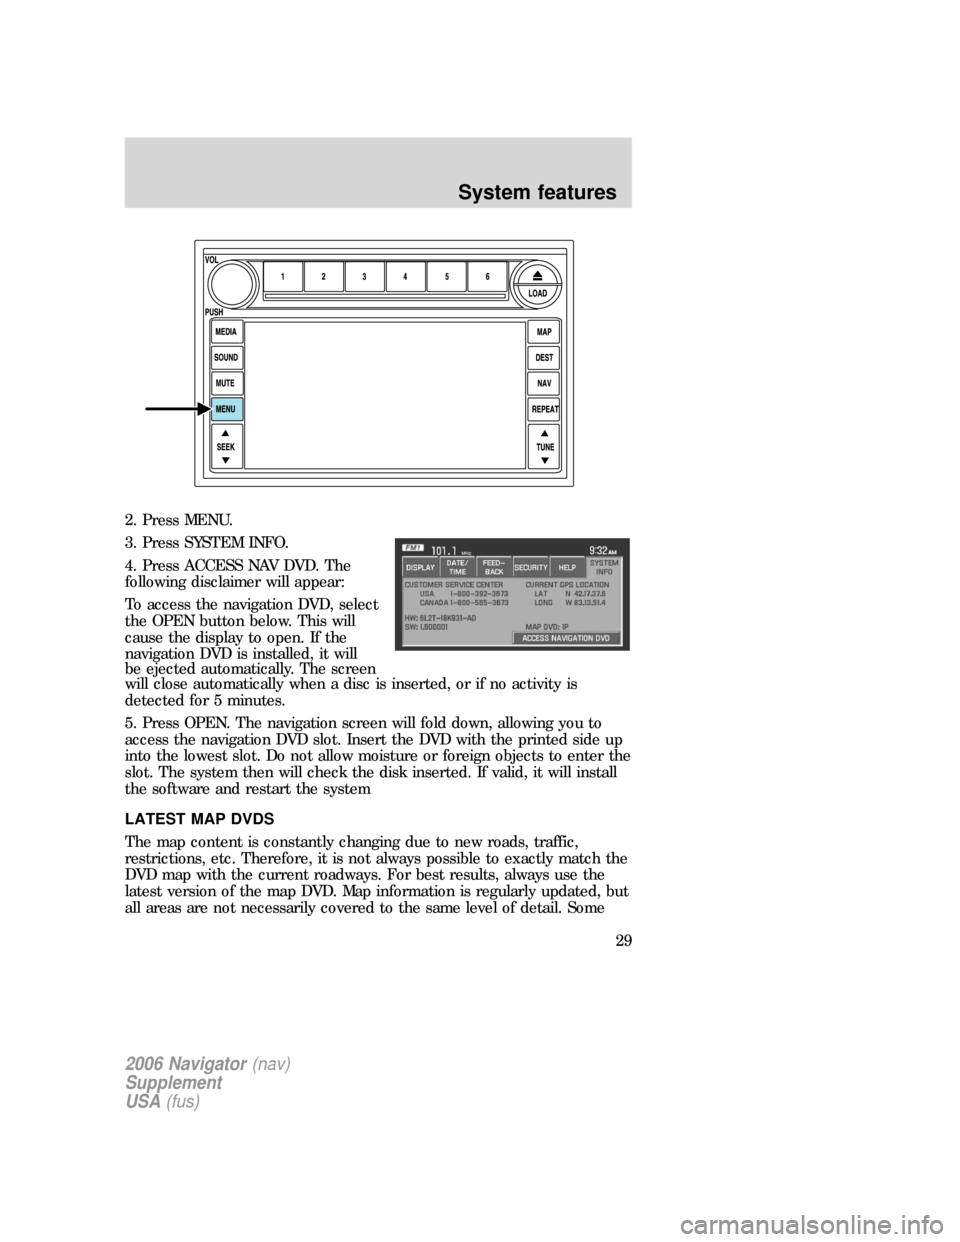
2. Press MENU.
3. Press SYSTEM INFO.
4. Press ACCESS NAV DVD. The
following disclaimer will appear:
To access the navigation DVD, select
the OPEN button below. This will
cause the display to open. If the
navigation DVD is installed, it will
be ejected automatically. The screen
will close automatically when a disc is inserted, or if no activity is
detected for 5 minutes.
5. Press OPEN. The navigation screen will fold down, allowing you to
access the navigation DVD slot. Insert the DVD with the printed side up
into the lowest slot. Do not allow moisture or foreign objects to enter the
slot. The system then will check the disk inserted. If valid, it will install
the software and restart the system
LATEST MAP DVDS
The map content is constantly changing due to new roads, traffic,
restrictions, etc. Therefore, it is not always possible to exactly match the
DVD map with the current roadways. For best results, always use the
latest version of the map DVD. Map information is regularly updated, but
all areas are not necessarily covered to the same level of detail. Some
2006 Navigator(nav)
Supplement
USA(fus)
System features
29
Page 31 of 64
DISCLAIMER
After each ignition cycle, a
disclaimer display will appear. Press
AGREE to the content of the screen
in order to access the navigation
functions. If you do not press
AGREE, you will only have access to
non-navigation functions.
MAP MODE
To enter map mode:
1. Ensure that the system is on.
2. Press MAP. The map screen will display.
When in MAP mode, an icon appears on the upper left side of the
screen; this is a toggle button to change the view of the map displayed.
The following methods exist for orientation of the map:
2006 Navigator(nav)
Supplement
USA(fus)
Navigation features
31
Page 32 of 64
•Heading up:In this mode, the
direction of forward travel is
always upward direction on
screen. Available for map scales
up to 2.5 mi/5km. For scales above that, the setting for Heading-Up is
remembered, but the map is shown in North-Up only. If the scale
returns below this level, then the Heading-Up setting is restored.
•North up:In this mode, the
Northern Direction is always
upward direction on screen.
MAP SCALE
The map display scale on the map
has 16 levels, ranging from 0.02
miles to 1000 miles. You can adjust
the map scale to be shown in miles
or kilometers. In MAP mode, you
can also zoom in or out, changing the display scale by pressing on one of
the arrows on the button appearing on the left side of the screen. When
in Full Screen Map Mode, touching this button will cause the Zoom
Direct buttons to appear. The Zoom Direct buttons represent the most
common scales and can be pressed directly to show the map at the
desired scale.
Map road colors and building representation on the map:
•Roads:Will be displayed in a variety of colors. Specifically, pink roads
are not able to be used as routes. Also, purple roads indicate roads
under construction currently or at the time of disc compilation. These
roads will be open in the future.
•Building footprints:Will display areas of major buildings in the 20
largest cities in the U.S. These areas will be displayed depending on
their size and the map zoom level.
2006 Navigator(nav)
Supplement
USA(fus)
Navigation features
32
Page 40 of 64
2. Select ADDRESS BOOK.
3. You may now choose to sort the
list of entries by:
•A–Z:Select to view list in
alphabetical order
•DATE:Select to view list in order
of the entry date.
•ICON:Select to sort on the icon
type.
•INFO:When the vehicle is stationary, you may select this in order to
view the following information about the current address book entry:
NAME
LOCATION
PHONE NUMBER
ICON
QUICK DEST / DESTINATION PRESET NUMBER
•SET AS DEST:Press to set the current address book entry as your
destination. The Destination Map screen will then appear. Refer to
Destination mapfor further information.
Note:If the battery is disconnected, the address book information will
be saved but the previous destinations will be deleted.
2006 Navigator(nav)
Supplement
USA(fus)
Navigation features
40