Page 119 of 481

118 Controls in detailLightingAutomatic control
Activating�
Press automatic control switch2 until
it is flush to the other switches.
The interior lighting switches on in
darkness, when you�
unlock the vehicle
�
remove the SmartKey from the
starter switch
�
open a door
The interior lighting switches off automati-
cally following a preset time delay.
For more information, see “Interior lighting
delayed shut-off” (
�page 146).Deactivating
�
Press automatic control switch2 until
it engages at a deeper position than the
other switches.
The interior lighting remains switched
off in darkness, even when you�
unlock the vehicle
�
remove the SmartKey from the
starter switch
�
open a doorManual control
Interior lighting
�
Press interior lighting switch1.
The interior lighting switches on.
�
Press interior lighting switch1 again.
The interior lighting switches off.
iIf the door remains open, the interior
lighting switches off automatically after
approximately 5 minutes when the
SmartKey is in starter switch position0
or removed.
iWhen you open the trunk, the trunk
lighting switches on automatically.
If the trunk lid remains open, the trunk
lighting switches off automatically after
approximately 10 minutes.
iThe footwell lighting* is switched on
and off simultaneously with the manual
control.
Page 123 of 481
122 Controls in detailInstrument clusterTrip odometer�
Make sure you are viewing the stan-
dard display menu (
�page 128).
�
Press and hold reset buttonJuntil
the trip odometer is reset.
Clock
Vehicles with COMAND*:
The clock in the instrument cluster can be
synchronized with the time set in
COMAND using the time synchronization
with head unit feature (
�page 139), or set
independently from COMAND using the
control system (
�page 139) with the time
synchronization with head unit feature set
to
Off
.
For setting the time in COMAND, see sep-
arate COMAND operating instructions.
For setting the time with audio system,
(
�page 139).
Page 137 of 481
136 Controls in detailControl systemThe table below shows what settings can
be changed within the various submenus.Detailed instructions on making individual
settings can be found on the following
pages.Instrument cluster
Time/Date
Lighting
Vehicle
Convenience*
(�page 137)
(�page 139)
(�page 143)
(�page 147)
(�page 147)
Selecting digital speed-
ometer display mode
Time synchronization
with head unit*
Daytime running lamp
mode (USA only)
Setting automatic locking
Activating
easy-entry/exit feature*
Selecting language
Setting the time (hours)
Locator lighting
Setting parking position
for exterior rear view
mirror*
Selecting display (speed
display or outside
temperature) for status
indicator
Setting the time
(minutes)
Night security
illumination
Setting the date (month)
Interior lighting delayed
shut-off
Setting the date (day)Setting the date (year)
Page 141 of 481

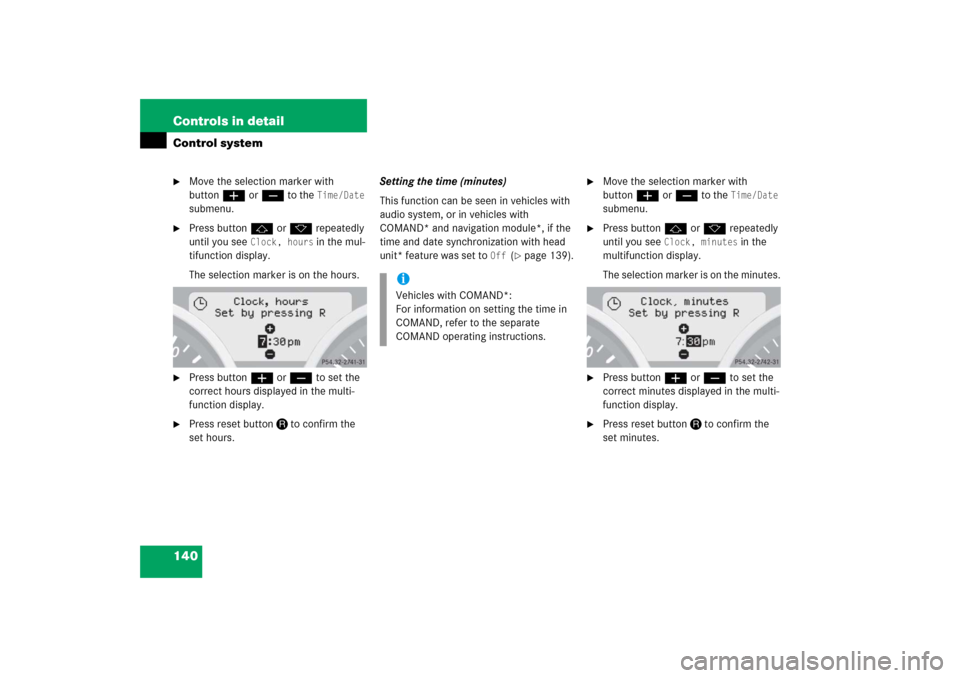
140 Controls in detailControl system�
Move the selection marker with
buttonæorç to the
Time/Date
submenu.
�
Press buttonjork repeatedly
until you see
Clock, hours
in the mul-
tifunction display.
The selection marker is on the hours.
�
Press buttonæorç to set the
correct hours displayed in the multi-
function display.
�
Press reset buttonJto confirm the
set hours.Setting the time (minutes)
This function can be seen in vehicles with
audio system, or in vehicles with
COMAND* and navigation module*, if the
time and date synchronization with head
unit* feature was set to
Off
(�page 139).
�
Move the selection marker with
buttonæorç to the
Time/Date
submenu.
�
Press buttonjork repeatedly
until you see
Clock, minutes
in the
multifunction display.
The selection marker is on the minutes.
�
Press buttonæorç to set the
correct minutes displayed in the multi-
function display.
�
Press reset buttonJto confirm the
set minutes.
iVehicles with COMAND*:
For information on setting the time in
COMAND, refer to the separate
COMAND operating instructions.
Page 145 of 481

144 Controls in detailControl system
Locator lighting
With the locator lighting feature activated
and the exterior lamp switch in
positionU, the following lamps will
switch on during darkness when the vehi-
cle is unlocked with the SmartKey:�
Parking lamps
�
Tail lamps
�
License plate lamps
�
Side marker lamps
�
Front fog lamps
The locator lighting switches off when the
driver’s door is opened.
If you do not open a door after unlocking
the vehicle with the SmartKey, the lamps
will switch off automatically after approxi-
mately 40 seconds.
�
Move the selection marker with
buttonæorç to the
Lighting
submenu.
�
Press buttonjork repeatedly
until you see
Function Surround
lighting
in the multifunction display.
The selection marker is on the current
setting.
�
Press buttonæorç to switch
the locator lighting function
On.
�
Turn the exterior lamp switch to
positionU when exiting the vehicle
(�page 55).
The locator lighting feature is
activated.
iFor safety reasons, resetting all the
functions of all submenus to the facto-
ry settings while driving (
�page 134)
will not deactivate the daytime running
lamp mode.
The following message appears in the
multifunction display:
Lighting Cannot be completely
reset to factory settings while
driving
.
Page 148 of 481

147 Controls in detail
Control system
Vehicle submenu
Access the
Vehicle
submenu via the
Settings...
menu. Use the
Vehicle
sub-
menu to make general vehicle settings.
The following function is available:
For additional information on central lock-
ing, see “Automatic central locking”
(
�page 101).Setting automatic locking
Use this function to activate or deactivate
the automatic locking system. With the
automatic locking system activated, the
vehicle is centrally locked at vehicle
speeds of approximately 9 mph
(15 km/h).
�
Move the selection marker with
buttonæorç to the
Vehicle
submenu.
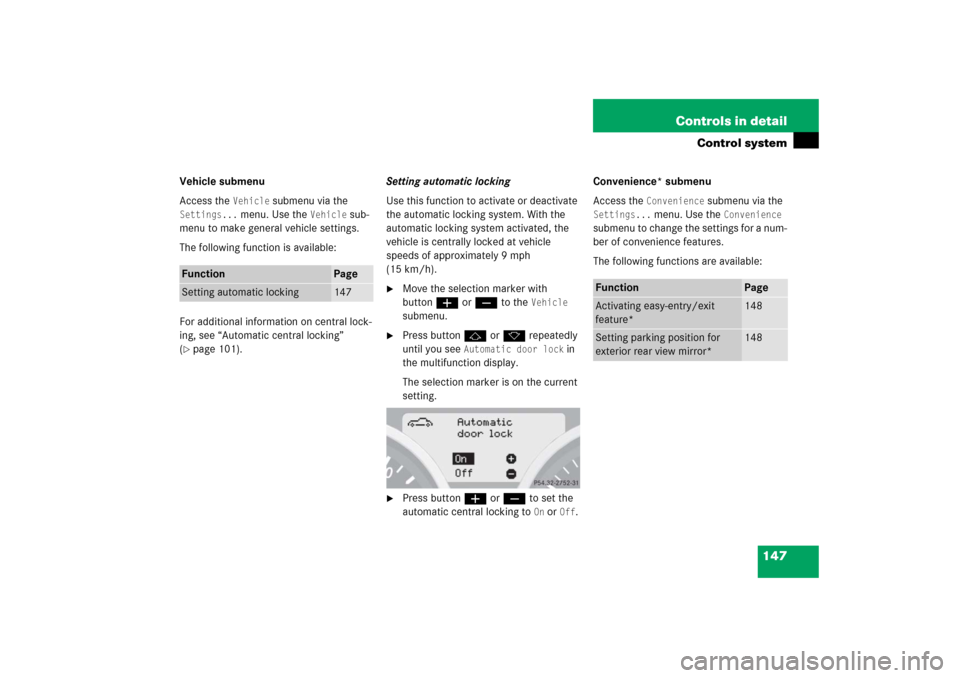
�
Press buttonjork repeatedly
until you see
Automatic door lock
in
the multifunction display.
The selection marker is on the current
setting.
�
Press buttonæorç to set the
automatic central locking to
On or
Off
.Convenience* submenu
Access the
Convenience
submenu via the
Settings...
menu. Use the
Convenience
submenu to change the settings for a num-
ber of convenience features.
The following functions are available:
Function
Page
Setting automatic locking
147
Function
Page
Activating easy-entry/exit
feature*
148
Setting parking position for
exterior rear view mirror*
148
Page 149 of 481

148 Controls in detailControl systemActivating easy-entry/exit feature*
Use this function to activate and deacti-
vate the easy-entry/exit feature
(�page 43).
�
Move the selection marker with
buttonæorç to the Convenience
submenu.
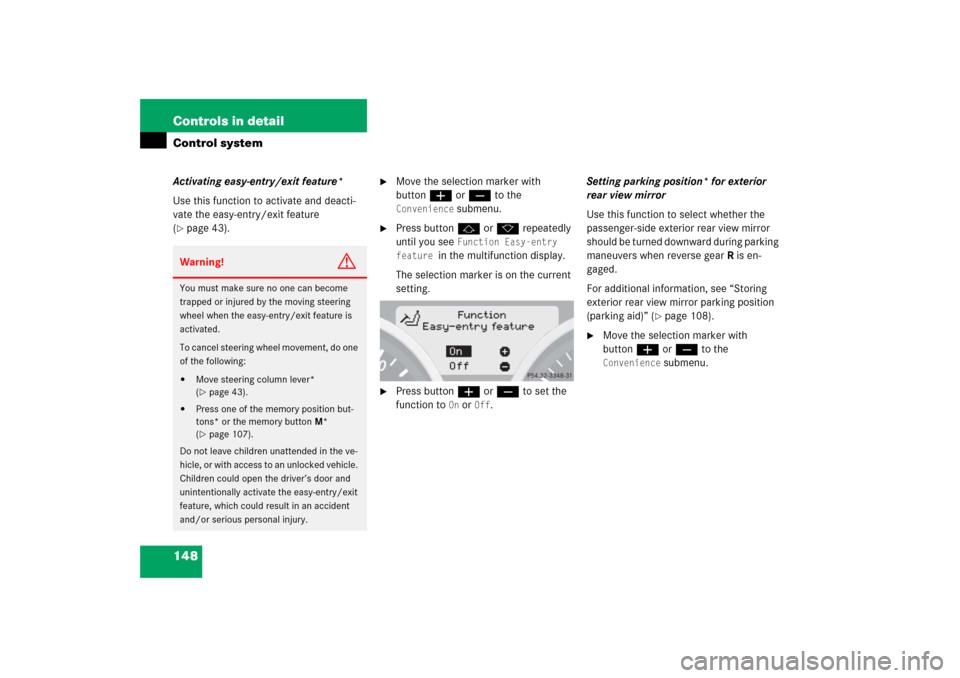
�
Press buttonjork repeatedly
until you see
Function Easy-entry
feature
in the multifunction display.
The selection marker is on the current
setting.
�
Press buttonæorç to set the
function to
On or
Off
.Setting parking position* for exterior
rear view mirror
Use this function to select whether the
passenger-side exterior rear view mirror
should be turned downward during parking
maneuvers when reverse gearR is en-
gaged.
For additional information, see “Storing
exterior rear view mirror parking position
(parking aid)” (
�page 108).
�
Move the selection marker with
buttonæorç to the Convenience
submenu.
Warning!
G
You must make sure no one can become
trapped or injured by the moving steering
wheel when the easy-entry/exit feature is
activated.
To cancel steering wheel movement, do one
of the following:�
Move steering column lever*
(�page 43).
�
Press one of the memory position but-
tons* or the memory buttonM*
(�page 107).
Do not leave children unattended in the ve-
hicle, or with access to an unlocked vehicle.
Children could open the driver’s door and
unintentionally activate the easy-entry/exit
feature, which could result in an accident
and/or serious personal injury.
Page 156 of 481

155 Controls in detail
Manual transmission
�Manual transmission
Manual transmission is standard equip-
ment on select models and not available
on all models.
For information on driving with a manual
transmission, see “Manual transmission”
(�page 51).
Warning!
G
For vehicles equipped with a manual trans-
mission, getting out of your vehicle with the
gearshift lever not engaged in first or re-
verse gear and parking brake engaged is
dangerous.
Also, when parked on an incline, an engaged
first or reverse gear alone may not prevent
your vehicle from moving, possibly hitting
people or objects.
Always set the parking brake in addition to
engaging first or reverse gear (
�page 59).
When parked on an incline, turn front wheels
towards the road curb.
Do not park this vehicle in areas where com-
bustible materials such as grass, hay or
leaves can come into contact with the hot
exhaust system, as these materials could be
ignited and cause a vehicle fire.
Warning!
G
When leaving the vehicle, always remove the
SmartKey from the starter switch, take it
with you, and lock the vehicle. Do not leave
children unattended in the vehicle, or with
access to an unlocked vehicle. Children
could move the gearshift lever, which could
result in an accident and/or serious injury.Warning!
G
On slippery road surfaces, never downshift
in order to obtain braking action.
This could result in drive wheel slip and re-
duced vehicle control. Your vehicle’s ABS
will not prevent this type of loss of control.