Page 226 of 481

225 Controls in detail
Audio system
Ejecting CDs
Ejecting single CDs�
Open the glove box.
�
Briefly press desired magazine slot but-
ton.
The light-emitting diode in the maga-
zine slot button flashes in red. The cor-
responding CD is ejected.
EJECTING CD
appears in the display along with the
magazine slot number.
�
Remove CD from CD loading slot within
15 seconds.
If after removing a single CD no other
CDs remain loaded in the magazine, MAG. EMPTY
appears in the display.
�
Close the glove box.Ejecting all loaded CDs
�
Open the glove box.
�
Press the button of a loaded magazine
slot for more than 2 seconds.
The light-emitting diodes in all maga-
zine slot buttons light up several times
in red, and
ALL EJECT
appears in the
display.
The CD changer ejects the CDs one af-
ter another.
The light-emitting diode for the maga-
zine slot being emptied flashes in red.
�
Take corresponding CD from CD load-
ing slot within 15 seconds.
The ejection procedure is finished once
you have removed all CDs from the CD
loading slot or if the CD changer can-
cels the procedure.
With all CDs removed from the maga-
zine,
MAG. EMPTY
appears in the
display.
iThe CD playback is interrupted while
one or more CDs are being ejected.
iIf you do not take the CD from the CD
loading slot within 15 seconds, the CD
changer will automatically pull the CD
back in. The system will then play the
CD.
If you are listening to a CD while eject-
ing another CD from the changer:
The Audio system stops playing the CD
while another CD is being ejected.
Once the CD has been ejected, the
Audio system will continue playing
where it left off.
��
Page 227 of 481

226 Controls in detailAudio system�
Close the glove box.Playing CDs
Single CD player in the audio unit
�
Pressi button.CD0
will appear in the upper left-hand
corner of the display.
The CD will resume playback at the point
where it was switched off.
CD changer*
�
Press Q button.CD and the selected magazine slot
number appear in the upper left-hand
corner of the display.
If you have not removed a CD since the last
time the CD audio source was activated,
the last CD listened to will begin to play at
the point where it was switched off.
After the last track on a CD has finished,
the next CD is automatically played.Playing tracks
You have the following options:
�
Audio system with CD changer*:
selecting CDs
�
Direct track entry
�
Track skip forward/reverse
�
Fast forward/reverse
�
Scan
�
Random tracks
�
Repeat track
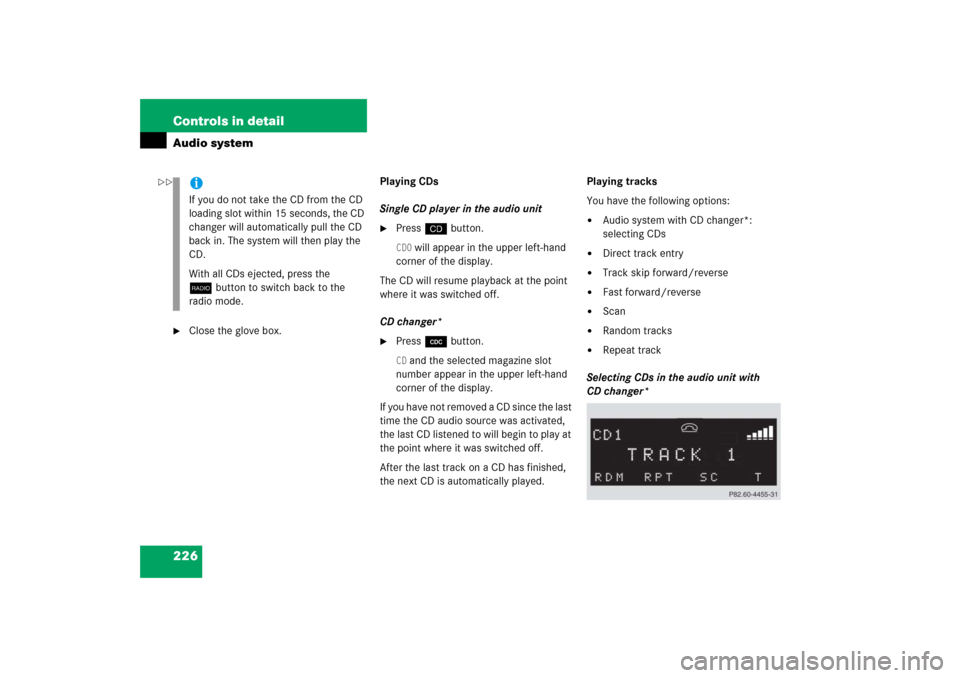
Selecting CDs in the audio unit with
CD changer*
iIf you do not take the CD from the CD
loading slot within 15 seconds, the CD
changer will automatically pull the CD
back in. The system will then play the
CD.
With all CDs ejected, press the
bbutton to switch back to the
radio mode.
��
Page 230 of 481
229 Controls in detail
Audio system
Pause function
The CD changer mode is interrupted by an
incoming call on the telephone*
(�page 235).
�
Switching on pause function�
PressFbutton.
The CD changer mode is
interrupted and
PAUSE
appears in
the display.
�
Switching off pause function�
PressFbutton.
The CD changer mode is active
again.Track and time display
�
Press
T soft key.
The number of the track being played
and the elapsed playing time appear in
the display.
�
Press
T soft key again.
The total number of tracks and the total
playing time of the CD appear in the
display.
�
Press
T soft key.
The standard CD playback menu
appears in the display.
GSM network phones
Using your Mercedes-Benz specified
mobile telephone*, a number of functions
and operating steps can be performed and
displayed in the audio system display.
Page 261 of 481

260 Controls in detailDriving systemsThe driving system of your vehicle is
described on the following pages:�
Cruise control, with which the vehicle
can maintain a preset speed.
The BAS, ABS and ESP
® driving systems
are described in the “Safety and Security”
section (
�page 82).
Cruise control
The cruise control automatically maintains
the speed you set for your vehicle.
Use of cruise control is recommended for
driving at a constant speed for extended
periods of time.
You can set or resume cruise control at any
speed over 20 mph (30 km/h).
The cruise control function is operated by
means of the cruise control lever.
The cruise control lever is the uppermost
lever on the left-hand side of the steering
column (
�page 22).
Warning!
G
The cruise control is a convenience system
designed to assist the driver during vehicle
operation. The driver is and must remain at
all times responsible for the vehicle speed
and for safe brake operation.
Only use the cruise control if the road,
traffic, and weather conditions make it
advisable to travel at a steady speed.�
The use of cruise control can be danger-
ous on winding roads or in heavy traffic
because conditions do not allow safe
driving at a steady speed.
�
The use of cruise control can be danger-
ous on slippery roads. Rapid changes in
tire traction can result in wheel spin and
loss of control.
�
Deactivate the cruise control when driv-
ing in fog.
The “Resume” function should only be oper-
ated if the driver is fully aware of the previ-
ously set speed and wishes to resume this
particular preset speed.
Page 284 of 481

283 Controls in detail
Useful features
Step 5:�
After the indicator lamp1 changes
from a slow to a rapidly flashing light,
release the hand-held remote control
button and the signal transmitter but-
ton.
Step 6:
�
Press and hold the just-trained signal
transmitter button (2, 3 or4) and
observe the indicator lamp1.If the indicator lamp1 stays on
constantly, programming is complete
and your device should activate when
the respective signal transmitter
button (2, 3 or4) is pressed and re-
leased.
Step 7:
�
To program the remaining two signal
transmitter buttons, repeat the steps
above starting with step 3.Rolling code programming
To train a garage door opener (or other
rolling code devices) with the rolling code
feature, follow these instructions after
completing the “Programming” portion
(steps 1 through 6) of this text. (A second
person may make the following training
procedures quicker and easier.)
Step 8:
�
Locate “training” button on the garage
door opener motor head unit.
Exact location and color of the button
may vary by garage door opener brand.
Depending on manufacturer, the
“training” button may also be referred
to as “learn”or “smart” button. If there
is difficulty locating the transmitting
button, refer to the garage door opener
operator’s manual.
iThe indicator lamp1 flashes immedi-
ately the first time the signal transmit-
ter button is programmed. If this button
has already been programmed, the in-
dicator lamp will only start flashing af-
ter 20 seconds.
iIf the indicator lamp1 flashes rapidly
for about 2 seconds and then turns to a
constant light, continue with
programming steps 8 through 12 as
your garage door opener may be
equipped with the “rolling code”
feature.
��