Page 138 of 481
137 Controls in detail
Control system
Instrument cluster submenu
Access the
Instr. cluster
submenu via
the
Settings...
menu. Use the
Instr.
cluster
submenu to change the instru-
ment cluster display settings. The follow-
ing functions are available:Selecting digital speedometer display
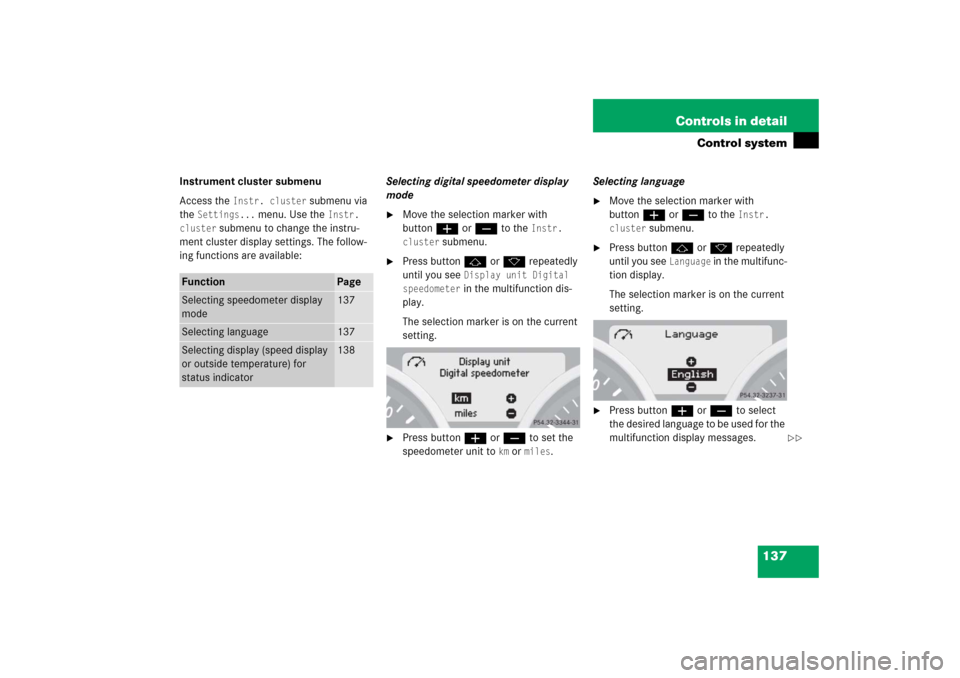
mode
�
Move the selection marker with
buttonæorç to the
Instr.
cluster
submenu.
�
Press buttonjork repeatedly
until you see
Display unit Digital
speedometer in the multifunction dis-
play.
The selection marker is on the current
setting.
�
Press buttonæorç to set the
speedometer unit to
km or
miles
.Selecting language
�
Move the selection marker with
buttonæorç to the
Instr.
cluster
submenu.
�
Press buttonjork repeatedly
until you see
Language
in the multifunc-
tion display.
The selection marker is on the current
setting.
�
Press buttonæorç to select
the desired language to be used for the
multifunction display messages.
Function
Page
Selecting speedometer display
mode
137
Selecting language
137
Selecting display (speed display
or outside temperature) for
status indicator
138
��
Page 140 of 481
139 Controls in detail
Control system
Time/Date submenu
Access the
Time/Date
submenu via the
Settings...
menu. Use the
Time/Date
submenu to change the instrument cluster
display settings.
The following functions are available:Time and date synchronization with
head unit*
This function can only be seen on vehicles
with COMAND* and navigation module*.
�
Move the selection marker with
buttonæorç to the
Time/Date
submenu.
�
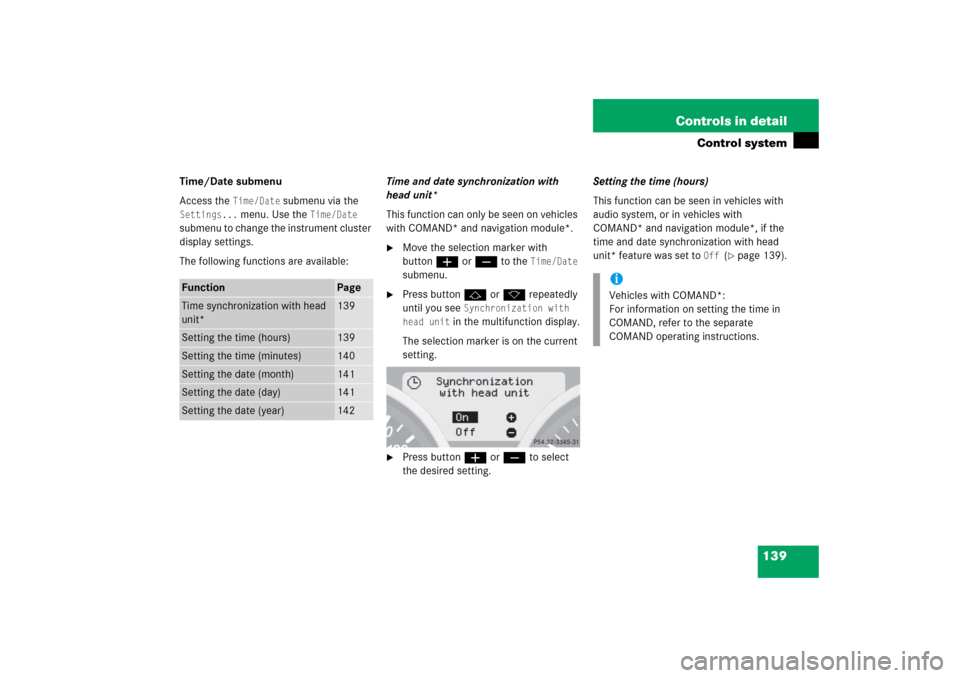
Press buttonjork repeatedly
until you see
Synchronization with
head unit
in the multifunction display.
The selection marker is on the current
setting.
�
Press buttonæorç to select
the desired setting.Setting the time (hours)
This function can be seen in vehicles with
audio system, or in vehicles with
COMAND* and navigation module*, if the
time and date synchronization with head
unit* feature was set to
Off
(�page 139).
Function
Page
Time synchronization with head
unit*
139
Setting the time (hours)
139
Setting the time (minutes)
140
Setting the date (month)
141
Setting the date (day)
141
Setting the date (year)
142
iVehicles with COMAND*:
For information on setting the time in
COMAND, refer to the separate
COMAND operating instructions.
Page 144 of 481
143 Controls in detail
Control system
Lighting submenu
Access the
Lighting
submenu via the
Settings...
menu. Use the
Lighting
sub-
menu to change the lamp and lighting set-
tings on your vehicle.
The following functions are available:Daytime running lamp mode (USA only)
�
Move the selection marker with
buttonæorç to the
Lighting
submenu.
�
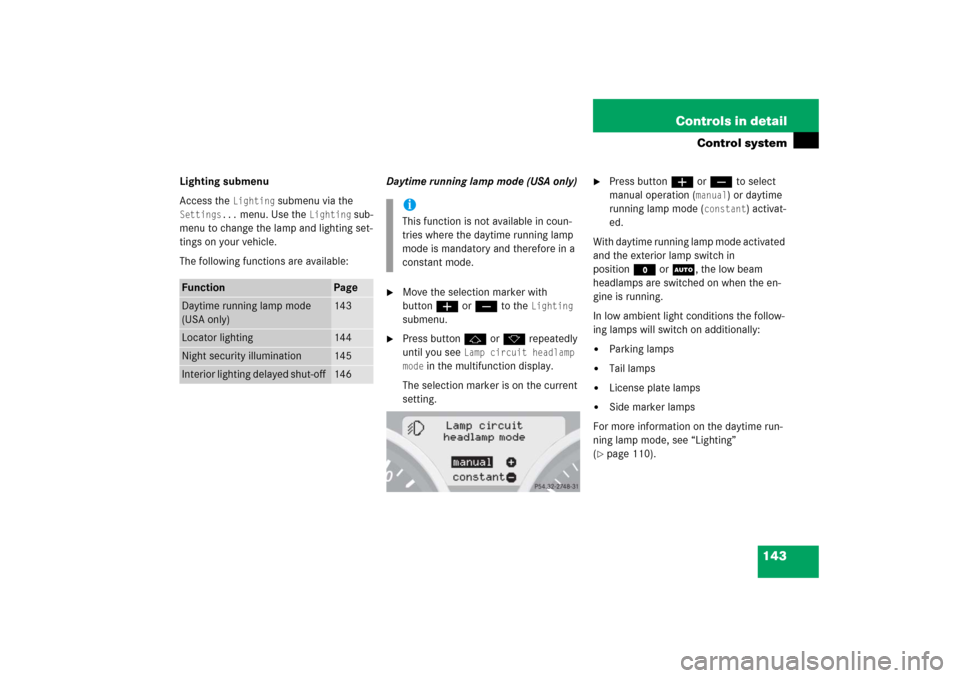
Press buttonjork repeatedly
until you see
Lamp circuit headlamp
mode
in the multifunction display.
The selection marker is on the current
setting.
�
Press buttonæorç to select
manual operation (
manual
) or daytime
running lamp mode (
constant
) activat-
ed.
With daytime running lamp mode activated
and the exterior lamp switch in
positionMorU, the low beam
headlamps are switched on when the en-
gine is running.
In low ambient light conditions the follow-
ing lamps will switch on additionally:
�
Parking lamps
�
Tail lamps
�
License plate lamps
�
Side marker lamps
For more information on the daytime run-
ning lamp mode, see “Lighting”
(
�page 110).
Function
Page
Daytime running lamp mode
(USA only)
143
Locator lighting
144
Night security illumination
145
Interior lighting delayed shut-off
146
iThis function is not available in coun-
tries where the daytime running lamp
mode is mandatory and therefore in a
constant mode.
Page 145 of 481

144 Controls in detailControl system
Locator lighting
With the locator lighting feature activated
and the exterior lamp switch in
positionU, the following lamps will
switch on during darkness when the vehi-
cle is unlocked with the SmartKey:�
Parking lamps
�
Tail lamps
�
License plate lamps
�
Side marker lamps
�
Front fog lamps
The locator lighting switches off when the
driver’s door is opened.
If you do not open a door after unlocking
the vehicle with the SmartKey, the lamps
will switch off automatically after approxi-
mately 40 seconds.
�
Move the selection marker with
buttonæorç to the
Lighting
submenu.
�
Press buttonjork repeatedly
until you see
Function Surround
lighting
in the multifunction display.
The selection marker is on the current
setting.
�
Press buttonæorç to switch
the locator lighting function
On.
�
Turn the exterior lamp switch to
positionU when exiting the vehicle
(�page 55).
The locator lighting feature is
activated.
iFor safety reasons, resetting all the
functions of all submenus to the facto-
ry settings while driving (
�page 134)
will not deactivate the daytime running
lamp mode.
The following message appears in the
multifunction display:
Lighting Cannot be completely
reset to factory settings while
driving
.
Page 148 of 481
147 Controls in detail
Control system
Vehicle submenu
Access the
Vehicle
submenu via the
Settings...
menu. Use the
Vehicle
sub-
menu to make general vehicle settings.
The following function is available:
For additional information on central lock-
ing, see “Automatic central locking”
(
�page 101).Setting automatic locking
Use this function to activate or deactivate
the automatic locking system. With the
automatic locking system activated, the
vehicle is centrally locked at vehicle
speeds of approximately 9 mph
(15 km/h).
�
Move the selection marker with
buttonæorç to the
Vehicle
submenu.
�
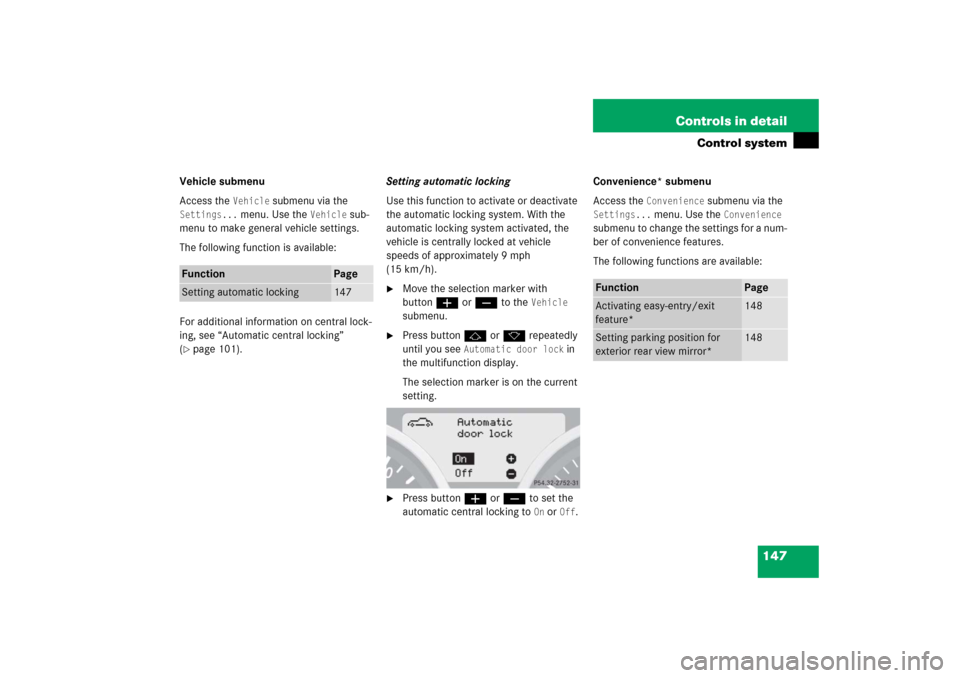
Press buttonjork repeatedly
until you see
Automatic door lock
in
the multifunction display.
The selection marker is on the current
setting.
�
Press buttonæorç to set the
automatic central locking to
On or
Off
.Convenience* submenu
Access the
Convenience
submenu via the
Settings...
menu. Use the
Convenience
submenu to change the settings for a num-
ber of convenience features.
The following functions are available:
Function
Page
Setting automatic locking
147
Function
Page
Activating easy-entry/exit
feature*
148
Setting parking position for
exterior rear view mirror*
148
Page 181 of 481
180 Controls in detailClimate controlThe climate control is operational whenev-
er the engine is running. The system cools
or heats the interior depending on the se-
lected interior temperature and the cur-
rent outside temperature.Nearly all dust particles, pollutants and
odors are filtered out before outside air en-
ters the interior through the air distribution
system.
The air conditioning will not engage (no
cooling) if the A/Cmode is deactivated
(
�page 179).
Warning!
G
When operating the climate control, the air
that enters the passenger compartment
through the air vents can be very hot or very
cold (depending on the set temperature).
This may cause burns or frostbite to unpro-
tected skin in the immediate area of the air
vents. Always keep sufficient distance be-
tween unprotected parts of the body and the
air vents. If necessary, use the air distribu-
tion controls (
�page 179) to direct the air
to air vents in the vehicle interior that are
not in the immediate area of unprotected
skin.
Warning!
G
Follow the recommended settings for heat-
ing and cooling given on the following pag-
es. Otherwise the windows could fog up,
impairing visibility and endangering you and
others.
iSevere conditions (e.g. strong air pollu-
tion) may require replacement of the fil-
ter before its scheduled interval.
A clogged filter will reduce the air vol-
ume to the interior.
If the vehicle interior is hot, ventilate
the interior before driving off. The cli-
mate control will then adjust the interi-
or temperature to the set value much
faster.
Keep the air intake grille in front of the
windshield free of snow and debris.
When the retractable hardtop is closed,
do not obstruct air flow by placing ob-
jects on the air flow-through exhaust
slots below the rear window.
Page 182 of 481
181 Controls in detail
Climate control
Switching climate control system on/off
Switching on�
Switch on the ignition (
�page 36).
�
Set air volume control2 to any speed
(�page 179).
The previous settings are once again in
effect.
Switching off
�
Set air volume control2 (
�page 179)
to position0.
Setting the temperature
Use temperature controls1 and4
(�page 179) to separately adjust the air
temperature on each side of the passenger
compartment. You should raise or lower
the temperature setting in small incre-
ments, preferably starting at 72°F (22°C).
The climate control will adjust to the set
temperature as fast as possible.Increasing
�
Turn temperature control
1and/or4 (
�page 179) slightly
clockwise.
The climate control system will corre-
spondingly adjust the interior air tem-
perature.
Decreasing
�
Turn temperature control
1and/or4 (
�page 179) slightly
counterclockwise.
The climate control system will corre-
spondingly adjust the interior air tem-
perature.
iWhen the climate control system is
switched off, the outside air supply and
circulation are also switched off. Only
choose this setting for a short time.
Otherwise the windows could fog up.
Page 184 of 481
183 Controls in detail
Climate control
Closing the center air vents�
Turn thumbwheels5and8
(�page 178) downward all the way.
Center air vents4,6,7and9 are
closed.
Opening and closing side air vents
�
Turn thumbwheels1andc
(�page 178) in the required direction.
Side air vents2andb are open or
closed.
Adjusting air volume
Ten blower speeds are available.�
Use air volume control2
(�page 179) to adjust the air volume.
Basic settings
Heating (winter)�
Turn temperature controls1and4
(�page 179) to the desired position.
�
Turn air volume control2
(�page 179) to level2 or higher.
Otherwise the windows may fog over.
�
Turn air distribution control3
(�page 179) to a position
betweenbandY.
�
Open the side air vents if necessary.
�
Close the center air vents.