Page 144 of 481

143 Controls in detail
Control system
Lighting submenu
Access the
Lighting
submenu via the
Settings...
menu. Use the
Lighting
sub-
menu to change the lamp and lighting set-
tings on your vehicle.
The following functions are available:Daytime running lamp mode (USA only)
�
Move the selection marker with
buttonæorç to the
Lighting
submenu.
�
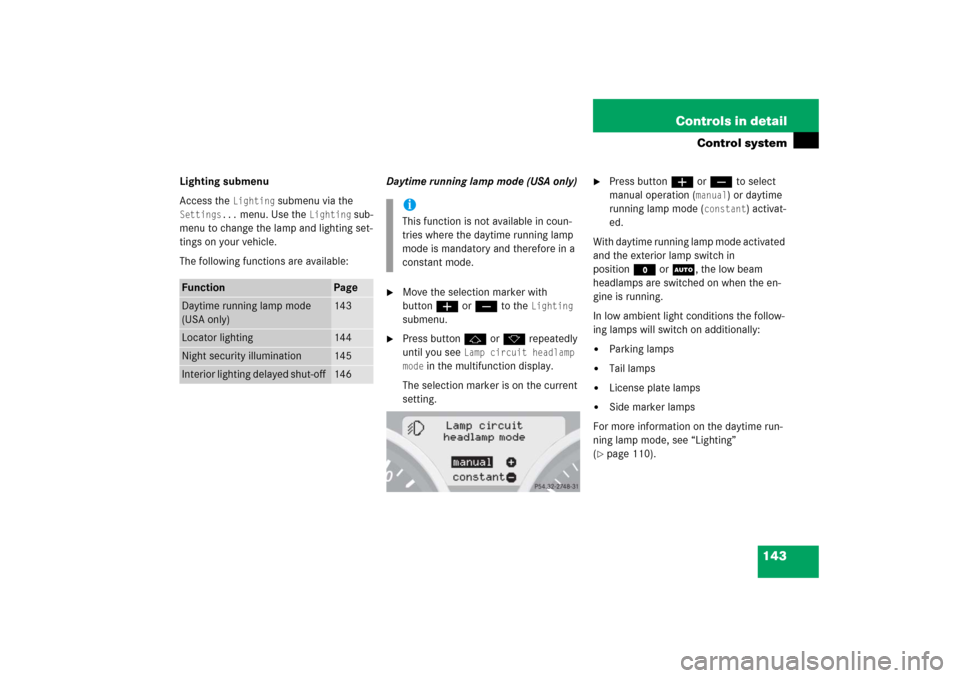
Press buttonjork repeatedly
until you see
Lamp circuit headlamp
mode
in the multifunction display.
The selection marker is on the current
setting.
�
Press buttonæorç to select
manual operation (
manual
) or daytime
running lamp mode (
constant
) activat-
ed.
With daytime running lamp mode activated
and the exterior lamp switch in
positionMorU, the low beam
headlamps are switched on when the en-
gine is running.
In low ambient light conditions the follow-
ing lamps will switch on additionally:
�
Parking lamps
�
Tail lamps
�
License plate lamps
�
Side marker lamps
For more information on the daytime run-
ning lamp mode, see “Lighting”
(
�page 110).
Function
Page
Daytime running lamp mode
(USA only)
143
Locator lighting
144
Night security illumination
145
Interior lighting delayed shut-off
146
iThis function is not available in coun-
tries where the daytime running lamp
mode is mandatory and therefore in a
constant mode.
Page 370 of 481
369 Practical hints
What to do if …
On the pages that follow, you will find
a compilation of the most important warn-
ing and malfunction messages that may
appear in the multifunction display.
For your convenience the messages are
divided into two sections:�
Text messages (
�page 370)
�
Symbol messages (
�page 374)
Warning!
G
No messages will be displayed if either the
instrument cluster or the multifunction dis-
play is inoperative.
Contact your nearest authorized
Mercedes-Benz Center.
iSwitching on ignition (
�page 36)
causes all instrument cluster lamps
(except high beam headlamp indicator
lamp and turn signal indicator lamps
unless activated) as well as the multi-
function display to come on. Make sure
the lamps and multifunction display are
in working order before starting your
journey.
Page 385 of 481

384 Practical hintsWhat to do if ….
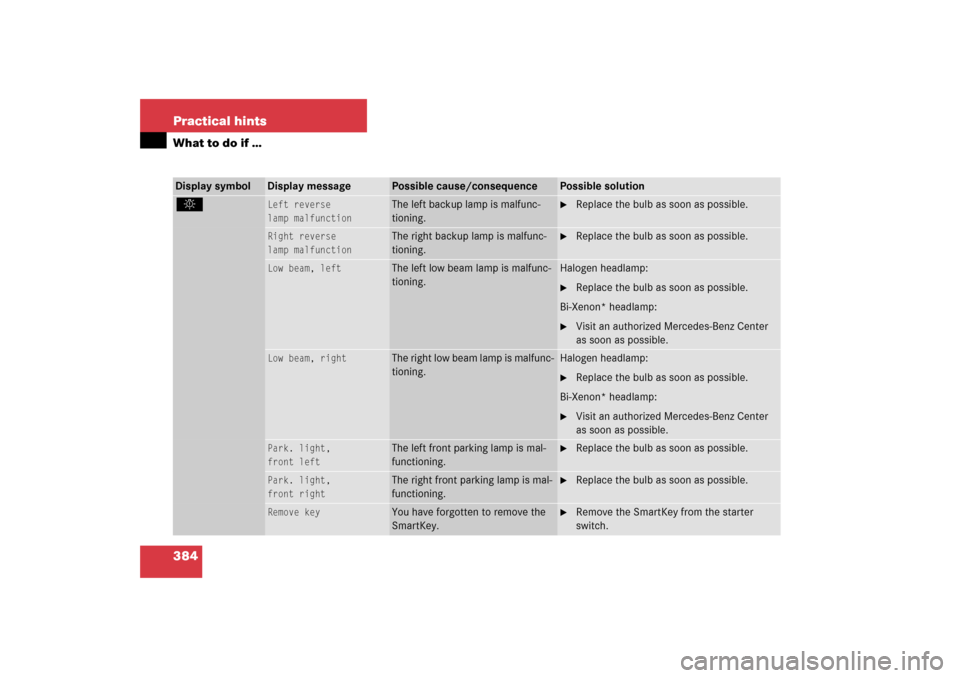
Left reverse
lamp malfunction
The left backup lamp is malfunc-
tioning.
�
Replace the bulb as soon as possible.
Right reverse
lamp malfunction
The right backup lamp is malfunc-
tioning.
�
Replace the bulb as soon as possible.
Low beam, left
The left low beam lamp is malfunc-
tioning.
Halogen headlamp:�
Replace the bulb as soon as possible.
Bi-Xenon* headlamp:
�
Visit an authorized Mercedes-Benz Center
as soon as possible.
Low beam, right
The right low beam lamp is malfunc-
tioning.
Halogen headlamp:�
Replace the bulb as soon as possible.
Bi-Xenon* headlamp:
�
Visit an authorized Mercedes-Benz Center
as soon as possible.
Park. light,
front left
The left front parking lamp is mal-
functioning.
�
Replace the bulb as soon as possible.
Park. light,
front right
The right front parking lamp is mal-
functioning.
�
Replace the bulb as soon as possible.
Remove key
You have forgotten to remove the
SmartKey.
�
Remove the SmartKey from the starter
switch.
Display symbol
Display message
Possible cause/consequence
Possible solution
Page 402 of 481
401 Practical hints
Replacing bulbs
Bulbs Front lamps Rear lamps
Lamp
Type
1
Additional turn signal
lamp
LED
2
Turn signal lamp
PY 21 W
3
Halogen headlamp:
Low beam
H7 (55 W)
Bi-Xenon* headlamp:
Low and high beam
1
1Vehicles with Bi-Xenon* headlamps: Low beam
and high beam use the same D2S-35W lamp. Do
not replace the Bi-Xenon* bulbs yourself. See an
authorized Mercedes-Benz Center.
D2S-35W
4
Front fog lamp
HB4 (51 W)
5
Parking and standing
lamp
W5W
6
Halogen headlamp:
High beam/high beam
flasher
H7 (55 W)
Bi-Xenon* headlamp:
High beam flasher
H7 (55 W)
7
Side marker lamp
W5W
Lamp
Type
8
Rear fog lamp (driver’s
side only)
P21W
9
High mounted brake
lamp
LED
a
Tail, parking, standing,
side marker lamp and
brake lamp
LED
b
License plate lamps
C5W
c
Backup lamp
P21W
d
Turn signal lamp
PY 21 W
iVehicles equipped with
corner-illuminating front fog lamps*:
Front fog lamps use H7 (55 W) lamps.
Page 404 of 481
403 Practical hints
Replacing bulbs
Replacing bulbs for front lamps
Before you start to replace a bulb for a
front lamp, do the following first:�
Turn the exterior lamp switch to
positionM (
�page 110).
�
Open the hood (
�page 307).
1Housing cover for low beam (halogen
headlamps only)
Housing cover for Bi-Xenon* head-
lamps. Do not remove.
2Bulb socket for turn signal lamp
3Bulb socket for high beam/high beam
flasher lamp
4Bulb socket for parking and standing
light lamp
5Bulb socket for low beam bulb
(Halogen headlamps only)
Warning!
G
Do not remove the cover1 for the
Bi-Xenon* headlamp. Because of high volt-
age in Bi-Xenon lamps, it is dangerous to re-
place the bulb or repair the lamp and its
components. We recommend that you have
such work done by a qualified technician.
Page 405 of 481

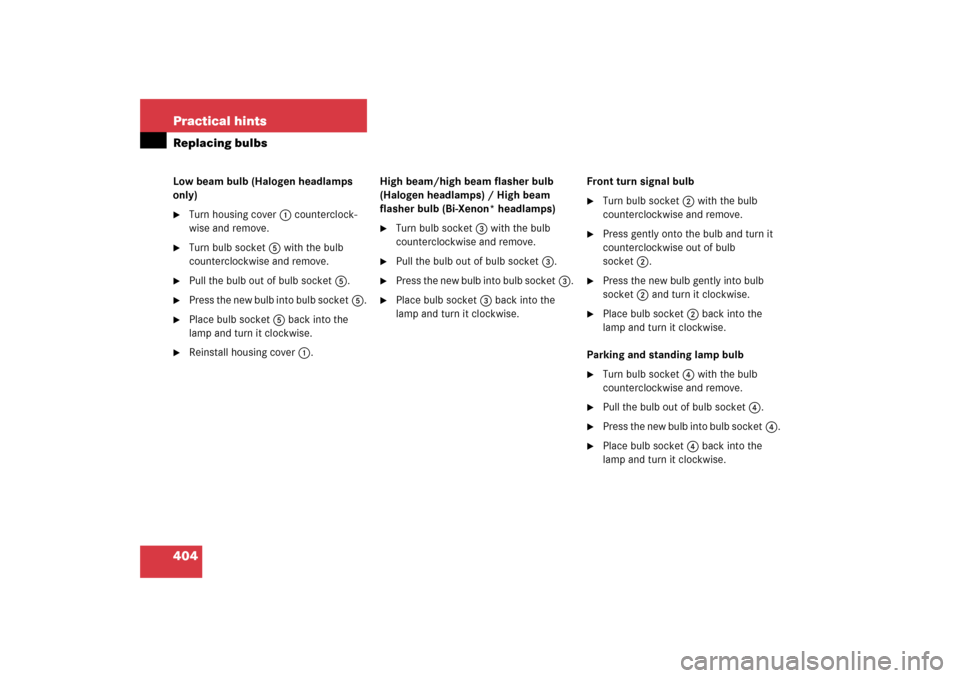
404 Practical hintsReplacing bulbsLow beam bulb (Halogen headlamps
only)�
Turn housing cover1 counterclock-
wise and remove.
�
Turn bulb socket5 with the bulb
counterclockwise and remove.
�
Pull the bulb out of bulb socket5.
�
Press the new bulb into bulb socket5.
�
Place bulb socket5 back into the
lamp and turn it clockwise.
�
Reinstall housing cover1.High beam/high beam flasher bulb
(Halogen headlamps) / High beam
flasher bulb (Bi-Xenon* headlamps)
�
Turn bulb socket3 with the bulb
counterclockwise and remove.
�
Pull the bulb out of bulb socket3.
�
Press the new bulb into bulb socket3.
�
Place bulb socket3 back into the
lamp and turn it clockwise.Front turn signal bulb
�
Turn bulb socket2 with the bulb
counterclockwise and remove.
�
Press gently onto the bulb and turn it
counterclockwise out of bulb
socket2.
�
Press the new bulb gently into bulb
socket2 and turn it clockwise.
�
Place bulb socket2 back into the
lamp and turn it clockwise.
Parking and standing lamp bulb
�
Turn bulb socket4 with the bulb
counterclockwise and remove.
�
Pull the bulb out of bulb socket4.
�
Press the new bulb into bulb socket4.
�
Place bulb socket4 back into the
lamp and turn it clockwise.
Page 458 of 481

457 Technical terms
ABS
(A
ntilock B
rake S
ystem)
Prevents the wheels from locking up
during braking so that the vehicle can
continue to be steered.
Accessory weight
(
�page 344)
Air pressure
(�page 344)
AIRSCARF neck-level heating*
AIRSCARF neck-level heating provides
the surrounding area of the occupants’
necks with a heated air stream flowing
from openings in the head restraints.
Alignment bolt
Metal pin with thread. The centering
pin is an aid used when changing a tire
to align the wheel with the wheel hub.
Aspect ratio
(�page 344)BabySmart
TM air bag deactivation
system
This system detects if a special
system-compatible child restraint seat
is installed on the passenger seat.
The system will automatically
deactivate the passenger front air bag
when such a seat is properly installed
(the 75indicator lamp
located in the center console comes on
and remains illuminated).
BabySmartTM compatible child seats
Special restraint system for children.
The sensor system for the passenger
seat prevents deployment of the pas-
senger front air bag if a BabySmart
TM
compatible child seat is installed. See
an authorized Mercedes-Benz Center
for availability.
Bar
(
�page 344)BAS
(B
rake A
ssist S
ystem)
System for potentially reducing braking
distances in emergency braking situa-
tions. The system is activated when it
senses an emergency based on how
fast the brake is applied.
Bead
(
�page 344)
Bi-Xenon headlamps*
Headlamps which use an electric arc as
the light source and produce a more in-
tense light than filament headlamps.
Bi-Xenon headlamps produce low
beam and high beam.
CAC
(Customer A
ssistance C
enter)
Mercedes-Benz customer service cen-
ter, which can help you with any ques-
tions about your vehicle and provide
assistance in the event of a break-
down.
Page 467 of 481

466 IndexB
BabySmart
TM
Air bag deactivation system 457
Compatible child seats 76, 457
Passenger front air bag off indicator
lamp 77
Back-up lamp 401
Bar 344
BAS 83, 457
Battery (SmartKey)
Replacing 398
Battery (Vehicle) 314, 421
Jump starting 424
Bead 344
Bi-Xenon* 457
Headlamps 401
Brake Assist System see BAS
Brakes 294
Brake fluid 306, 451
Display message 375
SLK 55 AMG 295
Warning lamp 363
Break-in period 292
Bulbs
Front/rear lamps 401
Replacing 400, 401C
CAC 457
California, important notice 11
CAN system 458
Capacities (Fuels, coolants, lubricants,
etc.) 449
Cargo compartment cover 253
Carpets, cleaning 359
Catalytic converter 302
CD
Changer* 219, 266
Player/Changer*, operation 131,
219
CD changer* (Audio system) 223
Center console 28
Lamp 367
Central locking
Automatic 101, 147
From outside (SmartKey) 62
Locking/unlocking from inside 102
Certification label 436
CHECK ENGINE indicator lamp 364
Child safety
Air bags 66
Children in the vehicle 75Cigarette lighter 270
Cleaning tires 319
Climate control 178
Air conditioning 187
Air recirculation mode 185
Control panel, overview 179
Switching on/off 181
Clock 122
Cockpit 458
Overview 22
Cold tire inflation pressure 344
Collapsible tire 458
Collapsible wheel chock 390
COMAND* 122, 458
Navigation 132
Radio transmitter 301
Combination switch 114
High beam flasher 114
High beam headlamps 55, 114
Low beam headlamps 55
Turn signals 55
Windshield wipers 56
Comfort driving
Transmission program mode* 163
Compatible child seat see BabySmart
TM