Page 326 of 480

325 Operation
Vehicle care
Ornamental moldings
For regular cleaning and care of ornamen-
tal moldings, use a use damp cloth.Headlamps, tail lamps, side markers,
turn signal lenses
�
Use a mild car wash detergent, such as
Mercedes-Benz approved Car Sham-
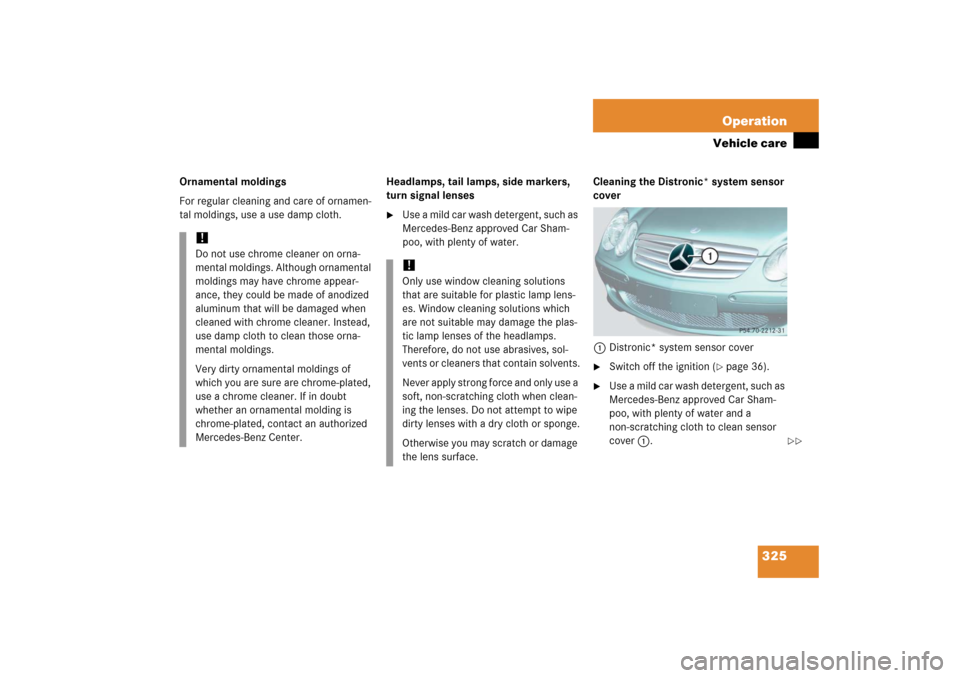
poo, with plenty of water.Cleaning the Distronic* system sensor
cover
1Distronic* system sensor cover
�
Switch off the ignition (
�page 36).
�
Use a mild car wash detergent, such as
Mercedes-Benz approved Car Sham-
poo, with plenty of water and a
non-scratching cloth to clean sensor
cover1.
!Do not use chrome cleaner on orna-
mental moldings. Although ornamental
moldings may have chrome appear-
ance, they could be made of anodized
aluminum that will be damaged when
cleaned with chrome cleaner. Instead,
use damp cloth to clean those orna-
mental moldings.
Very dirty ornamental moldings of
which you are sure are chrome-plated,
use a chrome cleaner. If in doubt
whether an ornamental molding is
chrome-plated, contact an authorized
Mercedes-Benz Center.
!Only use window cleaning solutions
that are suitable for plastic lamp lens-
es. Window cleaning solutions which
are not suitable may damage the plas-
tic lamp lenses of the headlamps.
Therefore, do not use abrasives, sol-
vents or cleaners that contain solvents.
Never apply strong force and only use a
soft, non-scratching cloth when clean-
ing the lenses. Do not attempt to wipe
dirty lenses with a dry cloth or sponge.
Otherwise you may scratch or damage
the lens surface.
��
Page 347 of 480
346 Practical hintsWhat to do if …On the pages that follow, you will find a
compilation of the most important warning
and malfunction messages that may ap-
pear in the multifunction display.
For your convenience the messages are di-
vided into two sections:�
Text messages (
�page 347)
�
Symbol messages (
�page 359)
iSwitching on the ignition causes all in-
strument cluster lamps (except high
beam headlamp indicator lamp and
turn signal indicator lamps unless acti-
vated) as well as the multifunction dis-
play to come on. Make sure the lamps
and the multifunction display are in
working order before starting your jour-
ney.
Page 376 of 480

375 Practical hints
What to do if …
Left display
Right display
Possible cause/consequence
Possible solution
.
Brake lamp
Right
Substitute
bulb on
The right brake lamp is malfunction-
ing. A substitute bulb has been
brought into use.
�
Visit an authorized Mercedes-Benz Center as
soon as possible.
Brake lamp
!
Drive to
workshop!
Brake lamp illumination is delayed
or lamp is permanently on.
�
Visit an authorized Mercedes-Benz Center as
soon as possible.
Front foglamp
Left
The left front fog lamp is malfunc-
tioning.
�
Replace the bulb as soon as possible.
Front foglamp
Right
The right front fog lamp is malfunc-
tioning.
�
Replace the bulb as soon as possible.
High beam
Left
The left high beam lamp is malfunc-
tioning.
�
Replace the bulb as soon as possible.
High beam
Right
The right high beam lamp is mal-
functioning.
�
Replace the bulb as soon as possible.
Left turn signal
Mirror
The left turn signal in the side mirror
is malfunctioning. This message will
only appear if all light emitting di-
odes have stopped working.
�
Have the LEDs replaced as soon as possible.
Page 379 of 480

378 Practical hintsWhat to do if …Left display
Right display
Possible cause/consequence
Possible solution
.
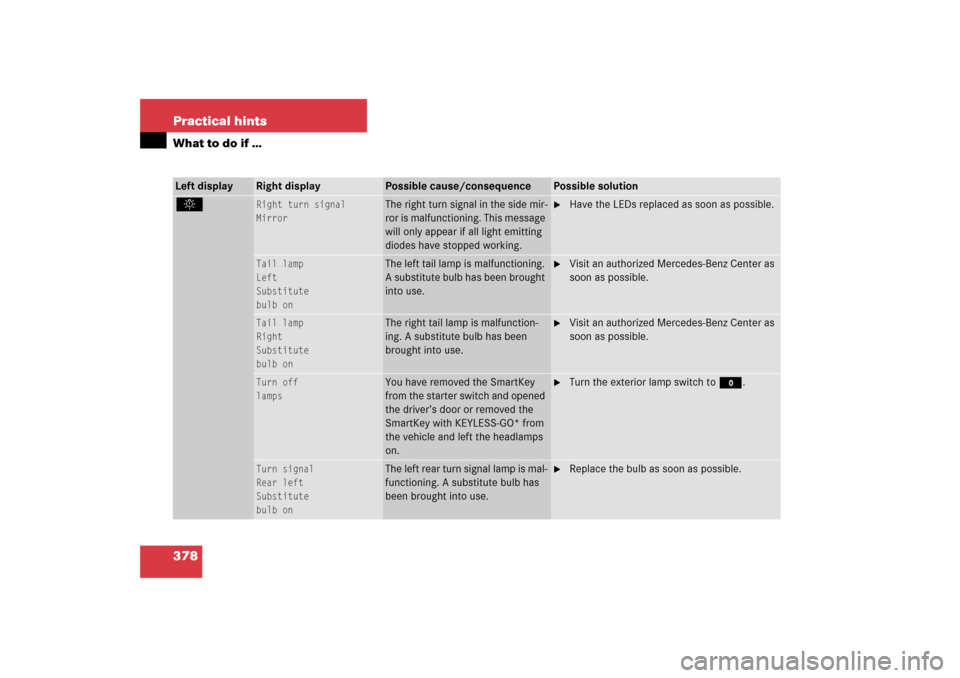
Right turn signal
Mirror
The right turn signal in the side mir-
ror is malfunctioning. This message
will only appear if all light emitting
diodes have stopped working.
�
Have the LEDs replaced as soon as possible.
Tail lamp
Left
Substitute
bulb on
The left tail lamp is malfunctioning.
A substitute bulb has been brought
into use.
�
Visit an authorized Mercedes-Benz Center as
soon as possible.
Tail lamp
Right
Substitute
bulb on
The right tail lamp is malfunction-
ing. A substitute bulb has been
brought into use.
�
Visit an authorized Mercedes-Benz Center as
soon as possible.
Turn off
lamps
You have removed the SmartKey
from the starter switch and opened
the driver’s door or removed the
SmartKey with KEYLESS-GO* from
the vehicle and left the headlamps
on.
�
Turn the exterior lamp switch toM.
Turn signal
Rear left
Substitute
bulb on
The left rear turn signal lamp is mal-
functioning. A substitute bulb has
been brought into use.
�
Replace the bulb as soon as possible.
Page 380 of 480

379 Practical hints
What to do if …
Left display
Right display
Possible cause/consequence
Possible solution
.
Turn signal
Rear right
Substitute
bulb on
The right rear turn signal lamp is
malfunctioning. A substitute bulb
has been brought into use.
�
Replace the bulb as soon as possible.
Visit workshop!
The display for the lights is malfunc-
tioning.
�
Visit an authorized Mercedes-Benz Center as
soon as possible.
C
Raise
roll-over bar
The roll bar is malfunctioning.
�
Raise the roll bar using the roll bar button
(�page 75).
�
Have the roll bar checked by an authorized
Mercedes-Benz Center.
<
Seat belt system
Drive to
workshop
The seat belt system is malfunction-
ing.
�
Visit an authorized Mercedes-Benz Center as
soon as possible.
L
TeleAid
Drive to
workshop
One or more main functions of the
Tele Aid system are malfunctioning.
�
Have the Tele Aid system checked by an au-
thorized Mercedes-Benz Center.
t
Function
unavailable
This display appears if button t
or s on the multifunction steer-
ing wheel is pressed and the vehicle
is not equipped with a telephone.
Page 392 of 480
391 Practical hints
Replacing bulbs
�Replacing bulbs
Bulbs
Safe vehicle operation depends on proper
exterior lighting and signaling. It is there-
fore essential that all bulbs and lamp as-
semblies are in good working order at all
times.
Correct headlamp adjustment is extremely
important. Have headlamps checked and
readjusted at regular intervals and when a
bulb has been replaced. See an authorized
Mercedes-Benz Center for headlamp ad-
justment.
iIf the headlamps or front fog lamps are
fogged up on the inside as a result of
high humidity, driving the vehicle a dis-
tance with the lights on should clear up
the fogging.
iSubstitute bulbs will be brought into
use when the following lamps malfunc-
tion:�
Turn signal lamps
�
Brake lamps
�
Parking lamps
�
Tail lamps
Observe the messages in the multi-
function display (
�page 345).
Page 393 of 480
392 Practical hintsReplacing bulbsFront lamps Rear lamps
Lamp
Type
1
Additional turn signal
LED
2
Turn signal lamp
1156 NA
3
Low beam
1
1Vehicles with Bi-Xenon* headlamps: Low beam
and high beam use the same D2S-35W lamp. Do
not replace the Xenon and Bi-Xenon* bulbs your-
self. Contact an authorized Mercedes-Benz Center.
D2S-35 W
4
Xenon headlamps:
High beam, high beam
flasher
H7 (55 W)
Bi-Xenon head-
lamps*:
High beam flasher
H7 (55 W)
Parking and standing
lamps
W 5 W
5
Fog lamp, Corner-illu-
minating front fog
lamp*
HB4 (51 W)
6
Side marker lamp
W 5 W
Lamp
Type
7
Rear fog lamp
(driver’s side only);
replacement
P 21 W
1156/32 cp
8
High mounted brake
lamp
LED
9
Backup lamp;
replacement
P 21 W
1156/32 cp
a
Tail, parking and
standing lamp, side
marker lamp
LED
b
Tail, parking and
standing lamp, brake
lamp
LED
c
License plate lamps
C 5 W
d
Turn signal lamp;
replacement
P 21 W
1156/32 cp
Page 394 of 480

393 Practical hints
Replacing bulbs
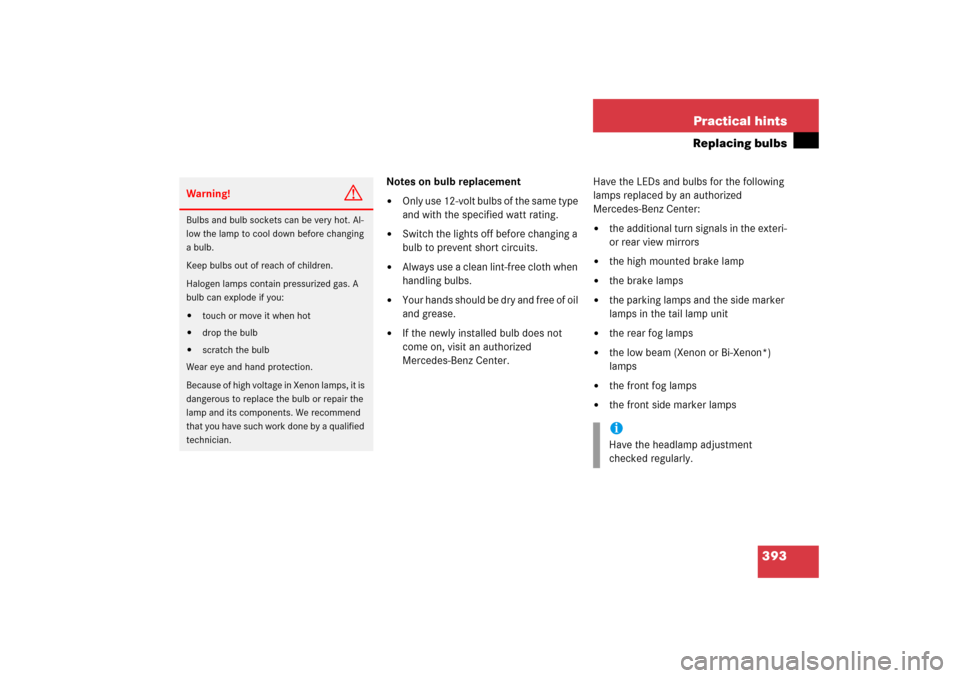
Notes on bulb replacement�
Only use 12-volt bulbs of the same type
and with the specified watt rating.
�
Switch the lights off before changing a
bulb to prevent short circuits.
�
Always use a clean lint-free cloth when
handling bulbs.
�
Your hands should be dry and free of oil
and grease.
�
If the newly installed bulb does not
come on, visit an authorized
Mercedes-Benz Center.Have the LEDs and bulbs for the following
lamps replaced by an authorized
Mercedes-Benz Center:
�
the additional turn signals in the exteri-
or rear view mirrors
�
the high mounted brake lamp
�
the brake lamps
�
the parking lamps and the side marker
lamps in the tail lamp unit
�
the rear fog lamps
�
the low beam (Xenon or Bi-Xenon*)
lamps
�
the front fog lamps
�
the front side marker lamps
Warning!
G
Bulbs and bulb sockets can be very hot. Al-
low the lamp to cool down before changing
a bulb.
Keep bulbs out of reach of children.
Halogen lamps contain pressurized gas. A
bulb can explode if you:�
touch or move it when hot
�
drop the bulb
�
scratch the bulb
Wear eye and hand protection.
Because of high voltage in Xenon lamps, it is
dangerous to replace the bulb or repair the
lamp and its components. We recommend
that you have such work done by a qualified
technician.
iHave the headlamp adjustment
checked regularly.