Page 130 of 480

129 Controls in detail
Lighting
Combination switch
The combination switch is located on the
left of the steering column.Combination switch1High beam
2High beam flasherHigh beam
�
Turn the exterior lamp switch toB
or toU (
�page 123).
�
Push the combination switch in direc-
tion of arrow1 to switch on the high
beam headlamps.
The high beam indicator lamp A in
the instrument cluster comes on.
�
Pull the combination switch in direction
of arrow 2 to its original position to
switch off the high beam headlamps.
The high beam indicator lamp A in
the instrument cluster goes out.
High beam flasher
�
Pull the combination switch briefly in
direction of arrow2.
Hazard warning flasher
The hazard warning flasher can be
switched on at all times, even with the
SmartKey removed from the starter switch
or with the SmartKey with KEYLESS-GO*
removed from the vehicle.
The hazard warning flasher switches on au-
tomatically when an airbag deploys.
The switch is located on the dashboard be-
tween the center air vents.
1Hazard warning flasher switch
Page 132 of 480
131 Controls in detail
Lighting
Deactivating�
Slide switch4 to the right.
The interior lighting and the entry/exit
lamps remain switched off in darkness,
even when you�
unlock the vehicle
�
open a door
�
remove the SmartKey from the
starter switch
�
open the trunkManual control
Switching lamps on
�
Press switch3.
The interior lighting switches on.
Switching lamps off
�
Press switch3 again.
The interior lighting switches off.
Courtesy lighting
For better orientation in the dark, courtesy
lamps will illuminate the interior of your ve-
hicle as follows:
With parking lamps switched on:�
the door handles
�
the driver and passenger footwells
With SmartKey in starter switch position1:
�
the door handles
�
the center console
iThe setting selected for the interior
lighting is used for the trunk lighting as
well.
If you leave the trunk lid open for an ex-
tended period of time, the trunk light-
ing will switch off automatically after
approximately 10 minutes.
iIf you turn the SmartKey in the starter
switch to position0 and switch off the
exterior headlamps, the door handle
lamps will remain lit for approximately
5minutes.
Page 153 of 480
152 Controls in detailControl systemLighting submenu
Access the
Lighting
submenu via the
Settings
menu. Use the
Lighting
sub-
menu to change the lamp and lighting set-
tings on your vehicle. The following
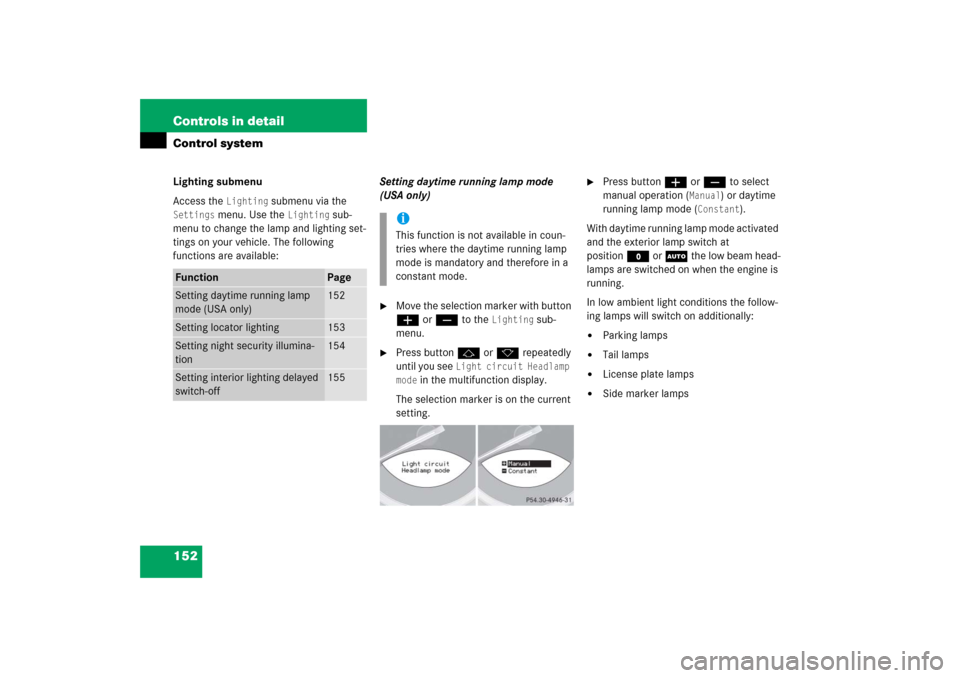
functions are available:Setting daytime running lamp mode
(USA only)
�
Move the selection marker with button
æ or ç to the
Lighting
sub-
menu.
�
Press button j or k repeatedly
until you see
Light circuit Headlamp
mode
in the multifunction display.
The selection marker is on the current
setting.
�
Press button æ or ç to select
manual operation (
Manual
) or daytime
running lamp mode (
Constant
).
With daytime running lamp mode activated
and the exterior lamp switch at
positionM or U the low beam head-
lamps are switched on when the engine is
running.
In low ambient light conditions the follow-
ing lamps will switch on additionally:
�
Parking lamps
�
Tail lamps
�
License plate lamps
�
Side marker lamps
Function
Page
Setting daytime running lamp
mode (USA only)
152
Setting locator lighting
153
Setting night security illumina-
tion
154
Setting interior lighting delayed
switch-off
155
iThis function is not available in coun-
tries where the daytime running lamp
mode is mandatory and therefore in a
constant mode.
Page 155 of 480
154 Controls in detailControl systemSetting night security illumination
(Exterior lamps delayed switch-off)
Use this function to set whether you would
like the exterior lamps to illuminate during
darkness after exiting the vehicle and clos-
ing the doors.
With the delayed switch-off feature activat-
ed and the exterior lamp switch in position
U before the engine is turned off, the
following lamps will switch on when the en-
gine is turned off and remain lit for approx-
imately 15 seconds: �
Parking lamps
�
Tail lamps
�
License plate lamps
�
Side marker lamps
�
Front fog lampsIf after turning off the engine you do not
open a door or do not close an opened
door, the lamps will switch off automatical-
ly after 60 seconds.
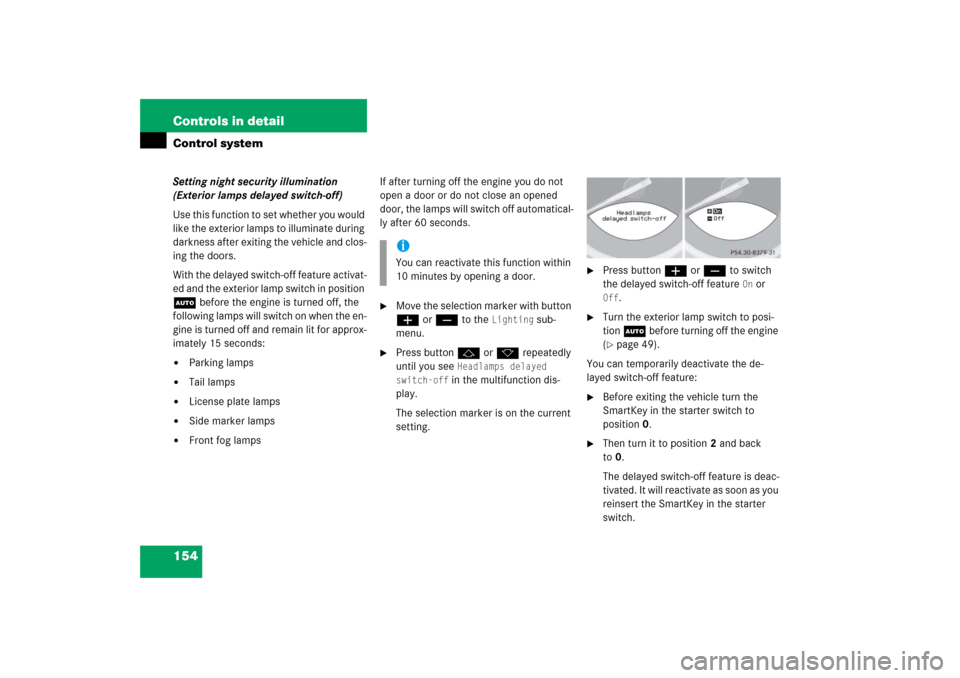
�
Move the selection marker with button
æ or ç to the
Lighting
sub-
menu.
�
Press button j or k repeatedly
until you see
Headlamps delayed
switch-off in the multifunction dis-
play.
The selection marker is on the current
setting.
�
Press button æ or ç to switch
the delayed switch-off feature
On or
Off
.
�
Turn the exterior lamp switch to posi-
tion U before turning off the engine
(�page 49).
You can temporarily deactivate the de-
layed switch-off feature:
�
Before exiting the vehicle turn the
SmartKey in the starter switch to
position0.
�
Then turn it to position2 and back
to0.
The delayed switch-off feature is deac-
tivated. It will reactivate as soon as you
reinsert the SmartKey in the starter
switch.
iYou can reactivate this function within
10 minutes by opening a door.
Page 178 of 480

177 Controls in detail
Good visibility
�Good visibility
For information on windshield wiper opera-
tion, see “Windshield wipers” (
�page 54).
Headlamp cleaning system
The button is located on the left side of the
dashboard.
1Headlamp washer button�
Switch on the ignition (
�page 36).
�
Press button1.
The headlamps are cleaned with a
high-pressure water jet.
For information on filling up the washer flu-
id reservoir, see “Windshield washer sys-
tem and headlamp cleaning system”
(
�page 280).
Rear view mirrors
For information on setting the rear view
mirrors, see “Mirrors” (
�page 44).
Auto-dimming rear view mirror
The reflection brightness of the exterior
rear view mirror on the driver’s side and
the interior rear view mirror will respond
automatically to glare when
�
the ignition is switched on
and
�
incoming light from headlamps falls on
the sensor in the interior rear view mir-
ror.
The interior rear view mirror will not react if
�
reverse gear is engaged
�
the interior lighting is switched on
iThe headlamps will automatically be
cleaned when you have�
switched on the headlamps
and
�
operated the windshield wipers
with windshield washer fluid
fifteen times
When you switch off the ignition, the
counter resets.
Page 272 of 480

271 Operation
At the gas station
Check regularly and before a long trip
For information on quantities and require-
ments of operating agents, see “Fuels,
coolants, lubricants, etc.” (
�page 445).
�
Open the hood (
�page 272).
1Windshield washer and headlamp
cleaning system
2Brake fluid
3Coolant levelWindshield washer and headlamp
cleaning system
For information on refilling the reservoir,
see “Windshield washer system and
headlamp cleaning system” (
�page 280).
Brake fluid
For information on brake fluid, see “Fuels,
coolants, lubricants, etc.” (
�page 445).Coolant level
For information on checking the coolant
level, see “Coolant” (
�page 278).
Engine oil level
For more information on checking the en-
gine oil level, see “Checking engine oil lev-
el with the control system” (
�page 274).
Vehicle lighting
Check function and cleanliness. For more
information, see “Replacing bulbs”
(
�page 391).
Exterior lamp switch, see “Switching on
headlamps” (
�page 53).
Tire inflation pressure
For information on checking the tire infla-
tion pressure, see “Checking tire inflation
pressure” (
�page 293).
!If you find that the brake fluid in the
brake fluid reservoir has fallen to the
minimum mark or below, have the
brake system checked for brake pad
thickness and leaks immediately. Noti-
fy an authorized Mercedes-Benz Center
immediately. Do not add brake fluid as
this will not solve the problem. For
more information, see the “Practical
hints” section (
�page 363).
Page 274 of 480
273 Operation
Engine compartment
Closing�
Let the hood drop from a height of ap-
proximately 1
1/2ft (50 cm).
The hood will lock audibly.
�
Check to make sure the hood is fully
closed.
If you can raise the hood at a point
above the headlamps, then it is not
properly closed. Open it again and let it
drop with somewhat greater force.
Warning!
G
If you see flames or smoke coming from the
engine compartment, or if the coolant tem-
perature gauge indicates that the engine is
overheated, do not open the hood. Move
away from the vehicle and do not open the
hood until the engine has cooled. If neces-
sary, call the fire department.
Warning!
G
The engine is equipped with a transistorized
ignition system. Because of the high voltage
it is dangerous to touch any components (ig-
nition coils, spark plug sockets, diagnostic
socket) of the ignition system�
with the engine running
�
while starting the engine
�
if ignition is “on” and the engine is
turned manually
Warning!
G
Be careful that you do not close the hood on
anyone.
Page 281 of 480
280 OperationEngine compartmentWindshield washer system and headlamp cleaning system
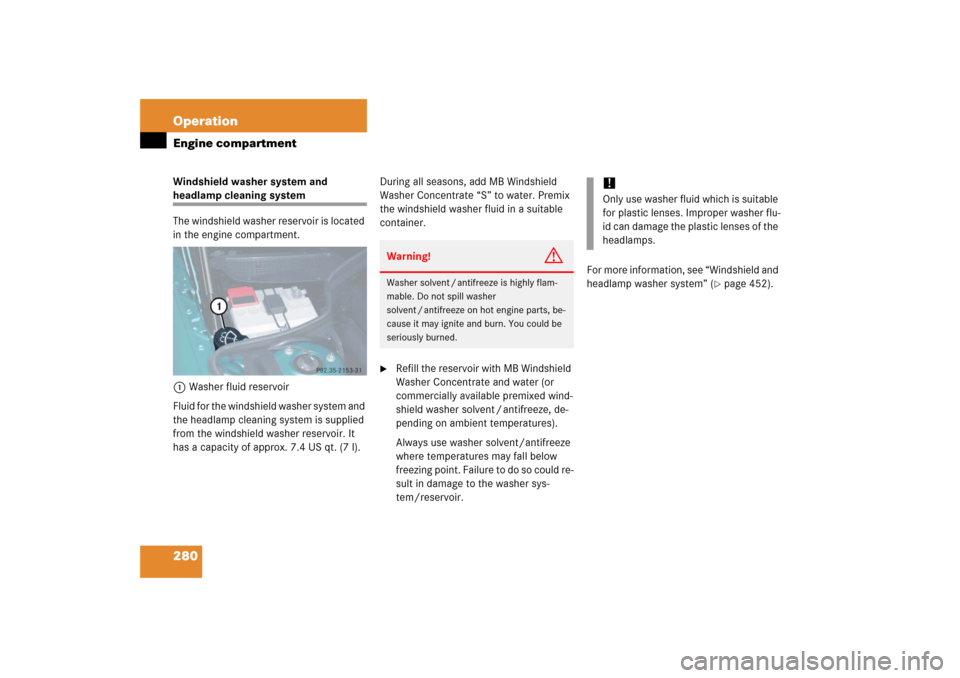
The windshield washer reservoir is located
in the engine compartment.
1Washer fluid reservoir
Fluid for the windshield washer system and
the headlamp cleaning system is supplied
from the windshield washer reservoir. It
has a capacity of approx. 7.4 US qt. (7 l).During all seasons, add MB Windshield
Washer Concentrate “S” to water. Premix
the windshield washer fluid in a suitable
container.
�
Refill the reservoir with MB Windshield
Washer Concentrate and water (or
commercially available premixed wind-
shield washer solvent / antifreeze, de-
pending on ambient temperatures).
Always use washer solvent/antifreeze
where temperatures may fall below
f r e e z i n g p o i n t . F a i l u r e t o d o s o c o u l d r e -
sult in damage to the washer sys-
tem/reservoir.For more information, see “Windshield and
headlamp washer system” (
�page 452).
Warning!
G
Washer solvent / antifreeze is highly flam-
mable. Do not spill washer
solvent / antifreeze on hot engine parts, be-
cause it may ignite and burn. You could be
seriously burned.
!Only use washer fluid which is suitable
for plastic lenses. Improper washer flu-
id can damage the plastic lenses of the
headlamps.