Page 24 of 539
23 At a glance
Cockpit
Item
Page
1
Cruise control lever
238
2
Instrument cluster
24
3
Multifunction steering
wheel
26
4
Horn
5
Steering wheel gearshift
buttons
189
6
Gear selector lever for
automatic transmission
49
7
Front Parktronic* warning
indicators
256
8
Overhead control panel
29
9
Glove box lid release,
glove box lock
270
Item
Page
a
Glove box
270
b
Power outlet
278
c
Center console
27
d
Starter switch
34
e
Steering wheel adjustment,
manual
41
f
Hood lock release
326
g
Parking brake release
52
h
Parking brake pedal
52
j
Door control panel
30
Item
Page
k
Headlamp washer switch*
194
l
Exterior lamp switch
54
138
m
Steering wheel adjustment,
electrical*
42
n
Combination switch�
Turn signals
�
Windshield wipers
�
High beam
142
54
55
54
Page 325 of 539
324 OperationAt the gas station�
Replace the fuel cap by turning it
clockwise until it audibly engages.
�
Close the fuel filler flap.
Check regularly and before a long trip�
Open the hood (
�page 326).
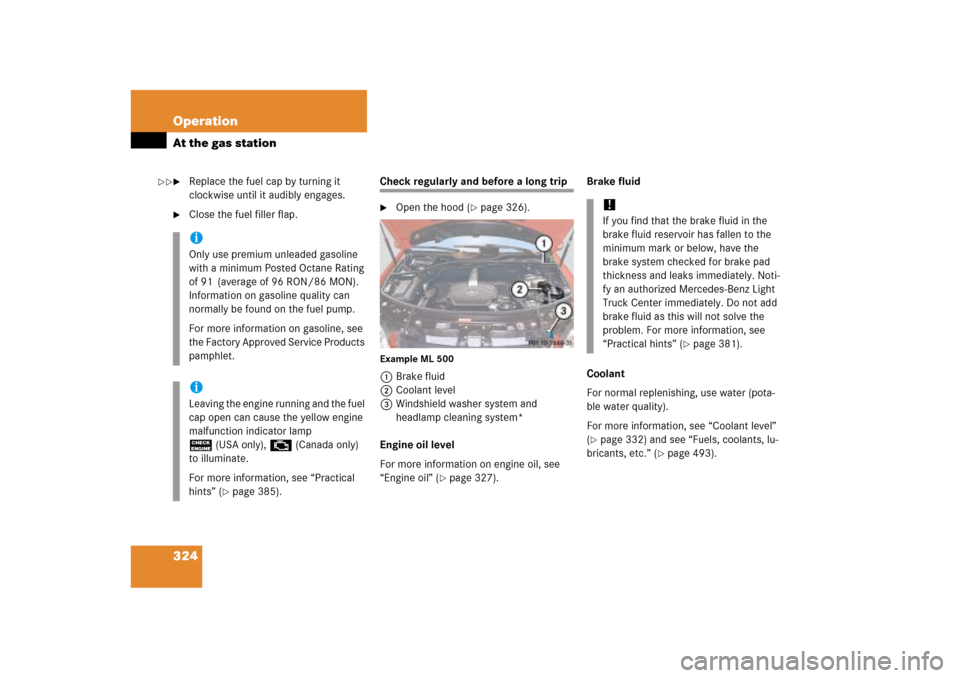
Example ML 5001Brake fluid
2Coolant level
3Windshield washer system and
headlamp cleaning system*
Engine oil level
For more information on engine oil, see
“Engine oil” (
�page 327).Brake fluid
Coolant
For normal replenishing, use water (pota-
ble water quality).
For more information, see “Coolant level”
(
�page 332) and see “Fuels, coolants, lu-
bricants, etc.” (
�page 493).
iOnly use premium unleaded gasoline
with a minimum Posted Octane Rating
of 91 (average of 96 RON/86 MON).
Information on gasoline quality can
normally be found on the fuel pump.
For more information on gasoline, see
the Factory Approved Service Products
pamphlet.iLeaving the engine running and the fuel
cap open can cause the yellow engine
malfunction indicator lamp
?(USA only), ±(Canada only)
to illuminate.
For more information, see “Practical
hints” (
�page 385).
!If you find that the brake fluid in the
brake fluid reservoir has fallen to the
minimum mark or below, have the
brake system checked for brake pad
thickness and leaks immediately. Noti-
fy an authorized Mercedes-Benz Light
Truck Center immediately. Do not add
brake fluid as this will not solve the
problem. For more information, see
“Practical hints” (
�page 381).
��
Page 331 of 539
330 OperationEngine compartmentChecking engine oil level with the oil
dipstick (ML 350 only)
When checking the oil level�
the vehicle must be parked on level
ground
�
with the engine at operating tempera-
ture, the vehicle must have been
stationary for at least five minutes with
the engine turned off
�
with the engine not at operating tem-
perature yet, the vehicle must have
been stationary for at least 30 minutes
with the engine turned offTo check the engine oil level with the oil
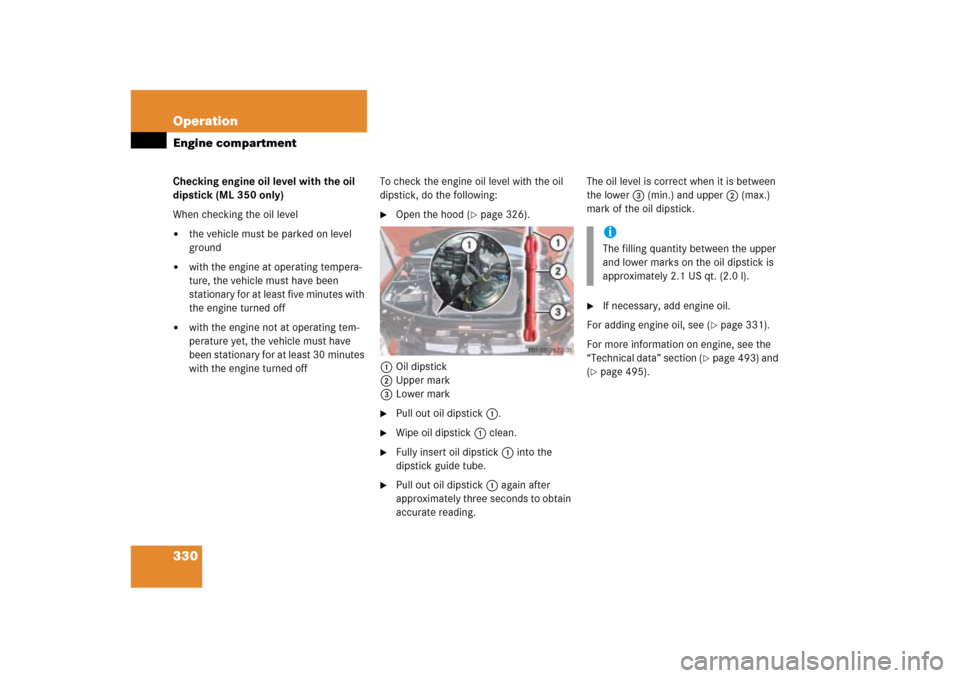
dipstick, do the following:
�
Open the hood (
�page 326).
1Oil dipstick
2Upper mark
3Lower mark
�
Pull out oil dipstick1.
�
Wipe oil dipstick1 clean.
�
Fully insert oil dipstick1 into the
dipstick guide tube.
�
Pull out oil dipstick1 again after
approximately three seconds to obtain
accurate reading.The oil level is correct when it is between
the lower3 (min.) and upper2 (max.)
mark of the oil dipstick.
�
If necessary, add engine oil.
For adding engine oil, see (
�page 331).
For more information on engine, see the
“Technical data” section (
�page 493) and
(
�page 495).iThe filling quantity between the upper
and lower marks on the oil dipstick is
approximately 2.1 US qt. (2.0 l).
Page 417 of 539
416 Practical hintsWhat to do if …Display symbol
Display messages
Possible cause
Possible solution
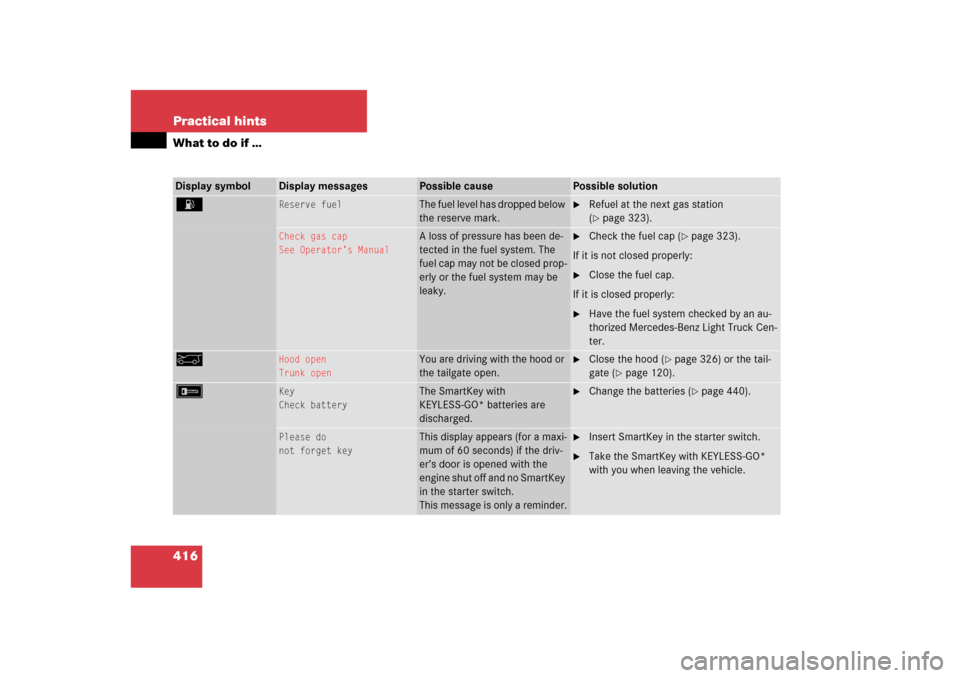
A
Reserve fuel
The fuel level has dropped below
the reserve mark.
�
Refuel at the next gas station
(�page 323).
Check gas cap
See Operator’s Manual
A loss of pressure has been de-
tected in the fuel system. The
fuel cap may not be closed prop-
erly or the fuel system may be
leaky.
�
Check the fuel cap (
�page 323).
If it is not closed properly:
�
Close the fuel cap.
If it is closed properly:
�
Have the fuel system checked by an au-
thorized Mercedes-Benz Light Truck Cen-
ter.
a
Hood open
Trunk open
You are driving with the hood or
the tailgate open.
�
Close the hood (
�page 326) or the tail-
gate (
�page 120).
F
Key
Check battery
The SmartKey with
KEYLESS-GO* batteries are
discharged.
�
Change the batteries (
�page 440).
Please do
not forget key
This display appears (for a maxi-
mum of 60 seconds) if the driv-
er’s door is opened with the
engine shut off and no SmartKey
in the starter switch.
This message is only a reminder.
�
Insert SmartKey in the starter switch.
�
Take the SmartKey with KEYLESS-GO*
with you when leaving the vehicle.
Page 446 of 539
445 Practical hints
Replacing bulbs
Have the LEDs and bulbs for the following
lamps replaced by an authorized
Mercedes-Benz Light Truck Center:�
Additional turn signals in the exterior
rear view mirrors
�
Bi-Xenon lamps*
�
Front fog lamps (vehicles with sport
package*)
�
High mounted brake lamp
Replacing bulbs for front lamps
Before you start to replace a bulb for a
front lamp, do the following first:�
Turn the exterior lamp switch to
positionM (
�page 138).
�
Open the hood (
�page 326).
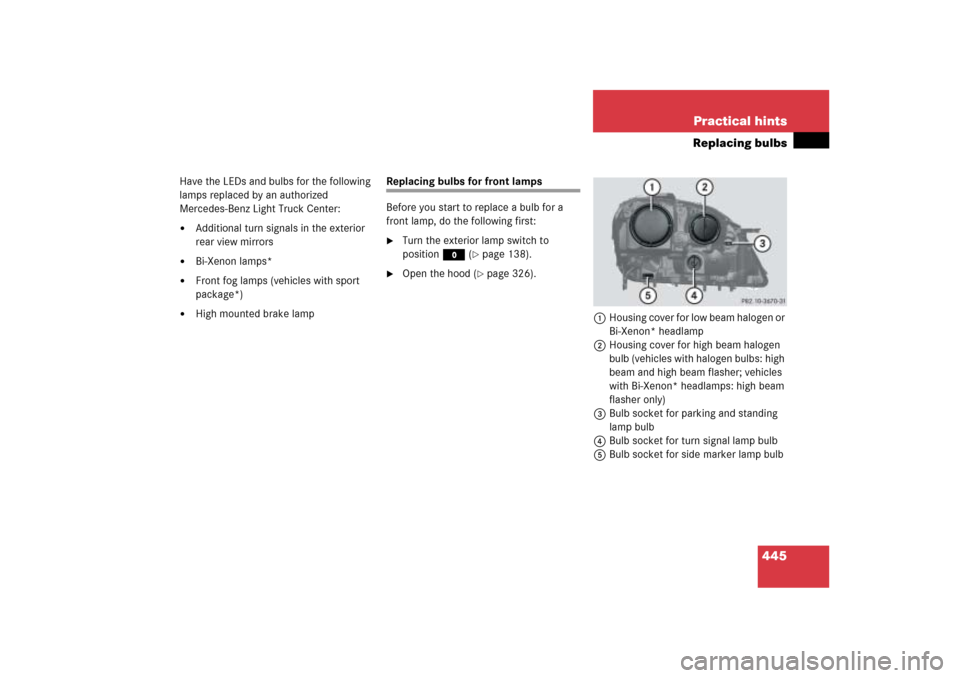
1Housing cover for low beam halogen or
Bi-Xenon* headlamp
2Housing cover for high beam halogen
bulb (vehicles with halogen bulbs: high
beam and high beam flasher; vehicles
with Bi-Xenon* headlamps: high beam
flasher only)
3Bulb socket for parking and standing
lamp bulb
4Bulb socket for turn signal lamp bulb
5Bulb socket for side marker lamp bulb
Page 453 of 539
452 Practical hintsReplacing bulbsCorrect headlamp adjustment is extremely
important. To check and readjust a head-
lamp, follow the steps described:�
Park the vehicle on a level surface
25 feet (7.6 m) from a vertical test
screen or wall.
�
Switch the headlamps on
(�page 138).
If the beam does not show a beam pattern
as indicated in the figure left, then follow
the steps below:
�
Open hood (
�page 326).
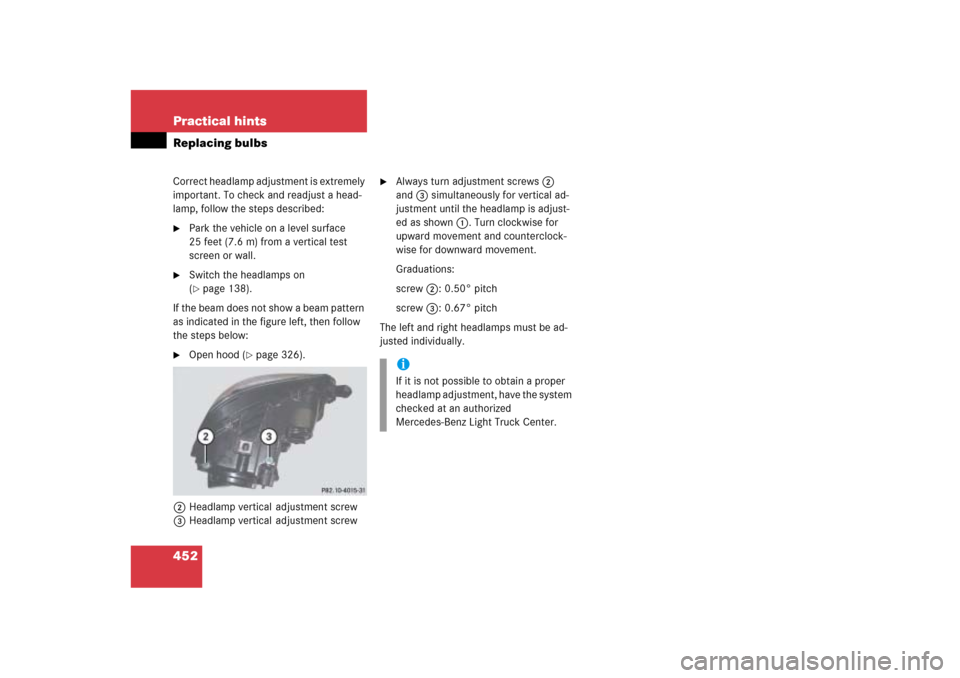
2Headlamp vertical adjustment screw
3Headlamp vertical adjustment screw
�
Always turn adjustment screws2
and3 simultaneously for vertical ad-
justment until the headlamp is adjust-
ed as shown1. Turn clockwise for
upward movement and counterclock-
wise for downward movement.
Graduations:
screw2:0.50° pitch
screw3:0.67° pitch
The left and right headlamps must be ad-
justed individually.iIf it is not possible to obtain a proper
headlamp adjustment, have the system
checked at an authorized
Mercedes-Benz Light Truck Center.
Page 479 of 539
478 Practical hintsFusesAids for changing fuses
Fuse chart
A chart explaining fuse allocation and fuse
amperages can be found near the vehicle
tool kit in the cargo compartment
(�page 431).
Spare fuses
Spare fuses are found near the vehicle tool
kit in the cargo compartment
(�page 431).
Fuse extractor
The fuse extractor is found near the vehicle
tool kit in the cargo compartment
(�page 431).
Main fuse box
The main fuse box is located in the engine
compartment on the passenger side.ML 3501Clamp
2Main fuse box cover
ML 5001Clamp
2Main fuse box cover
Removing/installing main fuse box
cover�
Open the hood (
�page 326).
�
Pull clamp1 in direction of arrow.
�
Lift fuse box cover2 up.
�
Install main fuse box cover in reverse
order.
!When closing the main fuse box, make
sure to fit cover2 on the fuse box
properly and engage clamp1.