Page 148 of 539

147 Controls in detail
Lighting
Switching right front reading lamp on
and off�
Press button5.
The right reading lamp comes on.
�
Press button5 again.
The right reading lamp goes out.
Switching rear interior reading lamps on
and off
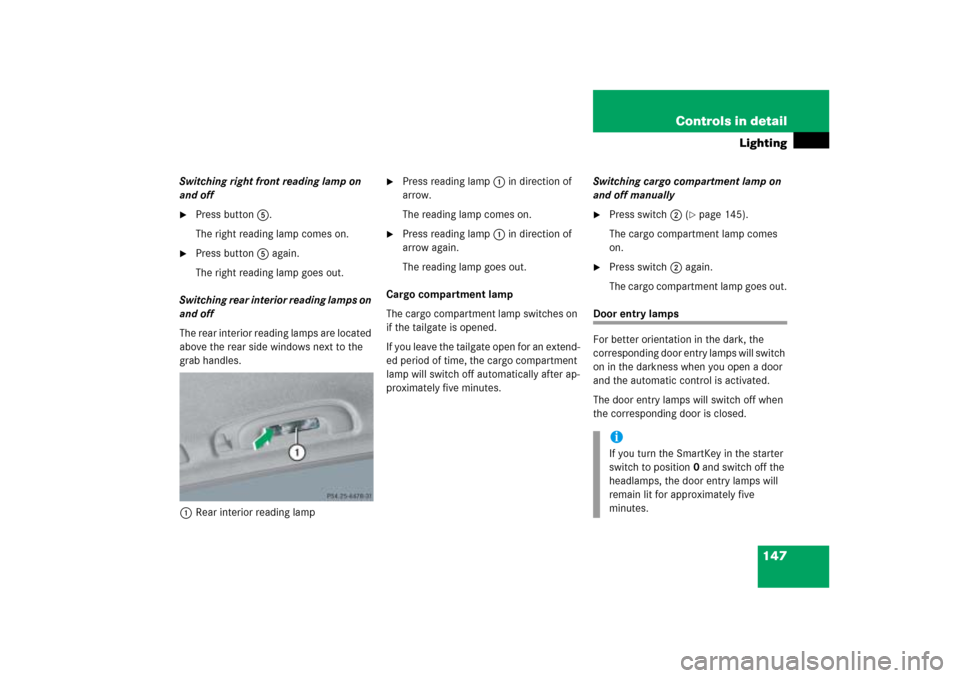
The rear interior reading lamps are located
above the rear side windows next to the
grab handles.
1Rear interior reading lamp
�
Press reading lamp1 in direction of
arrow.
The reading lamp comes on.
�
Press reading lamp1 in direction of
arrow again.
The reading lamp goes out.
Cargo compartment lamp
The cargo compartment lamp switches on
if the tailgate is opened.
If you leave the tailgate open for an extend-
ed period of time, the cargo compartment
lamp will switch off automatically after ap-
proximately five minutes.Switching cargo compartment lamp on
and off manually
�
Press switch2 (
�page 145).
The cargo compartment lamp comes
on.
�
Press switch2 again.
The cargo compartment lamp goes out.
Door entry lamps
For better orientation in the dark, the
corresponding door entry lamps will switch
on in the darkness when you open a door
and the automatic control is activated.
The door entry lamps will switch off when
the corresponding door is closed.
iIf you turn the SmartKey in the starter
switch to position0 and switch off the
headlamps, the door entry lamps will
remain lit for approximately five
minutes.
Page 164 of 539
163 Controls in detail
Control system
The table below shows what settings can
be changed within the various menus. De-
tailed instructions on making individual
settings can be found on the following pag-
es.INSTRUMENT CLUSTER
TIME/DATE
LIGHTING
VEHICLE
CONVENIENCE
Select speedometer display
mode
Set time (hours)
Set daytime running
lamp mode (USA only)
Adjusting compass
zone
Activate easy-entry/exit
feature*
Select language
Set time (minutes)
Set locator lighting
Calibrating compass
Set parking position for
exterior rear view mirror*
Select display (speed display
or outside temperature) for
status line
Set date (month)
Exterior lamps delayed
shut-off
Display when ignition is
switched off
Set fold-in function for
exterior rear view mir-
rors*
Set date (day)
Interior lighting delayed
shut-off
Set automatic locking
Set date (year)
Limiting opening height
of tailgate*
Page 174 of 539

173 Controls in detail
Control system
Limiting opening height of tailgate*
Use this function to activate or deactivate
the limiting opening height of tailgate.�
Move the selection marker to the Vehicle
submenu using theæ
orç button.
�
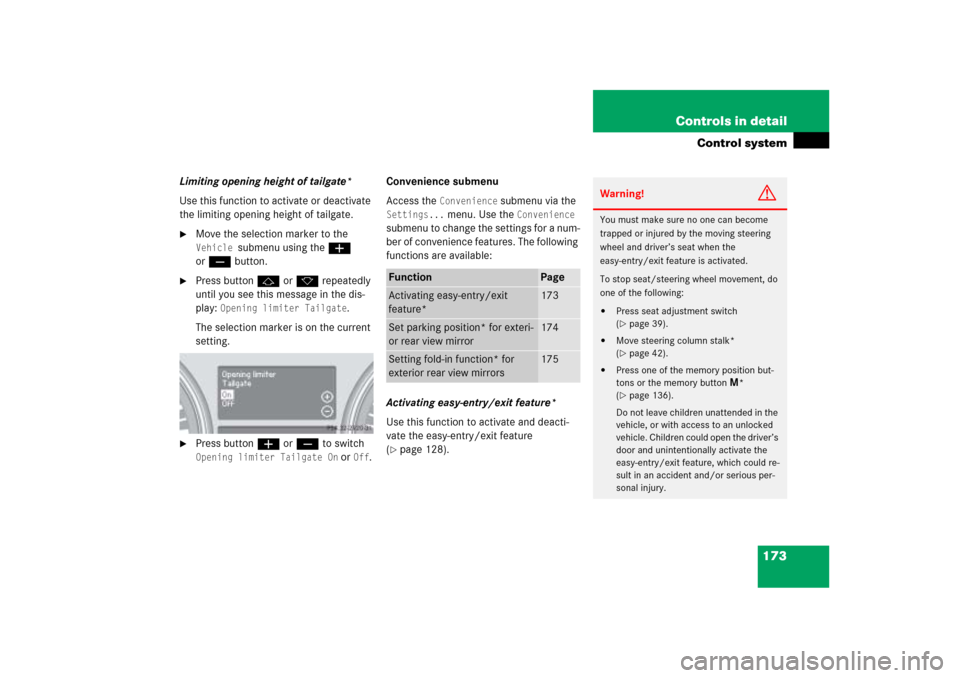
Press buttonj ork repeatedly
until you see this message in the dis-
play:
Opening limiter Tailgate
.
The selection marker is on the current
setting.
�
Press buttonæ orç to switch Opening limiter Tailgate On
or
Off
.Convenience submenu
Access the
Convenience
submenu via the
Settings...
menu. Use the
Convenience
submenu to change the settings for a num-
ber of convenience features. The following
functions are available:
Activating easy-entry/exit feature*
Use this function to activate and deacti-
vate the easy-entry/exit feature
(
�page 128).Function
Page
Activating easy-entry/exit
feature*
173
Set parking position* for exteri-
or rear view mirror
174
Setting fold-in function* for
exterior rear view mirrors
175
Warning!
G
You must make sure no one can become
trapped or injured by the moving steering
wheel and driver’s seat when the
easy-entry/exit feature is activated.
To stop seat/steering wheel movement, do
one of the following:�
Press seat adjustment switch
(�page 39).
�
Move steering column stalk*
(�page 42).
�
Press one of the memory position but-
tons or the memory button
M*
(
�page 136).
Do not leave children unattended in the
vehicle, or with access to an unlocked
vehicle. Children could open the driver’s
door and unintentionally activate the
easy-entry/exit feature, which could re-
sult in an accident and/or serious per-
sonal injury.
Page 260 of 539

259 Controls in detail
Loading
�Loading
Loading instructions
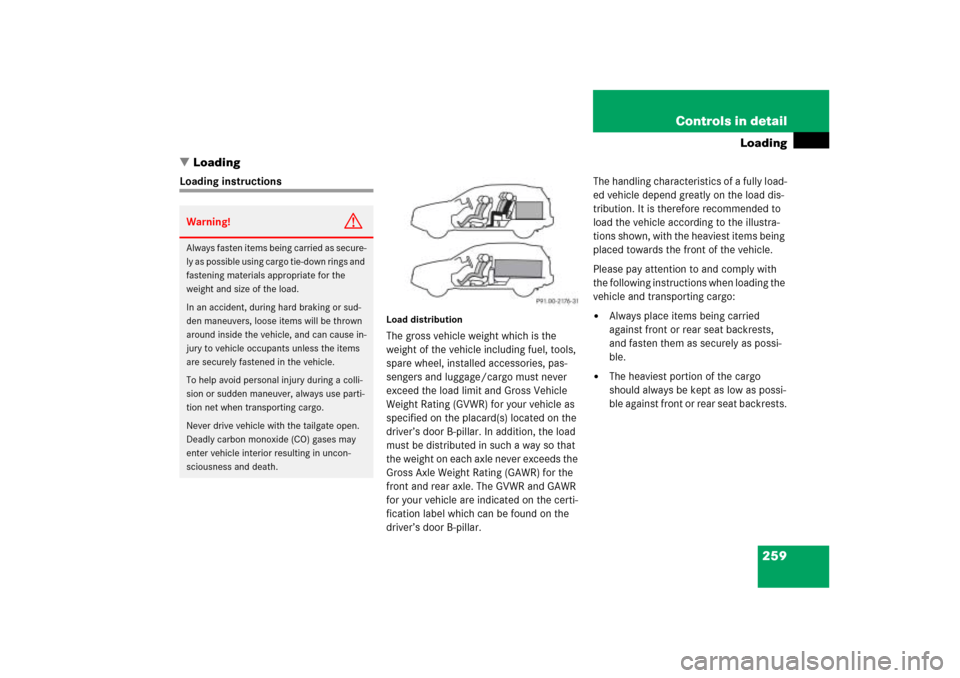
Load distributionThe gross vehicle weight which is the
weight of the vehicle including fuel, tools,
spare wheel, installed accessories, pas-
sengers and luggage/cargo must never
exceed the load limit and Gross Vehicle
Weight Rating (GVWR) for your vehicle as
specified on the placard(s) located on the
driver’s door B-pillar. In addition, the load
must be distributed in such a way so that
the weight on each axle never exceeds the
Gross Axle Weight Rating (GAWR) for the
front and rear axle. The GVWR and GAWR
for your vehicle are indicated on the certi-
fication label which can be found on the
driver’s door B-pillar.The handling characteristics of a fully load-
ed vehicle depend greatly on the load dis-
tribution. It is therefore recommended to
load the vehicle according to the illustra-
tions shown, with the heaviest items being
placed towards the front of the vehicle.
Please pay attention to and comply with
the following instructions when loading the
vehicle and transporting cargo:
�
Always place items being carried
against front or rear seat backrests,
and fasten them as securely as possi-
ble.
�
The heaviest portion of the cargo
should always be kept as low as possi-
ble against front or rear seat backrests.
Warning!
G
Always fasten items being carried as secure-
ly as possible using cargo tie-down rings and
fastening materials appropriate for the
weight and size of the load.
In an accident, during hard braking or sud-
den maneuvers, loose items will be thrown
around inside the vehicle, and can cause in-
jury to vehicle occupants unless the items
are securely fastened in the vehicle.
To help avoid personal injury during a colli-
sion or sudden maneuver, always use parti-
tion net when transporting cargo.
Never drive vehicle with the tailgate open.
Deadly carbon monoxide (CO) gases may
enter vehicle interior resulting in uncon-
sciousness and death.
Page 437 of 539

436 Practical hintsUnlocking/locking in an emergencyUnlocking the driver’s door
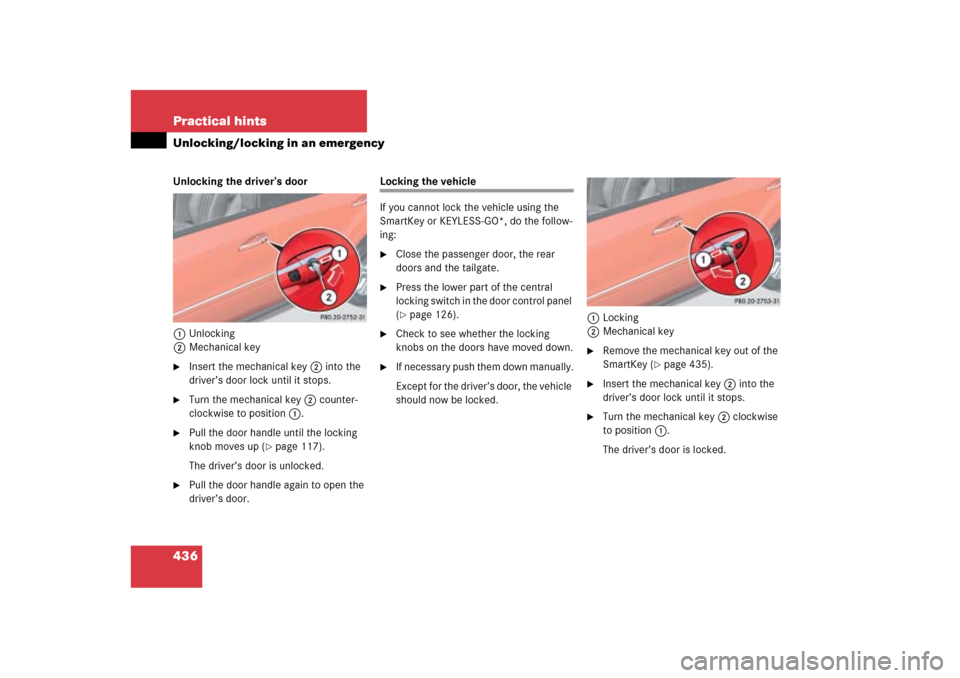
1Unlocking
2Mechanical key�
Insert the mechanical key2 into the
driver’s door lock until it stops.
�
Turn the mechanical key2 counter-
clockwise to position1.
�
Pull the door handle until the locking
knob moves up (
�page 117).
The driver’s door is unlocked.
�
Pull the door handle again to open the
driver’s door.
Locking the vehicle
If you cannot lock the vehicle using the
SmartKey or KEYLESS-GO*, do the follow-
ing:�
Close the passenger door, the rear
doors and the tailgate.
�
Press the lower part of the central
locking switch in the door control panel
(�page 126).
�
Check to see whether the locking
knobs on the doors have moved down.
�
If necessary push them down manually.
Except for the driver’s door, the vehicle
should now be locked.1Locking
2Mechanical key
�
Remove the mechanical key out of the
SmartKey (
�page 435).
�
Insert the mechanical key2 into the
driver’s door lock until it stops.
�
Turn the mechanical key2 clockwise
to position1.
The driver’s door is locked.
Page 451 of 539
450 Practical hintsReplacing bulbs4Bulb socket of front fog lamp bulb�
Turn bulb socket4 with the bulb
counterclockwise and remove it.
�
Insert new bulb socket4 with the bulb
into the lamp and turn it clockwise.
�
Plug electrical connector onto the bulb
socket4.
�
Reinstall front fog lamp2 into the
bumper.
�
Reinstall cover1 into the bumper un-
til it engages.
Replacing bulbs for rear lamps
Before you start to replace a bulb for a rear
lamp, do the following first:�
Turn the exterior lamp switch to
positionM (
�page 138).
�
Open the tailgate.
�
Open the cover in the cargo compart-
ment.
For the driver’s side rear lamps, see
“First aid kit” (
�page 430).
For the passenger-side rear lamps, see
“Fuse box in cargo compartment”
(
�page 479).Vehicles without sound system*:
�
Remove the additional cover on the
driver’s side.
1Screw
�
Turn the screws1 90° counterclock-
wise and remove the storage bin.
��
Page 452 of 539
451 Practical hints
Replacing bulbs
Example rear lamp passenger-side1Brake lamp
2Backup lamp
3Rear fog lamp (only driver’s side), tail
lamp, parking and standing lamp
4Side marker lamp
5Turn signal lamp�
Turn the respective bulb socket with
the bulb counterclockwise and remove
it.
�
Press gently onto the respective bulb
and turn counterclockwise out of its
bulb socket.
�
Press the new bulb gently into its bulb
socket and turn clockwise until it en-
gages.
�
Align bulb socket and turn it clockwise.
License plate lamp
1License plate lamp cover
2Screw
�
Loosen both screws2.
�
Remove license plate lamp cover1.
�
Replace the tubular bulb.
�
Reinstall license plate lamp cover1.
�
Retighten screws2.
Adjusting headlamp aim
VVertical centerline
HHeadlamp mounting high, measured
from the center
iHigh beam adjustments simultaneous-
ly aim the low beam.
Vehicle should have a normal tailgate
load.
Page 512 of 539

511 Index
Checking
Coolant level 332
Engine oil with the
control system (ML 500 only) 328
Engine oil with the
oil dipstick (ML 350 only) 330
Oil level 327
Tire inflate pressure 325
Vehicle lighting 325
Checking tire pressure
electronically with the
Advanced Tire Pressure Monitoring
System* (Advanced TPMS*) 351
Checking weights
Trailer and vehicle 315
Checklist
Off-road driving 307
Returning from off-road driving 313
Child safety 78
Air bags 68
Infant and child
restraint systems 73, 78
LATCH type child seat mounts 88Child safety switch see Blocking of rear
door window operation
Cigarette lighter*
Front center console 275
Cleaning
Carpet 379
Cup holder 379
Gear selector lever 379
Hard plastic trim items 379
Headlamps 194
Headliner 379
Instrument cluster 379
Leather upholstery* 380
Light alloy wheels 379
MB Tex upholstery 380
Plastic and rubber parts 380
Seat belts 379
Steering wheel 379
Windows 378
Windshield 56
Wiper blades 378
Cleaning and care of the vehicle 374
Cleaning tires 337Climate control 202
Adjusting 207
Adjusting air volume 208
deactivating 206
Defrosting 208
Rear passenger compartment 213
Rear window defroster 200
Setting the temperature 207
Clock 165
Closing
Glove box 270
Hood 327
Power tilt/sliding sunroof* 439
Side windows 231
Side windows with
KEYLESS-GO* 234
Tailgate 120
Vehicle with KEYLESS-GO* 123,
124
Tilt/sliding sunroof* 235
Tilt/sliding sunroof* with
KEYLESS-GO* 234
Windows 230