Page 174 of 521

173 Controls in detail
Control system
�
Move the selection marker with
buttonæ orç to the
Lighting
submenu.
�
Press buttonj ork repeatedly
until the message
Headlamps delayed
shut-off
appears in the multifunction
display.
The selection marker is on the current
setting.
�
Press buttonæ orç to switch Headlamps delayed shut-off
on or
off
.
�
Turn the exterior lamp switch to
positionU before turning off the en-
gine.
You can temporarily deactivate the de-
layed shut-off feature:
�
Before exiting the vehicle, turn the
SmartKey in the starter switch to
position0.
�
Then turn it to position2 and back to
position0.
The delayed shut-off feature is deacti-
vated. It will reactivate as soon as you
reinsert the SmartKey in the starter
switch.
Vehicles with KEYLESS-GO*:
�
Press the KEYLESS-GO start/stop but-
ton on the gear selector lever
(�page 37).Setting interior lighting delayed shut-off
Use this function to set whether you would
like the interior lighting to remain lit for
10 seconds during darkness after you have
removed the SmartKey from the starter
switch.
�
Move the selection marker with
buttonæ orç to the
Lighting
submenu.
�
Press buttonj ork repeatedly
until the message
Interior lighting
delayed shut-off appears in the mul-
tifunction display.
The selection marker is on the current
setting.
�
Press buttonæ orç to switch Interior lighting delayed shut-off
on or
off
.
iYou can reactivate this function within
10 minutes by opening a door.
Page 188 of 521
187 Controls in detail
Automatic transmission
Stopping
When you stop briefly, e.g. at traffic lights:�
Leave the transmission in gear.
�
Hold the vehicle with the brake.
When you stop longer with the engine
idling and/or on a hill:
�
Set the parking brake.
�
Move the gear selector lever to
positionP.Maneuvering
When you maneuver in tight areas,
e.g. when pulling into a parking space:
�
Control the vehicle speed by gradually
releasing the brakes.
�
Accelerate gently.
�
Never abruptly step on the accelerator.Working on the vehicle
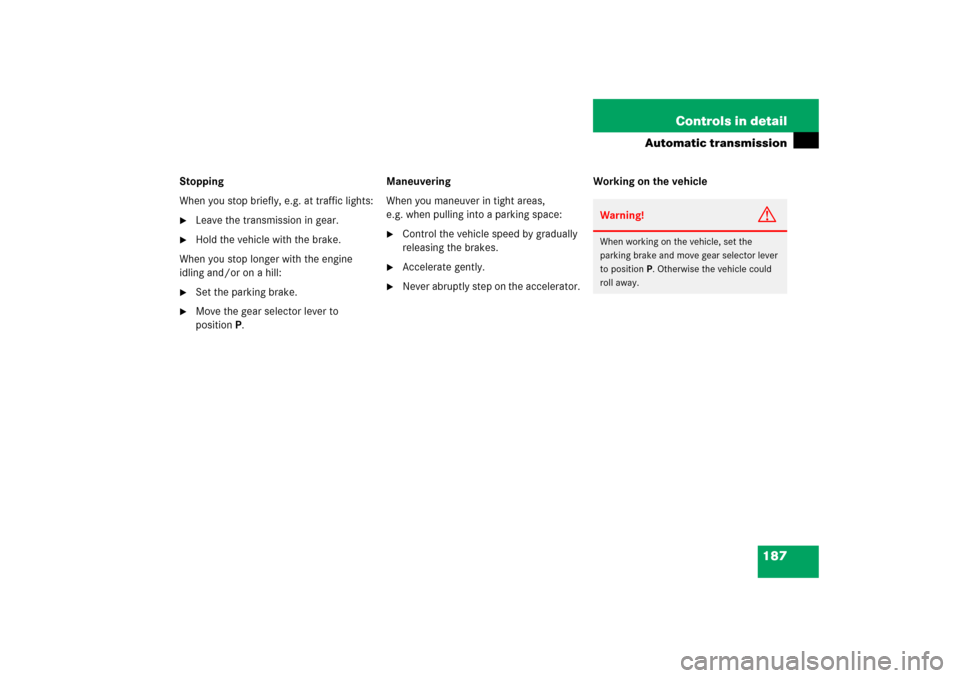
Warning!
G
When working on the vehicle, set the
parking brake and move gear selector lever
to positionP. Otherwise the vehicle could
roll away.
Page 198 of 521
.
Headlamp cleaning system*
The button is located on the left side")
197 Controls in detail
Good visibility
�Good visibility
For information on windshield wipers, see
“Windshield wipers” (
�page 56).
Headlamp cleaning system*
The button is located on the left side of the
dashboard.
1Headlamp washer button�
Switch on the ignition (
�page 36).
�
Press button1.
The headlamps are cleaned with a
high-pressure water jet.For more information on filling up the
washer reservoir, see “Windshield washer
system and headlamp cleaning system*”
(
�page 327).
Rear view mirrors
For more information on setting the rear
view mirrors, see “Mirrors” (
�page 45).
Auto-dimming mirrors
The reflection brightness of the exterior
rear view mirror on the driver’s side and
the interior rear view mirror will respond
automatically to glare when
�
the ignition is switched on
and
�
incoming light from headlamps falls on
the sensor in the interior rear view mir-
ror.
The rear view mirrors will not react if
�
reverse gear is engaged
�
the interior lighting is turned on
iThe headlamps will automatically be
cleaned when you have�
switched on the headlamps
and
�
operated the windshield wipers
with windshield washer fluid
fifteen times
When you switch off the ignition, the
counter resets.
Page 199 of 521

198 Controls in detailGood visibility
Activating exterior rear view mirror
parking position
Follow these steps to activate the mirror
parking position so that the passen-
ger-side exterior rear view mirror will be
turned downward to the stored position.
The buttons are located on the driver’s
door.
1Driver’s side exterior rear view mirror
button
2Passenger-side exterior rear view
mirror button�
Make sure you have stored a parking
position for the passenger-side exterior
rear view mirror (
�page 140).
Warning!
G
The auto-dimming function does not react if
incoming light is not aimed directly at sen-
sors in the interior rear view mirror.
The interior rear view mirror and the exterior
rear view mirror on the driver’s side do not
react, for example, if the rear window sun-
shade* is in raised position.
Glare can endanger you and others.Warning!
G
In case of an accident, liquid electrolyte may
escape from the mirror housing if the mirror
glass breaks.
Electrolyte has an irritating effect. Do not al-
low the liquid to come into contact with
eyes, skin, clothing, or respiratory system.
In case it does, immediately flush affected
area with water, and seek medical help if
necessary.
!Electrolyte drops coming into contact
with the vehicle paint finish can be
completely removed only while in the
liquid state by applying plenty of water.Warning!
G
Exercise care when using the
passenger-side exterior rear view mirror.
The mirror surface is convex (outwardly
curved surface for a wider field of view). Ob-
jects in mirror are closer than they appear.
Check your interior rear view mirror or
glance over your shoulder before changing
lanes.
Page 201 of 521

200 Controls in detailGood visibility6Mounting
7Additional visor*
8Sun visor
If sunlight enters through a side window:�
Disengage sun visor 8 from
mounting6.
�
Pivot sun visor 8 to the side.
�
Adjust the sun visor 8 by pushing or
pulling in direction of arrows.
Rear window sunshade*
The switch is located in the center console.�
Switch on the ignition (
�page 36).
Always raise the sunshade fully for its sup-
port against the window frame.
�
Press the switch briefly at 1 to raise
the sunshade.
�
Press the switch briefly at 1 to lower
the sunshade.
iClose mirror cover2 (if open) before
you disengage the sun visor 8 from
mounting 6 and pivot it to the side.
Warning!
G
When operating the rear window sunshade,
be sure that there is no danger of anyone be-
ing harmed by the raising or lowering proce-
dure.
The raising or lowering procedure can be im-
mediately halted by briefly pressing
switch1. To reverse direction of move-
ment, press switch1 again.Warning!
G
When leaving the vehicle, always remove the
SmartKey or the SmartKey with
KEYLESS-GO* from the starter switch, take
it with you, and lock the vehicle. Do not
leave children unattended in the vehicle, or
with access to an unlocked vehicle. Unsu-
pervised use of vehicle equipment can
cause an accident and/or serious personal
injury.
Page 208 of 521

Deactivating�
Press button� orQ
(�page 204).
The indicator lamp on the buttonU
goes out. The automatic operation of
air volume")
207 Controls in detail
Dual-zone automatic climate control (USA only)
Deactivating�
Press button� orQ
(�page 204).
The indicator lamp on the buttonU
goes out. The automatic operation of
air volume switches off. The selected
blower speed is shown in the air
volume displaya (
�page 204).
or
�
Press air distribution button4
(�page 204).
The indicator lamp on the buttonU
goes out. The automatic operation of
air distribution switches off. The select-
ed air distribution is shown in the air
distribution display8 (
�page 204).
Setting the temperature
Use temperature controls1 and6
(�page 204) to separately adjust the air
temperature on each side of the passenger
compartment. You should raise or lower
the temperature setting in small incre-
ments, preferably starting at 72°F (22°C).
The climate control will adjust to the set
temperature as fast as possible.
Increasing
�
Turn temperature control1 and/or
6 (
�page 204) slightly clockwise.
The climate control system will corre-
spondingly adjust the interior air tem-
perature.Decreasing
�
Turn temperature control1 and/or
6 (
�page 204) slightly counterclock-
wise.
The climate control system will corre-
spondingly adjust the interior air tem-
perature.
Page 232 of 521

231 Controls in detail
Power windows
�Power windows
Opening and closing the windows
The side windows are opened and closed
electrically. The switches for all of the side
windows are on the driver’s door. The
switches for the respective windows are
on the front passenger door and the rear
doors.
1Rear window override switch
(
�page 89)
2Right front window
3Right rear window
4Left rear window
5Left front window
Warning!
G
When closing the windows, make sure that
there is no danger of anyone being harmed
by the closing procedure.
The closing of the door windows can be im-
mediately halted by releasing the switch or,
if switch was pulled past the resistance
point and released, by either pressing or
pulling the respective switch.
The door windows are equipped with the ex-
press-close and automatic reversal func-
tion. If the window encounters an
obstruction that blocks its path in a circum-
stance where you pulled the switch past the
resistance point and released it to close the
window, the automatic reversal function will
stop the window and open it slightly.
If the window encounters an obstruction
that blocks its path in a circumstance where
you are closing the window by pulling and
holding the switch, by pressing and holding
button ‹ on the SmartKey, by pressing
and holding the lock button (vehicles with
KEYLESS-GO*) on an outside door handle,
or by pressing and holding button, on
the climate control panel, the automatic re-
versal function will not operate.
When leaving the vehicle, always remove the
SmartKey or SmartKey with KEYLESS-GO*
from the starter switch, take it with you, and
lock the vehicle. Do not leave children unat-
tended in the vehicle, or with access to an
unlocked vehicle. Unsupervised use of vehi-
cle equipment can cause an accident
and/or serious personal injury.
Page 234 of 521
�
Pull switch2 to 5 past the resis-
tance point and release.
The corresponding window closes com-
pletely.
Stopping windo")
233 Controls in detail
Power windows
Fully closing the windows
(Express-close)�
Pull switch2 to 5 past the resis-
tance point and release.
The corresponding window closes com-
pletely.
Stopping windows during Express-op-
eration
�
Press or pull the respective power win-
dow switch again.
Synchronizing power windows
The power windows must be synchronized�
after the battery has been disconnect-
ed
�
if the power windows cannot be fully
opened (Express-open) or closed
(Express-close)
Synchronizing
�
Close all doors.
�
Switch on the ignition (
�page 36).
�
Pull switch2 to 5 until the side win-
dows are completely closed.
�
Hold on to switches2 to 5 for ap-
proximately 1 second.
The power windows are synchronized.
Warning!
G
Driver’s door only:
If within 5 seconds switch is again pulled
past the resistance point and released, the
automatic reversal will not operate.
!If the upward movement of the window
is blocked during the closing proce-
dure, the window will stop and open
slightly.
Remove the obstruction, pull the re-
spective power window switch again
past the resistance point and release.
If the window still does not close when
there is no obstruction, pull and hold
the respective power window switch.
The side window will then close without
the obstruction sensor function.