Page 198 of 521

197 Controls in detail
Good visibility
�Good visibility
For information on windshield wipers, see
“Windshield wipers” (
�page 56).
Headlamp cleaning system*
The button is located on the left side of the
dashboard.
1Headlamp washer button�
Switch on the ignition (
�page 36).
�
Press button1.
The headlamps are cleaned with a
high-pressure water jet.For more information on filling up the
washer reservoir, see “Windshield washer
system and headlamp cleaning system*”
(
�page 327).
Rear view mirrors
For more information on setting the rear
view mirrors, see “Mirrors” (
�page 45).
Auto-dimming mirrors
The reflection brightness of the exterior
rear view mirror on the driver’s side and
the interior rear view mirror will respond
automatically to glare when
�
the ignition is switched on
and
�
incoming light from headlamps falls on
the sensor in the interior rear view mir-
ror.
The rear view mirrors will not react if
�
reverse gear is engaged
�
the interior lighting is turned on
iThe headlamps will automatically be
cleaned when you have�
switched on the headlamps
and
�
operated the windshield wipers
with windshield washer fluid
fifteen times
When you switch off the ignition, the
counter resets.
Page 201 of 521

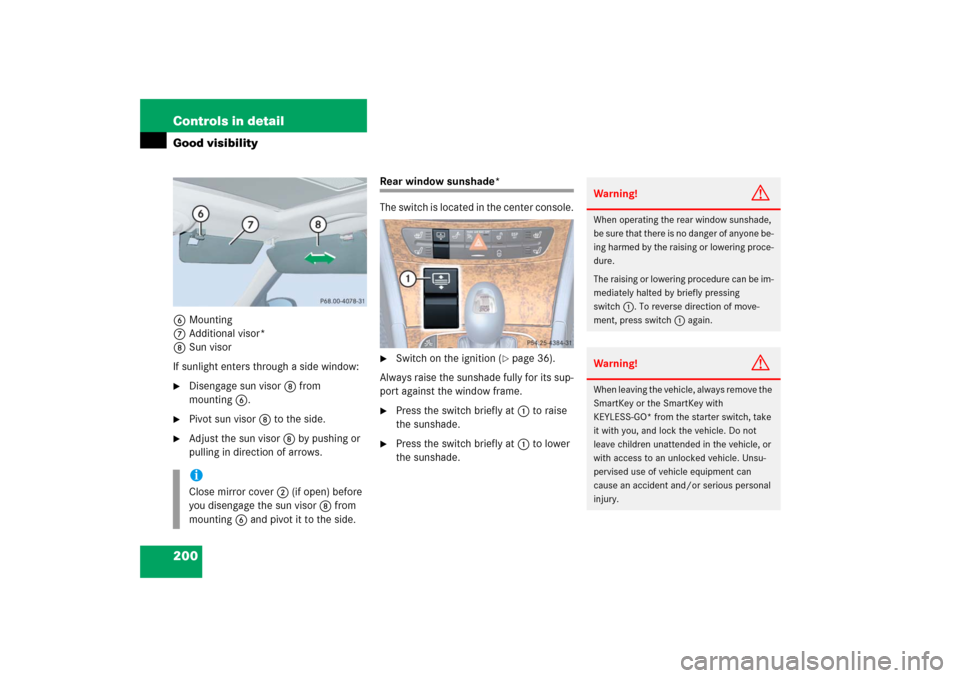
200 Controls in detailGood visibility6Mounting
7Additional visor*
8Sun visor
If sunlight enters through a side window:�
Disengage sun visor 8 from
mounting6.
�
Pivot sun visor 8 to the side.
�
Adjust the sun visor 8 by pushing or
pulling in direction of arrows.
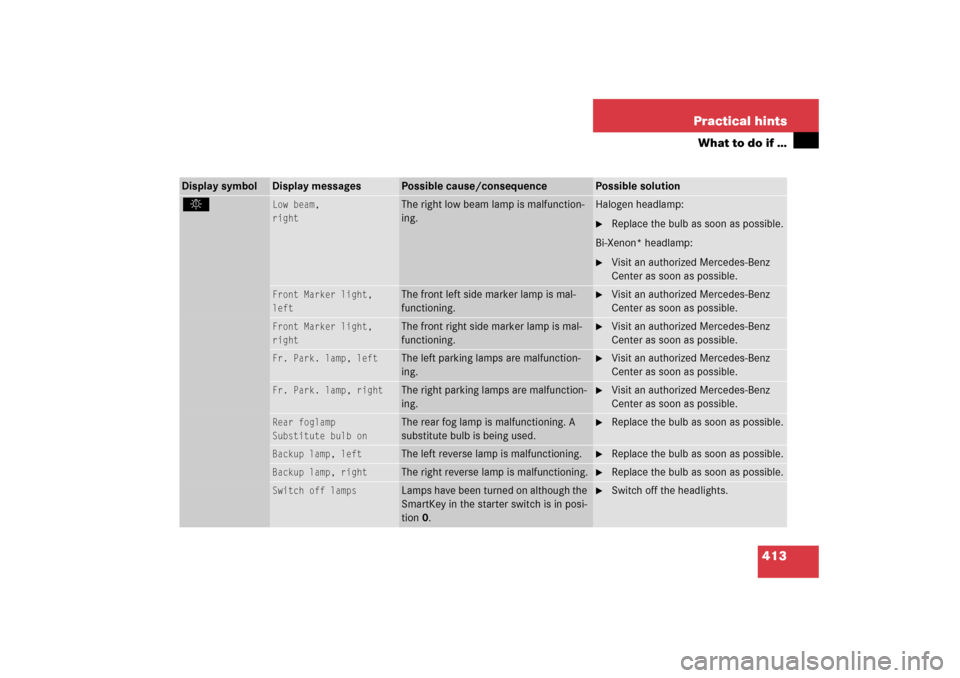
Rear window sunshade*
The switch is located in the center console.�
Switch on the ignition (
�page 36).
Always raise the sunshade fully for its sup-
port against the window frame.
�
Press the switch briefly at 1 to raise
the sunshade.
�
Press the switch briefly at 1 to lower
the sunshade.
iClose mirror cover2 (if open) before
you disengage the sun visor 8 from
mounting 6 and pivot it to the side.
Warning!
G
When operating the rear window sunshade,
be sure that there is no danger of anyone be-
ing harmed by the raising or lowering proce-
dure.
The raising or lowering procedure can be im-
mediately halted by briefly pressing
switch1. To reverse direction of move-
ment, press switch1 again.Warning!
G
When leaving the vehicle, always remove the
SmartKey or the SmartKey with
KEYLESS-GO* from the starter switch, take
it with you, and lock the vehicle. Do not
leave children unattended in the vehicle, or
with access to an unlocked vehicle. Unsu-
pervised use of vehicle equipment can
cause an accident and/or serious personal
injury.
Page 414 of 521

413 Practical hints
What to do if …
Display symbol
Display messages
Possible cause/consequence
Possible solution
.
Low beam,
right
The right low beam lamp is malfunction-
ing.
Halogen headlamp:�
Replace the bulb as soon as possible.
Bi-Xenon* headlamp:
�
Visit an authorized Mercedes-Benz
Center as soon as possible.
Front Marker light,
left
The front left side marker lamp is mal-
functioning.
�
Visit an authorized Mercedes-Benz
Center as soon as possible.
Front Marker light,
right
The front right side marker lamp is mal-
functioning.
�
Visit an authorized Mercedes-Benz
Center as soon as possible.
Fr. Park. lamp, left
The left parking lamps are malfunction-
ing.
�
Visit an authorized Mercedes-Benz
Center as soon as possible.
Fr. Park. lamp, right
The right parking lamps are malfunction-
ing.
�
Visit an authorized Mercedes-Benz
Center as soon as possible.
Rear foglamp
Substitute bulb on
The rear fog lamp is malfunctioning. A
substitute bulb is being used.
�
Replace the bulb as soon as possible.
Backup lamp, left
The left reverse lamp is malfunctioning.
�
Replace the bulb as soon as possible.
Backup lamp, right
The right reverse lamp is malfunctioning.
�
Replace the bulb as soon as possible.
Switch off lamps
Lamps have been turned on although the
SmartKey in the starter switch is in posi-
tion 0.
�
Switch off the headlights.