Page 212 of 514
211 Controls in detail
Audio system
Item
Page
1
CD changer mode selector
AUX mode selector
227
216
2
Single CD mode selector
228
3
Radio mode selector
4
Mute function (radio)
220
Pause (CD)
233
5
Volume distribution
215
6
Sound settings
213
7
Display
8
Alphanumeric keypad
Item
Page
9
Speed dialing memory (tele-
phone) in descending order
a
Accepting a call
(telephone)
238
b
Telephone mode selector
233
c
Speed dialing memory (tele-
phone) in ascending order
235
d
Terminating a call
(telephone)
239
e
CD slot
f
CD ejection
229
Item
Page
g
Soft keys
212
h
Volume
213
j
Switching on/off
212
k
Manual tuning / seek
tuning (radio)
218
Track search, reverse (CD)
232
l
Manual tuning / seek
tuning (radio)
218
Track search,
fast forward (CD)
232
Page 215 of 514

214 Controls in detailAudio systemSound system*
You can either program the sound settings
manually (
�page 213) or choose settings
via preset sound characteristics.
You can select from among the following
settings:
�
STANDARD
: conventional stereo sound.
�
SURROUND
: the sound is set for better
three-dimensional acoustic character-
istics.
�
SPEECH
: the sound is optimized for the
spoken word.
�
Press O button repeatedly until STANDARD
, SURROUND
or
SPEECH
appears
in the display.
�
Press X or Y soft key repeatedly
until the desired sound setting has
been reached.
The sound is set accordingly.
or
�
Press
RES
soft key briefly.The sound setting is reset depending
on the sound source activated.
�
Radio mode:
STANDARD
�
CD/AUX mode:
SURROUND
�
Telephone:
SPEECH
The radio switches back to the stan-
dard radio menu eight seconds after
the last soft key is pressed.
Returning sound functions to factory
settings
�
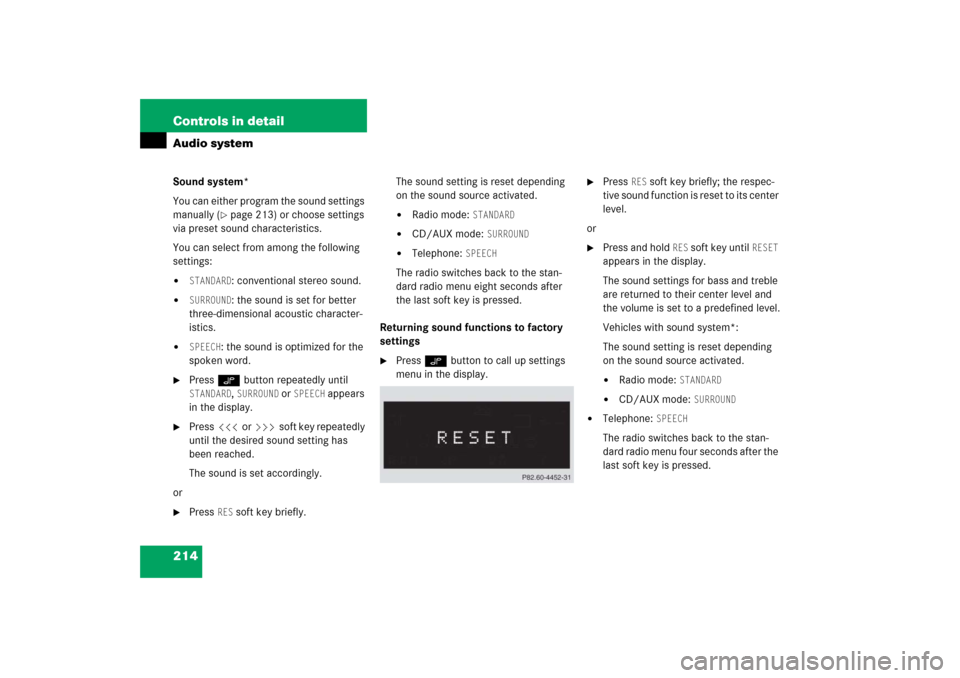
Press O button to call up settings
menu in the display.
�
Press
RES
soft key briefly; the respec-
tive sound function is reset to its center
level.
or
�
Press and hold
RES
soft key until
RESET
appears in the display.
The sound settings for bass and treble
are returned to their center level and
the volume is set to a predefined level.
Vehicles with sound system*:
The sound setting is reset depending
on the sound source activated.
�
Radio mode:
STANDARD
�
CD/AUX mode:
SURROUND
�
Telephone:
SPEECH
The radio switches back to the stan-
dard radio menu four seconds after the
last soft key is pressed.
Page 217 of 514

216 Controls in detailAudio systemReturning volume distribution to facto-
ry settings�
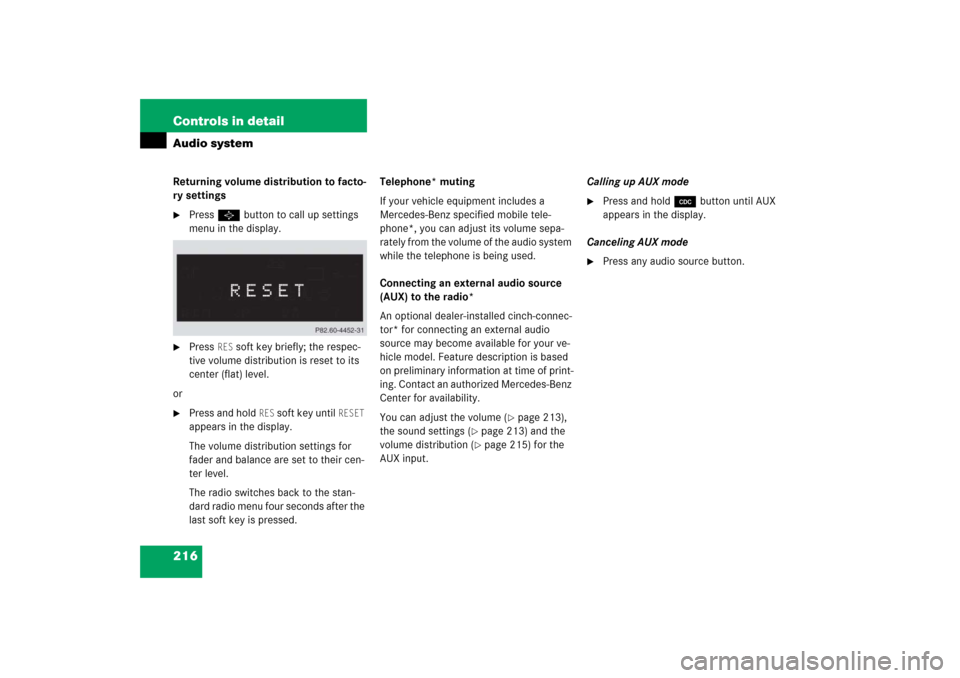
Press P button to call up settings
menu in the display.
�
Press
RES
soft key briefly; the respec-
tive volume distribution is reset to its
center (flat) level.
or
�
Press and hold
RES
soft key until
RESET
appears in the display.
The volume distribution settings for
fader and balance are set to their cen-
ter level.
The radio switches back to the stan-
dard radio menu four seconds after the
last soft key is pressed.Telephone* muting
If your vehicle equipment includes a
Mercedes-Benz specified mobile tele-
phone*, you can adjust its volume sepa-
rately from the volume of the audio system
while the telephone is being used.
Connecting an external audio source
(AUX) to the radio*
An optional dealer-installed cinch-connec-
tor* for connecting an external audio
source may become available for your ve-
hicle model. Feature description is based
on preliminary information at time of print-
ing. Contact an authorized Mercedes-Benz
Center for availability.
You can adjust the volume (
�page 213),
the sound settings (
�page 213) and the
volume distribution (�page 215) for the
AUX input.Calling up AUX mode
�
Press and hold Q button until AUX
appears in the display.
Canceling AUX mode
�
Press any audio source button.
Page 288 of 514

287 Controls in detail
Useful features
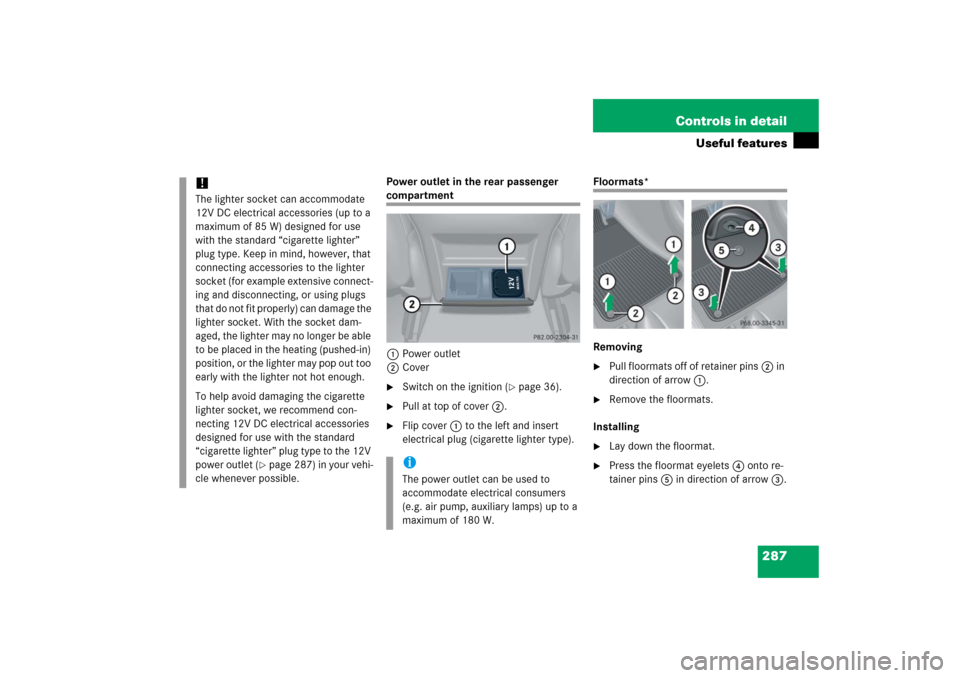
Power outlet in the rear passenger compartment
1Power outlet
2Cover�
Switch on the ignition (
�page 36).
�
Pull at top of cover2.
�
Flip cover1 to the left and insert
electrical plug (cigarette lighter type).
Floormats*
Removing�
Pull floormats off of retainer pins2 in
direction of arrow1.
�
Remove the floormats.
Installing
�
Lay down the floormat.
�
Press the floormat eyelets4 onto re-
tainer pins5 in direction of arrow3.
!The lighter socket can accommodate
12V DC electrical accessories (up to a
maximum of 85 W) designed for use
with the standard “cigarette lighter”
plug type. Keep in mind, however, that
connecting accessories to the lighter
socket (for example extensive connect-
ing and disconnecting, or using plugs
that do not fit properly) can damage the
lighter socket. With the socket dam-
aged, the lighter may no longer be able
to be placed in the heating (pushed-in)
position, or the lighter may pop out too
early with the lighter not hot enough.
To help avoid damaging the cigarette
lighter socket, we recommend con-
necting 12V DC electrical accessories
designed for use with the standard
“cigarette lighter” plug type to the 12V
power outlet (
�page 287) in your vehi-
cle whenever possible.
iThe power outlet can be used to
accommodate electrical consumers
(e.g. air pump, auxiliary lamps) up to a
maximum of 180 W.
Page 315 of 514

314 OperationDriving instructionsFor more information, see “Winter driving”
(�page 359).
Standing water
Passenger compartment
Warning!
G
If the vehicle becomes stuck in snow, make
sure snow is kept clear of the exhaust pipe
and from around the vehicle with the engine
running. Otherwise, deadly carbon monox-
ide (CO) gases may enter vehicle interior re-
sulting in unconsciousness and death.
To assure sufficient fresh air ventilation,
open a window slightly on the side of the ve-
hicle not facing the wind.Warning!
G
The outside temperature indicator is not de-
signed to serve as an ice-warning device and
is therefore unsuitable for that purpose. In-
dicated temperatures just above the freez-
ing point do not guarantee that the road
surface is free of ice.
!Do not drive through flooded areas or
water of unknown depth. Before driving
through water, determine its depth.
Never accelerate before driving into
water. The bow wave could force water
into the engine and auxiliary equip-
ment, thus damaging them.
If you must drive through standing wa-
ter, drive slowly to prevent water from
entering the passenger compartment
or the engine compartment. Water in
these areas could cause damage to
electrical components or wiring of the
engine or transmission, or could result
in water being ingested by the engine
through the air intake, causing severe
internal engine damage. Any such dam-
age is not covered by the
Mercedes-Benz Limited Warranty.
Warning!
G
Always fasten items being carried as
securely as possible.
In an accident, during hard braking or sud-
den maneuvers, loose items will be thrown
around inside the vehicle, and cause injury
to vehicle occupants unless the items are
securely fastened in the vehicle.
The trunk is the preferred place to carry
objects.