Page 155 of 489
154 Controls in detailControl systemThe table below shows what settings can
be changed within the various menus. Detailed instructions on making individual
settings can be found on the following
pages.INSTRUMENT CLUSTER
TIME/Date
LIGHTING
VEHICLE
CONVENIENCE
Selecting speedometer
display mode
Setting time (hours)
Setting daytime running
lamp mode (USA only)
Setting automatic lock-
ing
Activate easy-entry/exit
feature
Selecting language
Setting time (minutes)
Setting locator lighting
Setting parking position for
exterior rear view mirror
Selecting display (speed
display or outside
temperature) for status
indicator
Setting the date (month)
Exterior lamps delayed
shut-off
Selecting display (speed
display or outside tem-
perature) for standard
display
Setting the date (day)
Interior lighting delayed
shut-off
Setting the date (year)
Page 156 of 489
155 Controls in detail
Control system
Instrument cluster submenu
Access the
Instr. cluster
submenu via
the
Settings
menu. Use the
Instr. clus-
ter
submenu to change the instrument
cluster display settings.
The following functions are available:Selecting speedometer display mode
�
Move the selection marker with
buttonæ orç to the Instr. cluster
submenu.
�
Press buttonj ork repeatedly
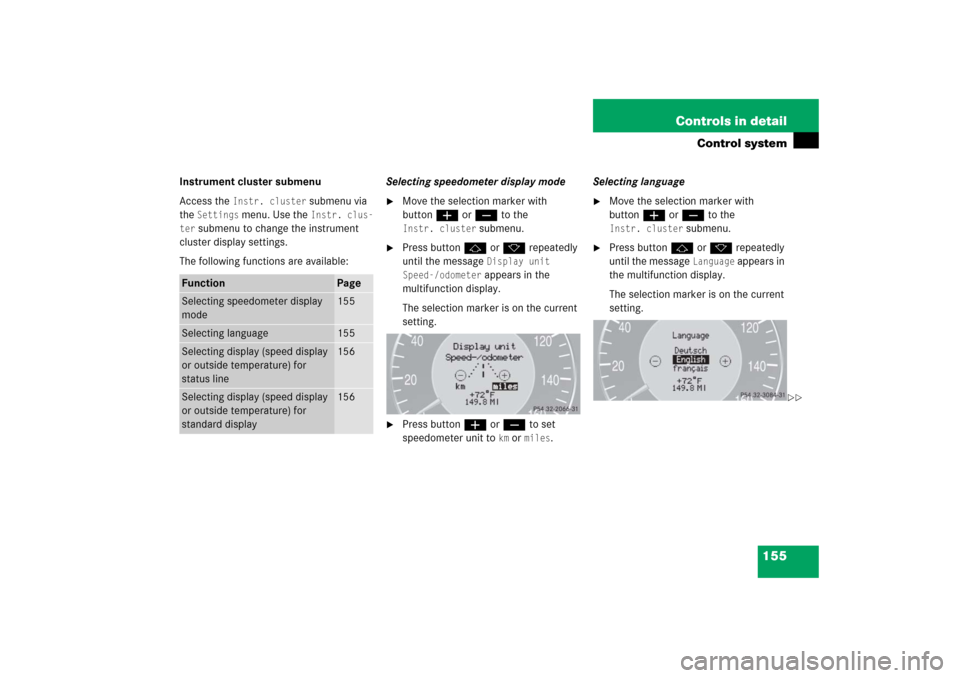
until the message
Display unit
Speed-/odometer appears in the
multifunction display.
The selection marker is on the current
setting.
�
Press buttonæ or ç to set
speedometer unit to
km or
miles
.Selecting language
�
Move the selection marker with
buttonæ orç to the Instr. cluster
submenu.
�
Press buttonj ork repeatedly
until the message
Language
appears in
the multifunction display.
The selection marker is on the current
setting.
Function
Page
Selecting speedometer display
mode
155
Selecting language
155
Selecting display (speed display
or outside temperature) for
status line
156
Selecting display (speed display
or outside temperature) for
standard display
156
��
Page 158 of 489
157 Controls in detail
Control system
Time/Date submenu
Access the
Time/Date
submenu via the
Settings
menu. Use the
Time/Date
submenu to change the instrument cluster
display settings.
The following functions are available:Setting time (hours)
This function can only be seen in vehicles
with audio system.
�
Move the selection marker with
buttonæ orç to the
Time/Date
submenu.
�
Press buttonj ork repeatedly
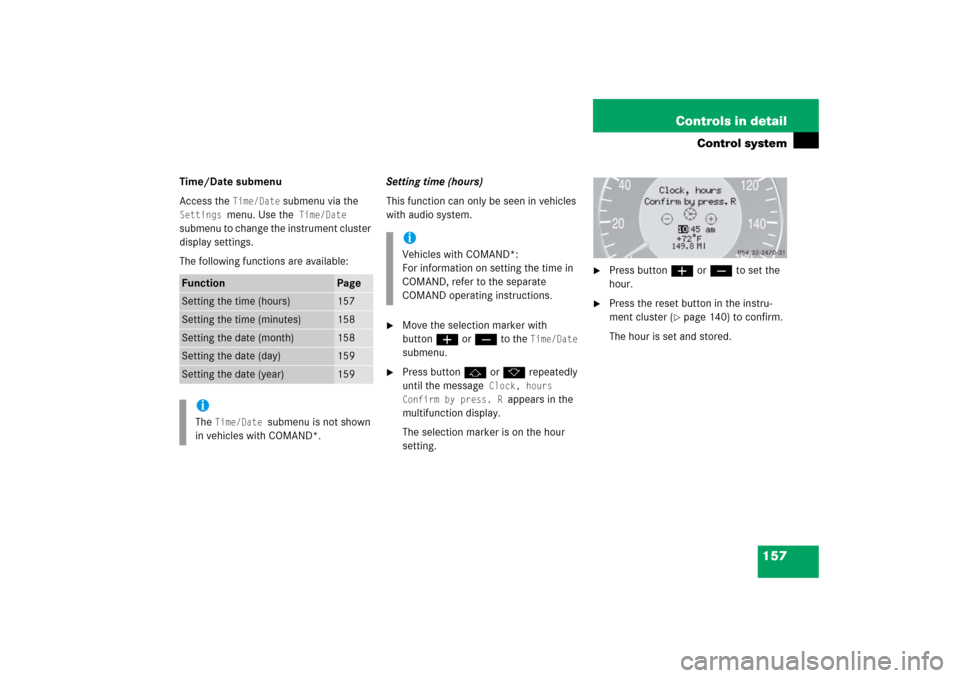
until the message
Clock, hours
Confirm by press. R
appears in the
multifunction display.
The selection marker is on the hour
setting.
�
Press buttonæ orç to set the
hour.
�
Press the reset button in the instru-
ment cluster (
�page 140) to confirm.
The hour is set and stored.
Function
Page
Setting the time (hours)
157
Setting the time (minutes)
158
Setting the date (month)
158
Setting the date (day)
159
Setting the date (year)
159
iThe
Time/Date
submenu is not shown
in vehicles with COMAND*.
iVehicles with COMAND*:
For information on setting the time in
COMAND, refer to the separate
COMAND operating instructions.
Page 167 of 489
166 Controls in detailControl systemFuel consumption since last reset�
Press buttonÿ orè repeatedly
until the first function of the trip com-
puter menu appears in the
multifunction display.
�
Press buttonj ork repeatedly
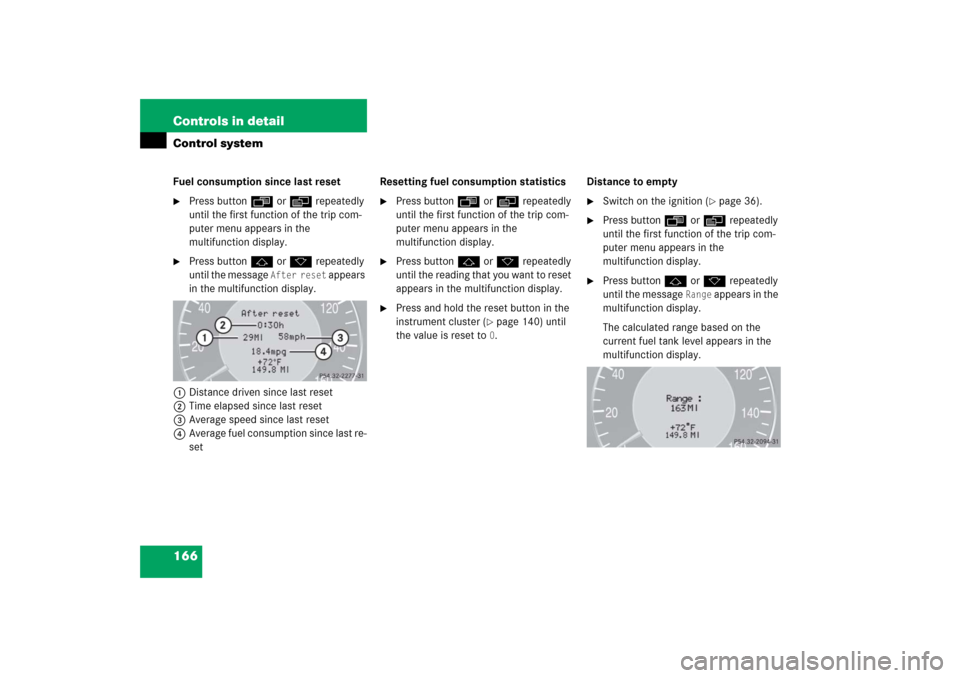
until the message
After reset
appears
in the multifunction display.
1Distance driven since last reset
2Time elapsed since last reset
3Average speed since last reset
4Average fuel consumption since last re-
setResetting fuel consumption statistics
�
Press buttonÿ orè repeatedly
until the first function of the trip com-
puter menu appears in the
multifunction display.
�
Press buttonj ork repeatedly
until the reading that you want to reset
appears in the multifunction display.
�
Press and hold the reset button in the
instrument cluster (
�page 140) until
the value is reset to 0.Distance to empty
�
Switch on the ignition (
�page 36).
�
Press buttonÿ orè repeatedly
until the first function of the trip com-
puter menu appears in the
multifunction display.
�
Press buttonj ork repeatedly
until the message
Range
appears in the
multifunction display.
The calculated range based on the
current fuel tank level appears in the
multifunction display.
Page 286 of 489
285 Controls in detail
Useful features
Call priority
If other service calls such as a Roadside
Assistance call or Information call are ac-
tive, an Emergency call is still possible. In
this case, the Emergency call will take pri-
ority and override all other active calls.
iThe indicator lamp in the respective
button flashes until the call is con-
cluded. Calls can only be terminated by
a Response Center or Customer
Assistance Center representative
except Roadside Assistance and
Information calls, which can also be
terminated by pressing buttonton
the multifunction steering wheel or the
respective button for ending a
telephone call on the audio system or
the COMAND* head unit.
!If the indicator lamp continues to flash
or the system does not reset, contact
the Response Center at
1-800-756-9018 (in the USA), or
1-888-923-8367 (in Canada), or
Mercedes-Benz Customer Assistance
at 1-800-FOR-MERCedes
(1-800-367-6372) in the USA, or
Customer Service at 1-800-387-0100
in Canada.
iWhen a Tele Aid call has been initiated,
the audio system or the COMAND*
system audio is muted and the
selected mode (radio or CD) pauses.
The optional cellular phone (if installed)
switches off. If you must use this
phone, the vehicle must be parked.
Disconnect the coiled cord and place
the call. The COMAND* navigation
system (if engaged) will continue to
run. The display in the instrument
cluster is available for use, and spoken
commands are only available by press-
ing the RPT button on the COMAND*
head unit. A pop-up window will appear
in the COMAND* display to indicate
that a Tele Aid call is in progress.
Page 350 of 489
349 Operation
Maintenance
Clearing the maintenance service indicator message
The maintenance service indicator mes-
sage is automatically cleared after approx-
imately 30 seconds when you switch on
the ignition or when reaching the mainte-
nance service threshold while driving.
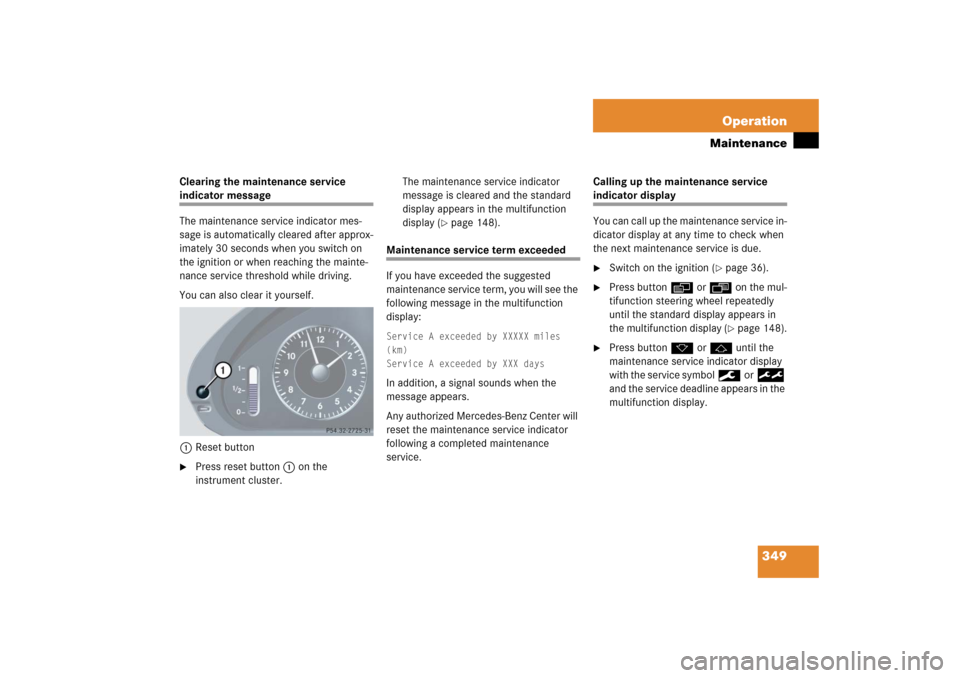
You can also clear it yourself.
1Reset button�
Press reset button 1 on the
instrument cluster.The maintenance service indicator
message is cleared and the standard
display appears in the multifunction
display (
�page 148).
Maintenance service term exceeded
If you have exceeded the suggested
maintenance service term, you will see the
following message in the multifunction
display:Service A exceeded by XXXXX miles
(km)
Service A exceeded by XXX daysIn addition, a signal sounds when the
message appears.
Any authorized Mercedes-Benz Center will
reset the maintenance service indicator
following a completed maintenance
service.Calling up the maintenance service
indicator display
You can call up the maintenance service in-
dicator display at any time to check when
the next maintenance service is due.�
Switch on the ignition (
�page 36).
�
Press buttonè orÿ on the mul-
tifunction steering wheel repeatedly
until the standard display appears in
the multifunction display (
�page 148).
�
Press buttonkorjuntil the
maintenance service indicator display
with the service symbol9or
½
and the service deadline appears in the
multifunction display.
Page 358 of 489
357 Operation
Vehicle care
Plastic and rubber parts�
Use a gentle dishwashing detergent or
mild detergent for delicate fabrics as a
washing solution.Instrument cluster and cup holders
�
Use a gentle dishwashing detergent or
mild detergent for delicate fabrics as a
washing solution.
�
Wipe with a cloth moistened in a luke-
warm solution.
Hard plastic trim items
�
Use Mercedes-Benz approved Interior
Care, a soft, lint-free cloth and apply
with light pressure.Steering wheel and gear selector lever
�
Wipe with a damp cloth and dry thor-
oughly or clean with Mercedes-Benz
approved Leather Care.
Carpets
�
Use Mercedes-Benz approved Carpet
and Fabric Care for cleaning the car-
pets. When applying Mercedes-Benz ap-
proved Tire Care and Mercedes-Benz
approved Wheel Care products, take
care not to spray them on the brake
disks.
!Do not use oil or wax on these parts.
!To prevent scratches, do not use scour-
ing agents.!To prevent scratches, do not use scour-
ing agents.
Page 361 of 489
360 Practical hintsWhat to do if …?Lamps in instrument clusterGeneral information:
If any of the following lamps in the instru-
ment cluster fails to come on during thebulb self-check when switching on the igni-
tion, have the respective bulb checked and
replaced if necessary.Problem
Possible cause/consequence
Suggested solution
-
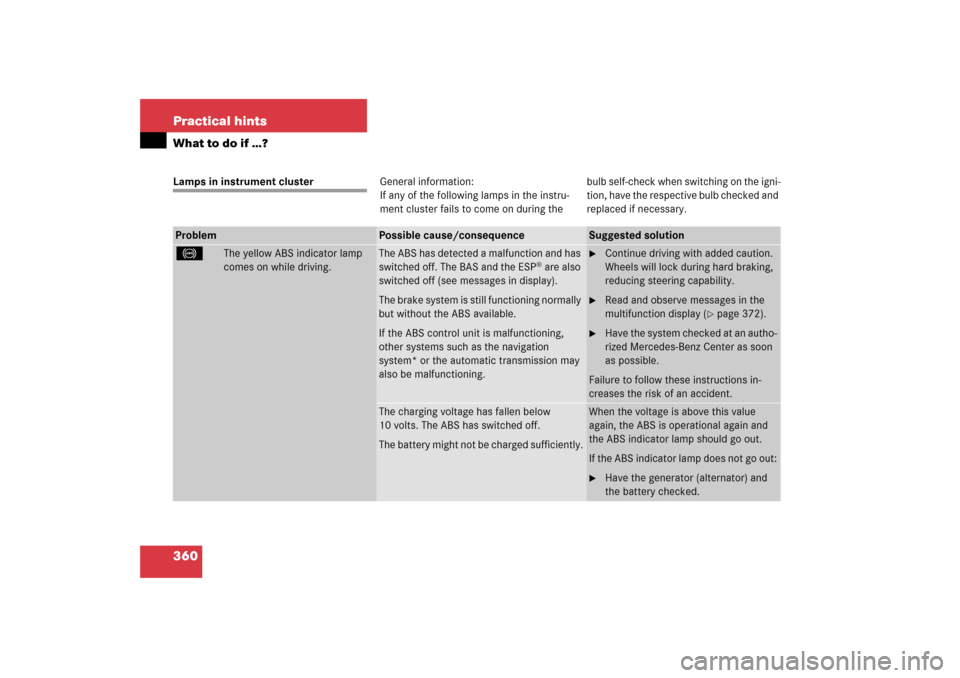
The yellow ABS indicator lamp
comes on while driving.
The ABS has detected a malfunction and has
switched off. The BAS and the ESP
® are also
switched off (see messages in display).
The brake system is still functioning normally
but without the ABS available.
If the ABS control unit is malfunctioning,
other systems such as the navigation
system* or the automatic transmission may
also be malfunctioning.
�
Continue driving with added caution.
Wheels will lock during hard braking,
reducing steering capability.
�
Read and observe messages in the
multifunction display (
�page 372).
�
Have the system checked at an autho-
rized Mercedes-Benz Center as soon
as possible.
Failure to follow these instructions in-
creases the risk of an accident.
The charging voltage has fallen below
10 volts. The ABS has switched off.
The battery might not be charged sufficiently.
When the voltage is above this value
again, the ABS is operational again and
the ABS indicator lamp should go out.
If the ABS indicator lamp does not go out:�
Have the generator (alternator) and
the battery checked.