Page 169 of 489
168 Controls in detailControl systemAnswering a call
When your telephone is ready to receive
calls, you can answer a call at any time. In
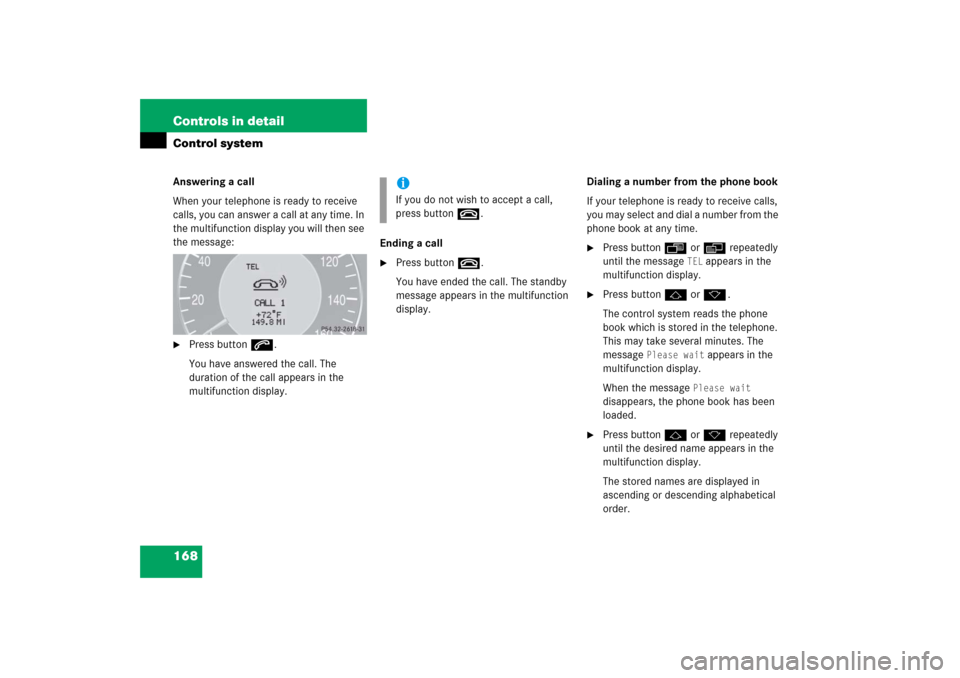
the multifunction display you will then see
the message:�
Press buttons.
You have answered the call. The
duration of the call appears in the
multifunction display.Ending a call
�
Press buttont.
You have ended the call. The standby
message appears in the multifunction
display.Dialing a number from the phone book
If your telephone is ready to receive calls,
you may select and dial a number from the
phone book at any time.
�
Press buttonÿ orè repeatedly
until the message
TEL
appears in the
multifunction display.
�
Press buttonj ork.
The control system reads the phone
book which is stored in the telephone.
This may take several minutes. The
message
Please wait
appears in the
multifunction display.
When the message
Please wait
disappears, the phone book has been
loaded.
�
Press buttonj ork repeatedly
until the desired name appears in the
multifunction display.
The stored names are displayed in
ascending or descending alphabetical
order.
iIf you do not wish to accept a call,
press buttont.
Page 170 of 489
169 Controls in detail
Control system
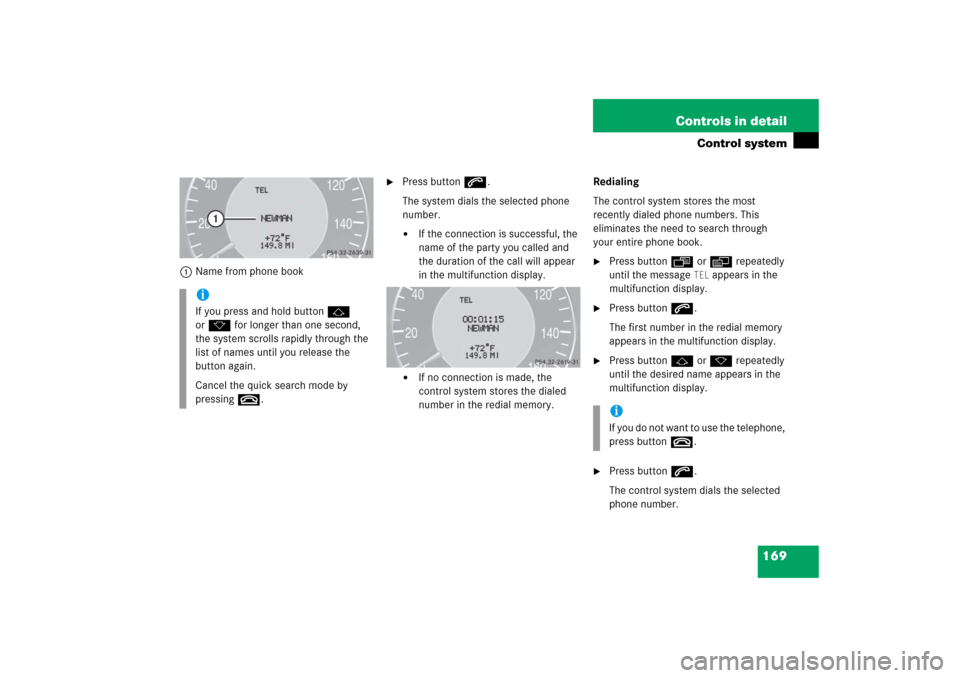
1Name from phone book
�
Press buttons.
The system dials the selected phone
number.�
If the connection is successful, the
name of the party you called and
the duration of the call will appear
in the multifunction display.
�
If no connection is made, the
control system stores the dialed
number in the redial memory.Redialing
The control system stores the most
recently dialed phone numbers. This
eliminates the need to search through
your entire phone book.
�
Press buttonÿ orè repeatedly
until the message
TEL
appears in the
multifunction display.
�
Press buttons.
The first number in the redial memory
appears in the multifunction display.
�
Press buttonj ork repeatedly
until the desired name appears in the
multifunction display.
�
Press buttons.
The control system dials the selected
phone number.
iIf you press and hold buttonj
ork for longer than one second,
the system scrolls rapidly through the
list of names until you release the
button again.
Cancel the quick search mode by
pressingt.
iIf you do not want to use the telephone,
press buttont.
Page 210 of 489
209 Controls in detail
Audio system
�Audio system
Audio and telephone*, operation
These instructions are intended to help
you become familiar with your
Mercedes-Benz audio system. They con-
tain useful tips and a detailed description
of the user functions.
Operating safety
Warning!
G
In order to avoid distraction which could
lead to an accident, the driver should enter
system settings with the vehicle at a
standstill and operate the system only when
road and traffic conditions permit. Always
pay full attention to traffic conditions first
before operating system controls while
driving.
Bear in mind that at a speed of just 30 mph
(approximately 50 km/h), your car is
covering a distance of 44 feet
(approximately 14 m) every second.
Warning!
G
Any alterations made to electronic
components can cause malfunctions.
The radio, amplifier, CD changer*, satellite
radio*, and telephone* are interconnected.
When one of the components is not opera-
tional or has not been removed/replaced
properly, the function of other components
may be impaired.
This condition might seriously impair the
operating safety of your vehicle.
We recommend that you have any service
work on electronic components carried out
by an authorized Mercedes-Benz Center.
Page 212 of 489
211 Controls in detail
Audio system
Item
Page
1
CD changer mode selector
AUX mode selector
225
215
2
Single CD mode selector
226
3
Radio mode selector
4
Mute function (radio)
219
Pause (CD)
230
5
Volume distribution
214
6
Sound settings
213
7
Display
8
Alphanumeric keypad
Item
Page
9
Speed dialing memory (tele-
phone) in descending order
a
Accepting a call
(telephone)
236
b
Telephone mode selector
231
c
Speed dialing memory (tele-
phone) in ascending order
233
d
Terminating a call
(telephone)
236
e
CD slot
f
CD ejection
227
Item
Page
g
Soft keys
212
h
Volume
212
j
Switching on/off
212
k
Manual tuning / seek
tuning (radio)
217
Track search, reverse (CD)
229
l
Manual tuning / seek
tuning (radio)
217
Track search,
fast forward (CD)
229
Page 213 of 489
212 Controls in detailAudio systemButton and soft key operation
In these instructions, the alphanumeric
keypad (right side of radio panel) and the
function buttons (left side of radio panel)
are referred to as “buttons”. The four keys
below the display panel are referred to as
“soft keys”.Operation
Switching the unit on/off
Switching on�
Turn the SmartKey in the starter switch
to position 1 or 2.
�
If the audio system was on as you
removed the SmartKey from the starter
switch, the audio system will
automatically come back on as you
turn the SmartKey to position 1 or 2.
or
�
Press M button.
Switching off
�
Remove SmartKey from starter switch.
or
�
Press M button.Adjusting the volume
�
Turn rotary control of N button.
The volume will increase or decrease
depending on the direction turned.
!Do not press directly in the display
face. Otherwise, the display will be
damaged.
iIf the radio is switched on without the
key in the starter switch, it will
automatically switch off again after
approximately 30 minutes.
If your vehicle is equipped with a
telephone, the display may prompt you
to enter your PIN (GSM network) or
code (TDMA or CDMA network).
iShould excessively high temperatures
occur while the audio system is being
operated, the display will dim. If tem-
peratures continue to rise,
HIGH TEMP
will appear in the display, after which
the audio system will be switched off
for a cooling-down period.
iIf your vehicle equipment includes a
Mercedes-Benz specified mobile
phone*, you can adjust its volume sep-
arately from the volume of the audio
system while the telephone is being
used.
Page 214 of 489
213 Controls in detail
Audio system
Adjusting sound functions
The bass and treble functions are called up
by pressing the O button.
Settings for bass and treble are stored
separately for the AM and FM wavebands,
weather band, CD mode and telephone
mode.
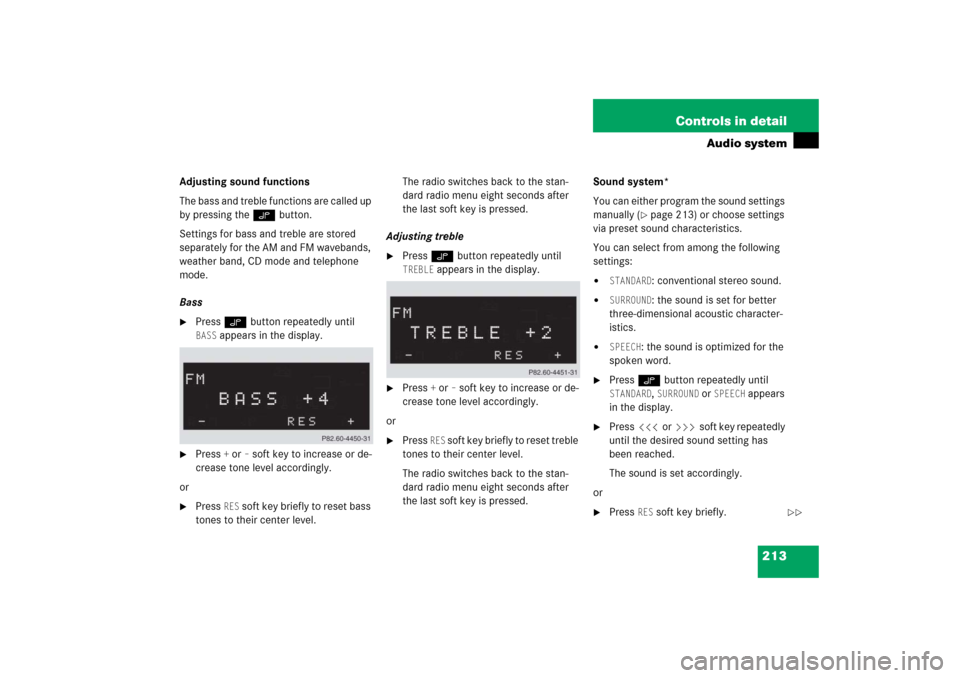
Bass�
Press O button repeatedly until BASS
appears in the display.
�
Press
+ or
– soft key to increase or de-
crease tone level accordingly.
or
�
Press
RES
soft key briefly to reset bass
tones to their center level.The radio switches back to the stan-
dard radio menu eight seconds after
the last soft key is pressed.
Adjusting treble
�
Press O button repeatedly until TREBLE
appears in the display.
�
Press
+ or
– soft key to increase or de-
crease tone level accordingly.
or
�
Press
RES
soft key briefly to reset treble
tones to their center level.
The radio switches back to the stan-
dard radio menu eight seconds after
the last soft key is pressed.Sound system*
You can either program the sound settings
manually (
�page 213) or choose settings
via preset sound characteristics.
You can select from among the following
settings:
�
STANDARD
: conventional stereo sound.
�
SURROUND
: the sound is set for better
three-dimensional acoustic character-
istics.
�
SPEECH
: the sound is optimized for the
spoken word.
�
Press O button repeatedly until STANDARD
, SURROUND
or
SPEECH
appears
in the display.
�
Press X or Y soft key repeatedly
until the desired sound setting has
been reached.
The sound is set accordingly.
or
�
Press
RES
soft key briefly.
��
Page 215 of 489
214 Controls in detailAudio system
The sound setting is reset depending
on the sound source activated.�
Radio mode:
STANDARD
�
CD/AUX mode:
SURROUND
�
Telephone:
SPEECH
The radio switches back to the stan-
dard radio menu eight seconds after
the last soft key is pressed.
Returning sound functions to factory
settings
�
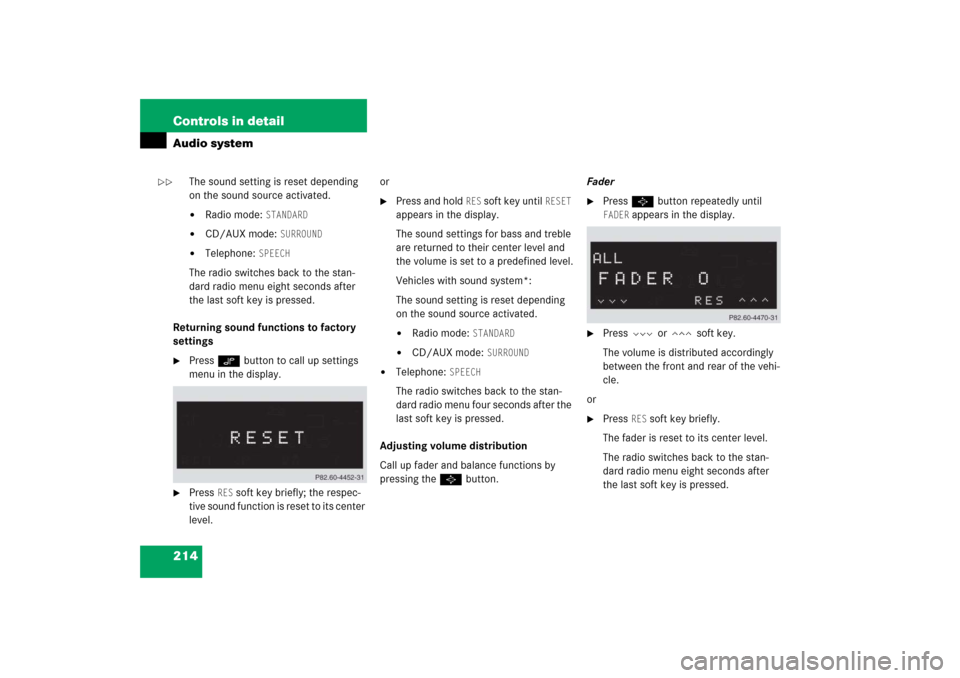
Press O button to call up settings
menu in the display.
�
Press
RES
soft key briefly; the respec-
tive sound function is reset to its center
level.or
�
Press and hold
RES
soft key until
RESET
appears in the display.
The sound settings for bass and treble
are returned to their center level and
the volume is set to a predefined level.
Vehicles with sound system*:
The sound setting is reset depending
on the sound source activated.
�
Radio mode:
STANDARD
�
CD/AUX mode:
SURROUND
�
Telephone:
SPEECH
The radio switches back to the stan-
dard radio menu four seconds after the
last soft key is pressed.
Adjusting volume distribution
Call up fader and balance functions by
pressing the P button.Fader
�
Press P button repeatedly until FADER
appears in the display.
�
Press V or W soft key.
The volume is distributed accordingly
between the front and rear of the vehi-
cle.
or
�
Press
RES
soft key briefly.
The fader is reset to its center level.
The radio switches back to the stan-
dard radio menu eight seconds after
the last soft key is pressed.
��
Page 216 of 489
215 Controls in detail
Audio system
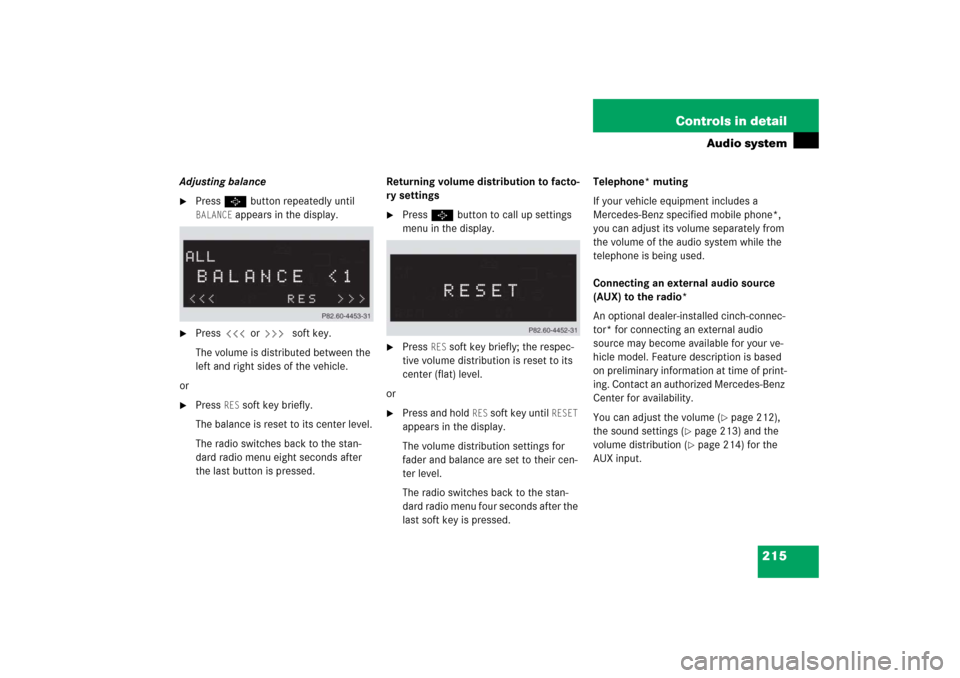
Adjusting balance�
Press P button repeatedly until BALANCE
appears in the display.
�
Press X or Y soft key.
The volume is distributed between the
left and right sides of the vehicle.
or
�
Press
RES
soft key briefly.
The balance is reset to its center level.
The radio switches back to the stan-
dard radio menu eight seconds after
the last button is pressed.Returning volume distribution to facto-
ry settings
�
Press P button to call up settings
menu in the display.
�
Press
RES
soft key briefly; the respec-
tive volume distribution is reset to its
center (flat) level.
or
�
Press and hold
RES
soft key until
RESET
appears in the display.
The volume distribution settings for
fader and balance are set to their cen-
ter level.
The radio switches back to the stan-
dard radio menu four seconds after the
last soft key is pressed.Telephone* muting
If your vehicle equipment includes a
Mercedes-Benz specified mobile phone*,
you can adjust its volume separately from
the volume of the audio system while the
telephone is being used.
Connecting an external audio source
(AUX) to the radio*
An optional dealer-installed cinch-connec-
tor* for connecting an external audio
source may become available for your ve-
hicle model. Feature description is based
on preliminary information at time of print-
ing. Contact an authorized Mercedes-Benz
Center for availability.
You can adjust the volume (
�page 212),
the sound settings (
�page 213) and the
volume distribution (�page 214) for the
AUX input.