Page 159 of 456

158 Controls in detailControl systemSelecting language�
Move the selection marker with
theæ orç button to the
INST.
CLUS.
submenu.
�
Press buttonj ork repeatedly
until you see this message in the multi-
function display:
LANGUAGE
The selection marker is on the current
setting.
�
Pressæ orç to select the lan-
guage to be used for the multifunction
display messages.Available languages:
�
German
�
English
�
French
�
Italian
�
Spanish
Selecting tire inflation pressure unit
Use this function to set the unit for the tire
inflation pressure display.
�
Move the selection marker with
theæ orç button to the
INST.
CLUS.
submenu.
�
Press buttonj ork repeatedly
until you see this message in the multi-
function display:
DISPLAY UNIT TIRE
PRESSURE
.
The selection marker is on the current
setting.
�
Press æ or ç to select the de-
sired tire inflation pressure unit.
Lighting submenu
Access the
LIGHTING
submenu via the
SET-
TINGS
menu. Use the
LIGHTING
submenu
to change the lamp and lighting settings on
your vehicle. The following functions are
available:
Function
Page
Set daytime running lamp mode
(USA only)
159
Set locator lighting
160
Exterior lights delayed shut-off
160
Interior lighting delayed shut-off
161
Page 160 of 456
159 Controls in detail
Control system
Setting daytime running lamp mode
(USA only)�
Move the selection marker with
theæ orç button to the
LIGHT-
ING
submenu.
�
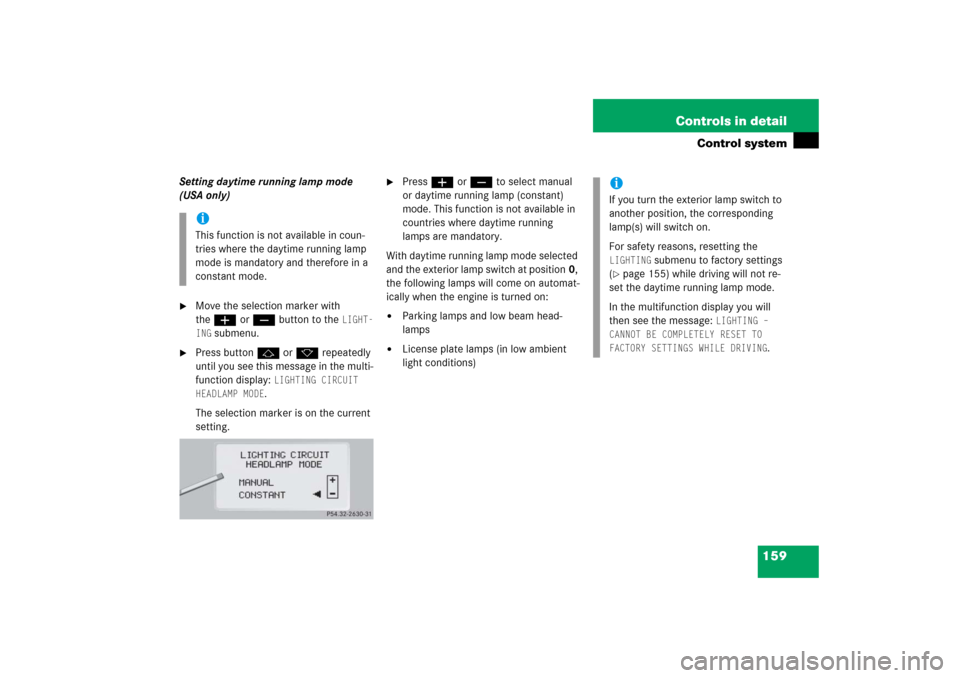
Press buttonj ork repeatedly
until you see this message in the multi-
function display:
LIGHTING CIRCUIT
HEADLAMP MODE.
The selection marker is on the current
setting.
�
Pressæ orç to select manual
or daytime running lamp (constant)
mode. This function is not available in
countries where daytime running
lamps are mandatory.
With daytime running lamp mode selected
and the exterior lamp switch at position0,
the following lamps will come on automat-
ically when the engine is turned on:
�
Parking lamps and low beam head-
lamps
�
License plate lamps (in low ambient
light conditions)
iThis function is not available in coun-
tries where the daytime running lamp
mode is mandatory and therefore in a
constant mode.
iIf you turn the exterior lamp switch to
another position, the corresponding
lamp(s) will switch on.
For safety reasons, resetting the LIGHTING
submenu to factory settings
(
�page 155) while driving will not re-
set the daytime running lamp mode.
In the multifunction display you will
then see the message:
LIGHTING –
CANNOT BE COMPLETELY RESET TO
FACTORY SETTINGS WHILE DRIVING
.
Page 161 of 456

160 Controls in detailControl systemSetting locator lighting
With the locator lighting feature activated
and the exterior lamp switch in position
U, the following lamps will switch on
during darkness when the vehicle is un-
locked with the SmartKey:�
Parking lamps
�
Tail lamps
�
License plate lamps
�
Front fog lamps
To activate locator lighting:
�
Make sure the function
LOCATOR
LIGHTING
is set.
�
Turn the exterior lamp switch to
positionU when exiting the vehicle.
If you do not open a door after unlocking
the vehicle with the SmartKey, the lamps
will switch off automatically after approxi-
mately 40 seconds.
�
Move the selection marker with
theæ orç button to the LIGHTING
submenu.
�
Press buttonj ork repeatedly
until you see this message in the multi-
function display:
LOCATOR LIGHTING
.
The selection marker is on the current
setting.
�
Pressæ orç to select the de-
sired setting.
The locator lighting will be switched
ON
or
OFF
.Setting night security illumination
(Exterior lights delayed switch-off)
Use the
HEADLAMPS DELAYED SWITCH-OFF
function to set whether and for how long
you would like the exterior lamps to illumi-
nate during darkness after all doors are
closed. When the delayed switch-off fea-
ture is activated and the exterior lamp
switch is in position U before the en-
gine is turned off, the following lamps will
remain lit when the engine is turned off:
�
Parking lamps
�
Tail lamps
�
License plate lamps
�
Front fog lampsiYou can reactivate this function within
10 minutes by opening a door.
If after turning off the engine you do not
open a door or do not close an opened
door, the lamps will automatically
switch off after 60 seconds.
Page 162 of 456
161 Controls in detail
Control system
To activate night security illumination:�
Select delayed switch-off period (see
below).
�
Turn the exterior lamp switch to
positionU before turning off the en-
gine.
To select delayed switch-off period:
�
Move the selection marker with
theæ orç button to the LIGHTING
submenu.
�
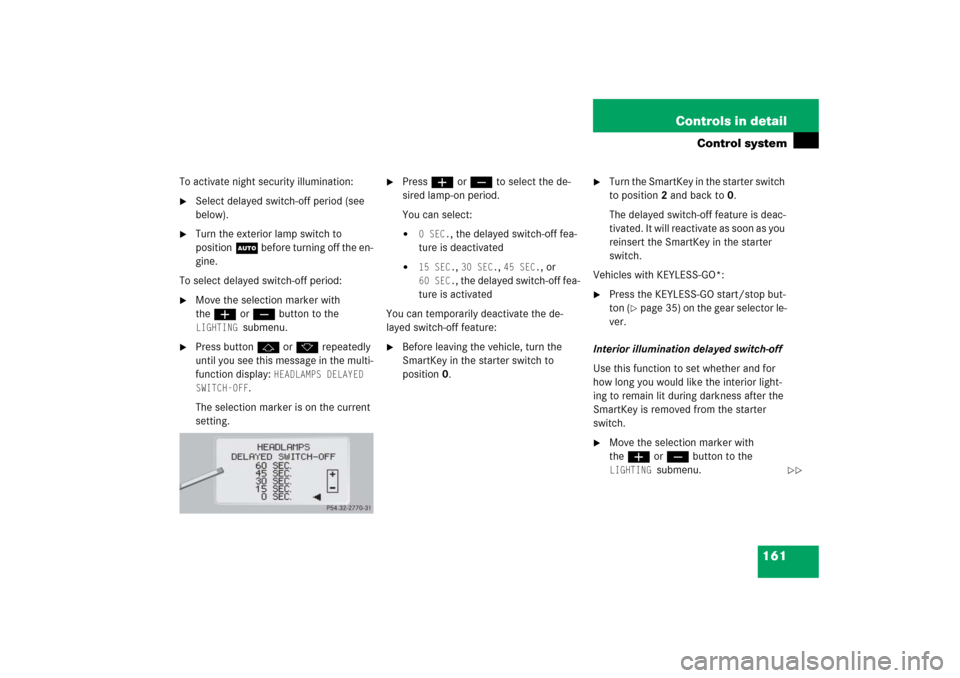
Press buttonj ork repeatedly
until you see this message in the multi-
function display:
HEADLAMPS DELAYED
SWITCH-OFF
.
The selection marker is on the current
setting.
�
Pressæ orç to select the de-
sired lamp-on period.
You can select:�
0 SEC.
, the delayed switch-off fea-
ture is deactivated
�
15 SEC.
, 30 SEC.
, 45 SEC.
, or
60 SEC.
, the delayed switch-off fea-
ture is activated
You can temporarily deactivate the de-
layed switch-off feature:
�
Before leaving the vehicle, turn the
SmartKey in the starter switch to
position0.
�
Turn the SmartKey in the starter switch
to position2 and back to0.
The delayed switch-off feature is deac-
tivated. It will reactivate as soon as you
reinsert the SmartKey in the starter
switch.
Vehicles with KEYLESS-GO*:
�
Press the KEYLESS-GO start/stop but-
ton (
�page 35) on the gear selector le-
ver.
Interior illumination delayed switch-off
Use this function to set whether and for
how long you would like the interior light-
ing to remain lit during darkness after the
SmartKey is removed from the starter
switch.
�
Move the selection marker with
theæ orç button to the LIGHTING
submenu.
��
Page 163 of 456

162 Controls in detailControl system�
Press buttonj ork repeatedly
until you see this message in the multi-
function display:
INTERIOR LIGHTING
DELAYED SWITCH-OFF
.
The selection marker is on the current
setting.
�
Pressæ orç to select the de-
sired lamp-on time period. You can se-
lect:�
0 SEC.
, the delayed switch-off fea-
ture is deactivated.
�
5 SEC.,
10 SEC.
, 15 SEC.,
or
20 SEC.
, the delayed switch-off fea-
ture is activated.Vehicle submenu
Access the
VEHICLE
submenu via the
SETINGS
menu. Use the
VEHICLE
submenu
to make general vehicle settings. The
following functions are available:Setting automatic locking
Use this function to activate or deactivate
the automatic central locking. With the au-
tomatic central locking system activated,
the vehicle is centrally locked at vehicle
speeds of approximately 9 mph
(15 km/h).
�
Press buttonæ orç to move
the selection marker to the
VEHICLE
submenu.
�
Press buttonj ork repeatedly
until you see this message in the multi-
function display:
AUTOMATIC DOOR LOCK
.
The selection marker is on the current
setting.
�
Pressæ orç to switch AUTOMATIC DOOR LOCK
ON or
OFF
.
Function
Page
Set automatic locking
162
Limiting opening height of trunk
lid*
163
��
Page 164 of 456
163 Controls in detail
Control system
Limiting opening height of trunk lid*
This function is available on vehicles with
the trunk opening/closing system*. Use
this function to activate or deactivate the
limiting opening height of trunk lid.�
Move the selection marker with
theæ orç button to
VEHICLE
submenu.
�
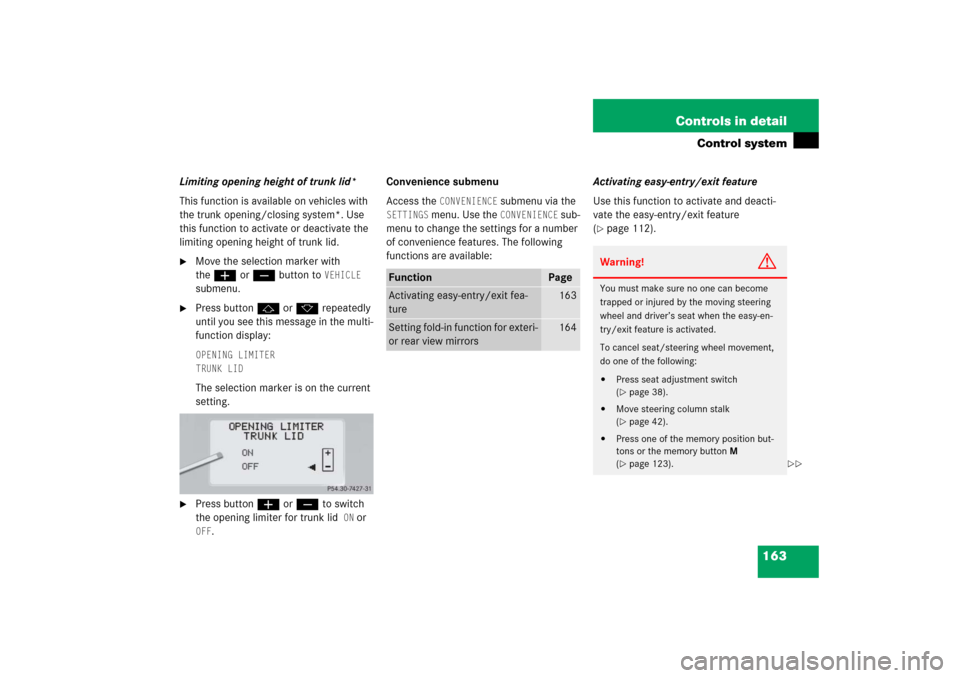
Press buttonj ork repeatedly
until you see this message in the multi-
function display:OPENING LIMITER
TRUNK LIDThe selection marker is on the current
setting.
�
Press buttonæ orç to switch
the opening limiter for trunk lid
ON
or
OFF
.Convenience submenu
Access the
CONVENIENCE
submenu via the
SETTINGS
menu. Use the
CONVENIENCE
sub-
menu to change the settings for a number
of convenience features. The following
functions are available:Activating easy-entry/exit feature
Use this function to activate and deacti-
vate the easy-entry/exit feature
(
�page 112).
Function
Page
Activating easy-entry/exit fea-
ture
163
Setting fold-in function for exteri-
or rear view mirrors
164
Warning!
G
You must make sure no one can become
trapped or injured by the moving steering
wheel and driver’s seat when the easy-en-
try/exit feature is activated.
To cancel seat/steering wheel movement,
do one of the following:�
Press seat adjustment switch
(�page 38).
�
Move steering column stalk
(�page 42).
�
Press one of the memory position but-
tons or the memory button M
(�page 123).
��
Page 165 of 456
164 Controls in detailControl system�
Move the selection marker with
theæ orç button to
the
CONVENIENCE
submenu.
�
Press buttonj ork repeatedly
until you see this message in the multi-
function display:
EASY-ENTRY FEATURE
ACTIVATE
.
The selection marker is on the current
setting.
�
Pressæ orç to change the
easy-entry/exit setting.
The following settings are available for the
easy-entry/exit feature:Setting fold-in function for exterior rear
view mirrors
Using this function, you can set the exteri-
or rear view mirrors to be automatically
folded in when you lock your vehicle
(
�page 180).
�
Move the selection marker to the CONVENIENCE
submenu with theæ
orç button.
�
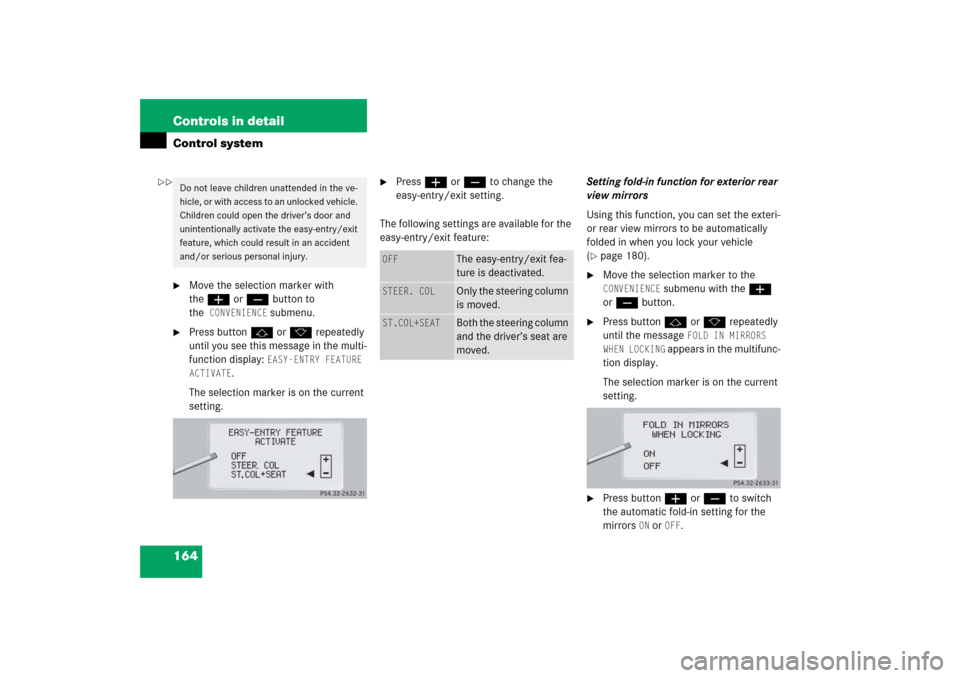
Press buttonj ork repeatedly
until the message
FOLD IN MIRRORS
WHEN LOCKING
appears in the multifunc-
tion display.
The selection marker is on the current
setting.
�
Press buttonæ or ç to switch
the automatic fold-in setting for the
mirrors
ON or
OFF
.
Do not leave children unattended in the ve-
hicle, or with access to an unlocked vehicle.
Children could open the driver’s door and
unintentionally activate the easy-entry/exit
feature, which could result in an accident
and/or serious personal injury.
OFF
The easy-entry/exit fea-
ture is deactivated.
STEER. COL
Only the steering column
is moved.
ST.COL+SEAT
Both the steering column
and the driver’s seat are
moved.
��
Page 167 of 456
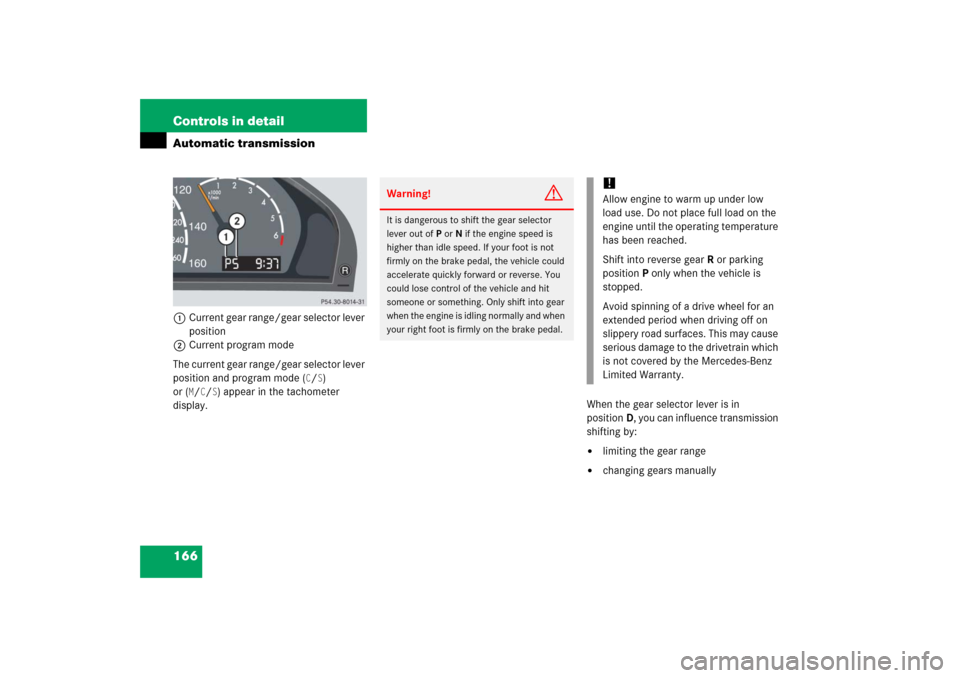
166 Controls in detailAutomatic transmission1Current gear range/gear selector lever
position
2Current program mode
The current gear range/gear selector lever
position and program mode (
C/S)
or (
M/C/S) appear in the tachometer
display.When the gear selector lever is in
positionD, you can influence transmission
shifting by:
�
limiting the gear range
�
changing gears manually
Warning!
G
It is dangerous to shift the gear selector
lever out ofP orN if the engine speed is
higher than idle speed. If your foot is not
firmly on the brake pedal, the vehicle could
accelerate quickly forward or reverse. You
could lose control of the vehicle and hit
someone or something. Only shift into gear
when the engine is idling normally and when
your right foot is firmly on the brake pedal.
!Allow engine to warm up under low
load use. Do not place full load on the
engine until the operating temperature
has been reached.
Shift into reverse gearR or parking
positionP only when the vehicle is
stopped.
Avoid spinning of a drive wheel for an
extended period when driving off on
slippery road surfaces. This may cause
serious damage to the drivetrain which
is not covered by the Mercedes-Benz
Limited Warranty.