Page 94 of 328

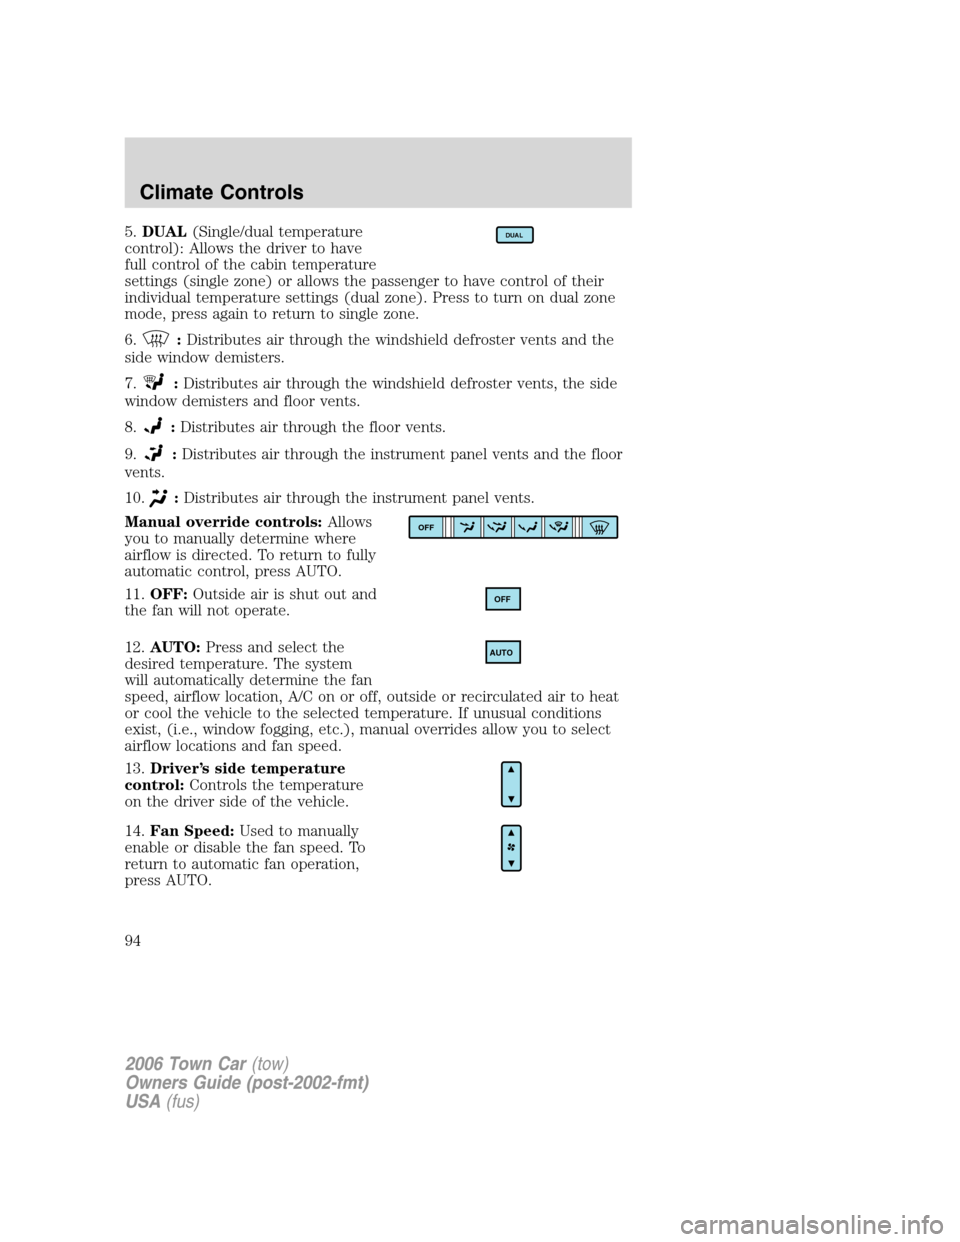
5.DUAL(Single/dual temperature
control): Allows the driver to have
full control of the cabin temperature
settings (single zone) or allows the passenger to have control of their
individual temperature settings (dual zone). Press to turn on dual zone
mode, press again to return to single zone.
6.
:Distributes air through the windshield defroster vents and the
side window demisters.
7.
:Distributes air through the windshield defroster vents, the side
window demisters and floor vents.
8.
:Distributes air through the floor vents.
9.
:Distributes air through the instrument panel vents and the floor
vents.
10.
:Distributes air through the instrument panel vents.
Manual override controls:Allows
you to manually determine where
airflow is directed. To return to fully
automatic control, press AUTO.
11.OFF:Outside air is shut out and
the fan will not operate.
12.AUTO:Press and select the
desired temperature. The system
will automatically determine the fan
speed, airflow location, A/C on or off, outside or recirculated air to heat
or cool the vehicle to the selected temperature. If unusual conditions
exist, (i.e., window fogging, etc.), manual overrides allow you to select
airflow locations and fan speed.
13.Driver’s side temperature
control:Controls the temperature
on the driver side of the vehicle.
14.Fan Speed:Used to manually
enable or disable the fan speed. To
return to automatic fan operation,
press AUTO.
DUAL
OFF
OFF
AUTO
2006 Town Car(tow)
Owners Guide (post-2002-fmt)
USA(fus)
Climate Controls
94
Page 95 of 328

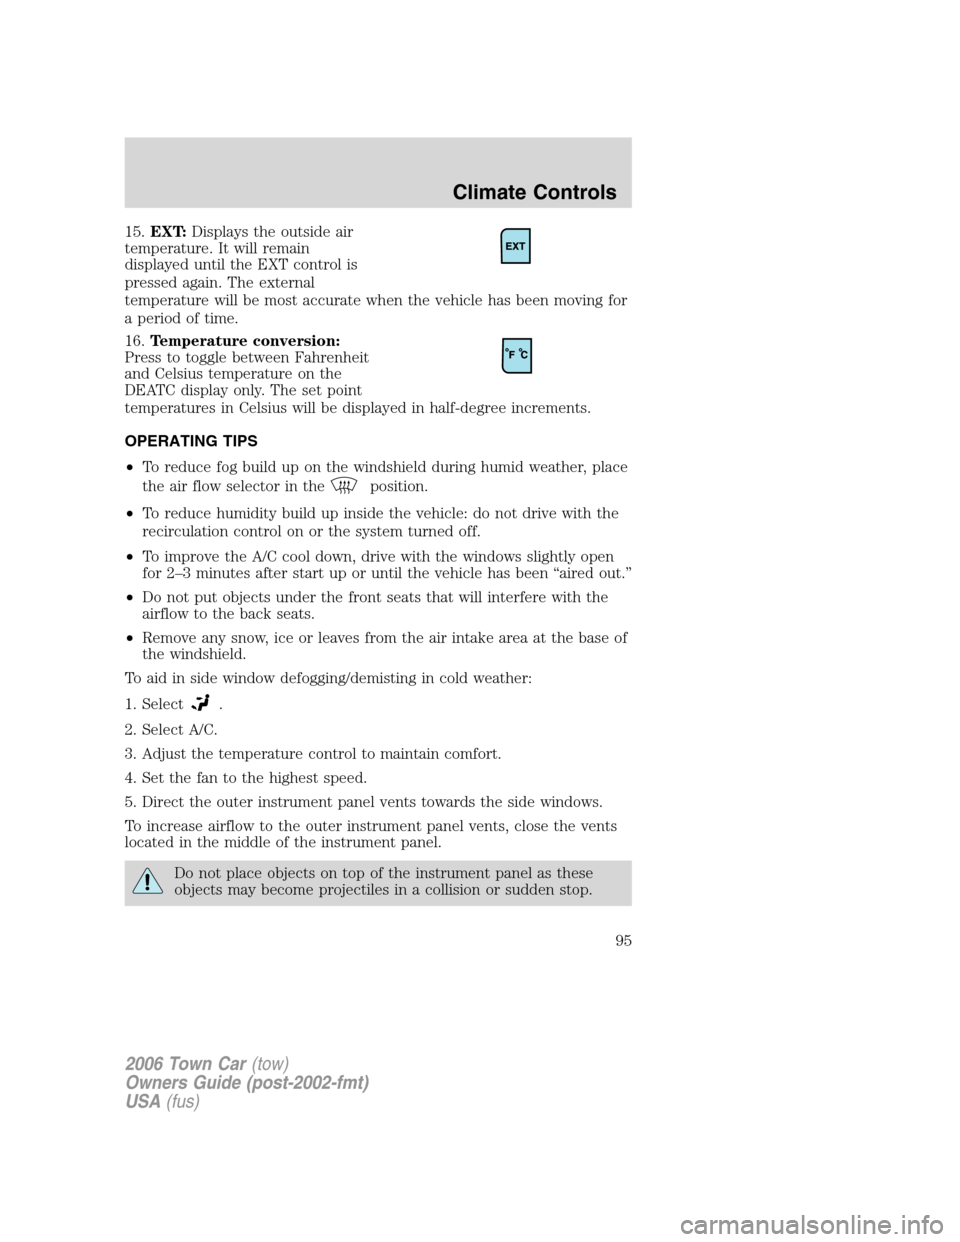
15.EXT:Displays the outside air
temperature. It will remain
displayed until the EXT control is
pressed again. The external
temperature will be most accurate when the vehicle has been moving for
a period of time.
16.Temperature conversion:
Press to toggle between Fahrenheit
and Celsius temperature on the
DEATC display only. The set point
temperatures in Celsius will be displayed in half-degree increments.
OPERATING TIPS
•To reduce fog build up on the windshield during humid weather, place
the air flow selector in the
position.
•To reduce humidity build up inside the vehicle: do not drive with the
recirculation control on or the system turned off.
•To improve the A/C cool down, drive with the windows slightly open
for 2–3 minutes after start up or until the vehicle has been “aired out.”
•Do not put objects under the front seats that will interfere with the
airflow to the back seats.
•Remove any snow, ice or leaves from the air intake area at the base of
the windshield.
To aid in side window defogging/demisting in cold weather:
1. Select
.
2. Select A/C.
3. Adjust the temperature control to maintain comfort.
4. Set the fan to the highest speed.
5. Direct the outer instrument panel vents towards the side windows.
To increase airflow to the outer instrument panel vents, close the vents
located in the middle of the instrument panel.
Do not place objects on top of the instrument panel as these
objects may become projectiles in a collision or sudden stop.
2006 Town Car(tow)
Owners Guide (post-2002-fmt)
USA(fus)
Climate Controls
95
Page 96 of 328
REAR CONSOLE CLIMATE CONTROLS (IF EQUIPPED)
•TEMP:Press to increase or
decrease airflow temperature.
•FAN:Press to increase or
decrease the fan speed.
REAR WINDOW DEFROSTER
The rear defroster control is located
on the instrument panel.
Press the rear defroster control to
clear the rear window of thin ice
and fog. A small LED will illuminate
when the rear defroster is activated.
The ignition must be in the ON position to operate the rear window
defroster.
The defroster turns off automatically after a predetermined amount of
time or when the ignition is turned to the OFF position. To manually
turn off the defroster, press the control again.
Do not use razor blades or other sharp objects to clean the inside
of the rear window or to remove decals from the inside of the
rear window. This may cause damage to the heated grid lines and
will not be covered by your warranty.
R
2006 Town Car(tow)
Owners Guide (post-2002-fmt)
USA(fus)
Climate Controls
96
Page 108 of 328
ILLUMINATED VISOR MIRROR (IF EQUIPPED)
Lift the mirror cover to turn on the
visor mirror lamp.
Slide on rod feature (if
equipped)
Rotate the visor towards the side
window and extend it rearward for
additional sunlight coverage.
Note:To stow the visor back into
the headliner, visor must be
retracted before moving it back
towards the windshield.
CLOCK
Press the right control to move the
time display forward.
Press the left control to move the
time display backwards.
2006 Town Car(tow)
Owners Guide (post-2002-fmt)
USA(fus)
Driver Controls
108
Page 110 of 328
Remote seat adjustment
The rear passenger can move the
front passenger seat forward or
backward using the control located
in the rear center console.
Move the control forward or
backward to move front passenger
seat.
Remote seat adjustment lockout
The window lockout control, located
on the drivers door, will also lockout
the remote seat adjustment. To lock
out the remote seat adjustment
feature, press the right side of the
control. Press the left side to
restore the remote seat adjustment
control.
POWER WINDOWS
Do not leave children unattended in the vehicle and do not let
children play with the power windows. They may seriously injure
themselves.
When closing the power windows, you should verify they are free
of obstructions and ensure that children and/or pets are not in
the proximity of the window openings.
2006 Town Car(tow)
Owners Guide (post-2002-fmt)
USA(fus)
Driver Controls
110
Page 111 of 328
Press and hold the rocker switches
to open and close windows.
•Press the top portion of the
rocker switch to close.
•Press the bottom portion of the
rocker switch to open.
One touch down
•Press AUTO completely down and
release quickly. The driver’s
window will open fully. Depress
again to stop window operation.
One touch down can be deactivated
during operation by pushing down
on the top part of the driver power
window control.
Window lock
The window lock feature allows only
the driver to operate the power
windows.
To lock out all the window controls
except for the driver’s press the left
side of the control. Press the right
side to restore the window controls.
Accessory delay (if equipped)
With accessory delay, the window switches, radio, and moonroof may be
used for up to ten minutes after the ignition switch is turned to the OFF
position or until any door is opened.
2006 Town Car(tow)
Owners Guide (post-2002-fmt)
USA(fus)
Driver Controls
111
Page 113 of 328

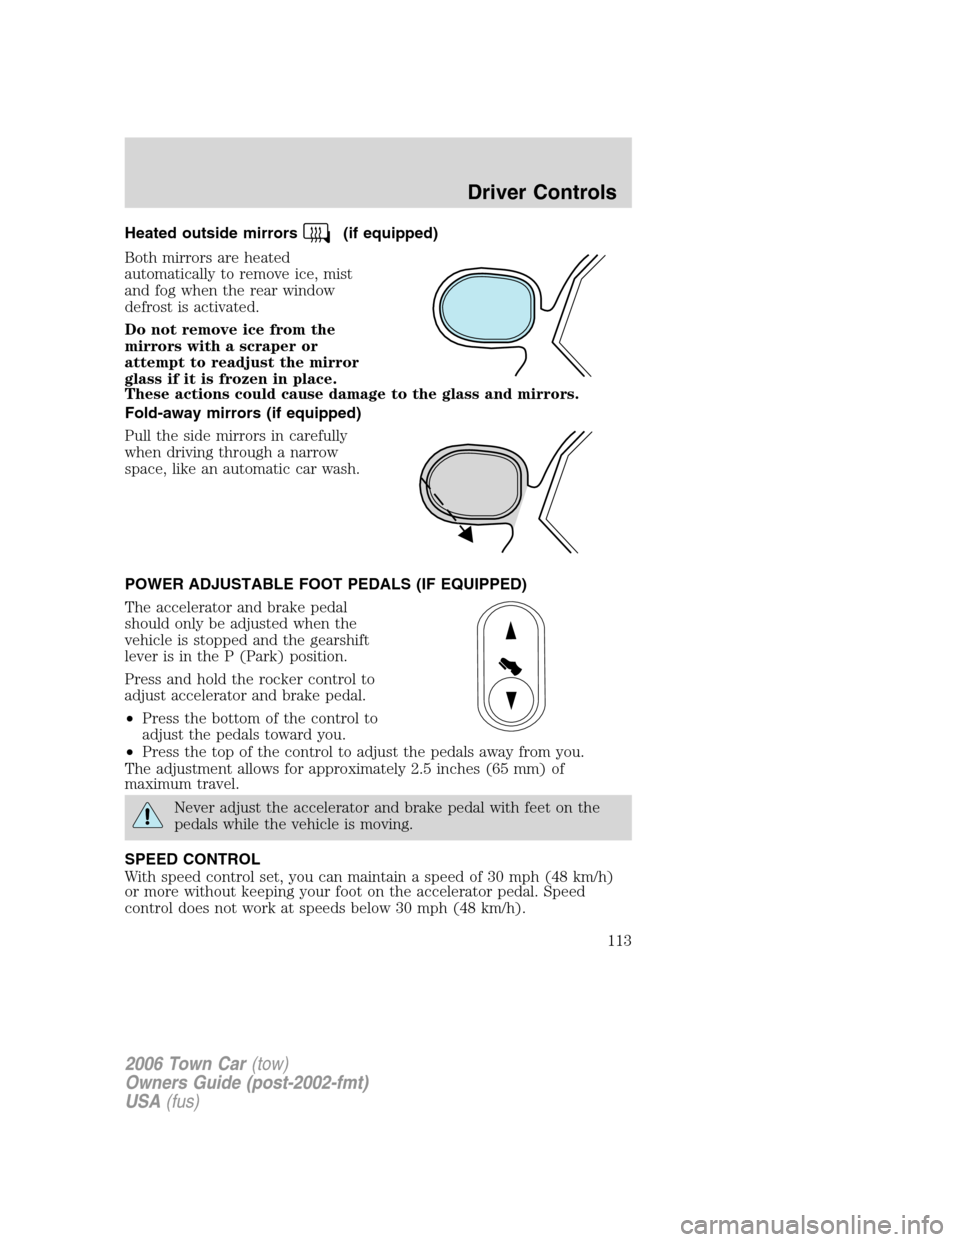
Heated outside mirrors(if equipped)
Both mirrors are heated
automatically to remove ice, mist
and fog when the rear window
defrost is activated.
Do not remove ice from the
mirrors with a scraper or
attempt to readjust the mirror
glass if it is frozen in place.
These actions could cause damage to the glass and mirrors.
Fold-away mirrors (if equipped)
Pull the side mirrors in carefully
when driving through a narrow
space, like an automatic car wash.
POWER ADJUSTABLE FOOT PEDALS (IF EQUIPPED)
The accelerator and brake pedal
should only be adjusted when the
vehicle is stopped and the gearshift
lever is in the P (Park) position.
Press and hold the rocker control to
adjust accelerator and brake pedal.
•Press the bottom of the control to
adjust the pedals toward you.
•Press the top of the control to adjust the pedals away from you.
The adjustment allows for approximately 2.5 inches (65 mm) of
maximum travel.
Never adjust the accelerator and brake pedal with feet on the
pedals while the vehicle is moving.
SPEED CONTROL
With speed control set, you can maintain a speed of 30 mph (48 km/h)
or more without keeping your foot on the accelerator pedal. Speed
control does not work at speeds below 30 mph (48 km/h).
2006 Town Car(tow)
Owners Guide (post-2002-fmt)
USA(fus)
Driver Controls
113
Page 119 of 328

Accessory delay:
With accessory delay, the window switches, audio system, and moon roof
(if equipped) may be used for up to 10 minutes after the ignition switch
is turned to the OFF position or until any door is opened
Do not let children play with the moon roof or leave children
unattended in the vehicle. They may seriously hurt themselves.
When closing the moon roof, you should verify that it is free of
obstructions and ensure that children and/or pets are not in the
proximity of the moon roof opening.
HOMELINK�WIRELESS CONTROL SYSTEM (IF EQUIPPED)
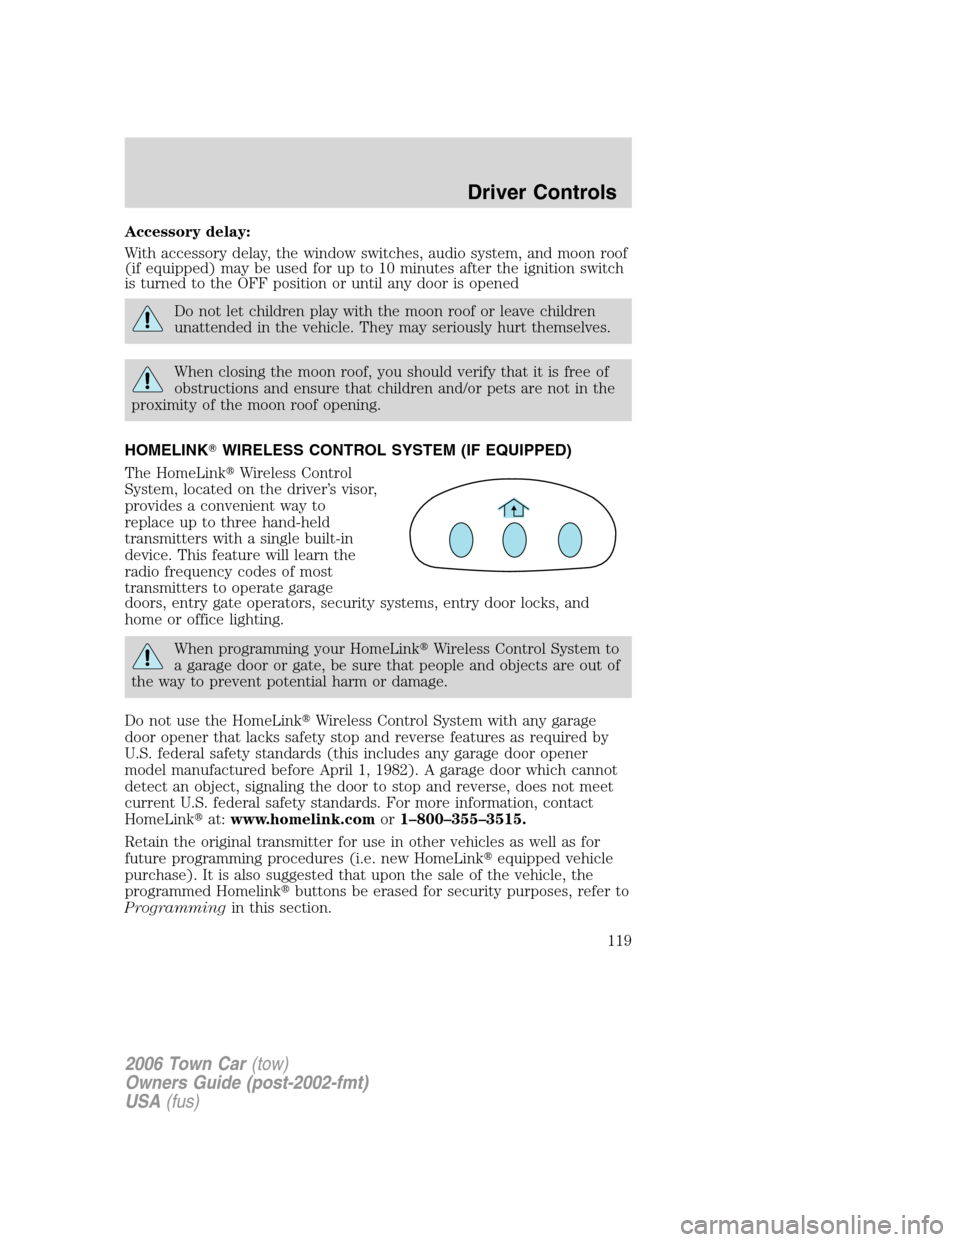
The HomeLink�Wireless Control
System, located on the driver’s visor,
provides a convenient way to
replace up to three hand-held
transmitters with a single built-in
device. This feature will learn the
radio frequency codes of most
transmitters to operate garage
doors, entry gate operators, security systems, entry door locks, and
home or office lighting.
When programming your HomeLink�Wireless Control System to
a garage door or gate, be sure that people and objects are out of
the way to prevent potential harm or damage.
Do not use the HomeLink�Wireless Control System with any garage
door opener that lacks safety stop and reverse features as required by
U.S. federal safety standards (this includes any garage door opener
model manufactured before April 1, 1982). A garage door which cannot
detect an object, signaling the door to stop and reverse, does not meet
current U.S. federal safety standards. For more information, contact
HomeLink�at:www.homelink.comor1–800–355–3515.
Retain the original transmitter for use in other vehicles as well as for
future programming procedures (i.e. new HomeLink�equipped vehicle
purchase). It is also suggested that upon the sale of the vehicle, the
programmed Homelink�buttons be erased for security purposes, refer to
Programmingin this section.
2006 Town Car(tow)
Owners Guide (post-2002-fmt)
USA(fus)
Driver Controls
119