Page 112 of 442
EXTERIOR EQUIPMENT
xcviii
2. To remove the fuel tank cap, turn the cap
counterclockwise by 90 degrees (to the pressure point
1), and then turn it an additional 30 degrees (to point
2). Pause slightly before removing it.
It is not unusual to hear a slight swoosh when the cap is
opened.
3. The removed cap can be stored on the back side of the
fuel filler door.
Position the cap so that the hooks point to the left and right, and
set it in the receptacle on the back side of the door.
Page 113 of 442
EXTERIOR EQUIPMENT
xcix
When installing the cap, turn the cap clockwise until you
hear a click. When you hear the click, the cap is fully
closed.
If the cap is not tightened securely, the malfunction indicator
lamp comes on. Make sure the cap is tightened securely.
The indicator lamp goes off after driving several times. If the
indicator lamp does not go off, contact your Lexus dealer as
soon as possible.
CAUTION
�
Make sure the cap is installed securely to prevent fuel
spillage in the event of an accident.
� Use only a genuine Lexus fuel tank cap for
replacement. It is designed to regulate fuel tank
pressure.
NOTICE
To prevent damage to the cap, apply force only in the
turning direction to the cap. Do not pull or pry it.
In case the opener is not actuated
Remove the cover and pull up the manual lever in the
trunk.
This is used in case the fuel filler door cannot be opened due
to a discharged battery or other trouble.
Page 115 of 442
EXTERIOR EQUIPMENT
ci
Retained accessory power operation: Even if the ignition
key is turned to the “ACC” or “LOCK” position, the moonroof
can be operated until a front door is opened (or for 43 seconds).
To tilt up the slide�opened moonroof:
Push the switch on the “TILT UP” side to close the moonroof
fully. After releasing the switch, push the switch on the same
side again.
Operating the moonroof from outside the
vehicle
The moonroof can be opened using an ignition key.*
NOTE:
* This feature can be deactivate.
Ask your Lexus dealer for details.
Insert the ignition key into the key hole on the driver’s
door.
Turn the key in the unlocking direction and hold it.
Page 116 of 442

EXTERIOR EQUIPMENT
ciiAfter the door is unlocked, the moonroof begins to open. To
stop in the middle, return the key.
The moonroof also can be opened using the wireless remote
control. For details, see page xx.
Jam protection function
If something gets caught into the roof opening during closing
operation, the moonroof stops and opens.
If the moonroof receives a strong impact, this function may
work even if nothing is caught.
If the battery is disconnected or run down
The moonroof may not operate automatically and the jam
protection function will not function correctly after you
reconnect, replace or recharge the battery. In any of these
cases, you should normalize the moonroof.
To normalize the moonroof, push and hold the switch on the
“TILT UP” side until the moonroof tilts all the way up and then
tilts down a little automatically.
Make sure that
the moonroof opens and closes automatically.
If the moonroof cannot be operated properly, have it checked
by your Lexus dealer.
CAUTION
To avoid serious personal injury, you must do the
following.
� While the vehicle is moving, always keep the heads,
hands and other parts of the bodies of all occupants
away from the roof opening. Otherwise, they could
be seriously injured if the vehicle stops suddenly or
if the vehicle is involved in an accident.
� Before you close the moonroof, always make sure
there is nobody around the moonroof. You must also
make sure nobody places his or her head, hands and
other parts of the body in the roof opening. If
someone’s neck, head or hands get caught in the
closing roof, it could result in death or serious injury.
When anyone closes the moonroof, first make sure it
is safe to do so.
� Be sure to remove the ignition key when you leave
your vehicle.
� Never leave anyone (particularly a small child) alone
in your vehicle, especially with the ignition key still
inserted. Otherwise, he/she could use the moonroof
switch and get trapped in the roof opening.
Unattended person (particularly a small child) can be
involved in a serious accident.
Page 124 of 442
OCCUPANT RESTRAINT SYSTEM
cx
HEAD RESTRAINTS
For your safety and comfort, adjust the head restraint
before driving.
Front seats
To raise the head restraint, pull it up. To lower it, press the
lock release button and push the head restraint down. To
move the head restraint forward or rearward, pull or push
the base of the head restraint.
The head restraint is most effective when it is close to your
head. Therefore, using a cushion on the seatback is not
recommended.
CAUTION
�Adjust the center of the head restraint so that it is
closest to the top of your ears.
� After adjusting the head restraint, make sure it is
locked in position.
� Do not drive with the head restraints removed.
Page 125 of 442

OCCUPANT RESTRAINT SYSTEM
cxi
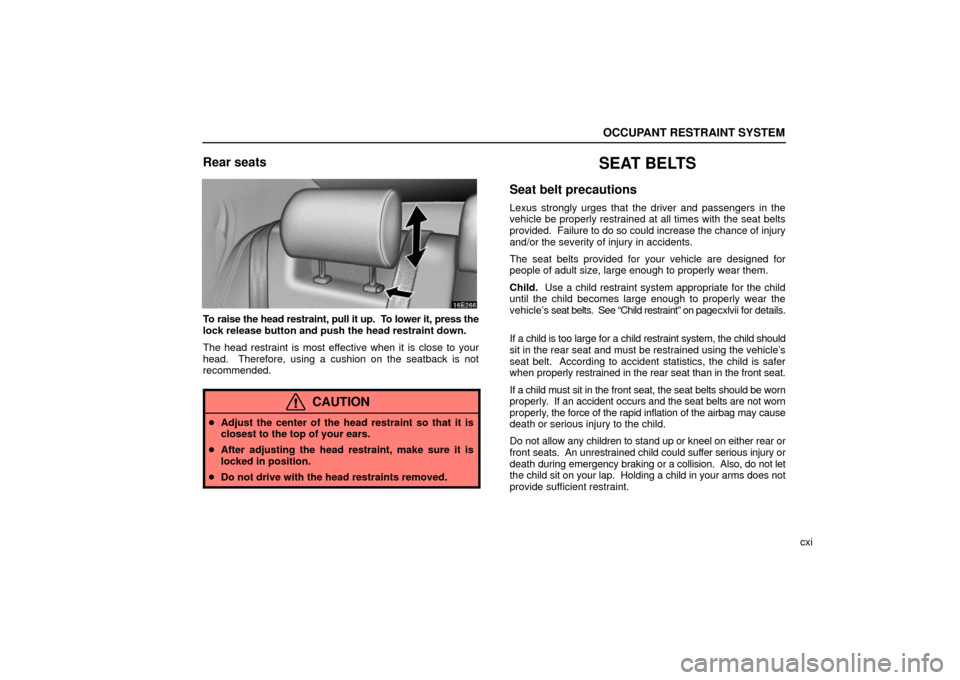
Rear seats
To raise the head restraint, pull it up. To lower it, press the
lock release button and push the head restraint down.
The head restraint is most effective when it is close to your
head. Therefore, using a cushion on the seatback is not
recommended.
CAUTION
�Adjust the center of the head restraint so that it is
closest to the top of your ears.
� After adjusting the head restraint, make sure it is
locked in position.
� Do not drive with the head restraints removed.
SEAT BELTS
Seat belt precautions
Lexus strongly urges that the driver and passengers in the
vehicle be properly restrained at all times with the seat belts
provided. Failure to do so could increase the chance of injury
and/or the severity of injury in accidents.
The seat belts provided for your vehicle are designed for
people of adult size, large enough to properly wear them.
Child. Use a child restraint system appropriate for the child
until the child becomes large enough to properly wear the
vehicle’s seat belts. See “Child restraint” on page cxlvii for details.
If a child is too large for a child restraint system, the child should
sit in the rear seat and must be restrained using the vehicle’s
seat belt. According to accident statistics, the child is safer
when properly restrained in the rear seat than in the front seat.
If a child must sit in the front seat, the seat belts should be worn
properly. If an accident occurs and the seat belts are not worn
properly, the force of the rapid inflation of the airbag may cause
death or serious injury to the child.
Do not allow any children to stand up or kneel on either rear or
front seats. An unrestrained child could suffer serious injury or
death during emergency braking or a collision. Also, do not let
the child sit on your lap. Holding a child in your arms does not
provide sufficient restraint.
Page 127 of 442

OCCUPANT RESTRAINT SYSTEM
cxiii
Fastening front and rear seat belts
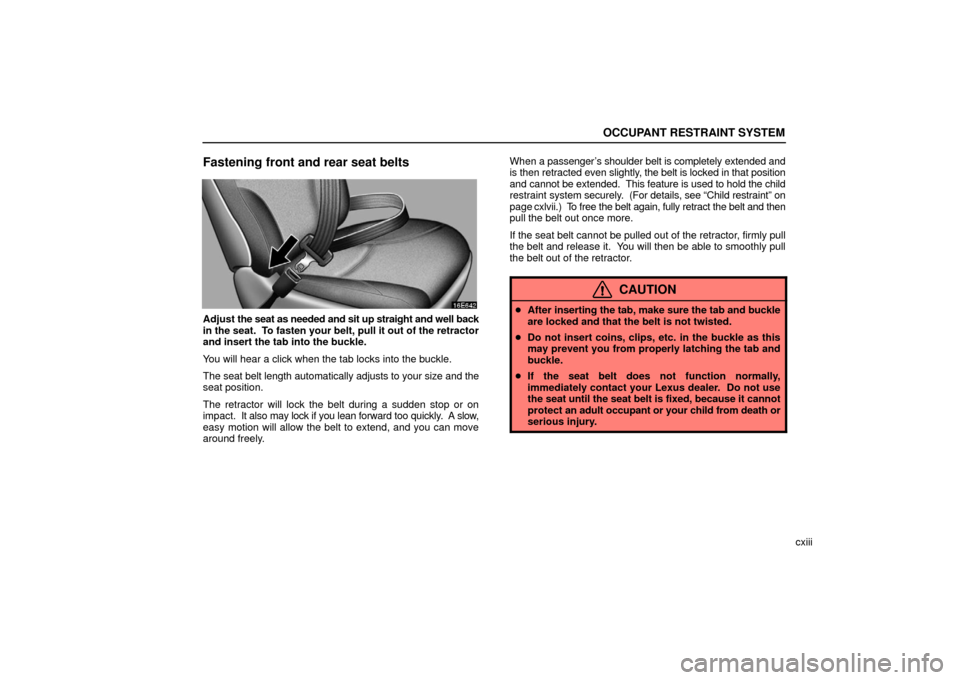
Adjust the seat as needed and sit up straight and well back
in the seat. To fasten your belt, pull it out of the retractor
and insert the tab into the buckle.
You will hear a click when the tab locks into the buckle.
The seat belt length automatically adjusts to your size and the
seat position.
The retractor will lock the belt during a sudden stop or on
impact. It also may lock if you lean forward too quickly. A slow,
easy motion will allow the belt to extend, and you can move
around freely. When a passenger’s shoulder belt is completely extended and
is then retracted even slightly, the belt is locked in that position
and cannot be extended. This feature is used to hold the child
restraint system securely.
(For details, see “Child restraint” on
page cxlvii.) To free the belt again, fully retract the belt and then
pull the belt out once more.
If the seat belt cannot be pulled out of the retractor, firmly pull
the belt and release it. You will then be able to smoothly pull
the belt out of the retractor.
CAUTION
� After inserting the tab, make sure the tab and buckle
are locked and that the belt is not twisted.
� Do not insert coins, clips, etc. in the buckle as this
may prevent you from properly latching the tab and
buckle.
� If the seat belt does not function normally,
immediately contact your Lexus dealer. Do not use
the seat until the seat belt is fixed, because it cannot
protect an adult occupant or your child from death or
serious injury.
Page 128 of 442

OCCUPANT RESTRAINT SYSTEM
cxiv
Adjust the position of the lap and shoulder belts.
1Position the lap belt as low as possible on your hips — not
on your waist.
2Adjust it to a snug fit by pulling the shoulder portion
upward through the latch plate.
CAUTION
� Both high�positioned lap belts and loose�fitting
belts could cause serious injuries due to sliding
under the lap belt during a collision or other
unintended event. Keep the lap belt positioned as
low on hip as possible.
� Do not place the shoulder belt under your arm.
� Front seat belts only
Adjust the shoulder anchor position to your size.
To raise the anchor position, push the anchor up. To lower the
anchor position, support the anchor while you push the lock
release button then slide the anchor down. After the
adjustment, make sure the anchor is locked in position.
CAUTION
Always make sure the shoulder belt is positioned
across the center of your shoulder . The belt should be
kept away from your neck, but not falling off your
shoulder. Failure to do so could reduce the amount of
protection in an accident and cause serious injuries in
a collision.