Page 39 of 354
Knowing your vehicle82
3
1
2
3
4
5
6
7
8
9
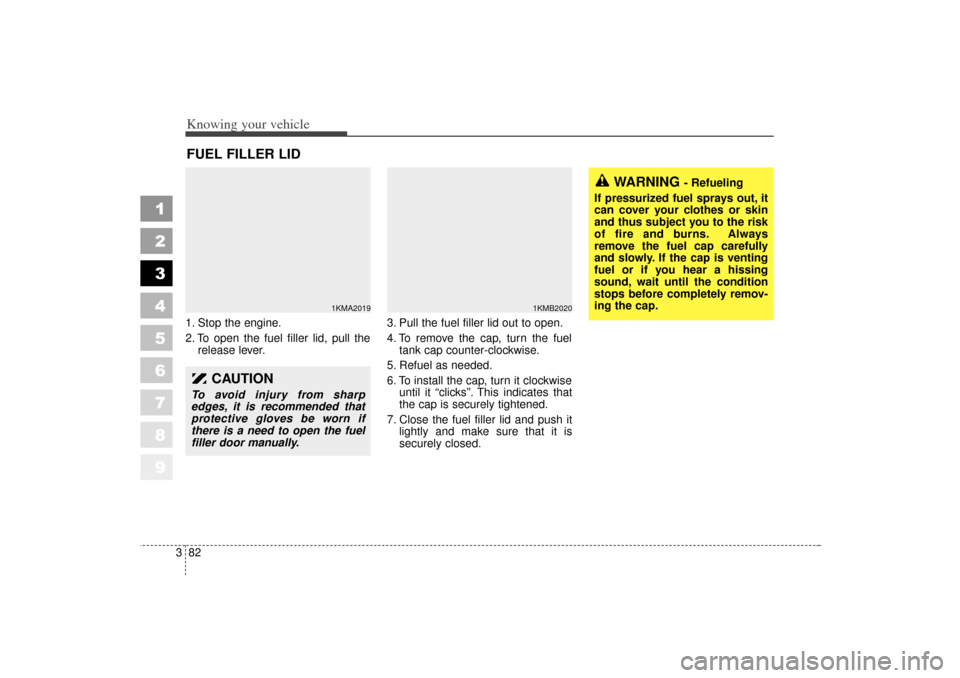
1. Stop the engine.
2. To open the fuel filler lid, pull the
release lever. 3. Pull the fuel filler lid out to open.
4. To remove the cap, turn the fuel
tank cap counter-clockwise.
5. Refuel as needed.
6. To install the cap, turn it clockwise until it “clicks”. This indicates that
the cap is securely tightened.
7. Close the fuel filler lid and push it lightly and make sure that it is
securely closed.FUEL FILLER LID
1KMA2019
1KMB2020
WARNING
- Refueling
If pressurized fuel sprays out, it
can cover your clothes or skin
and thus subject you to the risk
of fire and burns. Always
remove the fuel cap carefully
and slowly. If the cap is venting
fuel or if you hear a hissing
sound, wait until the condition
stops before completely remov-
ing the cap.
CAUTION
To avoid injury from sharp
edges, it is recommended that
protective gloves be worn if
there is a need to open the fuel
filler door manually.
KM CAN (ENG) 3 (55~)new.qxd 7/29/05 9:37 AM Page 82
Page 47 of 354
Knowing your vehicle90
3
1
2
3
4
5
6
7
8
9
Door courtesy lamp
(if equipped)The door courtesy lamp comes ON
when the door is opened to assist
entering or exiting the vehicle. It also
serves as a warning to passing vehi-
cles that the vehicle door is open.
Glove box lampThe glove box lamp comes ON when
the glove box is opened.
The parking lights or headlights must
be ON for the glove box lamp to func-
tion.
Cargo area lampThe cargo area lamp comes ON
when the rear hatch or rear hatch
window are opened.
1KMB5047
1KMB3086
1KMB3087
KM CAN (ENG) 3 (55~)new.qxd 7/29/05 9:37 AM Page 90
Page 48 of 354
391
1
2
3
4
5
6
7
8
9
Knowing your vehicle
✽ ✽NOTICE To avoid possible theft, do not
leave valuables in the storage com-
partment.
Always keep the storage compart- ment covers closed while driving.
Do not attempt to place so many
items in the storage compartment
that the storage compartment
cover can not close securely.
STORAGE COMPARTMENT
WARNING -
Flammable
materials
Do not store cigarette lighters,
propane cylinders, or other
flammable/explosive materials
in the vehicle. These items may
catch fire and/or explode if the
vehicle is exposed to hot tem-
peratures for extended periods.
These compartments can be used to store small items required by the
driver or passengers.
1KMB2167
KM CAN (ENG) 3 (55~)new.qxd 7/29/05 9:37 AM Page 91
Page 59 of 354
Knowing your vehicle102
3
1
2
3
4
5
6
7
8
9
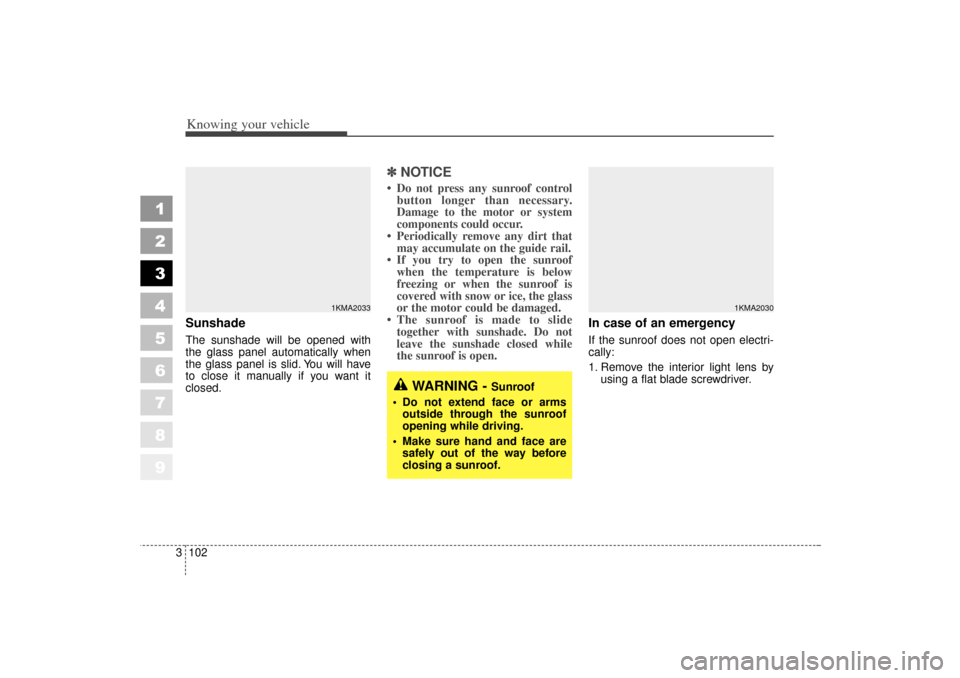
Sunshade The sunshade will be opened with
the glass panel automatically when
the glass panel is slid. You will have
to close it manually if you want it
closed.
✽ ✽
NOTICE Do not press any sunroof control
button longer than necessary.
Damage to the motor or system
components could occur.
Periodically remove any dirt that may accumulate on the guide rail.
If you try to open the sunroof when the temperature is below
freezing or when the sunroof is
covered with snow or ice, the glass
or the motor could be damaged.
The sunroof is made to slide together with sunshade. Do not
leave the sunshade closed while
the sunroof is open.
In case of an emergency If the sunroof does not open electri-
cally:
1. Remove the interior light lens by
using a flat blade screwdriver.
1KMA2030
1KMA2033
WARNING -
Sunroof
Do not extend face or arms outside through the sunroof
opening while driving.
Make sure hand and face are safely out of the way before
closing a sunroof.
KM CAN (ENG) 3 (55~)new.qxd 7/29/05 9:37 AM Page 102
Page 69 of 354
33
Knowing your vehicle
1
2
3
4
5
6
7
8
9
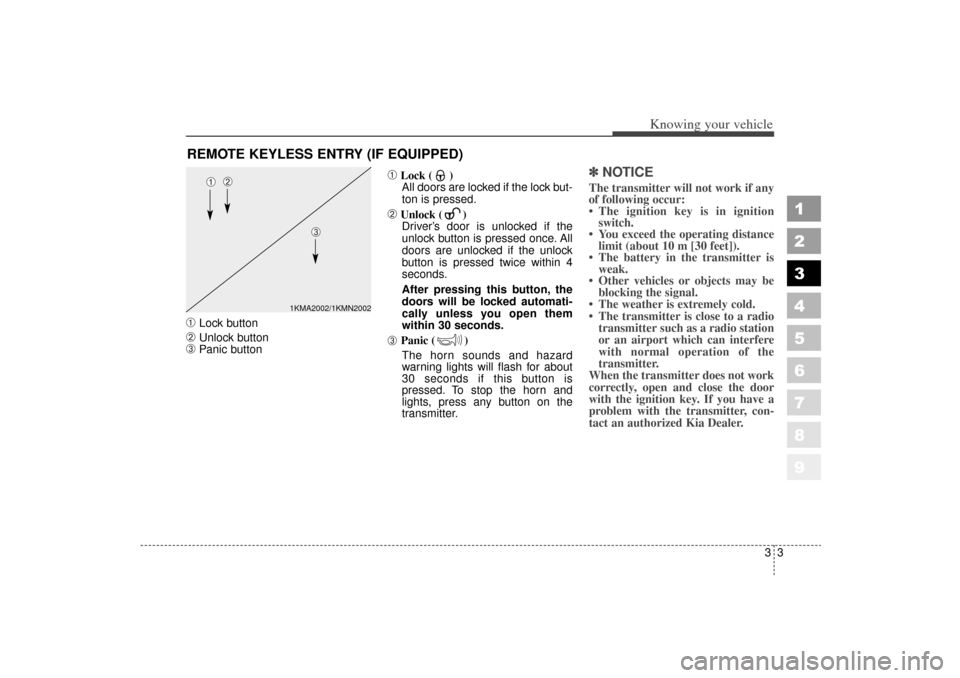
➀
Lock button
➁
Unlock button
➂
Panic button
➀
Lock ( )All doors are locked if the lock but-
ton is pressed.
➁
Unlock ( ) Driver’s door is unlocked if the
unlock button is pressed once. All
doors are unlocked if the unlock
button is pressed twice within 4
seconds.
After pressing this button, the
doors will be locked automati-
cally unless you open them
within 30 seconds.
➂
Panic ( )
The horn sounds and hazard
warning lights will flash for about
30 seconds if this button is
pressed. To stop the horn and
lights, press any button on the
transmitter.
✽ ✽ NOTICEThe transmitter will not work if any
of following occur:
• The ignition key is in ignition
switch.
You exceed the operating distance limit (about 10 m [30 feet]).
The battery in the transmitter is weak.
Other vehicles or objects may be blocking the signal.
The weather is extremely cold.
The transmitter is close to a radio transmitter such as a radio station
or an airport which can interfere
with normal operation of the
transmitter.
When the transmitter does not work
correctly, open and close the door
with the ignition key. If you have a
problem with the transmitter, con-
tact an authorized Kia Dealer.
REMOTE KEYLESS ENTRY (IF EQUIPPED)
1KMA2002/1KMN2002
➀
➁
➂
KM CAN (ENG) 3 (~54)new.qxd 7/29/05 9:33 AM Page 3
Page 71 of 354
35
Knowing your vehicle
1
2
3
4
5
6
7
8
9
✽ ✽NOTICEThe keyless entry system transmit-
ter is designed to give you years of
troublefree use, however it can mal-
function if exposed to moisture or
static electricity. If you are unsure
how to use your transmitter or
replace the battery, contact an
authorized Kia dealer. For replacement transmitters, see an
Authorized Kia Dealer for reprogram-
ming.✽ ✽NOTICE Using the wrong battery can cause
the transmitter to malfunction. Be
sure to use the correct battery.
To avoid damaging the transmit- ter, don't drop it, get it wet, or
expose it to heat or sunlight.
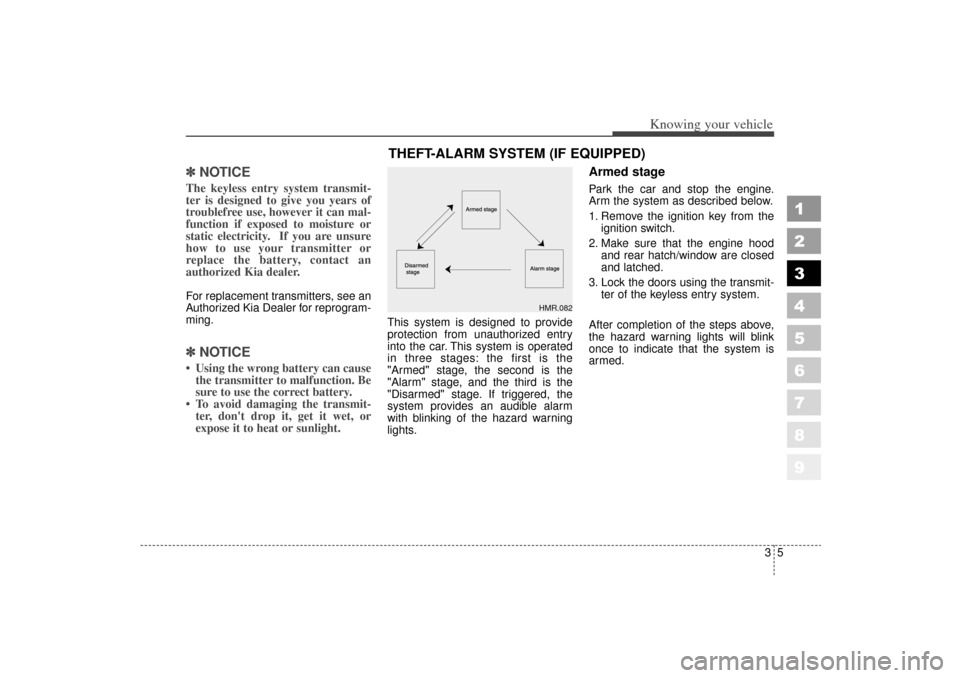
This system is designed to provide
protection from unauthorized entry
into the car. This system is operated
in three stages: the first is the
"Armed" stage, the second is the
"Alarm" stage, and the third is the
"Disarmed" stage. If triggered, the
system provides an audible alarm
with blinking of the hazard warning
lights.
Armed stagePark the car and stop the engine.
Arm the system as described below.
1. Remove the ignition key from the
ignition switch.
2. Make sure that the engine hood and rear hatch/window are closed
and latched.
3. Lock the doors using the transmit- ter of the keyless entry system.
After completion of the steps above,
the hazard warning lights will blink
once to indicate that the system is
armed.
THEFT-ALARM SYSTEM (IF EQUIPPED)
HMR.082
KM CAN (ENG) 3 (~54)new.qxd 7/29/05 9:33 AM Page 5
Page 72 of 354
Knowing your vehicle63
1
2
3
4
5
6
7
8
9
• If any door, rear hatch/window orengine hood remains open, the
system will not be armed. If this
happens, rearm the system as
described previous.
Do not arm the system until all passengers have left the vehi-
cle. If the system is armed while
a passenger(s) remains in the
vehicle, the alarm may be acti-
vated when the remaining pas-
senger(s) leaves the vehicle.
Alarm stageThe alarm will be activated if any of
the following occurs while the system
is armed.
A front or rear door is opened with-out using the ignition key or trans-
mitter.
The rear hatch/window is opened without using the ignition key or
transmitter.
The engine hood is opened.
The siren will sound and the hazard
warning lights will blink continuously
for 27 seconds, and repeat the alarm
3 times unless the system is dis-
armed. To turn off the system, unlock
the doors with the ignition key or
transmitter.✽ ✽ NOTICEAvoid trying to start the engine
while the alarm is activated. The
vehicle starting motor is disabled
during the alarm stage.
Disarmed stageThe system will be disarmed when
the doors are unlocked by depress-
ing the unlock button on the transmit-
ter or unlocked with the ignition key.
After depressing unlock button, the
hazard warning lights will blink twice
to indicate that the system is dis-
armed.
After depressing unlock button, if any
door is not opened within 30 sec-
onds, the system will be rearmed.
If the system is not disarmed with the
ignition key or transmitter, insert the
key in the ignition switch, turn the key
to the ON position and wait for 30
seconds. Then the system will be dis-
armed.
KM CAN (ENG) 3 (~54)new.qxd 7/29/05 9:33 AM Page 6
Page 96 of 354
Knowing your vehicle30
3
1
2
3
4
5
6
7
8
9
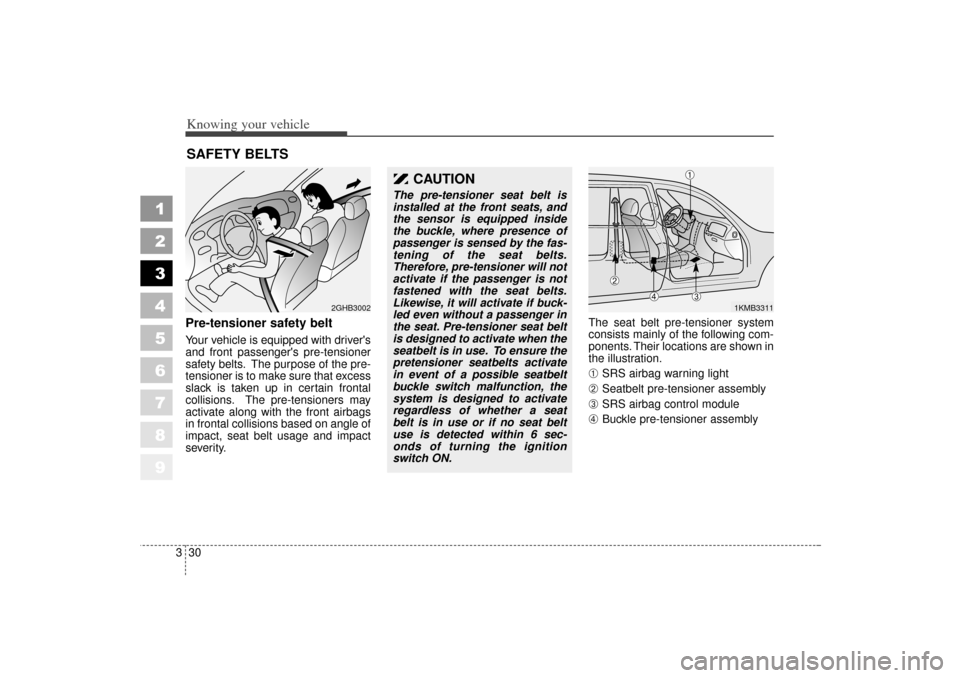
Pre-tensioner safety belt Your vehicle is equipped with driver's
and front passenger's pre-tensioner
safety belts. The purpose of the pre-
tensioner is to make sure that excess
slack is taken up in certain frontal
collisions. The pre-tensioners may
activate along with the front airbags
in frontal collisions based on angle of
impact, seat belt usage and impact
severity. The seat belt pre-tensioner system
consists mainly of the following com-
ponents. Their locations are shown in
the illustration.
➀
SRS airbag warning light
➁
Seatbelt pre-tensioner assembly
➂
SRS airbag control module
➃
Buckle pre-tensioner assembly
SAFETY BELTS
2GHB3002
1KMB3311
➀
➁
➂
➃
CAUTION
The pre-tensioner seat belt is
installed at the front seats, and
the sensor is equipped inside
the buckle, where presence of
passenger is sensed by the fas-
tening of the seat belts.
Therefore, pre-tensioner will not
activate if the passenger is not
fastened with the seat belts.
Likewise, it will activate if buck-
led even without a passenger in
the seat. Pre-tensioner seat belt
is designed to activate when the
seatbelt is in use. To ensure the
pretensioner seatbelts activate
in event of a possible seatbelt
buckle switch malfunction, the
system is designed to activate
regardless of whether a seat
belt is in use or if no seat belt
use is detected within 6 sec-
onds of turning the ignition
switch ON.
KM CAN (ENG) 3 (~54)new.qxd 7/29/05 9:33 AM Page 30