2006 KIA Sportage climate control
[x] Cancel search: climate controlPage 203 of 354
483
Driving your vehicle
1
2
3
4
5
6
7
8
9
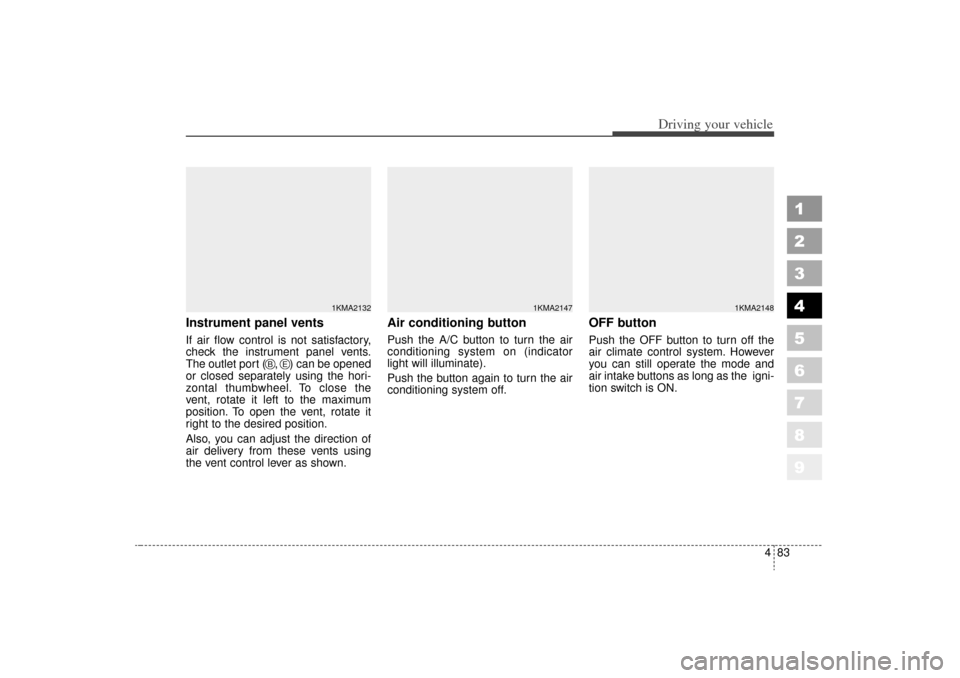
Instrument panel ventsIf air flow control is not satisfactory,
check the instrument panel vents.
The outlet port ( , ) can be opened
or closed separately using the hori-
zontal thumbwheel. To close the
vent, rotate it left to the maximum
position. To open the vent, rotate it
right to the desired position.
Also, you can adjust the direction of
air delivery from these vents using
the vent control lever as shown.
Air conditioning button Push the A/C button to turn the air
conditioning system on (indicator
light will illuminate).
Push the button again to turn the air
conditioning system off.
OFF buttonPush the OFF button to turn off the
air climate control system. However
you can still operate the mode and
air intake buttons as long as the igni-
tion switch is ON.
1KMA2132
1KMA2147
1KMA2148
B
E
KM CAN (ENG) 4 new.qxd 7/29/05 9:35 AM Page 83
Page 208 of 354
Driving your vehicle88
4
1
2
3
4
5
6
7
8
9
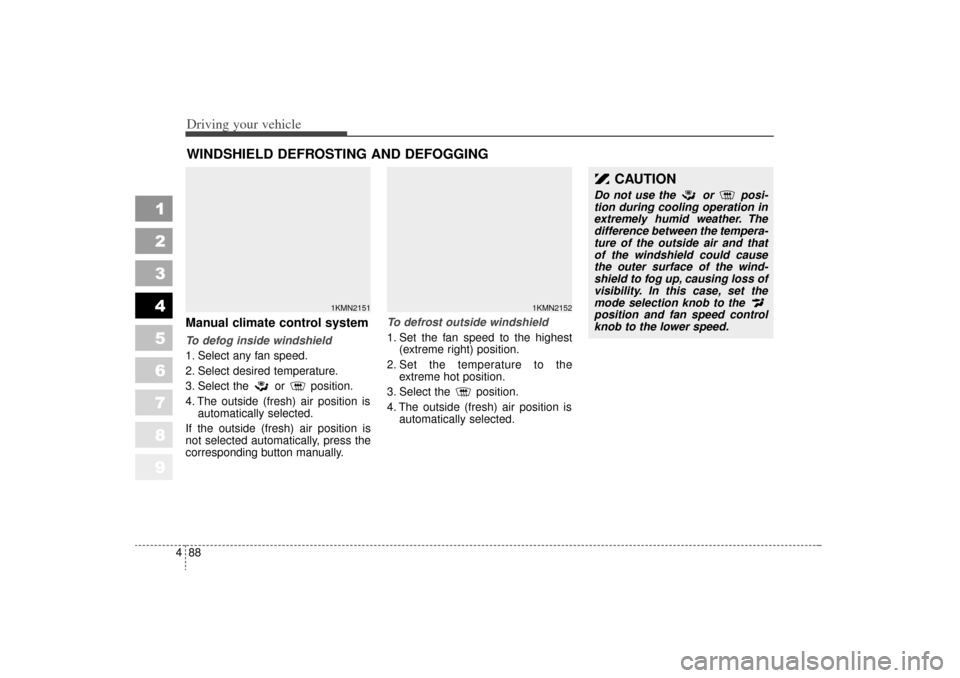
Manual climate control systemTo defog inside windshield
1. Select any fan speed.
2. Select desired temperature.
3. Select the or position.
4. The outside (fresh) air position is
automatically selected.
If the outside (fresh) air position is
not selected automatically, press the
corresponding button manually. To defrost outside windshield
1. Set the fan speed to the highest
(extreme right) position.
2. Set the temperature to the extreme hot position.
3. Select the position.
4. The outside (fresh) air position is automatically selected.WINDSHIELD DEFROSTING AND DEFOGGING
1KMN2151
1KMN2152
CAUTION
Do not use the or posi-
tion during cooling operation in
extremely humid weather. The
difference between the tempera-
ture of the outside air and that
of the windshield could cause
the outer surface of the wind-
shield to fog up, causing loss of
visibility. In this case, set the
mode selection knob to the
position and fan speed control
knob to the lower speed.
KM CAN (ENG) 4 new.qxd 7/29/05 9:35 AM Page 88
Page 209 of 354
489
Driving your vehicle
1
2
3
4
5
6
7
8
9
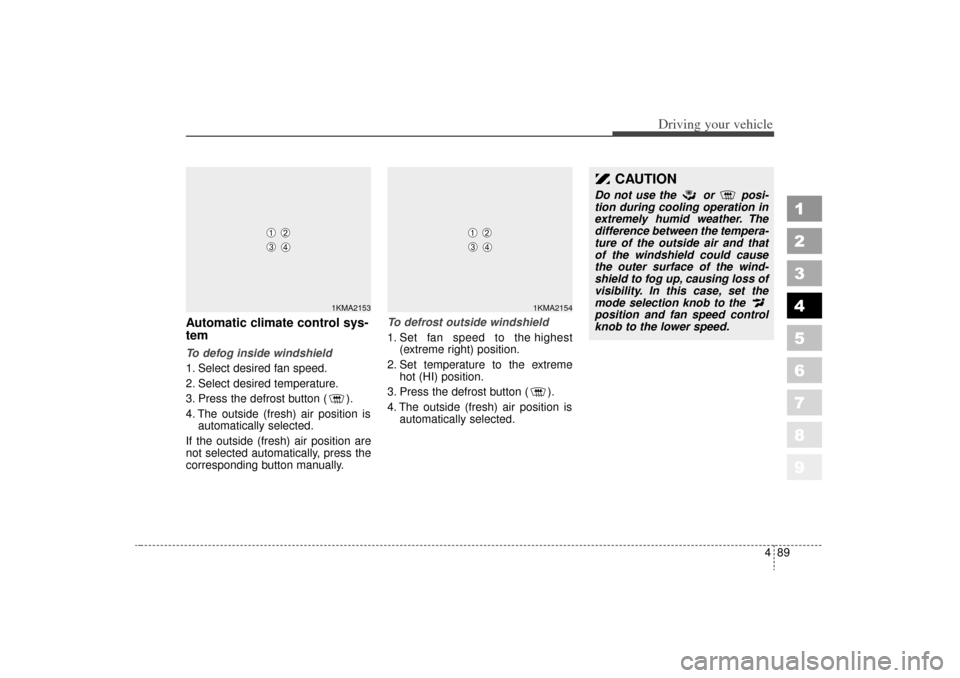
Automatic climate control sys-
temTo defog inside windshield
1. Select desired fan speed.
2. Select desired temperature.
3. Press the defrost button ( ).
4. The outside (fresh) air position isautomatically selected.
If the outside (fresh) air position are
not selected automatically, press the
corresponding button manually. To defrost outside windshield
1. Set fan speed to the highest
(extreme right) position.
2. Set temperature to the extreme hot (HI) position.
3. Press the defrost button ( ).
4. The outside (fresh) air position is automatically selected.
1KMA2153
➀
➁
➂
➃
1KMA2154
➀
➁
➂
➃
CAUTION
Do not use the or posi-
tion during cooling operation in
extremely humid weather. The
difference between the tempera-
ture of the outside air and that
of the windshield could cause
the outer surface of the wind-
shield to fog up, causing loss of
visibility. In this case, set the
mode selection knob to the
position and fan speed control
knob to the lower speed.
KM CAN (ENG) 4 new.qxd 7/29/05 9:35 AM Page 89
Page 210 of 354
Driving your vehicle90
4
1
2
3
4
5
6
7
8
9
For maximum defrosting, set the
temperature control to the extreme
right/hot position and the fan speed
control to the highest speed.
If warm air to the floor is desired while defrosting or defogging, set
the mode to the floor-defrost posi-
tion.
Before driving, clear all snow and ice from the windshield, rear win-
dow, outside rear view mirrors, and
all side windows.
Clear all snow and ice from the hood and air inlet in the cowl grill to
improve heater and defroster effi-
ciency and to reduce the probabili-
ty of fogging up inside of the wind-
shield.
Defogging logicManual climate control system
To reduce the probability of fogging
up the inside of the windshield, the
air intake control is set to the outside
(fresh) air position automatically if
any of following occur.
The mode is selected to the , or while the system is
activated.
The ignition switch is turned on while the mode is selected to the , or .
The ignition switch is turned off.
The fan is off.
The fan begins to be operated.
Press the air intake control button to
select the recirculated air position
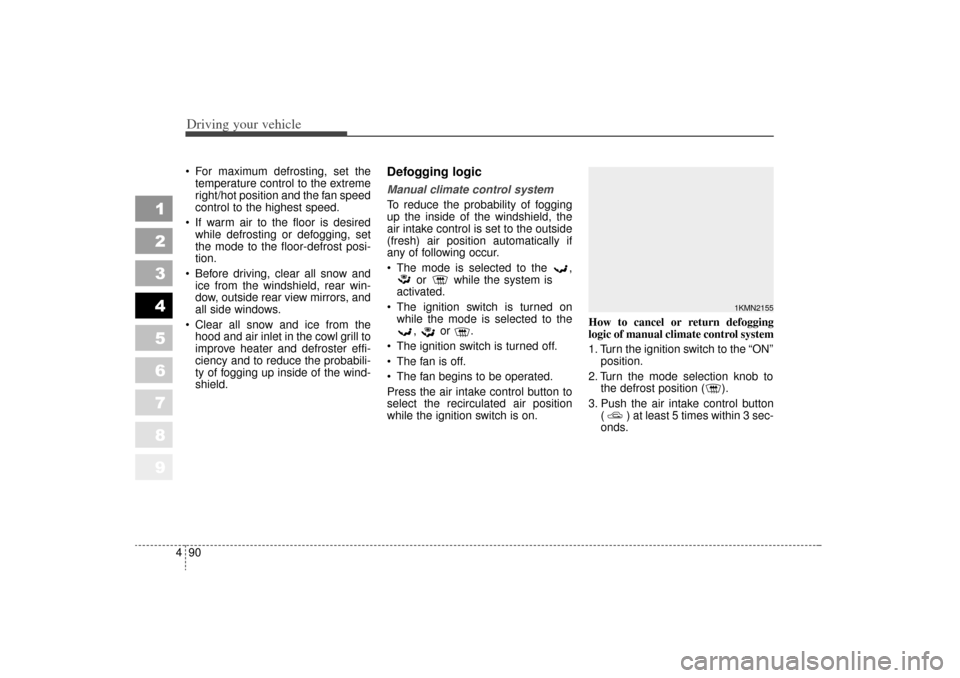
while the ignition switch is on. How to cancel or return defogging
logic of manual climate control system
1. Turn the ignition switch to the “ON”
position.
2. Turn the mode selection knob to the defrost position ( ).
3. Push the air intake control button ( ) at least 5 times within 3 sec-
onds.
1KMN2155
KM CAN (ENG) 4 new.qxd 7/29/05 9:35 AM Page 90
Page 211 of 354
491
Driving your vehicle
1
2
3
4
5
6
7
8
9
The indicator light in the air intake
control button will blink 3 times at 0.5
second intervals. This indicates that
the defogging logic is canceled or
has returned to the programmed
condition.
If the battery has been discharged or
disconnected, the defog logic is reset
to the original condition.Automatic climate control system
To reduce the probability of fogging
up inside of the windshield, the air
intake control is set to outside (fresh)
air position automatically if any of fol-
lowing occur.
The ignition switch is turned on
while the mode is selected to the
, , .
The OFF button is pushed.
The mode is selected to the , or position.
Press the air intake control button to
select the recirculated air position
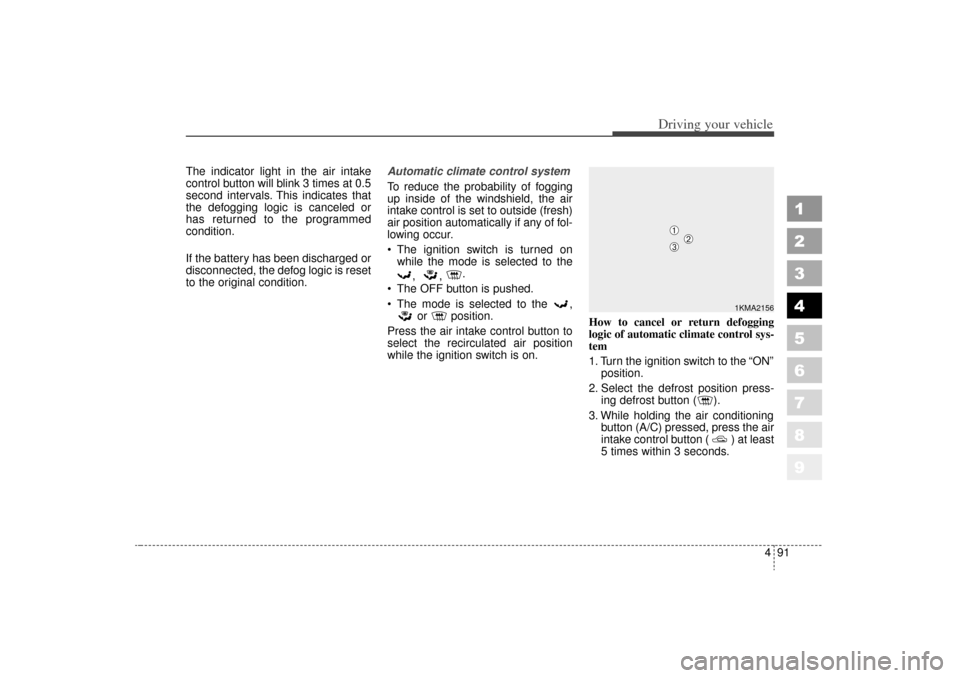
while the ignition switch is on. How to cancel or return defogging
logic of automatic climate control sys-
tem
1. Turn the ignition switch to the “ON”
position.
2. Select the defrost position press- ing defrost button ( ).
3. While holding the air conditioning button (A/C) pressed, press the air
intake control button ( ) at least
5 times within 3 seconds.
1KMA2156
➀
➁
➂
KM CAN (ENG) 4 new.qxd 7/29/05 9:35 AM Page 91
Page 321 of 354
Maintenance32
7
1
2
3
4
5
6
7
8
9
For best battery service : Keep the battery securely mount-
ed.
Keep the battery top clean and dry.
Keep the terminals and connec- tions clean, tight, and coated with
petroleum jelly or terminal grease.
Rinse any spilled electrolyte from the battery immediately with a
solution of water and baking soda.
If the vehicle is not going to be used for an extended time, discon-
nect the battery cables.
Battery recharging Your vehicle has a maintenance-free,
calcium-based battery.
If the battery becomes dischargedin a short time (because, for exam-
ple, the headlights or interior lights
were left on while the vehicle was
not in use), recharge it by slow
charging (trickle) for 10 hours.
If the battery gradually discharges because of high electric load while
the vehicle is being used, recharge
it at 20-30A for two hours.
Items to be reset after the battery
has been discharged or the bat-
tery has been disconnected.
Clock (See page 3-98)
Sunroof (See page 3-100)
Trip computer (See page 4-42)
Compass (See page 4-54)
Climate control system (See pages 4-66)
Audio (See the audio manual)
1KMN5030
(Continued)
When lifting a plastic-cased battery, excessive pressure on
the case may cause battery
acid to leak, resulting in per-
sonal injury. Lift with a battery
carrier or with your hands on
opposite corners.
Never attempt to recharge the battery when the battery
cables are connected.
The electrical ignition system works with high voltage.
Never touch these compo-
nents with the engine running
or the ignition switched on.
Failure to follow the above
warnings can result in serious
bodily injury or death.
KM CAN (ENG) 7.qxd 7/29/05 9:41 AM Page 32
Page 332 of 354
743
Maintenance
1
2
3
4
5
6
7
8
9
Tread wear
The tread wear grade is a compara-
tive rating based on the wear rate of
the tire when tested under controlled
conditions on a specified govern-
ment test course. For example, a tire
graded 150 would wear one-and-a-
half times as well on the government
course as a tire graded 100.
The relative performance of tires
depends upon the actual conditions
of their use. However, performance
may differ from the norm because of
variations in driving habits, service
practices and differences in road
characteristics and climate.
These grades are molded on the
side-walls of passenger vehicle tires.
The tires available as standard or
optional equipment on Kia vehicles
may vary with respect to grade.Traction - AA, A, B & C
The traction grades, from highest to
lowest, are AA, A, B and C. The
grades represent the tires ability to
stop on wet pavement as measured
under controlled conditions on spec-
ified government test surfaces of
asphalt and concrete. A tire marked
C may have poor traction perform-
ance.
Temperature -A, B & C
The temperature grades are A (the
highest), B and C. The grades repre-
sent the tire’s resistance to the gener-
ation of heat and its ability to dissipate
heat when tested under controlled
conditions on a specified indoor labo-
ratory test wheel.
Sustained high temperature can
cause the material of the tires to
degenerate and reduce tires life, and
excessive temperature can lead to
sudden tires failure. Grades A and B
represent higher levels of perform-
ance on the laboratory test wheel
than the minimum required by the law.
WARNING
- Tire
temperature
The temperature grade for this
tire is established for a tire that
is properly inflated and not
overloaded. Excessive speed,
underinflation, or excessive
loading, either separately or in
combination, can cause heat
build-up and possible sudden
tires failure. This can cause loss
of vehicle control and serious
injury or death.
KM CAN (ENG) 7.qxd 7/29/05 9:41 AM Page 43
Page 352 of 354
Index29
1
2
3
4
5
6
7
8
9
Air cleaner . . . . . . . . . . . . . . . . . . . . . . . . . . . . . . . . 7-27
Air conditioner air filter . . . . . . . . . . . . . . . . . . . . . 7-28
Airbags-supplemental restraint system. . . . . . . . . . 3-54
Antenna . . . . . . . . . . . . . . . . . . . . . . . . . . . . . . . . . 3-109
Automatic climate control system . . . . . . . . . . . . . . 4-75
Automatic transaxle . . . . . . . . . . . . . . . . . . . . . 4-6, 7-23
Battery . . . . . . . . . . . . . . . . . . . . . . . . . . . . . . . . . . . 7-\
31
Before driving . . . . . . . . . . . . . . . . . . . . . . . . . . . . . . 5-5
Brake system . . . . . . . . . . . . . . . . . . . . . . . . . . . . . . 4-18
Brakes and clutch . . . . . . . . . . . . . . . . . . . . . . . . . . 7-18
Compass . . . . . . . . . . . . . . . . . . . . . . . . . . . . . . . . . . 4-54\
Cruise control system . . . . . . . . . . . . . . . . . . . . . . . 4-28
Defroster . . . . . . . . . . . . . . . . . . . . . . . . . . . . . . . . . 4-64
Door locks . . . . . . . . . . . . . . . . . . . . . . . . . . . . . . . . . 3-9
Drive belts . . . . . . . . . . . . . . . . . . . . . . . . . . . . . . . . 7-20
Electrical circuit protection . . . . . . . . . . . . . . . . . . . . 6-7
Electronic stability program . . . . . . . . . . . . . . . . . . 4-36
Emergency starting . . . . . . . . . . . . . . . . . . . . . . . . . . 6-4
Emission control system . . . . . . . . . . . . . . . . . . . . . . 5-3Engine compartment . . . . . . . . . . . . . . . . . . . . . . . . 7-11
Engine cooling system . . . . . . . . . . . . . . . . . . . . . . . 7-15
Engine oil and oil filter . . . . . . . . . . . . . . . . . . . . . . 7-13
Exterior care . . . . . . . . . . . . . . . . . . . . . . . . . . . . . . 7-51
Exterior overview . . . . . . . . . . . . . . . . . . . . . . . . . . . 2-2
Four wheel drive (4WD) . . . . . . . . . . . . . . . . . . . . . 4-12
Fuel filler lid . . . . . . . . . . . . . . . . . . . . . . . . . . . . . . 3-82
Fuel requirements . . . . . . . . . . . . . . . . . . . . . . . . . . . 5-2
Gauges . . . . . . . . . . . . . . . . . . . . . . . . . . . . . . . . . . . 4-\
40
Hazard warning flasher. . . . . . . . . . . . . . . . . . . . . . 4-65
Homelink® wireless control system . . . . . . . . . . . . 5-45
Hood . . . . . . . . . . . . . . . . . . . . . . . . . . . . . . . . . . . . \
. 3-80
How to use this manual . . . . . . . . . . . . . . . . . . . . . . . 1-2
If you have a flat tire . . . . . . . . . . . . . . . . . . . . . . . . 6-19
Ignition switch . . . . . . . . . . . . . . . . . . . . . . . . . . . . . . 4-2
Immobilizer system . . . . . . . . . . . . . . . . . . . . . . . . . . 3-7
Instrument cluster . . . . . . . . . . . . . . . . . . . . . . . . . . 4-39
Instrument panel overview . . . . . . . . . . . . . . . . . . . . 2-5
Interior care . . . . . . . . . . . . . . . . . . . . . . . . . . . . . . . 7-55ABCDE
GFHI
KM CAN (ENG) 9.qxd 7/29/05 9:43 AM Page 2