Page 17 of 273

Knowing your vehicle63
1
2
3
4
5
6
7
8
9
Battery replacementTransmitter uses a 3 volt lithium bat-
tery which will normally last for sever-
al years. When replacement is neces-
sary, use the following procedure.1. Insert a slim tool into the slot and
gently pry open the transmitter
center cover (
➀).
2. Replace the battery with new one. When replacing the battery, make
sure the battery positive “+” sym-
bol faces up (type A) or faces
down (type B) as indicated in the
illustration.
3. Install the battery in the reverse order of removal.
✽ ✽NOTICEThe keyless entry system transmit-
ter is designed to give you years of
troublefree use, however it can mal-
function if exposed to moisture or
static electricity. If you are unsure
how to use your transmitter or
replace the battery, contact an
authorized Kia dealer. For replacement transmitters, see an
Authorized Kia Dealer for reprogram-
ming.
1LDA2003E2BLA352
CAUTION
• Using the wrong battery can
cause the transmitter to mal-
function. Be sure to use the
correct battery.
To avoid damaging the trans- mitter, don't drop it, get it wet,
or expose it to heat or sun-
light.
➀➀
Type A
Type B
LD CAN (ENG) new 3-1~.qxd 7/29/05 10:28 AM Page 6
Page 60 of 273
349
1
2
3
4
5
6
7
8
9
Knowing your vehicle
Placing a passenger safety
belt into the auto lock modeThe use of the auto lock mode will
ensure that the normal movement of
the child in the vehicle does not
cause the safety belt to be pulled out
and loosen the firmness of its hold
on the child restraint system. To
secure a child restraint system, use
the following procedure.Installing a child restraint system by
lap/shoulder belt
To install a child restraint system on
the outboard or center rear seats, do
the following:
1. Place the child restraint system inthe seat and route the lap/shoul-
der belt around or through the
restraint, following the restraint
manufacturer’ s instructions. Be
sure the safety belt webbing is not
twisted. 2. Fasten the lap/shoulder belt latch
into the buckle. Listen for the dis-
tinct “click” sound.
Position the release button so that it
is easy to access in case of an
emergency.
E2MS103005
E2BLD310
LD CAN (ENG) new 3-1~.qxd 7/29/05 10:28 AM Page 49
Page 113 of 273

Knowing your vehicle102
3
1
2
3
4
5
6
7
8
9
Tilting the sunroof Autotilt open
To use the autotilt feature, momen-
tarily (less than 0.5 second) press
the TILT UP ( ) button on the
overhead console. The sunroof will
tilt all the way open. To stop the sun-
roof tilting at any point, press any
sunroof control button.
Manual tilt open
Press the TILT UP ( ) button on
the overhead console for more than
0.5 second.
Close
To close the sunroof, press the
CLOSE ( ) button on the over-
head console and hold it until the
sunroof is closed.
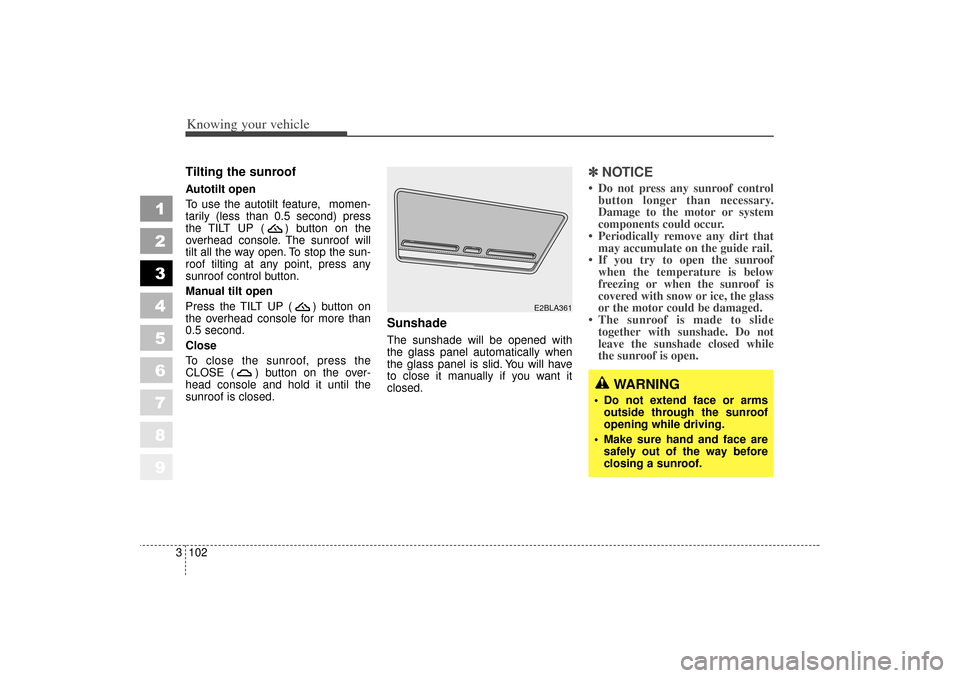
Sunshade The sunshade will be opened with
the glass panel automatically when
the glass panel is slid. You will have
to close it manually if you want it
closed.
✽ ✽
NOTICE Do not press any sunroof control
button longer than necessary.
Damage to the motor or system
components could occur.
Periodically remove any dirt that may accumulate on the guide rail.
If you try to open the sunroof when the temperature is below
freezing or when the sunroof is
covered with snow or ice, the glass
or the motor could be damaged.
The sunroof is made to slide together with sunshade. Do not
leave the sunshade closed while
the sunroof is open.
E2BLA361
WARNING
Do not extend face or arms
outside through the sunroof
opening while driving.
Make sure hand and face are safely out of the way before
closing a sunroof.
LD CAN (ENG) 3-84~.qxd 7/29/05 10:15 AM Page 102