Page 135 of 347
Features of your vehicle126
3Door courtesy lamp
(if equipped)The door courtesy lamp comes ON when
the door is opened to assist entering or
exiting the vehicle. It also serves as a
warning to passing vehicles that the vehi-
cle door is open.
Glove box lampThe glove box lamp comes ON when the
glove box is opened.
The parking lights or headlights must be
ON for the glove box lamp to function.
OVQ036041NOVQ036042N
FrontRear
OVQ036043N
Page 142 of 347
3 133
Features of your vehicle
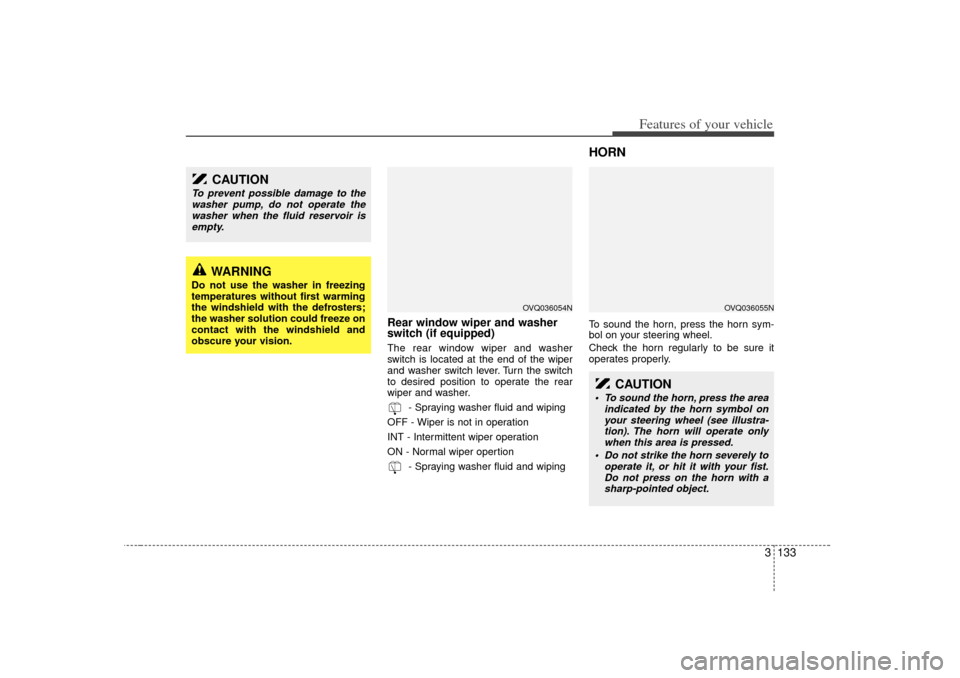
Rear window wiper and washer
switch (if equipped)The rear window wiper and washer
switch is located at the end of the wiper
and washer switch lever. Turn the switch
to desired position to operate the rear
wiper and washer.- Spraying washer fluid and wiping
OFF - Wiper is not in operation
INT - Intermittent wiper operation
ON - Normal wiper opertion - Spraying washer fluid and wiping
HORNTo sound the horn, press the horn sym-
bol on your steering wheel.
Check the horn regularly to be sure it
operates properly.
CAUTION
To prevent possible damage to thewasher pump, do not operate thewasher when the fluid reservoir isempty.
WARNING
Do not use the washer in freezing
temperatures without first warming
the windshield with the defrosters;
the washer solution could freeze on
contact with the windshield and
obscure your vision.
OVQ036054N
CAUTION
To sound the horn, press the area indicated by the horn symbol onyour steering wheel (see illustra-tion). The horn will operate only when this area is pressed.
Do not strike the horn severely to operate it, or hit it with your fist.Do not press on the horn with asharp-pointed object.
OVQ036055N
Page 144 of 347
3 135
Features of your vehicle
Front windshield deicer
(if equipped)The engine must be running to enable
this feature. To activate the front wind-
shield deicer, press the front windshield
deicer button. The indicator on the button
illuminates when the deicer is ON. The
front windshield deicer automatically
turns off after 20 minutes or when the
ignition switch is turned off. To turn off the
deicer, press the front windshield deicer
button again.The hazard warning flasher causes the
front and rear turn signal lights to flash
on and off, which serves as a warning to
other drivers to exercise caution when
approaching or passing your vehicle.To activate the flasher, depress the haz-
ard warning flasher switch. This switch
operates in any ignition switch position.
To turn the flashers off, depress the
switch again.
HAZARD WARNING FLASHER
OVQ036059NOVQ036060N
Type AType B
❈
The location of the front windshield deicer
button may be changed depending on your
model.
OVQ036058N
Page 147 of 347
Features of your vehicle138
3✽
✽
NOTICEIt should be noted that prolonged oper-
ation of the heating in recirculated air
position will cause fogging of the wind-
shield and side windows and the air
within the passenger compartment will
become stale.
In addition, prolonged use of the air
conditioning with the “recirculated air
position” selected, will result in exces-
sively dry air in the passenger compart-
ment.
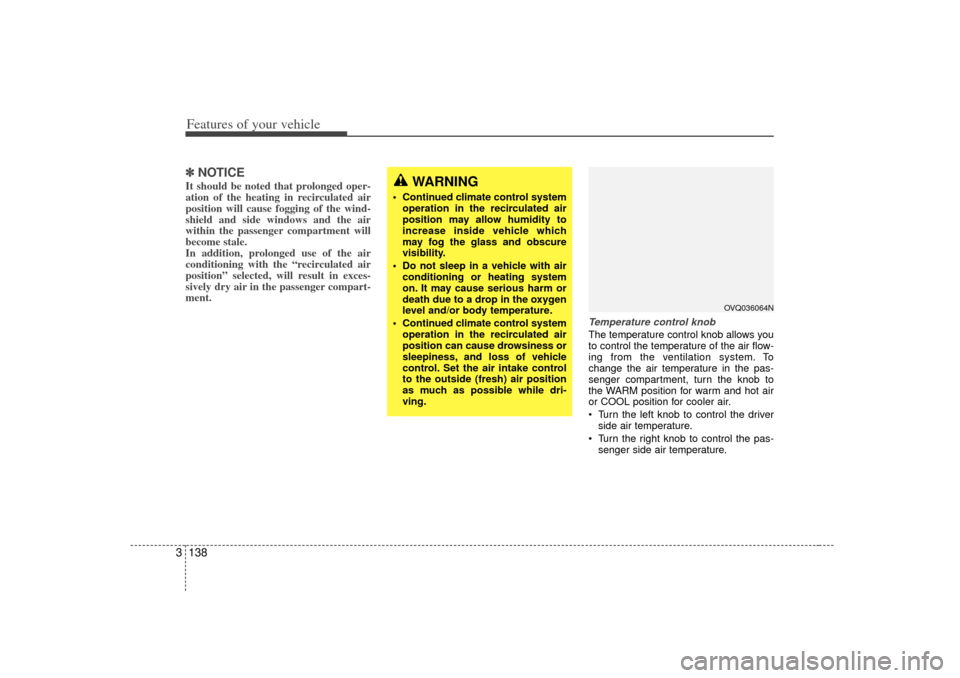
Temperature control knobThe temperature control knob allows you
to control the temperature of the air flow-
ing from the ventilation system. To
change the air temperature in the pas-
senger compartment, turn the knob to
the WARM position for warm and hot air
or COOL position for cooler air.
Turn the left knob to control the driver
side air temperature.
Turn the right knob to control the pas- senger side air temperature.
WARNING
Continued climate control systemoperation in the recirculated air
position may allow humidity to
increase inside vehicle which
may fog the glass and obscure
visibility.
Do not sleep in a vehicle with air conditioning or heating system
on. It may cause serious harm or
death due to a drop in the oxygen
level and/or body temperature.
Continued climate control system operation in the recirculated air
position can cause drowsiness or
sleepiness, and loss of vehicle
control. Set the air intake control
to the outside (fresh) air position
as much as possible while dri-
ving.
OVQ036064N
Page 160 of 347
3 151
Features of your vehicle
Recirculated air position
The indicator light on the but-
ton is illuminated when the
recirculated air position is
selected.
With the recirculated air posi- tion selected, air from pas-
senger compartment will be
drawn through the heating
system and heated or cooled
according to the function
selected.
Outside (fresh) air position
The indicator light on the but-
ton is illumimated when the
outside (fresh) air position is
selected.
With the outside (fresh) air
position selected, air enters
the vehicle from outside and
is heated or cooled according
to the function selected.
✽ ✽ NOTICEIt should be noted that prolonged oper-
ation of the heating in recirculated air
position will cause fogging of the wind-
shield and side windows and the air
within the passenger compartment will
become stale.
In addition, prolonged use of the air
conditioning with the “recirculated air
position” selected, will result in exces-
sively dry air in the passenger compart-
ment.
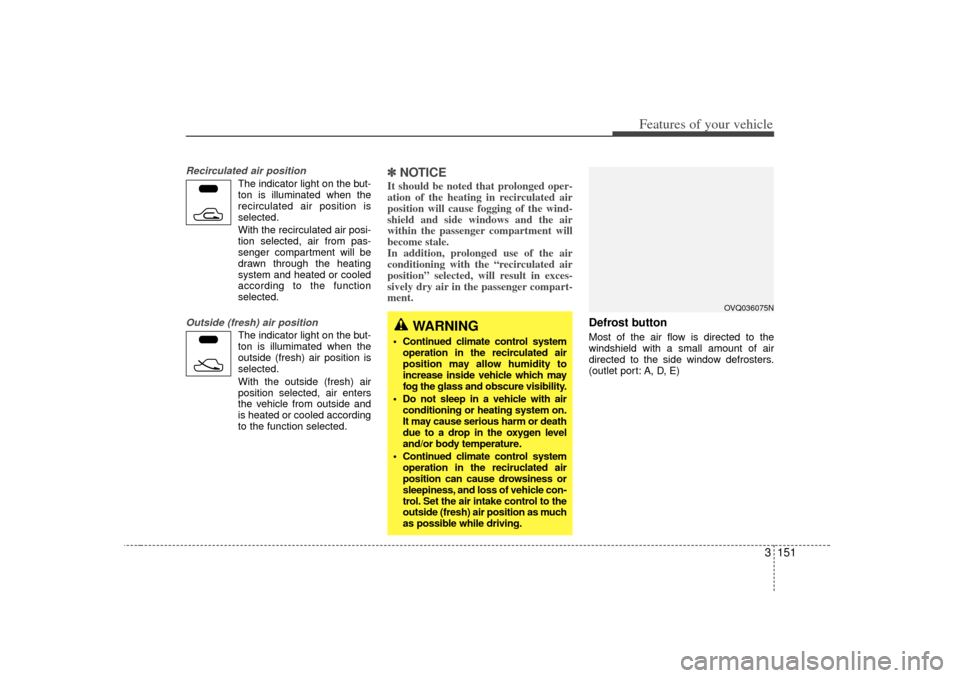
Defrost button Most of the air flow is directed to the
windshield with a small amount of air
directed to the side window defrosters.
(outlet port: A, D, E)
WARNING
Continued climate control system
operation in the recirculated air
position may allow humidity to
increase inside vehicle which may
fog the glass and obscure visibility.
Do not sleep in a vehicle with air conditioning or heating system on.
It may cause serious harm or death
due to a drop in the oxygen level
and/or body temperature.
Continued climate control system operation in the reciruclated air
position can cause drowsiness or
sleepiness, and loss of vehicle con-
trol. Set the air intake control to the
outside (fresh) air position as much
as possible while driving.
OVQ036075N
Page 169 of 347
Features of your vehicle160
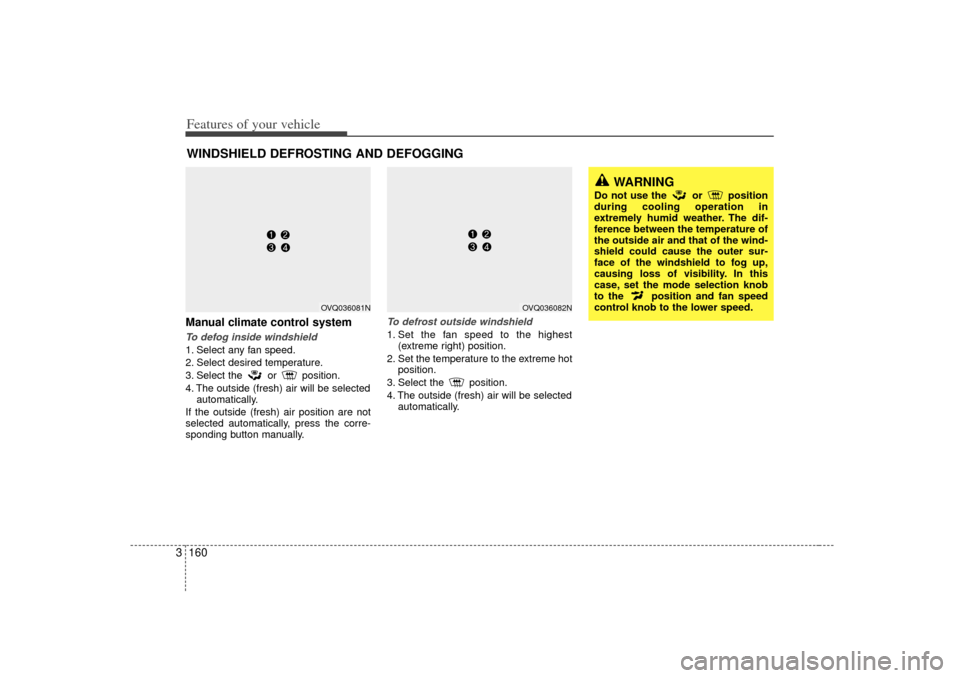
3Manual climate control systemTo defog inside windshield 1. Select any fan speed.
2. Select desired temperature.
3. Select the or position.
4. The outside (fresh) air will be selected
automatically.
If the outside (fresh) air position are not
selected automatically, press the corre-
sponding button manually.
To defrost outside windshield 1. Set the fan speed to the highest (extreme right) position.
2. Set the temperature to the extreme hot position.
3. Select the position.
4. The outside (fresh) air will be selected automatically.
WINDSHIELD DEFROSTING AND DEFOGGING
OVQ036082N
WARNING
Do not use the or position
during cooling operation in
extremely humid weather. The dif-
ference between the temperature of
the outside air and that of the wind-
shield could cause the outer sur-
face of the windshield to fog up,
causing loss of visibility. In this
case, set the mode selection knob
to the position and fan speed
control knob to the lower speed.
OVQ036081N
Page 170 of 347
3 161
Features of your vehicle
Automatic climate control systemTo defog inside windshield 1. Select desired fan speed.
2. Select desired temperature.
3. Press the defrost button ( ).
4. The outside (fresh) air position will beselected automatically.
If the outside (fresh) air position are not
selected automatically, adjust the corre-
sponding button manually.
To defrost outside windshield 1. Set fan speed to the highest (extreme right) position.
2. Set temperature to the extreme hot (HI) position.
3. Press the defrost button ( ).
4. The outside (fresh) air position will be selected automatically. For maximum defrosting, set the tem-
perature control to the extreme highest
temperature setting and the fan speed
control to the highest speed.
If warm air to the floor is desired while defrosting or defogging, set the mode
to the floor-defrost position.
Before driving, clear all snow and ice from the windshield, rear window, out-
side rear view mirrors, and all side win-
dows.
Clear all snow and ice from the hood and air inlet in the cowl grill to improve
heater and defroster efficiency and to
reduce the probability of fogging up
inside of the windshield.
OVQ036304N
WARNING
Do not use the or position
during cooling operation in
extremely humid weather. The dif-
ference between the temperature of
the outside air and that of the wind-
shield could cause the outer sur-
face of the windshield to fog up,
causing loss of visibility. In this
case, set the mode selection knob
to the position and fan speed
control knob to the lower speed.
OVQ036083N
Page 173 of 347
Features of your vehicle164
3If the vehicle has a roof rack, you can
load cargo on top of your vehicle.
Crossbars and fixing components need-
ed to install the roof rack on your vehicle
may be obtained from an authorized Kia
dealer.ROOF RACK (IF EQUIPPED)
1VQA2206
CAUTION
• The crossbars should be placed
in the proper load carrying posi-tions prior to placing items ontothe roof rack.
If the vehicle is equipped with a sunroof, be sure not to positioncargo onto the roof rack in such away that it could interfere with sunroof operation.
(Continued)
WARNING
The following specification is themaximum weight that can be
loaded onto the roof rack.
Distribute the load as evenly as
possible across the crossbars
and roof rack and secure the load
firmly.
The vehicle center of gravity will be higher when items are loaded
onto the roof rack. Avoid sudden
starts, braking, sharp turns,
abrupt maneuvers or high speeds
that may result in loss of vehicle
control or rollover causing an
accident.
(Continued)
(Continued)
Always drive slowly and turn cor-ners carefully when carrying
items on the roof rack. Severe
wind updrafts, caused by passing
vehicles or natural causes, can
cause sudden upward pressure
on items loaded on the roof rack.
This is especially true when car-
rying large, flat items such as
wood panels or mattresses. This
could cause the items to fall off
the roof rack and cause damage
to your vehicle or those around
you.
To prevent damage or loss of cargo while driving, check fre-
quently before or while driving to
make sure the items on the roof
rack are securely fastened.
CAUTION
If the vehicle has a sunroof, do not position the roof rack loadsso that they could interfere withthe sunroof.
Loading cargo or luggage above specification on the roof rack maydamage your vehicle.
(Continued)
When carrying cargo on the roof rack, take the necessary precau-tions to make sure the cargo doesnot damage the roof of the vehicle.
When carrying large objects on the roof rack, make sure they donot exceed the overall roof lengthor width.ROOF 75 kg (165 lbs.)
RACK EVENLY DISTRIBUTED