2006 KIA Rio roof
[x] Cancel search: roofPage 10 of 220

3
Keys / 3-2
Remote keyless entry / 3-3
Theft-alarm system / 3-5
Immobilizer system / 3-7
Door locks / 3-9
Windows / 3-14
Seat / 3-17
Safety belts / 3-27
Air bags-supplemental restraint system / 3-47
Trunk / 3-62
Hood / 3-64
Fuel filler lid / 3-65
Mirrors / 3-68
Interior lights / 3-71
Storage compartment / 3-72
Interior features / 3-73
Sunroof / 3-77
Luggage net / 3-80
Antenna / 3-80
Audio system / 3-81
Knowing your vehicle
JB CAN 3.qxd 7/29/05 8:56 AM Page 1
Page 61 of 220

Knowing your vehicle52
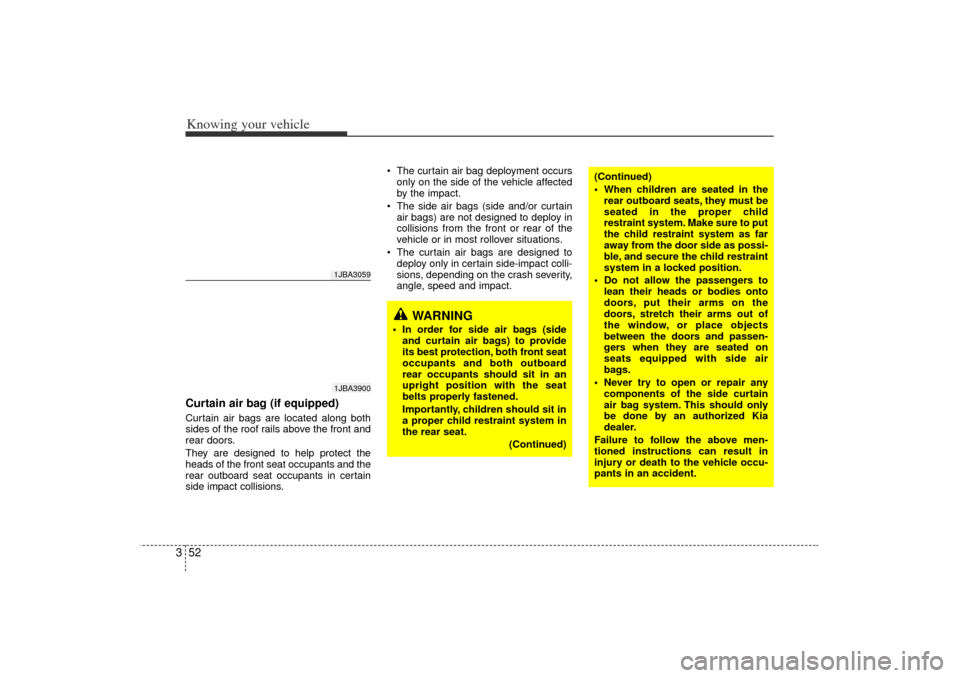
3Curtain air bag (if equipped)Curtain air bags are located along both
sides of the roof rails above the front and
rear doors.
They are designed to help protect the
heads of the front seat occupants and the
rear outboard seat occupants in certain
side impact collisions.
The curtain air bag deployment occurs
only on the side of the vehicle affected
by the impact.
The side air bags (side and/or curtain
air bags) are not designed to deploy in
collisions from the front or rear of the
vehicle or in most rollover situations.
The curtain air bags are designed to
deploy only in certain side-impact colli-
sions, depending on the crash severity,
angle, speed and impact.
1JBA30591JBA3900
WARNING
In order for side air bags (side
and curtain air bags) to provide
its best protection, both front seat
occupants and both outboard
rear occupants should sit in an
upright position with the seat
belts properly fastened.
Importantly, children should sit in
a proper child restraint system in
the rear seat.
(Continued)
(Continued)
When children are seated in therear outboard seats, they must be
seated in the proper child
restraint system. Make sure to put
the child restraint system as far
away from the door side as possi-
ble, and secure the child restraint
system in a locked position.
Do not allow the passengers to lean their heads or bodies onto
doors, put their arms on the
doors, stretch their arms out of
the window, or place objects
between the doors and passen-
gers when they are seated on
seats equipped with side air
bags.
Never try to open or repair any components of the side curtain
air bag system. This should only
be done by an authorized Kia
dealer.
Failure to follow the above men-
tioned instructions can result in
injury or death to the vehicle occu-
pants in an accident.
JB CAN 3.qxd 7/29/05 8:57 AM Page 52
Page 68 of 220

359
Knowing your vehicle
Noise and smokeWhen the air bags inflate, they make a
loud noise and they leave smoke and
powder in the air inside of the vehicle.
This is normal. After the air bag inflates,
you may feel substantial discomfort in
breathing due to the contact of your
chest to both the safety belt and the air
bag, as well as from breathing the smoke
and powder.We strongly urge you to
open your doors and/or windows as
soon as possible after impact in order
to reduce discomfort and prevent pro-
longed exposure to the smoke and
powder.
Though the smoke and powder are non-
toxic, it may cause irritation to the skin
(eyes, nose and throat etc.). Wash and
rinse with cold water immediately and
consult a doctor if symptoms persist.
Installing a child restraint on a
front passenger seat is extremely
dangerous and should never be
done.Never place a rear-facing child restraint
in the front passenger’ s seat. If the air
bag deploys, it would impact the rear-fac-
ing child restraint, causing severe or fatal
injuries.
In addition, do not place front-facing child
restraint in the front passenger’ s seat
either. If the front passenger air bag
inflates, it may cause severe or fatal
injuries to the child.
WARNING
- Hot air bag
parts
When the air bags deploy, the air
bag related parts in steering wheel
and/or instrument panel and/or in
both sides of the roof rails above
the front and rear doors are very
hot. To prevent injury, do not touch
the air bag storage area’s internal
components immediately after an
air bag has inflated.
1JBH3051
JB CAN 3.qxd 7/29/05 8:57 AM Page 59
Page 86 of 220

377
Knowing your vehicle
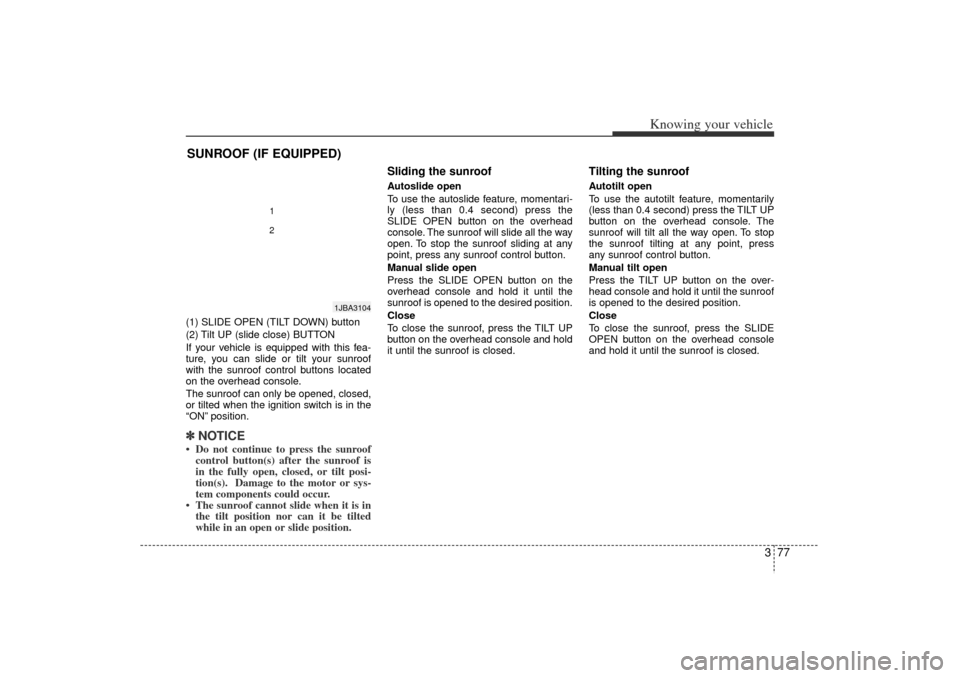
(1) SLIDE OPEN (TILT DOWN) button
(2) Tilt UP (slide close) BUTTON
If your vehicle is equipped with this fea-
ture, you can slide or tilt your sunroof
with the sunroof control buttons located
on the overhead console.
The sunroof can only be opened, closed,
or tilted when the ignition switch is in the
“ON”position.✽ ✽
NOTICE Do not continue to press the sunroof
control button(s) after the sunroof is
in the fully open, closed, or tilt posi-
tion(s). Damage to the motor or sys-
tem components could occur.
The sunroof cannot slide when it is in the tilt position nor can it be tilted
while in an open or slide position.
Sliding the sunroof Autoslide open
To use the autoslide feature, momentari-
ly (less than 0.4 second) press the
SLIDE OPEN button on the overhead
console. The sunroof will slide all the way
open. To stop the sunroof sliding at any
point, press any sunroof control button.
Manual slide open
Press the SLIDE OPEN button on the
overhead console and hold it until the
sunroof is opened to the desired position.
Close
To close the sunroof, press the TILT UP
button on the overhead console and hold
it until the sunroof is closed.
Tilting the sunroof Autotilt open
To use the autotilt feature, momentarily
(less than 0.4 second) press the TILT UP
button on the overhead console. The
sunroof will tilt all the way open. To stop
the sunroof tilting at any point, press
any sunroof control button.
Manual tilt open
Press the TILT UP button on the over-
head console and hold it until the sunroof
is opened to the desired position.
Close
To close the sunroof, press the SLIDE
OPEN button on the overhead console
and hold it until the sunroof is closed.
SUNROOF (IF EQUIPPED)
1JBA3104
12
JB CAN 3.qxd 7/29/05 8:57 AM Page 77
Page 87 of 220

Knowing your vehicle78
3Sunshade The sunshade will be opened with the
glass panel automatically when the glass
panel is slid. You will have to close it man-
ually if you want it closed.
✽ ✽
NOTICE Do not press any sunroof control but-
ton longer than necessary. Damage to
the motor or system components
could occur.
Periodically remove any dirt that may accumulate on the guide rail.
If you try to open the sunroof when the temperature is below freezing or
when the sunroof is covered with snow
or ice, the glass or the motor could be
damaged.
The sunroof is made to slide together with sunshade. Do not leave the sun-
shade closed while the sunroof is open.
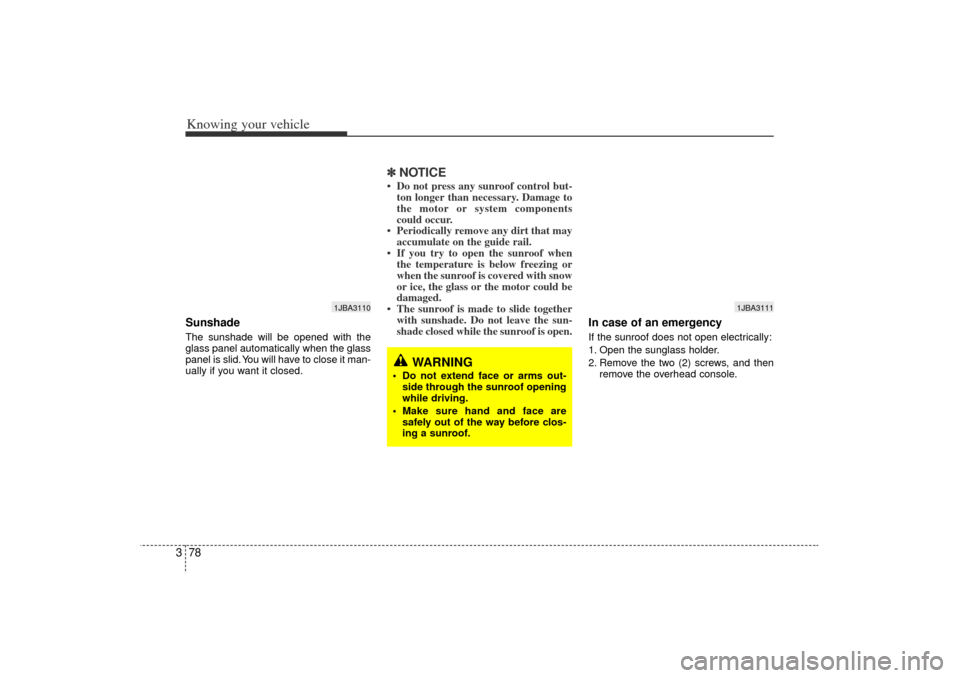
In case of an emergency If the sunroof does not open electrically:
1. Open the sunglass holder.
2. Remove the two (2) screws, and then
remove the overhead console.
1JBA3110
WARNING
Do not extend face or arms out-side through the sunroof opening
while driving.
Make sure hand and face are safely out of the way before clos-
ing a sunroof.
1JBA3111
JB CAN 3.qxd 7/29/05 8:57 AM Page 78
Page 88 of 220

379
Knowing your vehicle
3. Insert the emergency handle (providedwith the vehicle) and turn the handle
clockwise to open or counterclockwise
to close.
Resetting the sunroofWhenever the vehicle battery is discon-
nected or discharged, or you use the
emergency handle to operate the sun-
roof, you have to reset your sunroof sys-
tem as follows:
1. Turn the ignition key to the ON posi-tion.
2. Set the sunroof to the maximum TILT- UP position using the corresponding
sunroof switch.
3. Then, release it.
4. Press and hold the TILT UP button once again until the sunroof has
returned to the original position of TILT
UP after it is raised a little higher than
the maximum TILT UP position. This
may take several seconds.
When this is complete, the sunroof system is reset.
1JBA3112
JB CAN 3.qxd 7/29/05 8:57 AM Page 79
Page 89 of 220

Knowing your vehicle80
3To keep items from shifting in the trunk,
you can use the four rings located in the
trunk to attach the cargo net.
✽ ✽
NOTICEDo not put fragile, bulky or an excessive
quantity of items into luggage net. They
could be damaged.
Roof type antenna (if equipped)If your vehicle has an audio system, an
amplifying antenna is installed in your
vehicle.
This antenna can be adjusted up and
down or removed from the vehicle when
you wash your vehicle.✽ ✽NOTICE Be sure to remove the antenna before
washing the car in an automatic car
wash or it may be damaged.
When reinstalling your antenna, it is important that it is fully tightened to
ensure proper reception.
LUGGAGE NET (IF EQUIPPED)
WARNING
To avoid eye injury, DO NOT over-
stretch the netting.
ALWAYS keep face and body out of
recoil path of the net, in case of
strap.
DO NOT use the luggage net when
strap has visible signs of wear or
damage.
ANTENNA
1JBA3114
1JBA31131JBA3216
4 Door5 Door
JB CAN 3.qxd 7/29/05 8:57 AM Page 80
Page 167 of 220

611
In case of an emergency
Driver-side knee bolster
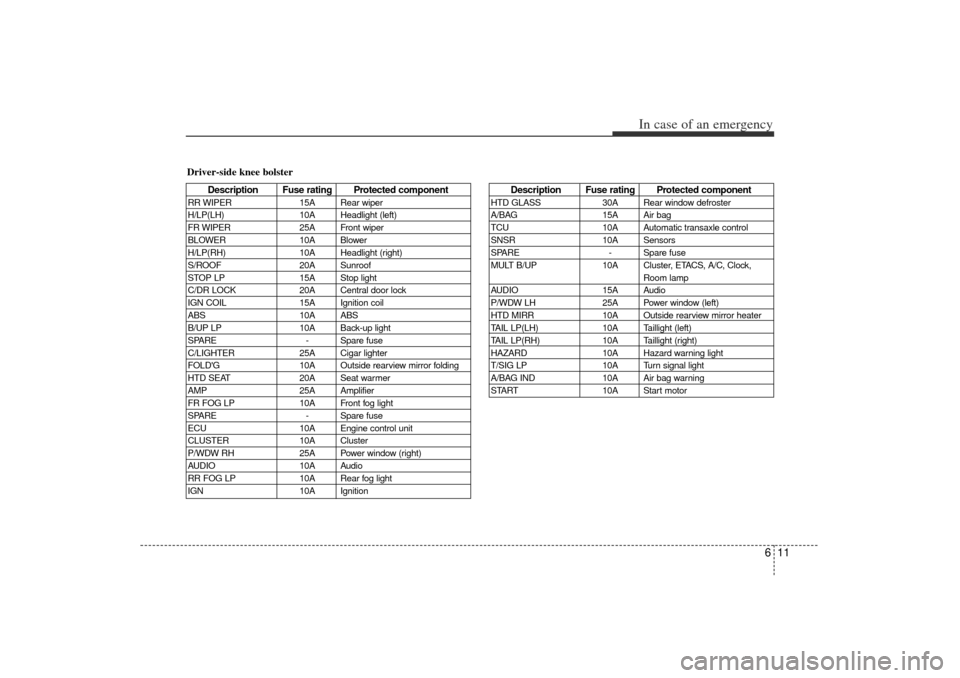
Description Fuse rating Protected component
RR WIPER15A Rear wiper
H/LP(LH) 10A Headlight (left)
FR WIPER 25A Front wiper
BLOWER 10A Blower
H/LP(RH) 10A Headlight (right)
S/ROOF 20A Sunroof
STOP LP 15A Stop light
C/DR LOCK 20A Central door lock
IGN COIL 15A Ignition coil
ABS 10A ABS
B/UP LP 10A Back-up light
SPARE - Spare fuse
C/LIGHTER 25A Cigar lighter
FOLD'G 10A Outside rearview mirror folding
HTD SEAT 20A Seat warmer
AMP 25A Amplifier
FR FOG LP 10A Front fog light
SPARE - Spare fuse
ECU 10A Engine control unit
CLUSTER 10A Cluster
P/WDW RH 25A Power window (right)
AUDIO 10A Audio
RR FOG LP 10A Rear fog light
IGN 10A Ignition
Description Fuse rating Protected component
HTD GLASS30A Rear window defroster
A/BAG 15A Air bag
TCU 10A Automatic transaxle control
SNSR 10A Sensors
SPARE - Spare fuse
MULT B/UP 10A Cluster, ETACS, A/C, Clock,
Room lamp
AUDIO 15A Audio
P/WDW LH 25A Power window (left)
HTD MIRR 10A Outside rearview mirror heater
TAIL LP(LH) 10A Taillight (left)
TAIL LP(RH) 10A Taillight (right)
HAZARD 10A Hazard warning light
T/SIG LP 10A Turn signal light
A/BAG IND 10A Air bag warning
START 10A Start motor
JB CAN 6.qxd 7/29/05 9:10 AM Page 11