Page 195 of 220

717
Maintenance
Body lubrication All moving points of the body, such as
door hinges, hood hinges, and locks,
should be lubricated each time the
engine oil is changed. Use a non-freez-
ing lubricant on locks during cold weath-
er.
Make sure the engine hood secondary
latch keeps the hood from opening when
the primary latch is released.
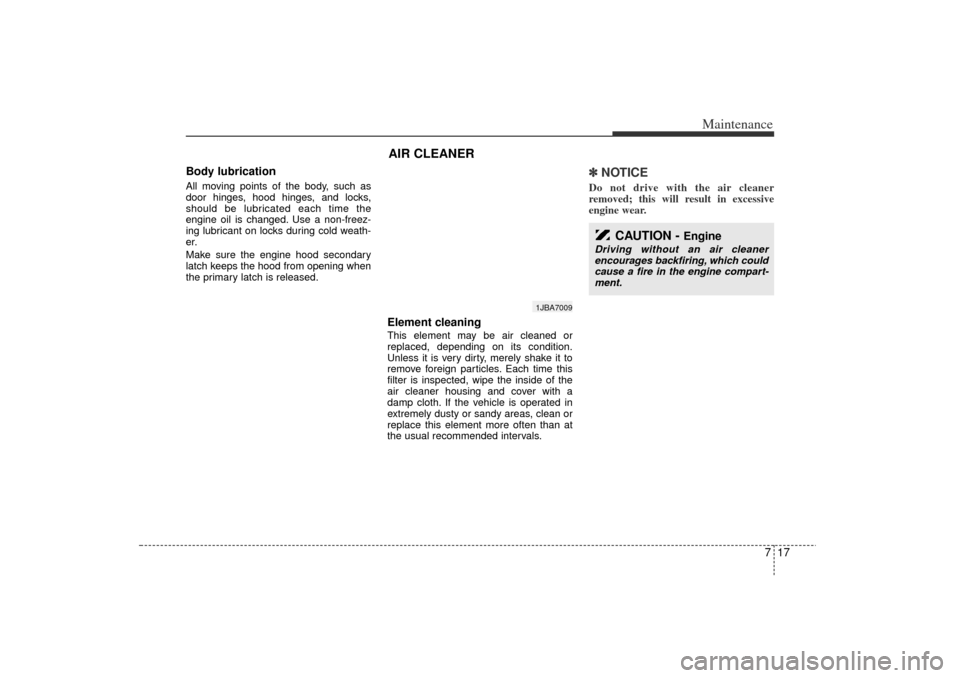
Element cleaningThis element may be air cleaned or
replaced, depending on its condition.
Unless it is very dirty, merely shake it to
remove foreign particles. Each time this
filter is inspected, wipe the inside of the
air cleaner housing and cover with a
damp cloth. If the vehicle is operated in
extremely dusty or sandy areas, clean or
replace this element more often than at
the usual recommended intervals.
✽ ✽NOTICEDo not drive with the air cleaner
removed; this will result in excessive
engine wear.
1JBA7009
CAUTION -
Engine
Driving without an air cleaner
encourages backfiring, which could
cause a fire in the engine compart-
ment.
AIR CLEANER
JB CAN 7.qxd 7/29/05 9:11 AM Page 17
Page 197 of 220

719
Maintenance
WIPER BLADES Wiper blade maintenance Commercial hot waxes applied by
automatic car washes have been
known to make the windshield diffi-
cult to clean.
Contamination of either the windshield or
the wiper blades with foreign matter can
reduce the effectiveness of the wind-
shield wipers. Common sources of con-
tamination are insects, tree sap, and hot
wax treatments used by some commer-
cial car washes. If the blades are not wip-
ing properly, clean both the window and
the blades with a good cleaner or mild
detergent, and rinse thoroughly with
clean water.✽ ✽NOTICETo prevent damage to the wiper blades,
do not use gasoline, kerosene, paint
thinner, or other solvents on or near
them.
Windshield wiper blade replace-
ment When the wipers no longer clean ade-
quately, the blades may be worn or
cracked, and require replacement.✽ ✽NOTICETo prevent damage to the wiper arms or
other components, do not attempt to
move the wipers manually. ✽ ✽NOTICEThe use of a non-specified wiper blade
could result in wiper malfunction and
failure.
1. Raise the wiper arm and turn the wiper
blade assembly to expose the plastic
locking clip.✽ ✽NOTICEDo not allow the wiper arm to fall
against the windshield, since it may chip
or crack the windshield.
1LDA5023
JB CAN 7.qxd 7/29/05 9:11 AM Page 19
Page 200 of 220

Maintenance22
7For best battery service : Keep the battery securely mounted.
Keep the top of the battery clean and
dry.
Keep the terminals and connections clean, tight, and coated with petroleum
jelly or terminal grease.
Rinse any spilled electrolyte from the battery immediately with a solution of
water and baking soda.
If the vehicle is not going to be used for an extended time, disconnect the bat-
tery cables.
Battery recharging Your vehicle has a maintenance-free,
calcium-based battery.
If the battery becomes discharged in ashort time (because, for example, the
headlights or interior lights were left on
while the vehicle was not in use),
recharge it by slow charging (trickle)
for 10 hours.
If the battery gradually discharges because of high electric load while the
vehicle is being used, recharge it at 20-
30A for two hours.
Items to be reset after the battery has
been discharged or the battery has
been disconnected.
Clock (See Chapter 3)
Audio (See Chapter 3)
Sunroof (See Chapter 3)
✽ ✽ NOTICE Before performing maintenance or
recharging the battery, turn off all
accessories and stop the engine.
The negative battery cable must be removed first and installed last when
the battery is disconnected.
1JBA7017
WARNING
- Recharging
battery
When recharging the battery,
observe the following precautions:
The battery must be removed
from the vehicle and placed in an
area with good ventilation.
(Continued)
(Continued)
Do not allow cigarettes, sparks, orflame near the battery.
Watch the battery during charg- ing, and stop or reduce the charg-
ing rate if the battery cells begin
gassing (boiling) violently or if
the temperature of the electrolyte
of any cell exceeds 49°C (120°F).
Wear eye protection when check- ing the battery during charging.
Disconnect the battery charger in the following order.
1. Turn off the battery charger main switch.
2. Unhook the negative clamp from the negative battery terminal.
3. Unhook the positive clamp from the positive battery terminal.
JB CAN 7.qxd 7/29/05 9:11 AM Page 22
Page 219 of 220

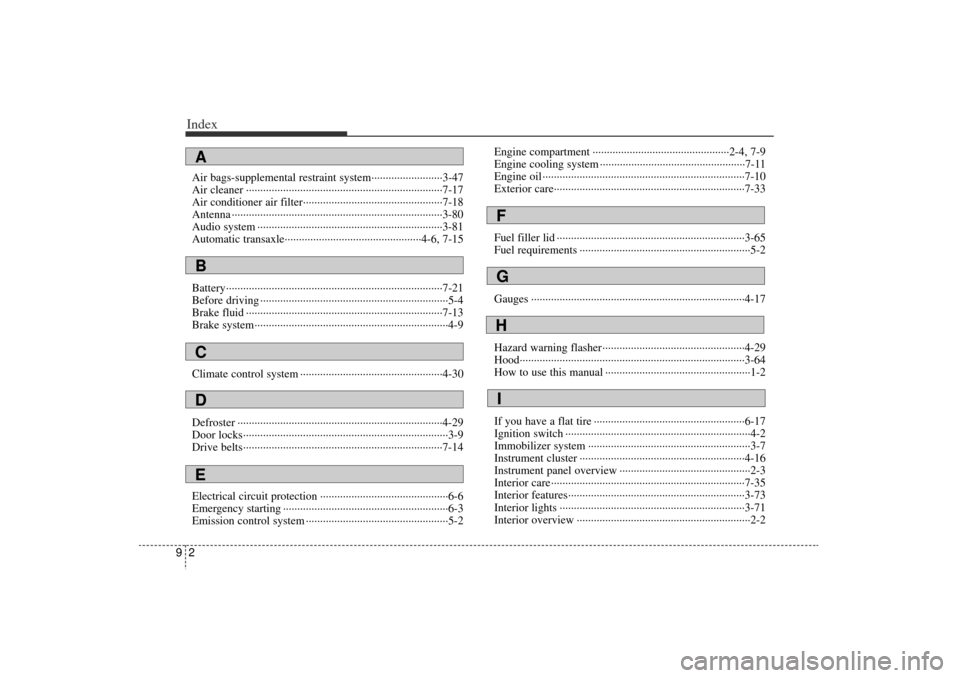
Index29Air bags-supplemental restraint system··················\
·······3-47
Air cleaner ··················\
··················\
··················\
···············7-17
Air conditioner air filter··················\
··················\
·············7-18
Antenna ··················\
··················\
··················\
··················\
··3-80
Audio system ··················\
··················\
··················\
···········3-81
Automatic transaxle··················\
··················\
············4-6, 7-15
Battery··················\
··················\
··················\
··················\
····7-21
Before driving ··················\
··················\
··················\
············5-4
Brake fluid ··················\
··················\
··················\
···············7-13
Brake system··················\
··················\
··················\
··············4-9
Climate control system ··················\
··················\
··············4-30
Defroster ··················\
··················\
··················\
··················\
4-29
Door locks··················\
··················\
··················\
··················\
3-9
Drive belts··················\
··················\
··················\
················7-14
Electrical circuit protection ··················\
··················\
·········6-6
Emergency starting ··················\
··················\
··················\
····6-3
Emission control system ··················\
··················\
··············5-2Engine compartment ··················\
··················\
············2-4, 7-9
Engine cooling system ··················\
··················\
···············7-11
Engine oil ··················\
··················\
··················\
·················7-10\
Exterior care··················\
··················\
··················\
·············7-33
Fuel filler lid ··················\
··················\
··················\
············3-65
Fuel requirements ··················\
··················\
··················\
······5-2
Gauges ··················\
··················\
··················\
··················\
···4-17
Hazard warning flasher··················\
··················\
··············4-29
Hood··················\
··················\
··················\
··················\
·······3-64
How to use this manual ··················\
··················\
···············1-2
If you have a flat tire ··················\
··················\
·················6-17\
Ignition switch ··················\
··················\
··················\
···········4-2
Immobilizer system ··················\
··················\
··················\
···3-7
Instrument cluster ··················\
··················\
··················\
····4-16
Instrument panel overview ··················\
··················\
··········2-3
Interior care··················\
··················\
··················\
··············7-35
Interior features··················\
··················\
··················\
········3-73
Interior lights ··················\
··················\
··················\
···········3-71
Interior overview ··················\
··················\
··················\
·······2-2ABCED
FGHI
JB CAN 9.qxd 7/29/05 9:12 AM Page 2