2006 KIA Rio ignition
[x] Cancel search: ignitionPage 69 of 220

Knowing your vehicle60
3
Air bag warning lightThe purpose of air bag warning light in
your instrument panel is to alert you of a
potential problem with your air bag -
Supplemental Restraint System (SRS).
When the ignition switch is turned ON,
the indicator light should blink or illumi-
nate for approximately 6 seconds, then
go off.
Have the system checked if:
The light does not turn on briefly when
you turn the ignition ON.
The light stays on after the engine
starts.
The light comes on while the vehicle is
in motion.
Air bag (Supplemental Restraint
System) service Your Supplemental Restraint System is
virtually maintenance-free. There are no
parts which you can service.
You must have the system serviced
under the following circumstances:
If an air bag ever inflates, the air bag
must be replaced. Do not try to remove
or discard the air bag by yourself. This
must be done by an authorized Kia
dealer.
If the air bag warning indicator light
alerts you to a problem, have the air
bag system checked as soon as possi-
ble. Otherwise, your air bag system
may be ineffective.
WARNING
Never put child restraint in the
front passenger seat. If the front
passenger air bag inflates, it may
cause severe or fatal injuries.
When children are seated in the rear outboard seats in which cur-
tain air bags are equipped, be
sure to put the child restraint sys-
tem as far away from the door
side as possible, and secure the
child restraint system to be
locked in position.
Inflation of side or curtain air bag
(if equipped) could cause severe
injury or death due to the expan-
sion impact.
AIR
BAG
CAUTION
- No modification
Do not modify any part of the air bag
system. Modification could make
the air bag system ineffective or
could cause unnecessary deploy-
ment.
JB CAN 3.qxd 7/29/05 8:57 AM Page 60
Page 80 of 220
371
Knowing your vehicle
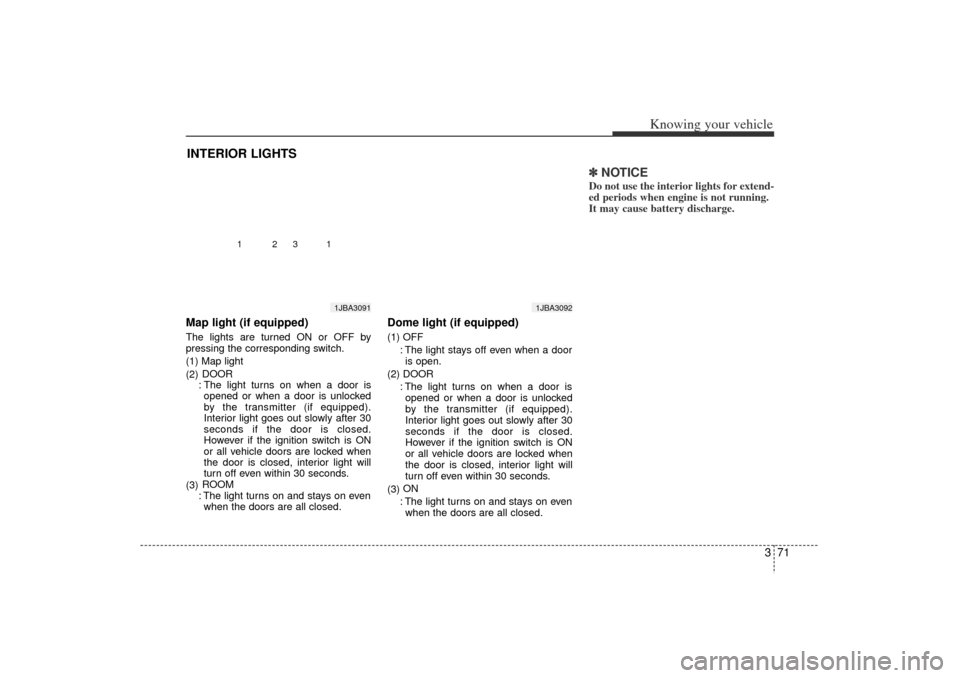
Map light (if equipped)The lights are turned ON or OFF by
pressing the corresponding switch.
(1) Map light
(2)DOOR
: The light turns on when a door is opened or when a door is unlocked
by the transmitter (if equipped).
Interior light goes out slowly after 30
seconds if the door is closed.
However if the ignition switch is ON
or all vehicle doors are locked when
the door is closed, interior light will
turn off even within 30 seconds.
(3) ROOM
: The light turns on and stays on even when the doors are all closed.
Dome light (if equipped)(1) OFF
: The light stays off even when a dooris open.
(2) DOOR : The light turns on when a door isopened or when a door is unlocked
by the transmitter (if equipped).
Interior light goes out slowly after 30
seconds if the door is closed.
However if the ignition switch is ON
or all vehicle doors are locked when
the door is closed, interior light will
turn off even within 30 seconds.
(3) ON
: The light turns on and stays on even when the doors are all closed.
✽ ✽ NOTICEDo not use the interior lights for extend-
ed periods when engine is not running.
It may cause battery discharge.
INTERIOR LIGHTS
1JBA3092
1JBA3091
1
1
2
3
JB CAN 3.qxd 7/29/05 8:57 AM Page 71
Page 82 of 220
373
Knowing your vehicle
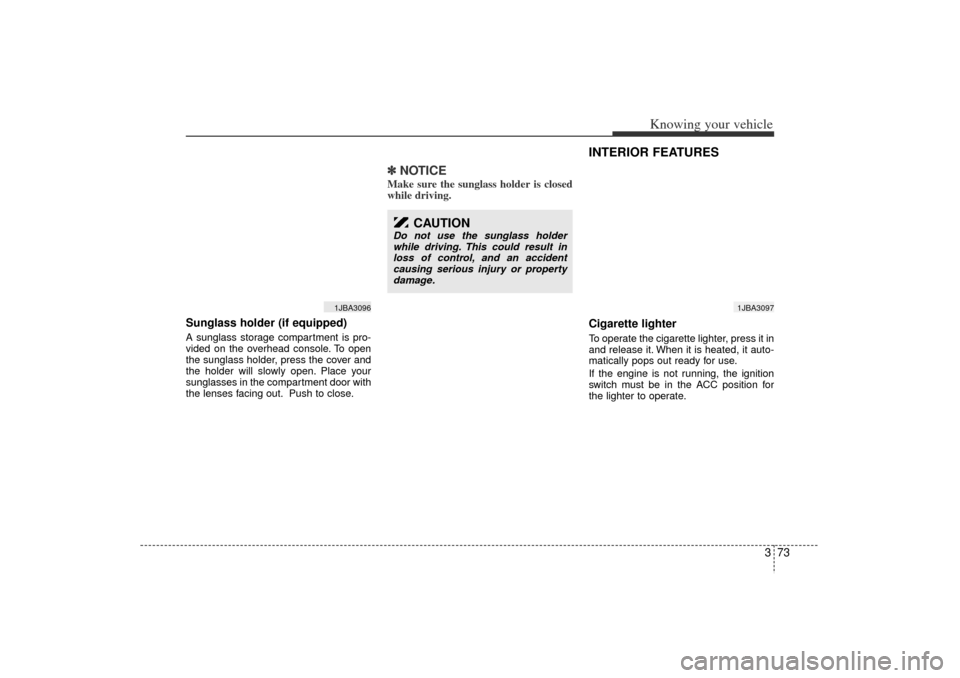
Sunglass holder (if equipped)A sunglass storage compartment is pro-
vided on the overhead console. To open
the sunglass holder, press the cover and
the holder will slowly open. Place your
sunglasses in the compartment door with
the lenses facing out. Push to close.
✽ ✽NOTICEMake sure the sunglass holder is closed
while driving.
INTERIOR FEATURES Cigarette lighterTo operate the cigarette lighter, press it in
and release it. When it is heated, it auto-
matically pops out ready for use.
If the engine is not running, the ignition
switch must be in the ACC position for
the lighter to operate.
1JBA3096
CAUTION
Do not use the sunglass holder
while driving. This could result in
loss of control, and an accident
causing serious injury or property
damage.
1JBA3097
JB CAN 3.qxd 7/29/05 8:57 AM Page 73
Page 85 of 220

Knowing your vehicle76
3✽
✽
NOTICE Use the power outlet when the engine
is running, and remove a plug from
the power outlet after using the elec-
tric appliance. Using the power outlet
excessively or while the engine is not
running or leaving appliances plugged
into the power outlet when not in use
will cause battery discharge
Only use the electric appliances which are less than 12V and 10A in electric
capacity.
Adjust the air-conditioner or heater to the lowest operation level when you
have to use the power socket while
using air-conditioner or heater.
Close the cover when not in use.
Some electronic devices can cause electronic interference when plugged
into a vehicle’s power outlet. These
devices may cause excessive audio
static and malfunctions in other elec-
tronic systems or devices used in your
vehicle.
Digital clock (if equipped)Whenever the battery terminals or mem-
ory fuse are disconnected, you must
reset the time.
When the ignition switch is in the ACC or
ON position, the clock buttons operates
as follows: HOUR:
Pressing the “H”button with your fin-
ger, a pencil or similar object will
advance the time displayed by one
hour.
MINUTE: Pressing the “M”button with your fin-
ger, a pencil or similar object will
advance the time displayed by one
minute.
RESET:
To clear away minutes, press the “R”
button with your finger, a pencil or sim-
ilar object. Then the clock will be set
precisely on the hour.
For example, if the “R ” button is
pressed while the time is between 9:01
and 9:29, the display will be reset to
9:00.
9:01 ~ 9:29 ➾ 9:00
9:30 ~ 9:59 ➾ 10:00
1JBN3103A
JB CAN 3.qxd 7/29/05 8:57 AM Page 76
Page 86 of 220
377
Knowing your vehicle
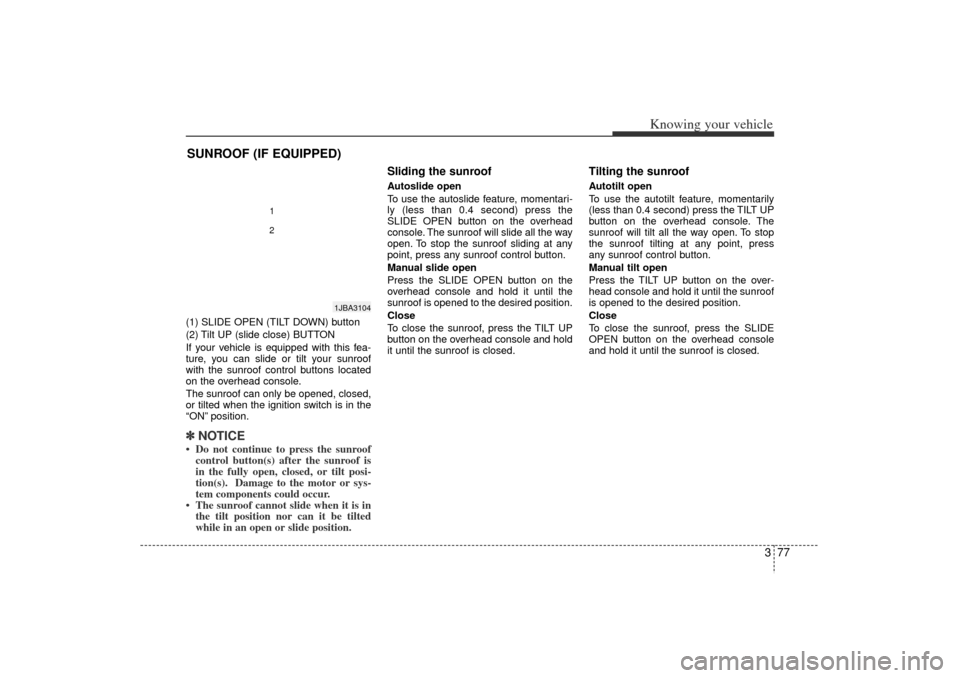
(1) SLIDE OPEN (TILT DOWN) button
(2) Tilt UP (slide close) BUTTON
If your vehicle is equipped with this fea-
ture, you can slide or tilt your sunroof
with the sunroof control buttons located
on the overhead console.
The sunroof can only be opened, closed,
or tilted when the ignition switch is in the
“ON”position.✽ ✽
NOTICE Do not continue to press the sunroof
control button(s) after the sunroof is
in the fully open, closed, or tilt posi-
tion(s). Damage to the motor or sys-
tem components could occur.
The sunroof cannot slide when it is in the tilt position nor can it be tilted
while in an open or slide position.
Sliding the sunroof Autoslide open
To use the autoslide feature, momentari-
ly (less than 0.4 second) press the
SLIDE OPEN button on the overhead
console. The sunroof will slide all the way
open. To stop the sunroof sliding at any
point, press any sunroof control button.
Manual slide open
Press the SLIDE OPEN button on the
overhead console and hold it until the
sunroof is opened to the desired position.
Close
To close the sunroof, press the TILT UP
button on the overhead console and hold
it until the sunroof is closed.
Tilting the sunroof Autotilt open
To use the autotilt feature, momentarily
(less than 0.4 second) press the TILT UP
button on the overhead console. The
sunroof will tilt all the way open. To stop
the sunroof tilting at any point, press
any sunroof control button.
Manual tilt open
Press the TILT UP button on the over-
head console and hold it until the sunroof
is opened to the desired position.
Close
To close the sunroof, press the SLIDE
OPEN button on the overhead console
and hold it until the sunroof is closed.
SUNROOF (IF EQUIPPED)
1JBA3104
12
JB CAN 3.qxd 7/29/05 8:57 AM Page 77
Page 88 of 220

379
Knowing your vehicle
3. Insert the emergency handle (providedwith the vehicle) and turn the handle
clockwise to open or counterclockwise
to close.
Resetting the sunroofWhenever the vehicle battery is discon-
nected or discharged, or you use the
emergency handle to operate the sun-
roof, you have to reset your sunroof sys-
tem as follows:
1. Turn the ignition key to the ON posi-tion.
2. Set the sunroof to the maximum TILT- UP position using the corresponding
sunroof switch.
3. Then, release it.
4. Press and hold the TILT UP button once again until the sunroof has
returned to the original position of TILT
UP after it is raised a little higher than
the maximum TILT UP position. This
may take several seconds.
When this is complete, the sunroof system is reset.
1JBA3112
JB CAN 3.qxd 7/29/05 8:57 AM Page 79
Page 94 of 220
385
Knowing your vehicle
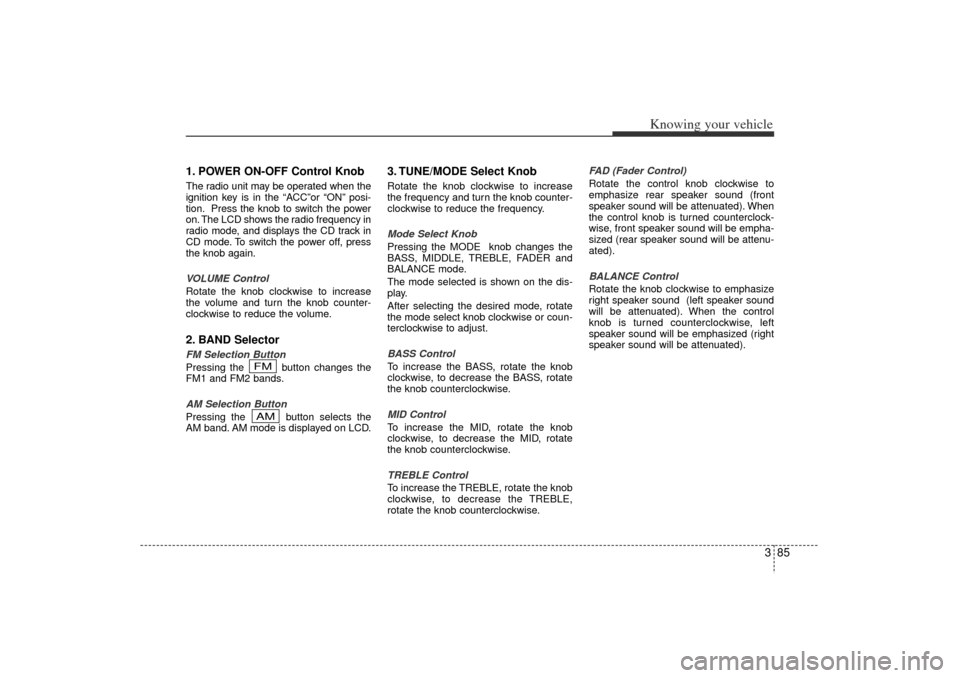
1. POWER ON-OFF Control KnobThe radio unit may be operated when the
ignition key is in the “ACC ”or “ON” posi-
tion. Press the knob to switch the power
on. The LCD shows the radio frequency in
radio mode, and displays the CD track in
CD mode. To switch the power off, press
the knob again.
VOLUME Control
Rotate the knob clockwise to increase
the volume and turn the knob counter-
clockwise to reduce the volume.2. BAND SelectorFM Selection Button
Pressing the button changes the
FM1 and FM2 bands.
AM Selection Button
Pressing the button selects the
AM band. AM mode is displayed on LCD.
3. TUNE/MODE Select KnobRotate the knob clockwise to increase
the frequency and turn the knob counter-
clockwise to reduce the frequency.
Mode Select Knob
Pressing the MODE knob changes the
BASS, MIDDLE, TREBLE, FADER and
BALANCE mode.
The mode selected is shown on the dis-
play.
After selecting the desired mode, rotate
the mode select knob clockwise or coun-
terclockwise to adjust.
BASS Control
To increase the BASS, rotate the knob
clockwise, to decrease the BASS, rotate
the knob counterclockwise.
MID Control
To increase the MID, rotate the knob
clockwise, to decrease the MID, rotate
the knob counterclockwise.
TREBLE Control
To increase the TREBLE, rotate the knob
clockwise, to decrease the TREBLE,
rotate the knob counterclockwise. FAD (Fader Control)
Rotate the control knob clockwise to
emphasize rear speaker sound (front
speaker sound will be attenuated). When
the control knob is turned counterclock-
wise, front speaker sound will be empha-
sized (rear speaker sound will be attenu-
ated).
BALANCE Control
Rotate the knob clockwise to emphasize
right speaker sound (left speaker sound
will be attenuated). When the control
knob is turned counterclockwise, left
speaker sound will be emphasized (right
speaker sound will be attenuated).
AMFM
JB CAN 3.qxd 7/29/05 8:57 AM Page 85
Page 97 of 220
Knowing your vehicle88
31. CD Select Button Insert the CD with the label facing
upward.
Insert the CD to start CD playback,
during radio operation.
When a disc is in the CD deck, if you
press the CD button the CD player will
begin playing even if the radio player is
being used.
The CD player can be used when the
ignition switch is in either the “ON”or
“ACC ”position.✽ ✽
NOTICE Do not stick paper or tape etc., on the
label side or the recording side of any
discs, as it may cause a malfunction.
The unit cannot play a CD- R(Recordable CD) and CD-
RW(Rewritable CD) that is not final-
ized.
Please refer to the manual of CD-
R/CD-RW recorder or CD-R/CD-RW
software for more information on
finalization process.
Depending on the recording status, some CD-Rs/CD-RWs may not be
played on this unit.
2. TRACK UP/DOWN Button The desired track on the disc currently
being played can be selected using the
track number.
Press button once to skip forward
to the beginning of the next track.
Press within a second after play-
back begins to quickly move backward
through a CD.
If you press after more than a sec-
ond, it will take you to the beginning of
the track you are now listening to.3. FF/REW Button If you want to fast forward or reverse
through the compact disc track, push and
hold the FF or REW button.
When you release the button, the com-
pact disc player will resume playing.
4. REPEAT (RPT) ButtonTo repeat the track you are currently
listening to, press the RPT button. To
cancel, press it again.
If you do not release RPT operation
when the track ends, it will automati-
cally be replayed.
This process will be continued until you
push the button again or turn the radio
OFF then ON.5. SCAN ButtonTo playback the first 10 seconds of
each track, press the SCAN button.
Press the SCAN button again within 10
sec. when you have reached the
desired track.6. CD EJECT ButtonWhen the button is pressed with a CD
loaded, the CD will eject.Forcing to eject : To force to eject a
CD, press this button for more than 3
seconds.
(Do this only when a CD is jammed
and you can not eject it in the normal
way - e.g.) in case that you have
inserted 2 CDs by mistake)
JB CAN 3.qxd 7/29/05 8:57 AM Page 88