Page 88 of 220
379
Knowing your vehicle
3. Insert the emergency handle (providedwith the vehicle) and turn the handle
clockwise to open or counterclockwise
to close.
Resetting the sunroofWhenever the vehicle battery is discon-
nected or discharged, or you use the
emergency handle to operate the sun-
roof, you have to reset your sunroof sys-
tem as follows:
1. Turn the ignition key to the ON posi-tion.
2. Set the sunroof to the maximum TILT- UP position using the corresponding
sunroof switch.
3. Then, release it.
4. Press and hold the TILT UP button once again until the sunroof has
returned to the original position of TILT
UP after it is raised a little higher than
the maximum TILT UP position. This
may take several seconds.
When this is complete, the sunroof system is reset.
1JBA3112
JB CAN 3.qxd 7/29/05 8:57 AM Page 79
Page 98 of 220

389
Knowing your vehicle
7. RANDOM(RDM)Press the RDM button to listen the tracks
in random, rather than sequential, order.
Press it again to cancel random play.✽ ✽NOTICE To assure proper operation of the
unit, keep the vehicle interior temper-
ature within a normal range by using
the vehicle's air conditioning or heat-
ing system.
When replacing the fuse, replace it with a fuse having the correct capaci-
ty.
All stored bookmarks are all erased when the car battery is disconnected
or power to the vehicle is lost. If this
occurs, the bookmarks will have to be
reset.
This equipment is designed to be used only in a 12 volt DC battery system
with negative ground.
This unit is made of precision parts. Do not attempt to disassemble or
adjust any parts. (Continued)(Continued)
When driving your vehicle, be sure to
keep the volume of the unit set low
enough to allow you to hear sounds
coming from the outside.
Do not expose this equipment (includ- ing the speakers and CD) to water or
excessive moisture.
CAUTION
Do not insert warped or poor
quality discs into the CD player
as damage to the unit may occur.
Do not insert anything like coins into the player slot as damage to
the unit may occur.
Do not place beverages close to the audio system. The playback
mechanism may be damaged if
you spill them.
Do not strike or allow anything to impact the audio system, damage
to the system mechanisms could
occur.
Off-road or rough surface driving may cause the compact disc to
skip. Do not use the compact
disc when driving in such condi-
tions as damage to the compact
disc face could occur.
(Continued)
(Continued)
Do not attempt to grab or pull thecompact disc out while the disc is
being pulled into the audio unit
by the self-loading mechanism.
Damage to the audio unit and
compact disc could occur.
Avoid using recorded compact discs in your audio unit. Original
compact discs are recommended.
JB CAN 3.qxd 7/29/05 8:57 AM Page 89
Page 104 of 220

395
Knowing your vehicle
✽
✽NOTICE To assure proper operation of the
unit, keep the vehicle interior temper-
ature within a normal range by using
the vehicle's air conditioning or heat-
ing system.
When replacing the fuse, replace it with a fuse having the correct capaci-
ty.
The preset station frequencies are all erased when the car battery is discon-
nected. Therefore, all data will have to
be set again if this should occur.
Do not add any oil to the rotating parts. Keep magnets, screwdrivers
and other metallic objects away from
the tape mechanism and head.
This equipment is designed to be used only in a 12 volt DC battery system
with negative ground.
This unit is made of precision parts. Do not attempt to disassemble or
adjust any parts. (Continued)(Continued)
When driving your vehicle, be sure to
keep the volume of the unit set low
enough to allow you to hear sounds
coming from the outside.
Do not expose this equipment (includ- ing the speakers and tape) to water or
excessive moisture.
CAUTION
Do not insert anything like coins
into the player slot as damage to
the unit may occur.
Do not place beverages close to the audio system. The playback
mechanism may be damaged if
you spill them.
Do not strike or allow anything to impact the audio system, damage
to the system mechanisms could
occur.
JB CAN 3.qxd 7/29/05 8:57 AM Page 95
Page 108 of 220

399
Knowing your vehicle
✽
✽NOTICE To assure proper operation of the
unit, keep the vehicle interior temper-
ature within a normal range by using
the vehicle's air conditioning or heat-
ing system.
When replacing the fuse, replace it with a fuse having the correct capaci-
ty.
All stored bookmarks are all erased when the car battery is disconnected
or power to the vehicle is lost. If this
occurs, the bookmarks will have to be
reset.
This equipment is designed to be used only in a 12 volt DC battery system
with negative ground.
This unit is made of precision parts. Do not attempt to disassemble or
adjust any parts.
When driving your vehicle, be sure to keep the volume of the unit set low
enough to allow you to hear sounds
coming from the outside.
Do not expose this equipment (includ- ing the speakers and tape) to water or
excessive moisture.
CAUTION
Do not insert warped or poor
quality discs into the CD player
as damage to the unit may occur.
Do not insert anything like coins into the player slot as damage to
the unit may occur.
Do not place beverages close to the audio system. The playback
mechanism may be damaged if
you spill them.
Do not strike or allow anything to impact the audio system, damage
to the system mechanisms could
occur.
Off-road or rough surface driving may cause the compact disc to
skip. Do not use the compact
disc when driving in such condi-
tions as damage to the compact
disc face could occur.
(Continued)
(Continued)
Do not attempt to grab or pull thecompact disc out while the disc is
being pulled into the audio unit
by the self-loading mechanism.
Damage to the audio unit and
compact disc could occur.
Avoid using recorded compact discs in your audio unit. Original
compact discs are recommended.
JB CAN 3.qxd 7/29/05 8:57 AM Page 99
Page 110 of 220

Driving your vehicle24Ignition switch and anti-theft
steering column lock
Ignition switch position
LOCK
The steering wheel locks to protect
against theft. The ignition key can be
removed only in the LOCK position.
When turning the ignition switch to the
LOCK position, push the key inward at
the ACC position and turn the key toward
the LOCK position (manual transaxle).
ACC (Accessory)
The steering wheel is unlocked and elec-
trical accessories are operative.
ON
This is the normal running position after
the engine is started. The warning lights
can be checked before the engine is
started.
Do not leave the ignition switch ON if the
engine is not running to prevent battery
discharge.START
Turn the ignition key to the START posi-
tion to start the engine. The engine will
crank until you release the key; then it
returns to the ON position. The brake
warning lamp can be checked in this
position.
If it is difficult to turn the ignition key to
the START position, turn the steering
wheel right and left to release resistance
and then turn the key.
Automatic transaxle
When turning the ignition switch to the
LOCK position, the shift lever must be in
the P (Park) position.
IGNITION SWITCH
1JBH32011JBN3201
Manual Transaxle
Automatic Transaxle
JB CAN 4.qxd 7/29/05 8:58 AM Page 2
Page 121 of 220

413
Driving your vehicle
✽
✽NOTICE If the ABS warning light is on and
stays on, you may have a problem
with the ABS. In this case, however,
your regular brakes will work nor-
mally.
The ABS warning light will stay on for approximately 3 seconds after the
ignition switch is ON. During that
time, the ABS will go through self-
diagnosis and the light will go off if
everything is normal. If the light stays
on, you may have a problem with your
ABS. Contact an authorized Kia deal-
er as soon as possible.
✽ ✽ NOTICE When you drive on a road having
poor traction, such as an icy road, and
operate your brakes continuously, the
ABS will be active continuously and
the ABS warning light may illumi-
nate. Pull your car over to a safe place
and stop the engine.
Restart the engine. If the ABS warn- ing light is off, then your ABS is nor-
mal. Otherwise, you may have a prob-
lem with the ABS. Contact an author-
ized Kia dealer as soon as possible.✽ ✽ NOTICEWhen you jump start your vehicle
because of a drained battery, the engine
may not run as smoothly and the ABS
warning light may turn on at the same
time. This happens because of the low
battery voltage. It does not mean your
ABS is malfunctioning.
Do not pump your brakes!
Have the battery recharged before
driving the vehicle.
ABS
W-78
JB CAN 4.qxd 7/29/05 8:58 AM Page 13
Page 131 of 220

423
Driving your vehicle
Battery saver function The purpose of this feature is to pre-
vent the battery from being dis-
charged. The system automatically
turns off the headlights and parking
lights when the driver removes the igni-
tion key and opens the driver- side
door.
With this feature, the parklight will be
turned off automatically if the driver
parks on the side of road at night.
If necessary, to keep the lights on when
the ignition key is removed, perform the
following :
1) Open the driver-side door.
2) Turn the parking lights OFF and ON again using the light switch on the
steering column.
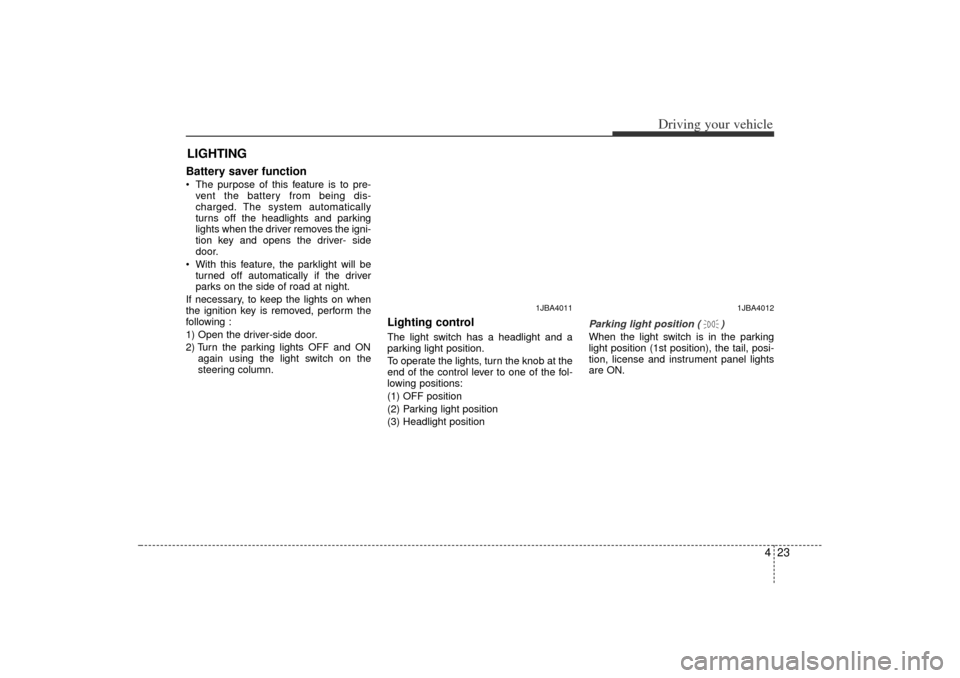
Lighting control The light switch has a headlight and a
parking light position.
To operate the lights, turn the knob at the
end of the control lever to one of the fol-
lowing positions:
(1) OFF position
(2) Parking light position
(3) Headlight position Parking light position ( )
When the light switch is in the parking
light position (1st position), the tail, posi-
tion, license and instrument panel lights
are ON.
LIGHTING
1JBA4012
1JBA4011
JB CAN 4.qxd 7/29/05 8:58 AM Page 23
Page 132 of 220
Driving your vehicle24
4Headlight position ( )
When the light switch is in the headlight
position (2nd position) the head, tail,
position, license and instrument panel
lights are ON.
High - beam operation To turn on the high beam headlights,
push the lever away from you. Pull it back
for low beams.
The high-beam indicator will light when
the headlight high beams are switched
on.
To prevent the battery from being dis-
charged, do not leave the lights on for a
prolonged time while the engine is not
running. Flashing headlights
To flash the headlights, pull the lever
towards you. It will return to the normal
(low-beam) position when released. The
headlight switch does not need to be on
to use this flashing feature.
1JBA4016
1JBA4015
1JBA4013
JB CAN 4.qxd 7/29/05 8:58 AM Page 24