Page 125 of 315
413
1 23456789
Driving your vehicle
O/D (Over Drive) system (if equipped)
Pressing the O/D system button can-
cels and engages the overdrive sys-
tem. When the O/D system is can-celled, the O/D OFF indicator illumi-
nates and the transaxle gear range is
limited to 1st through 3rd. The
transaxle will not shift to 4th gear
until the O/D system button is
pressed again to release the switch.When driving down a sloping road
with the transaxle in O/D (4th), you
can decrease the vehicle speed with-
out using the brakes by pressing the
O/D button.
When the ignition is switched OFF, O/D OFF mode is automatically can-celled.
O/D OFF Indicator
This indicator light illuminates in the
instrument panel when the O/Dmode is cancelled.
✽✽
NOTICE
If the O/D OFF indicator flashes, it
indicates an electrical problem with
the transaxle. Should this occur,have the vehicle checked by an
Authorized Kia Dealer as soon aspossible, except as explained in
“Rocking the Vehicle”.
1LDA5030A
Page 126 of 315

Driving your vehicle
14
4
1 23456789
Moving up a steep grade from
a standing start
To move up a steep grade from a
standing start, depress the brake
pedal, shift the shift lever to D
(Drive). Select the appropriate gear
depending on load weight and steep-
ness of the grade, and release the
parking brake. Depress the accelera-
tor gradually while releasing the
service brakes. Shift lock system (if equipped)
For your safety, the Automatic
Transaxle has a shift lock system
which prevents shifting the transaxle
out of P (Park) unless the brakepedal is depressed.
Type A
1. Depress and hold the brake pedal.
2. Depress the lock release button and move the shift lever.
Type B (If the ignition key inter-
lock system is equipped)
1. Depress and hold the brake pedal.
2. Start the engine or turn the ignition to the ON position.
3. Depress the lock release button and move the shift lever.
If the brake pedal is repeatedly depressed and released with the
shift lever in the P (Park) position, a
chattering sound near the shift lever
may be heard. This is a normal con-dition. Ignition key interlock system (if equipped)
The ignition key cannot be removed
unless the shift lever is in the P
(Park) position. If the ignition switch
is in any other position, the key can-
not be removed.
Page 130 of 315

Driving your vehicle
18
4
1 23456789
Check the brake warning light by
turning the ignition switch ON (do not
start the engine). This light will be
illuminated when the parking brake is
applied with the ignition switch in the
START or ON position.
Before driving, be sure the parking
brake is fully released and the brake
warning light is off. If the brake warning light remains on
after the parking brake is released,
there may be a malfunction in the
brake system. Immediate attention is
necessary.
If at all possible, cease driving the
vehicle immediately. If that is not pos-
sible, use extreme caution while
operating the vehicle and only con-
tinue to drive the vehicle until you
can reach a safe location or repair
shop.
Parking on curbed streets
When parking your vehicle on an
uphill grade, park as close to the
curb as possible and turn the front
wheels away from the curb so thatthe front wheels will contact the
curb if the vehicle moves back-
ward.
When parking your vehicle on a
downhill grade, park as close to the
curb as possible and turn the front
wheels toward the curb so that thefront wheels will contact the curb if
the vehicle moves forward.
W-75
Page 139 of 315
427
1 23456789
Driving your vehicle
To turn cruise control off, do
one of the following: Push the CRUISE ON-OFF button
(the CRUISE indicator light in the
instrument cluster will go OFF).
Turn the ignition off.
Both of these actions cancel cruise
control operation. If you want to resume cruise control operation,repeat the steps provided in “To Set
Cruise Control Speed ”on the previ-
ous page.
To increase cruise control set speed:
Follow either of these procedures: Push up the RES/ACC switch and
hold it. Your vehicle will accelerate.
Release the switch at the speed you
want.
Push up the RES/ACC switch and
release it immediately. The cruisingspeed will increase 1.6 km/h (1
mph) by one touch and will be mem-
orized to the reset speed.
1LDN4026
Page 142 of 315

Driving your vehicle
30
4
1 23456789
The Traction Control System (TCS)
helps the vehicle accelerate on slip-
pery road surfaces by preventing the
drive wheels from spinning exces-
sively. It also provides improved driv-
ing force and steering. TCS operation
TCS ON condition
When the ignition is turned
ON, TCS and TCS OFF
indicator light illuminate for
approximately 3 seconds,
then TCS is turned on.
Press the TCS button to
turn TCS off. (TCS OFF
indicator will illuminate). To
turn the TCS on, press the
TCS button (TCS OFFindicator light will go off).
When starting the engine,
you may hear a slight tick-
ing sound. This is the TCS
performing an automatic
system self-check and does
not indicate a problem.
When operating
When the TCS is in opera-
tion, TCS indicator light
blinks. When the traction control
system is operating prop-
erly, you can feel a slight
pulsation in the vehicle.
This is only the effect of
brake control and indi-
cates nothing unusual.
When moving out of mud
or driving on a slipperyroad, pressing the accel-
erator pedal may not
cause the engine rpm
(revolutions per minute) to
increase.
TRACTION CONTROL SYSTEM (IF EQUIPPED)
1LDN2117
-TCS
Page 143 of 315

431
1 23456789
Driving your vehicle
TCS operation off
TCS OFF state
To cancel TCS operation,
press the TCS button (TCS OFF indicator lightilluminates).
If the ignition switch is
turned to LOCK position
when TCS is off, TCS
remains off. Upon restart-
ing the engine, the TCS will
automatically turn onagain. Indicator light
When ignition switch is turned to ON,
the indicator light illuminates, then
goes off if TCS system is operating
normally.
The TCS indicator light blinks when-
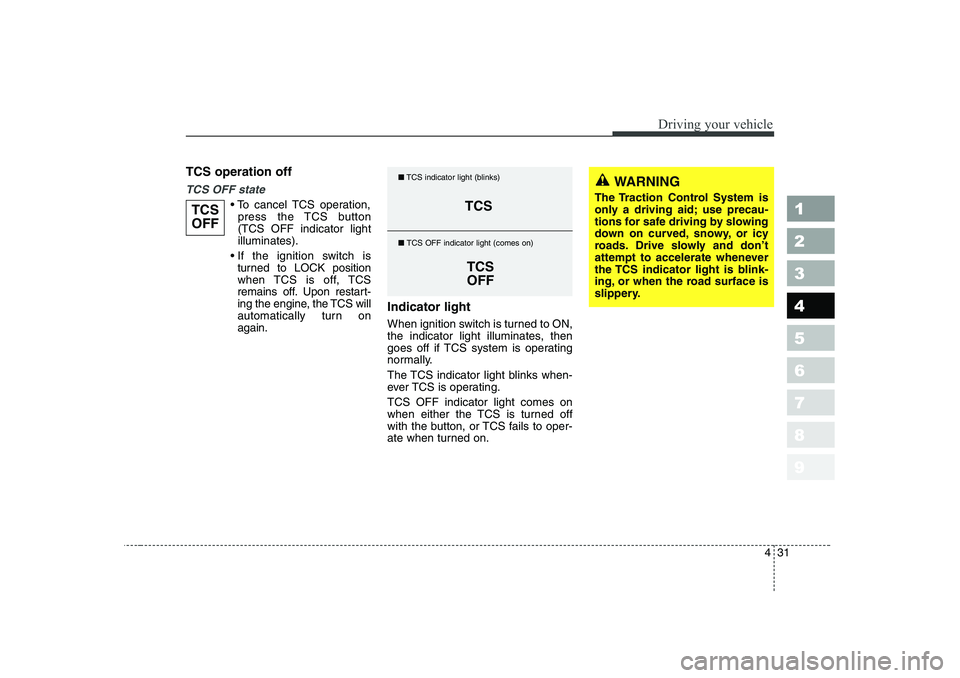
ever TCS is operating. TCS OFF indicator light comes on
when either the TCS is turned off
with the button, or TCS fails to oper-
ate when turned on.TCS
OFFTCS
TCSOFF
■
TCS indicator light (blinks)
■ TCS OFF indicator light (comes on)
WARNING
The Traction Control System is
only a driving aid; use precau-
tions for safe driving by slowing
down on curved, snowy, or icy
roads. Drive slowly and don ’t
attempt to accelerate whenever
the TCS indicator light is blink-
ing, or when the road surface is
slippery.
Page 146 of 315

Driving your vehicle
34
4
1 23456789
Speedometer
The speedometer indicates the for-
ward speed of the vehicle.
Odometer/Tripmeter
You can choose the odometer, trip-
meter A and tripmeter B by pressing
the tripmeter mode button.
Odometer
The odometer indicates the total dis-
tance the vehicle has been driven.
Tripmeter
TRIP A: Tripmeter A
TRIP B: Tripmeter B
The tripmeter indicates the distance
of individual trips selected by the
driver. Tripmeter A and B can be
reset to 0 by pressing the reset but-
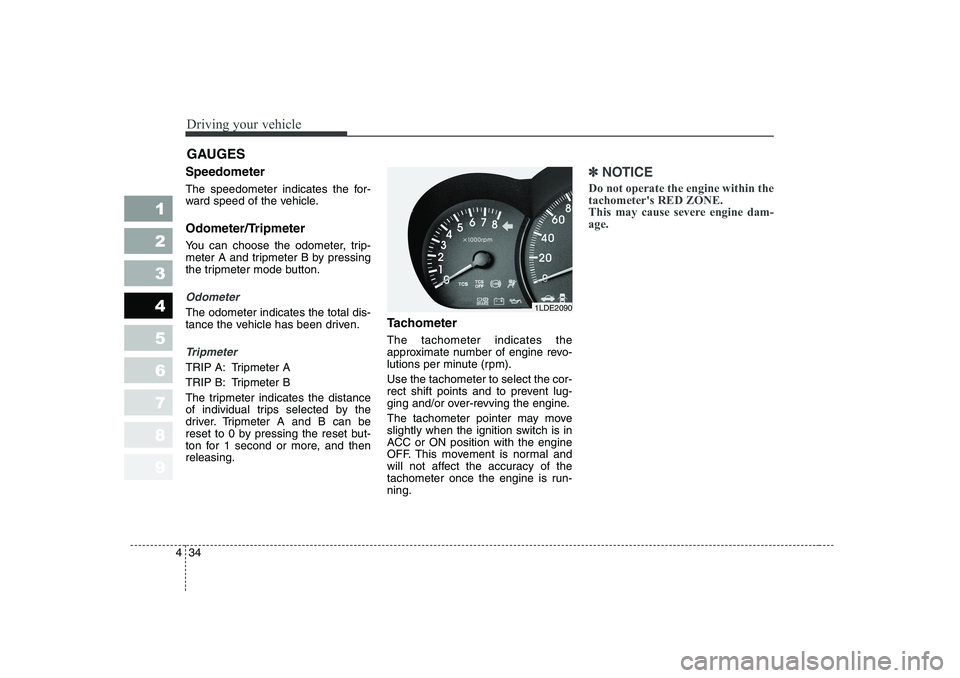
ton for 1 second or more, and thenreleasing. Tachometer The tachometer indicates the
approximate number of engine revo-
lutions per minute (rpm). Use the tachometer to select the cor-
rect shift points and to prevent lug-
ging and/or over-revving the engine.
The tachometer pointer may move
slightly when the ignition switch is in
ACC or ON position with the engine
OFF. This movement is normal and
will not affect the accuracy of the
tachometer once the engine is run-ning.
✽✽
NOTICE
Do not operate the engine within the tachometer's RED ZONE.
This may cause severe engine dam-age.
GAUGES
1LDE2090
Page 149 of 315
437
1 23456789
Driving your vehicle
Average speed
This mode indicates the average
speed from the starting of the vehicle
to the ignition key “OFF ”. When the
ignition key is “OFF ”, it will initialize to
0 km/h (0 mph).
Driving time
This mode indicates the total time
from the starting of the vehicle to the
ignition key “OFF ”after resetting.
When the “TRIP ”switch is pushed, it
will initialize to 0:00. Reset Push “TRIP ”for more than 1 second
to initialize the displayed information
such as average speed and driving
time. Instrument panel illumination (if equipped)
When the vehicle
’s parking lights or
headlights are on, rotate the illumina-
tion control knob to adjust the instru-
ment panel illumination intensity.
1LDN2117A1LDA20981LDA2097