Page 379 of 539

1
CONTROLS AND EQUIPMENT
71
!
!
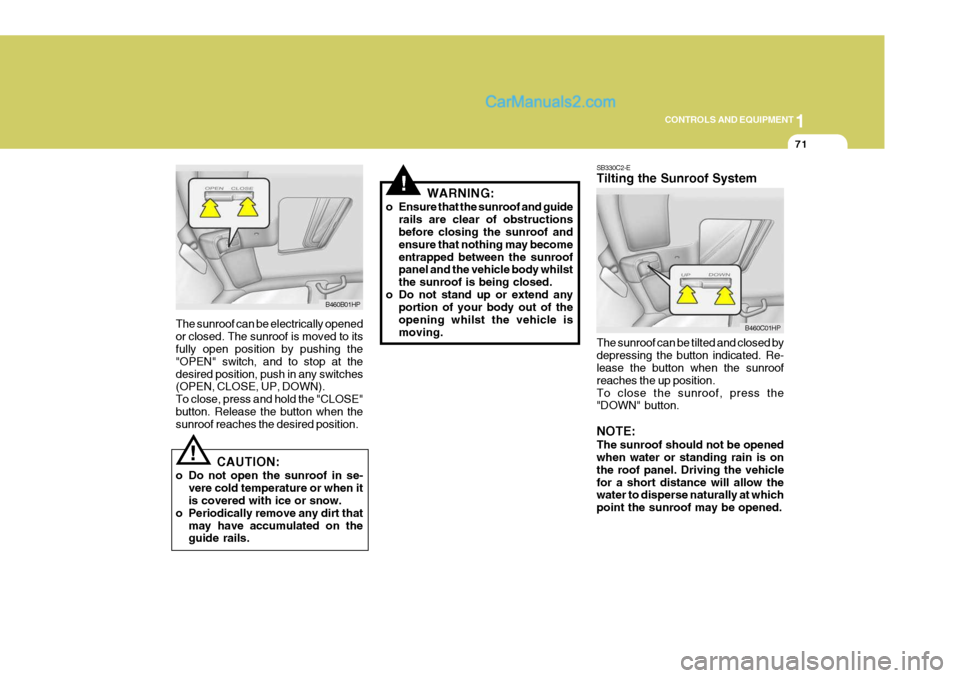
The sunroof can be electrically opened or closed. The sunroof is moved to its fully open position by pushing the "OPEN" switch, and to stop at thedesired position, push in any switches (OPEN, CLOSE, UP, DOWN). To close, press and hold the "CLOSE"button. Release the button when the sunroof reaches the desired position.
CAUTION:
o Do not open the sunroof in se- vere cold temperature or when itis covered with ice or snow.
o Periodically remove any dirt that may have accumulated on theguide rails. WARNING:
o Ensure that the sunroof and guide rails are clear of obstructionsbefore closing the sunroof and ensure that nothing may becomeentrapped between the sunroof panel and the vehicle body whilst the sunroof is being closed.
o Do not stand up or extend any portion of your body out of theopening whilst the vehicle ismoving.
B460B01HP SB330C2-E Tilting the Sunroof System The sunroof can be tilted and closed by depressing the button indicated. Re- lease the button when the sunroof reaches the up position.To close the sunroof, press the "DOWN" button. NOTE: The sunroof should not be opened when water or standing rain is on the roof panel. Driving the vehiclefor a short distance will allow the water to disperse naturally at which point the sunroof may be opened.
B460C01HP
Page 381 of 539

1
CONTROLS AND EQUIPMENT
73
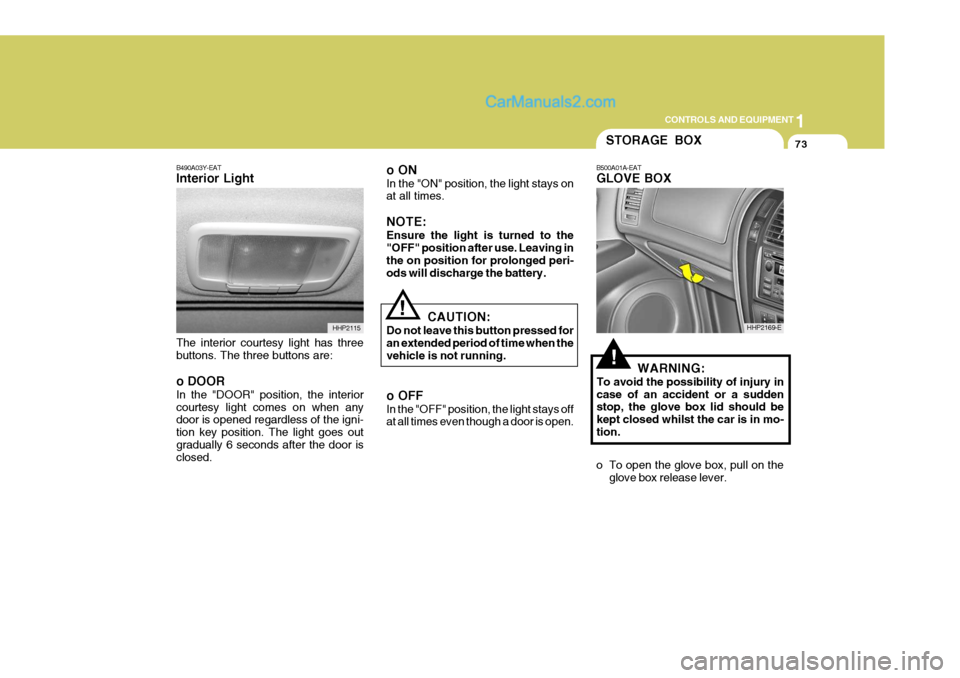
B490A03Y-EAT Interior Light The interior courtesy light has three buttons. The three buttons are: o DOOR In the "DOOR" position, the interior courtesy light comes on when any door is opened regardless of the igni- tion key position. The light goes outgradually 6 seconds after the door is closed. o ON In the "ON" position, the light stays on at all times. NOTE: Ensure the light is turned to the "OFF" position after use. Leaving in the on position for prolonged peri-ods will discharge the battery.
HHP2115
!
!WARNING:
To avoid the possibility of injury in case of an accident or a sudden stop, the glove box lid should be kept closed whilst the car is in mo-tion.
o To open the glove box, pull on the glove box release lever.
STORAGE BOX
B500A01A-EAT GLOVE BOX
HHP2169-E
CAUTION:
Do not leave this button pressed for an extended period of time when the vehicle is not running. o OFF In the "OFF" position, the light stays off at all times even though a door is open.
Page 382 of 539
1CONTROLS AND EQUIPMENT
74
!WARNING:
To avoid the possibility of injury in case of an accident or a sudden stop, the centre console box lid should be kept closed when the car is in mo-tion.
B500B01HP-DAT MULTI BOX The multi box may be opened by pulling it out by its grip. It is used for storing small articles.
HHP2174-E
CENTRE CONSOLE COM- PARTMENT
B505A01HP-EAT Centre Console Box The centre console box is used for storing CD's or small articles. To use the centre console box, press the button (1) or (2) and pull up the lid.
HHP2170-E
HHP2171-E
(2)
(1)
Page 384 of 539

1CONTROLS AND EQUIPMENT
76
HPB270C2-E OUTSIDE REARVIEW MIRROR HEATER (Not all models) The outside rearview mirror heater is actuated in connection with heated front/rear window.So, to heat the outside rearview mirror glass, push in the switch for heated front/rear window.The rearview mirror glass will be heated for defrosting or defogging and will give you improved rear vision in all
weather conditions. Push the switch again to turn the heater off. The outside rearview mirror heater au-tomatically turns itself off after 20 min- utes.
HHP2119
Type A
Type B
!
B510B01Y-EAT Electric Type (Not all models) The outside rearview mirrors can be adjusted to your preferred rear vision, both directly behind the vehicle, and to the rear of the left and right sides.The remote control outside rearview mirror switch controls the adjustments for both right and left outside mirrors. To adjust the position of either mir- ror:
1. Move the selecting switch to the right or left to activate the adjustablemechanism for the correspondingdoor mirror.
2. Now, adjust mirror angle by de-
pressing the appropriate perimeterswitch as illustrated. CAUTION:
o Do not operate the switch continu- ously for an unnecessary lengthof time.
o Scraping ice from the mirror face could cause permanent damage.To remove any ice, use a sponge,soft cloth or approved de-icer.
WARNING:
Be careful when judging the size ordistance of any object seen in the passenger side rearview mirror. It is a convex mirror with a curved sur-face. Any objects seen in this mirror are closer than they appear.
!B510B01HP-E
B510B02HP
Page 385 of 539

1
CONTROLS AND EQUIPMENT
77
!
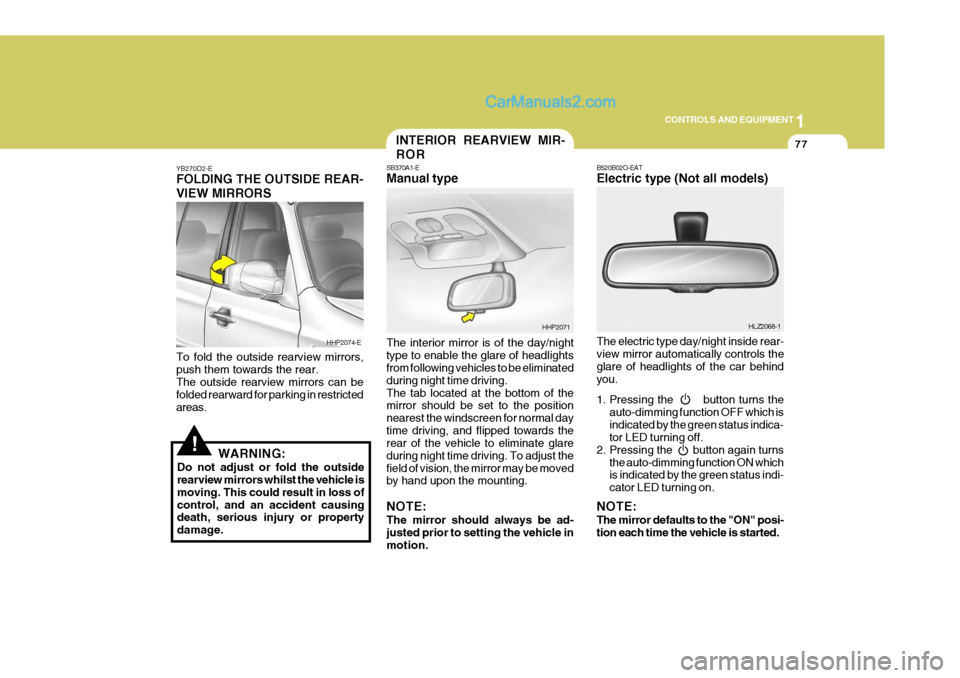
YB270D2-E FOLDING THE OUTSIDE REAR- VIEW MIRRORS To fold the outside rearview mirrors, push them towards the rear. The outside rearview mirrors can be folded rearward for parking in restrictedareas.
WARNING:
Do not adjust or fold the outside rearview mirrors whilst the vehicle is moving. This could result in loss ofcontrol, and an accident causing death, serious injury or property damage. The interior mirror is of the day/nighttype to enable the glare of headlights from following vehicles to be eliminated during night time driving.The tab located at the bottom of the mirror should be set to the position nearest the windscreen for normal daytime driving, and flipped towards the rear of the vehicle to eliminate glare during night time driving. To adjust thefield of vision, the mirror may be moved by hand upon the mounting. NOTE: The mirror should always be ad- justed prior to setting the vehicle in motion.
HHP2074-E
HHP2071
INTERIOR REARVIEW MIR- ROR
SB370A1-E Manual type
B520B02O-EAT Electric type (Not all models) The electric type day/night inside rear- view mirror automatically controls the glare of headlights of the car behindyou.
1. Pressing the button turns the
auto-dimming function OFF which is indicated by the green status indica- tor LED turning off.
2. Pressing the button again turns the auto-dimming function ON whichis indicated by the green status indi- cator LED turning on.
NOTE: The mirror defaults to the "ON" posi- tion each time the vehicle is started. HLZ2068-1
Page 386 of 539

1CONTROLS AND EQUIPMENT
78
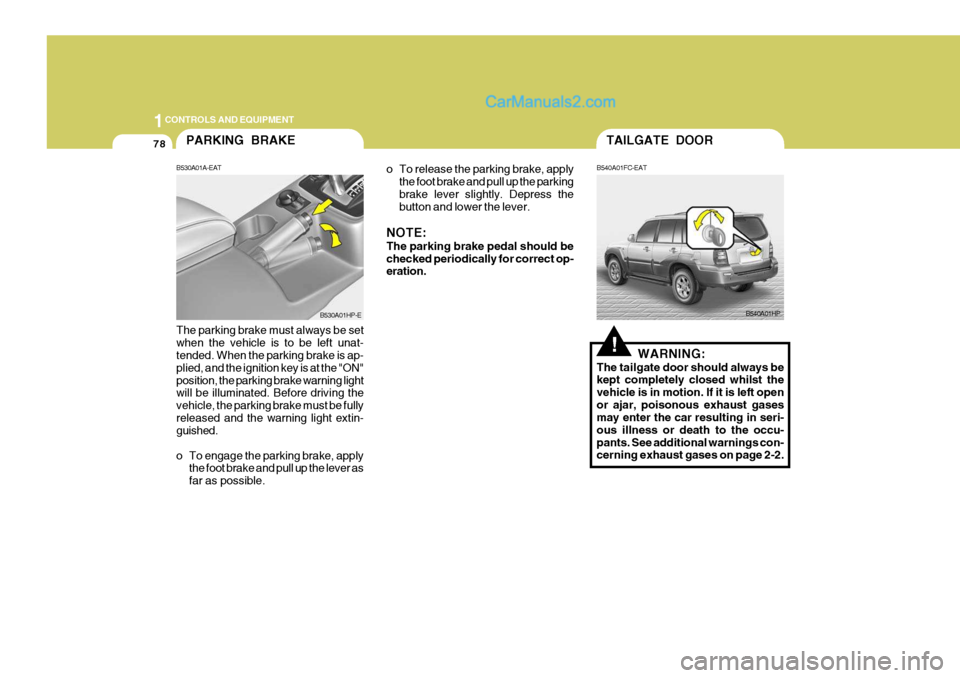
o To release the parking brake, applythe foot brake and pull up the parking brake lever slightly. Depress the button and lower the lever.
NOTE: The parking brake pedal should be checked periodically for correct op- eration.
The parking brake must always be set when the vehicle is to be left unat- tended. When the parking brake is ap- plied, and the ignition key is at the "ON"position, the parking brake warning light will be illuminated. Before driving the vehicle, the parking brake must be fullyreleased and the warning light extin- guished.
o To engage the parking brake, apply the foot brake and pull up the lever as far as possible.PARKING BRAKE
B530A01A-EAT
B530A01HP-E
!
B540A01HP
TAILGATE DOOR
B540A01FC-EAT
WARNING:
The tailgate door should always be
kept completely closed whilst the vehicle is in motion. If it is left openor ajar, poisonous exhaust gases may enter the car resulting in seri- ous illness or death to the occu-pants. See additional warnings con- cerning exhaust gases on page 2-2.
Page 388 of 539
1CONTROLS AND EQUIPMENT
80
B650A01S-AAT Stowage Precautions
1. Do not place objects on the cargosecurity screen. Such objects may be thrown about inside the vehicle and possibly injure vehicle occu- pants during an accident or whenbraking.
2. For better fuel economy, do not
carry unnecessary weight.
3. Never allow anyone to ride in the luggage compartment. It is designedfor luggage only.
4. Try to maintain the balance of the vehicle and locate the weight as farforward as possible.CARGO SECURITY SCREEN
B640A01S-EAT (Not all models) To use the security screen, pull it out of the retractor and hook it to the anchors as illustrated. B640A01HP
!WARNING:
Avoid eye injury. DO NOT overstretch the luggage net. ALWAYS keep yourface and body out of its recoil path. DO NOT use when strap has visible signs of wear or damage.
Page 390 of 539

1CONTROLS AND EQUIPMENT
82
!The fuel-filler flap may be opened from inside the vehicle by pulling up on the fuel-filler flap opener located below the left of the driver's side crash pad. NOTE: If the fuel-filler flap will not open because ice has formed around it,lightly tap or push on the lid to break the ice and release it. Do not lever the flap. If necessary, spray around theflap with an approved de-icer fluid (do not use radiator anti-freeze) or move the vehicle to a warmer areaplace and allow the ice to melt. WARNING:
o Fuel vapors are dangerous. Be- fore refueling, always stop the engine and never allow sparks or open flames near the filler area. Ifyou need to replace the filler cap, use a genuine Hyundai replace- ment part.If you open the fuel filler cap dur- ing high ambient temperatures, a slight "pressure sound" may beheard. This is normal and not a cause for concern. Whenever you open the fuel fillercap, turn it slowly.
REMOTE FUEL-FILLER FLAP RELEASE
HPB360A2-E
B560A01HP-EHHP2015-D
In addition to the lower-mounted rear stop lights on either side of the car, the high mounted rear stop light in the centre of the rear window also lightswhen the brakes are applied.
HIGH-MOUNTED REAR STOP LIGHT
B550A01A-EAT
B550A01HP