B0-31
Top-grade SYVehicle Body�Wheel-Trims Wrapping Angle and Exterior Trim PanelChange of rear wrapping angle
1. Tear down the rear wrapping angle;
Tear down the three nuts, one screw and one self-drilling
screw, and then take down the rear wrapping angle, the rear
mudguard and the adhesive strip. (SY)
Tear down the four screws and then take down the rear small
Wheel-trims. (SJ)
Tear down one screw and three bolts to take down the rear
wrapping angle (top-grade SY)
2. Mount the rear wrapping angle
(a) Parallel the rear wrapping angle with the body waist line,
and contact the body with rear bar closely. (the adhesive
strip of wheel trims of SY model vehicle should be
pressed tightly and evenly)
(b) Mount two bolts through the body bracket, wrapping
angle and mudguard, and another bolts should be mounted
to connect the rear bar bracket and the wrapping angle.
Then mount on one screw and one self-drilling screw.
(SY)
Flush the rear small Wheel-trims and the rear Wheel-
trims, then mount on the four screws (SJ)
Mount on one screw and the other three bolts through the
body bracket, rear bar and wrapping angle. (top-grade
SY)
Notice: the parts mentioned above should be carefully
disassemble or assemble to avoid of paint face scrape
B0-55Vehicle Body�Instrument Panel
19. Tear down the instrument panel body;
(a) Tear down the three screws and the instrument panel.
(b) Disconnect the plugging elements.
SF:
(a) Tear down the fixing bolts at the ends of instrument panel
body to pull out the fixed clipes at the front end.
(b) Disconnect the plugging elements.
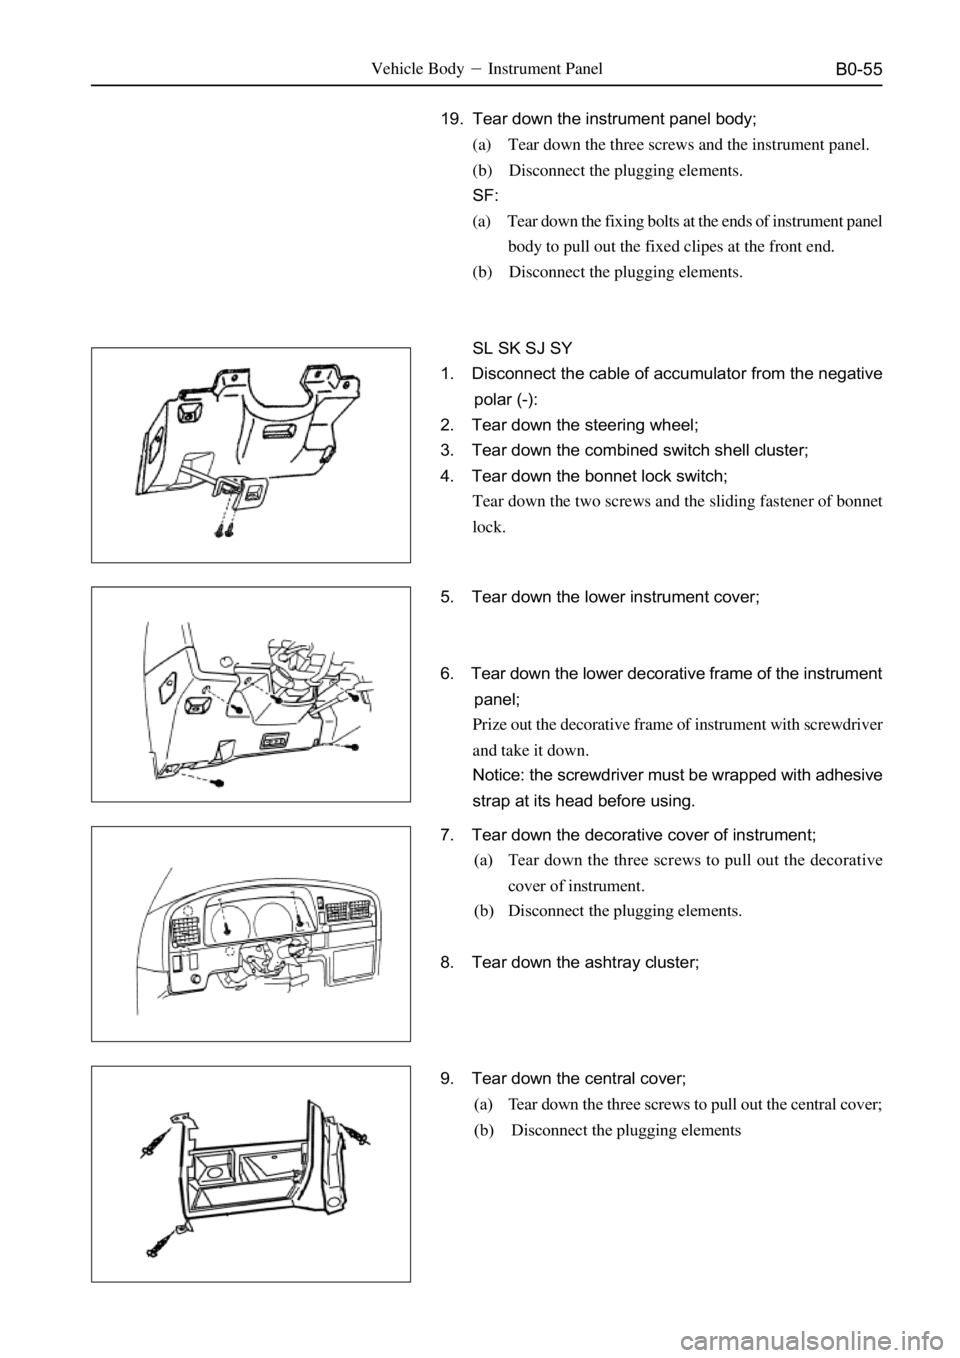
SL SK SJ SY
1. Disconnect the cable of accumulator from the negative
polar (-):
2. Tear down the steering wheel;
3. Tear down the combined switch shell cluster;
4. Tear down the bonnet lock switch;
Tear down the two screws and the sliding fastener of bonnet
lock.
5. Tear down the lower instrument cover;
6. Tear down the lower decorative frame of the instrument
panel;
Prize out the decorative frame of instrument with screwdriver
and take it down.
Notice: the screwdriver must be wrapped with adhesive
strap at its head before using.
7. Tear down the decorative cover of instrument;
(a) Tear down the three screws to pull out the decorative
cover of instrument.
(b) Disconnect the plugging elements.
8. Tear down the ashtray cluster;
9. Tear down the central cover;
(a) Tear down the three screws to pull out the central cover;
(b) Disconnect the plugging elements