2006 GMC SIERRA lock
[x] Cancel search: lockPage 318 of 600

Average reaction time is about three-fourths of a second.
But that is only an average. It might be less with one
driver and as long as two or three seconds or more with
another. Age, physical condition, alertness, coordination,
and eyesight all play a part. So do alcohol, drugs, and
frustration. But even in three-fourths of a second,
a vehicle moving at 60 mph (100 km/h) travels
66 feet (20 m). That could be a lot of distance in an
emergency, so keeping enough space between your
vehicle and others is important.
And, of course, actual stopping distances vary greatly
with the surface of the road, whether it is pavement or
gravel; the condition of the road, whether it is wet, dry, or
icy; tire tread; the condition of your brakes; the weight of
the vehicle; and the amount of brake force applied.
Avoid needless heavy braking. Some people drive
in spurts — heavy acceleration followed by heavy
braking — rather than keeping pace with traffic. This is a
mistake. Your brakes may not have time to cool between
hard stops. Your brakes will wear out much faster if you
do a lot of heavy braking. If you keep pace with the traffic
and allow realistic following distances, you will eliminate a
lot of unnecessary braking. That means better braking
and longer brake life.
If your engine ever stops while you are driving, brake
normally but do not pump your brakes. If you do, the
pedal may get harder to push down. If your engine stops,
you will still have some power brake assist.But you will use it when you brake. Once the power assist
is used up, it may take longer to stop and the brake pedal
will be harder to push.
Adding non-GM accessories can affect your vehicle’s
performance. SeeAccessories and Modi�cations
on page 5-4.
Anti-Lock Brake System (ABS)
Your vehicle has anti-lock brakes. ABS is an advanced
electronic braking system that will help prevent a
braking skid.
When you start your engine and begin to drive away, your
anti-lock brake system will check itself. You may hear a
momentary motor or clicking noise while this test is going
on. This is normal.
If there is a problem with
the anti-lock brake system,
this warning light will stay
on. SeeAnti-Lock Brake
System Warning Light on
page 3-42.
Along with ABS, your vehicle has a Dynamic Rear
Proportioning (DRP) system. If there is a DRP problem,
both the brake and ABS warning lights will come on
accompanied by a 10-second chime.
4-6
Page 319 of 600
The lights and chime will come on each time the ignition
is turned on until the problem is repaired. See your dealer
for service.
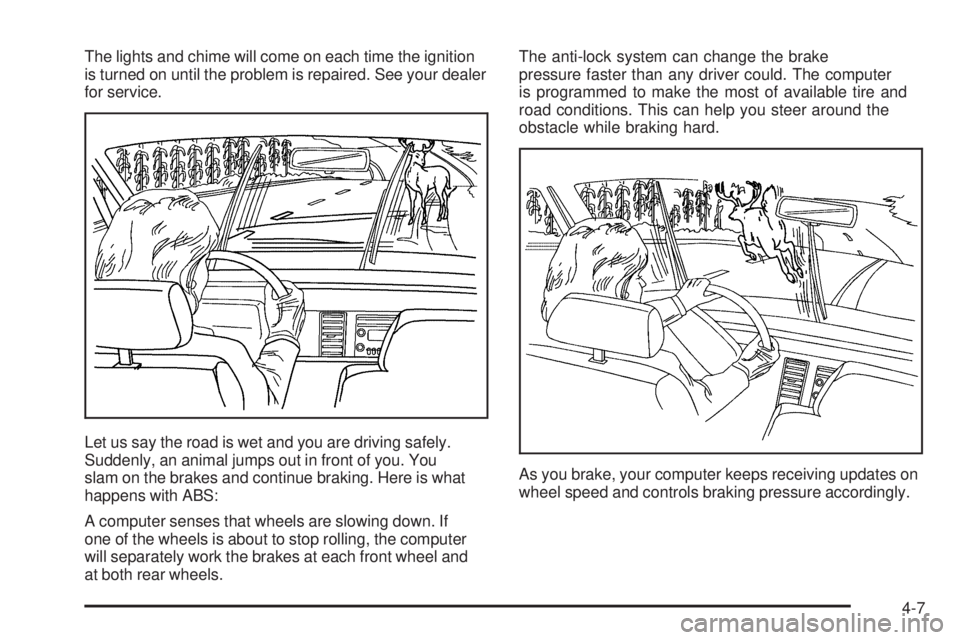
Let us say the road is wet and you are driving safely.
Suddenly, an animal jumps out in front of you. You
slam on the brakes and continue braking. Here is what
happens with ABS:
A computer senses that wheels are slowing down. If
one of the wheels is about to stop rolling, the computer
will separately work the brakes at each front wheel and
at both rear wheels.The anti-lock system can change the brake
pressure faster than any driver could. The computer
is programmed to make the most of available tire and
road conditions. This can help you steer around the
obstacle while braking hard.
As you brake, your computer keeps receiving updates on
wheel speed and controls braking pressure accordingly.
4-7
Page 320 of 600

Remember: Anti-lock does not change the time you need
to get your foot up to the brake pedal or always decrease
stopping distance. If you get too close to the vehicle in
front of you, you will not have time to apply your brakes
if that vehicle suddenly slows or stops. Always leave
enough room up ahead to stop, even though you have
anti-lock brakes.
Using Anti-Lock
Do not pump the brakes. Just hold the brake pedal down
�rmly and let anti-lock work for you. You may feel the
brakes vibrate, or you may notice some noise, but this
is normal.
Braking in Emergencies
With anti-lock brakes, you can steer and brake at the
same time. In many emergencies, steering can help
you more than even the very best braking.
Traction Assist System (TAS)
Your vehicle may have a Traction Assist System (TAS)
that limits wheel spin. This is especially useful in slippery
road conditions. The system operates only if it senses
that one or both of the rear wheels are spinning or
beginning to lose traction. When this happens, the
system reduces engine power to limit wheel spin.
The traction control system is enabled every time your
vehicle is started. The system will activate if it senses
that any of the wheels are spinning or beginning to lose
traction.
You may hear or feel the system working or notice
a lack of accelerator response, but this is normal.
The Traction Assist System may operate on dry roads
under some conditions. When this happens, you may
notice a reduction in acceleration. This is normal
and doesn’t mean there’s a problem with your vehicle.
Examples of these conditions include a hard acceleration
in a turn, an abrupt upshift or downshift of the
transmission or driving on rough roads.
If your vehicle is in cruise control when the TAS begins
to limit wheel spin, the cruise control will automatically
disengage. When road conditions allow you to safely
use it again, you may re-engage the cruise control.
SeeCruise Control on page 3-10.
4-8
Page 321 of 600
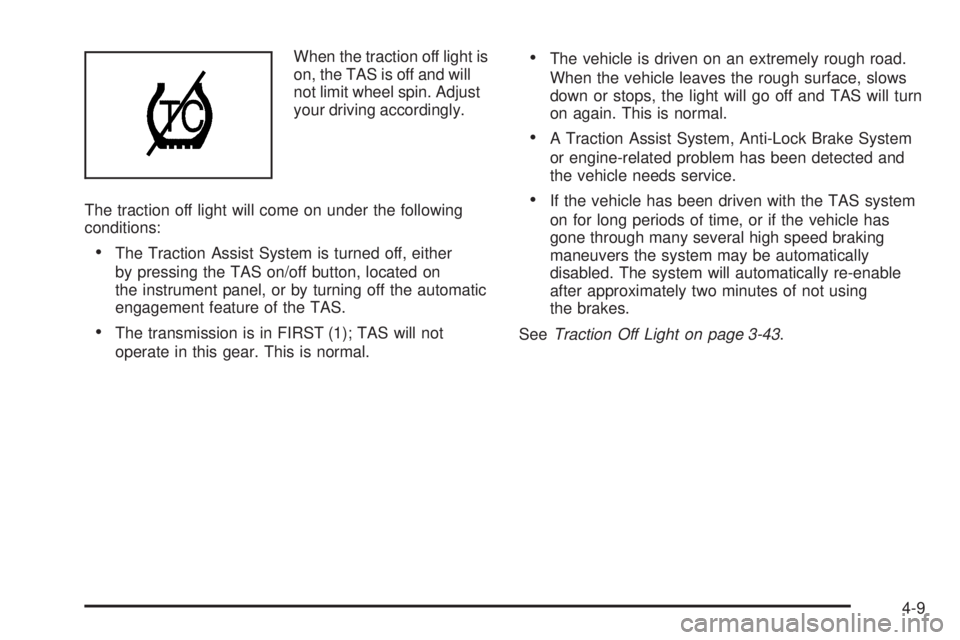
When the traction off light is
on, the TAS is off and will
not limit wheel spin. Adjust
your driving accordingly.
The traction off light will come on under the following
conditions:
The Traction Assist System is turned off, either
by pressing the TAS on/off button, located on
the instrument panel, or by turning off the automatic
engagement feature of the TAS.
The transmission is in FIRST (1); TAS will not
operate in this gear. This is normal.
The vehicle is driven on an extremely rough road.
When the vehicle leaves the rough surface, slows
down or stops, the light will go off and TAS will turn
on again. This is normal.
A Traction Assist System, Anti-Lock Brake System
or engine-related problem has been detected and
the vehicle needs service.
If the vehicle has been driven with the TAS system
on for long periods of time, or if the vehicle has
gone through many several high speed braking
maneuvers the system may be automatically
disabled. The system will automatically re-enable
after approximately two minutes of not using
the brakes.
SeeTraction Off Light on page 3-43.
4-9
Page 323 of 600
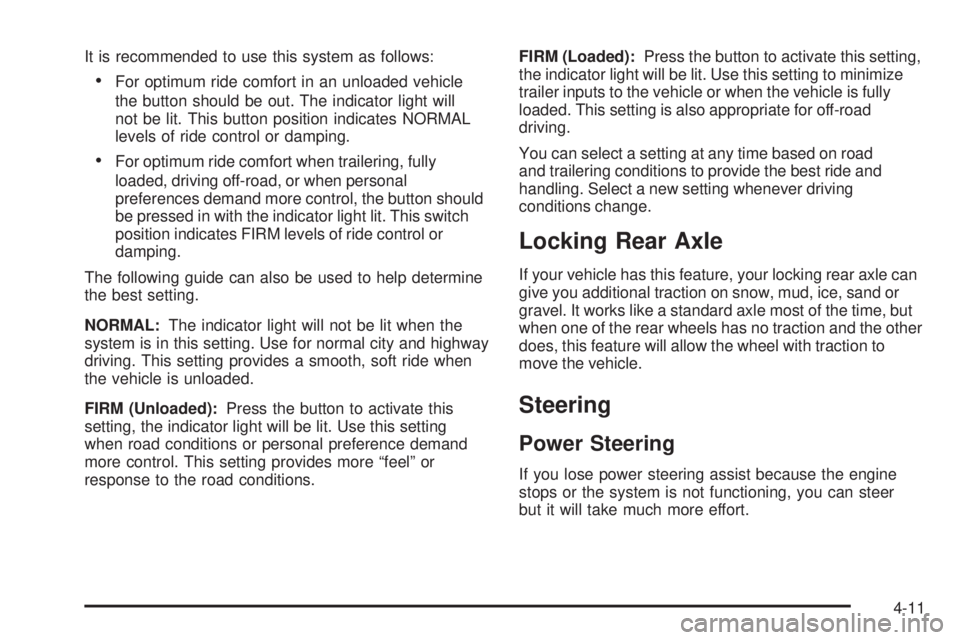
It is recommended to use this system as follows:
For optimum ride comfort in an unloaded vehicle
the button should be out. The indicator light will
not be lit. This button position indicates NORMAL
levels of ride control or damping.
For optimum ride comfort when trailering, fully
loaded, driving off-road, or when personal
preferences demand more control, the button should
be pressed in with the indicator light lit. This switch
position indicates FIRM levels of ride control or
damping.
The following guide can also be used to help determine
the best setting.
NORMAL:The indicator light will not be lit when the
system is in this setting. Use for normal city and highway
driving. This setting provides a smooth, soft ride when
the vehicle is unloaded.
FIRM (Unloaded):Press the button to activate this
setting, the indicator light will be lit. Use this setting
when road conditions or personal preference demand
more control. This setting provides more “feel” or
response to the road conditions.FIRM (Loaded):Press the button to activate this setting,
the indicator light will be lit. Use this setting to minimize
trailer inputs to the vehicle or when the vehicle is fully
loaded. This setting is also appropriate for off-road
driving.
You can select a setting at any time based on road
and trailering conditions to provide the best ride and
handling. Select a new setting whenever driving
conditions change.
Locking Rear Axle
If your vehicle has this feature, your locking rear axle can
give you additional traction on snow, mud, ice, sand or
gravel. It works like a standard axle most of the time, but
when one of the rear wheels has no traction and the other
does, this feature will allow the wheel with traction to
move the vehicle.
Steering
Power Steering
If you lose power steering assist because the engine
stops or the system is not functioning, you can steer
but it will take much more effort.
4-11
Page 325 of 600
SeeBraking on page 4-5. It is better to remove as much
speed as you can from a possible collision. Then steer
around the problem, to the left or right depending on the
space available.
An emergency like this requires close attention and a
quick decision. If you are holding the steering wheel at
the recommended 9 and 3 o’clock positions, you can turn
it a full 180 degrees very quickly without removing either
hand. But you have to act fast, steer quickly, and just as
quickly straighten the wheel once you have avoided the
object.
The fact that such emergency situations are always
possible is a good reason to practice defensive driving
at all times and wear safety belts properly.Off-Road Recovery
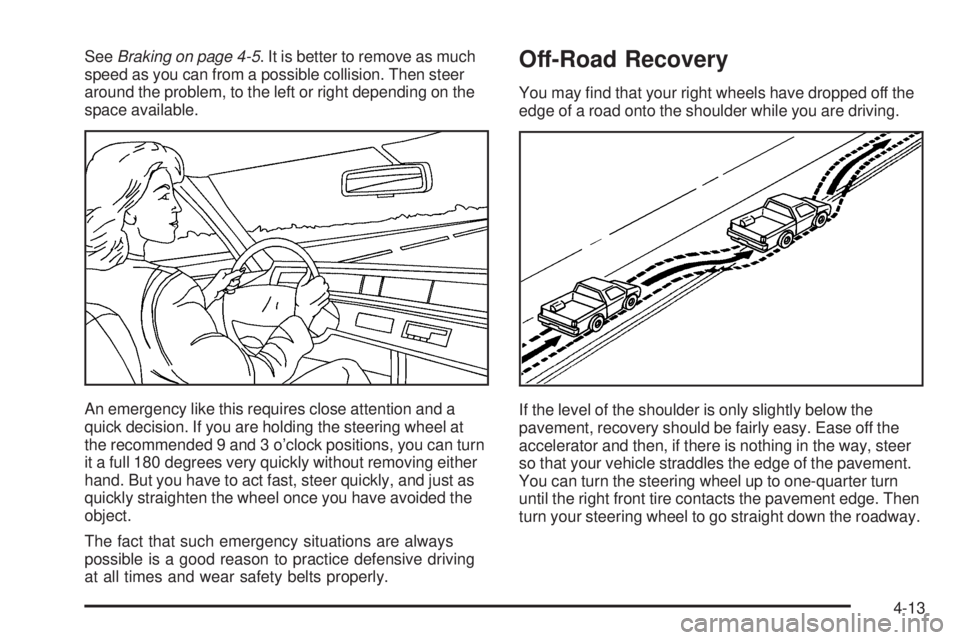
You may �nd that your right wheels have dropped off the
edge of a road onto the shoulder while you are driving.
If the level of the shoulder is only slightly below the
pavement, recovery should be fairly easy. Ease off the
accelerator and then, if there is nothing in the way, steer
so that your vehicle straddles the edge of the pavement.
You can turn the steering wheel up to one-quarter turn
until the right front tire contacts the pavement edge. Then
turn your steering wheel to go straight down the roadway.
4-13
Page 328 of 600

If you have the Traction Assist System (TAS), remember:
It helps avoid only the acceleration skid. SeeTraction
Assist System (TAS) on page 4-8. If you do not have this
system, or if the system is off, then an acceleration skid is
also best handled by easing your foot off the accelerator
pedal.
If your vehicle starts to slide, ease your foot off the
accelerator pedal and quickly steer the way you want
the vehicle to go. If you start steering quickly enough,
your vehicle may straighten out. Always be ready
for a second skid if it occurs.
Of course, traction is reduced when water, snow, ice,
gravel, or other material is on the road. For safety, you
will want to slow down and adjust your driving to these
conditions. It is important to slow down on slippery
surfaces because stopping distance will be longer and
vehicle control more limited.
While driving on a surface with reduced traction, try your
best to avoid sudden steering, acceleration, or braking,
including engine braking by shifting to a lower gear. Any
sudden changes could cause the tires to slide. You may
not realize the surface is slippery until your vehicle is
skidding. Learn to recognize warning clues — such as
enough water, ice, or packed snow on the road to make a
mirrored surface — and slow down when you have any
doubt.
Remember: Any Anti-Lock Brake System (ABS) helps
avoid only the braking skid.Off-Road Driving
This off-road guide is for vehicles that have four-wheel
drive. Also, seeBraking on page 4-5. If your vehicle
does not have four-wheel drive or is equipped with
20-inch tire/wheel assemblies, you should not drive
off-road unless you are on a level, solid surface.
Off-road driving can be great fun. But it does have some
de�nite hazards. The greatest of these is the terrain itself.
“Off-roading” means you have left the great North
American road system behind. Traffic lanes are not
marked. Curves are not banked. There are no road
signs. Surfaces can be slippery, rough, uphill, or downhill.
In short, you have gone right back to nature.
Off-road driving involves some new skills. And that is why
it is very important that you read this guide. You will �nd
many driving tips and suggestions. These will help make
your off-road driving safer and more enjoyable.
If you think you will need some more ground clearance
at the front of your vehicle, you can remove the front
bumper lower air dam.
4-16
Page 330 of 600
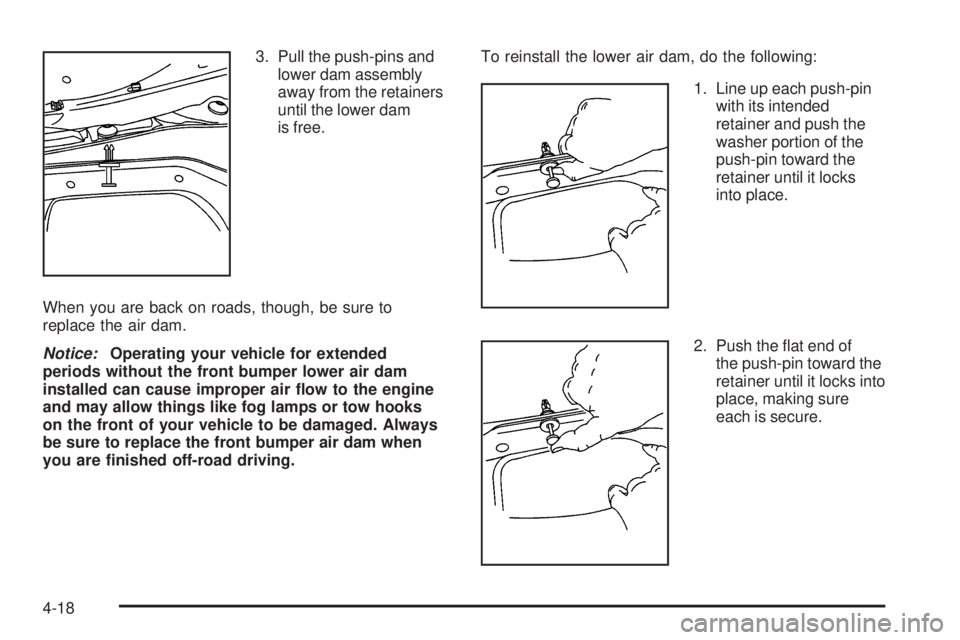
3. Pull the push-pins and
lower dam assembly
away from the retainers
until the lower dam
is free.
When you are back on roads, though, be sure to
replace the air dam.
Notice:Operating your vehicle for extended
periods without the front bumper lower air dam
installed can cause improper air �ow to the engine
and may allow things like fog lamps or tow hooks
on the front of your vehicle to be damaged. Always
be sure to replace the front bumper air dam when
you are �nished off-road driving.To reinstall the lower air dam, do the following:
1. Line up each push-pin
with its intended
retainer and push the
washer portion of the
push-pin toward the
retainer until it locks
into place.
2. Push the �at end of
the push-pin toward the
retainer until it locks into
place, making sure
each is secure.
4-18