2006 GMC SIERRA ignition
[x] Cancel search: ignitionPage 302 of 600

Battery Replacement
To change the batteries, do the following:
1. Remove the battery compartment door located on
the bottom of the remote control.
2. Replace the two AA batteries in the compartment.
Make sure that they are installed correctly, using
the diagram on the inside of the battery
compartment.
3. Close the battery door securely.
If the remote control is to be stored for a long period of
time, remove the batteries and keep them in a cool, dry
place.Problem Recommended Action
No power. The ignition might not be
in on or accessory.
The parental control
button might have been
turned on. The power
indicator light will �ash.
Disc will not play. The system might be off.
The parental control button
might have been turned
on. The power indicator
light will �ash.
The system might be
in auxiliary mode.
The disc is upside down
or is not compatible.
The picture does not �ll the
screen. There are black
borders on the
top and bottom or on
both sides or it looks
stretched out.Check the display mode
settings in the display
menu.
The disc was ejected, but
it was pulled back into the
DVD player.The disc is being stored in
the DVD player. Press the
eject button again to eject
the disc.
3-124
Page 309 of 600

XM™ Satellite Radio Service
XM™ Satellite Radio Service gives digital radio
reception from coast-to-coast in the 48 contiguous
United States, and in Canada (if available). Just as
with FM, tall buildings or hills can interfere with satellite
radio signals, causing the sound to fade in and out.
In addition, traveling or standing under heavy foliage,
bridges, garages, or tunnels may cause loss of the XM™
signal for a period of time. The radio may display NO
SIGNAL to indicate interference.
Care of the Cassette Tape Player
A tape player that is not cleaned regularly can cause
reduced sound quality, ruined cassettes, or a damaged
mechanism. Cassette tapes should be stored in their
cases away from contaminants, direct sunlight, and
extreme heat. If they are not, they may not operate
properly or may cause failure of the tape player.
The tape player should be cleaned regularly after every
50 hours of use. The radio may display CLEAN to
indicate that the tape player has been used for 50 hours
without resetting the tape clean timer. If this message
appears on the display, the cassette tape player needs to
be cleaned. It will still play tapes, but it should be cleaned
as soon as possible to prevent damage to the tapes and
player. If there is a reduction in sound quality, try a known
good cassette to see if the tape or the tape player is at
fault. If this other cassette has no improvement in sound
quality, clean the tape player.For best results, use a scrubbing action, non-abrasive
cleaning cassette with pads which scrub the tape head as
the hubs of the cleaner cassette turn. The recommended
cleaning cassette is available through your dealer.
When cleaning the cassette tape player with the
recommended non-abrasive cleaning cassette, it is
possible that the cassette may eject, because the cut
tape detection feature on the radio may recognize it as
a broken tape, in error. To prevent the cleaning cassette
from being ejected, use the following steps:
1. Turn the ignition on.
2. Turn the radio off.
3. Press and hold the TAPE DISC button for
�ve seconds. READY will appear on the display
and the cassette symbol will �ash for �ve seconds.
4. Insert the scrubbing action cleaning cassette.
5. Eject the cleaning cassette after the manufacturer’s
recommended cleaning time.
When the cleaning cassette has been ejected, the
cut tape detection feature will be active again.
A non-scrubbing action, wet-type cleaner which uses a
cassette with a fabric belt to clean the tape head can be
used. This type of cleaning cassette will not eject on its
own. A non-scrubbing action cleaner may not clean as
thoroughly as the scrubbing type cleaner. The use of a
non-scrubbing action, dry-type cleaning cassette is not
recommended.
3-131
Page 311 of 600

XM™ Satellite Radio Antenna
System
The XM™ Satellite Radio antenna is located on the roof
of your vehicle. Keep this antenna clear of snow and ice
build up for clear radio reception.
If your vehicle has a sunroof, the performance of the
XM™ system may be affected if the sunroof is open.
Loading items onto the roof of your vehicle can interfere
with the performance of the XM™ system. Make sure
the XM™ Satellite Radio antenna is not obstructed.
Chime Level Adjustment
The radio is used to adjust the vehicle’s chime level.
To change the volume level of the chime, press and hold
pushbutton 6 with the ignition on and the radio power off.
The volume level will change from the normal level to
loud, and LOUD will appear on the radio display. To
change back to the default or normal setting, press and
hold pushbutton 6 again. The volume level will change
from the loud level to normal, and NORMAL will appear
on the radio display. Each time the chime volume is
changed, three chimes will sound as an example of the
new volume selected. Removing the radio and not
replacing it with a factory radio or chime module will
disable vehicle chimes.
3-133
Page 319 of 600

The lights and chime will come on each time the ignition
is turned on until the problem is repaired. See your dealer
for service.
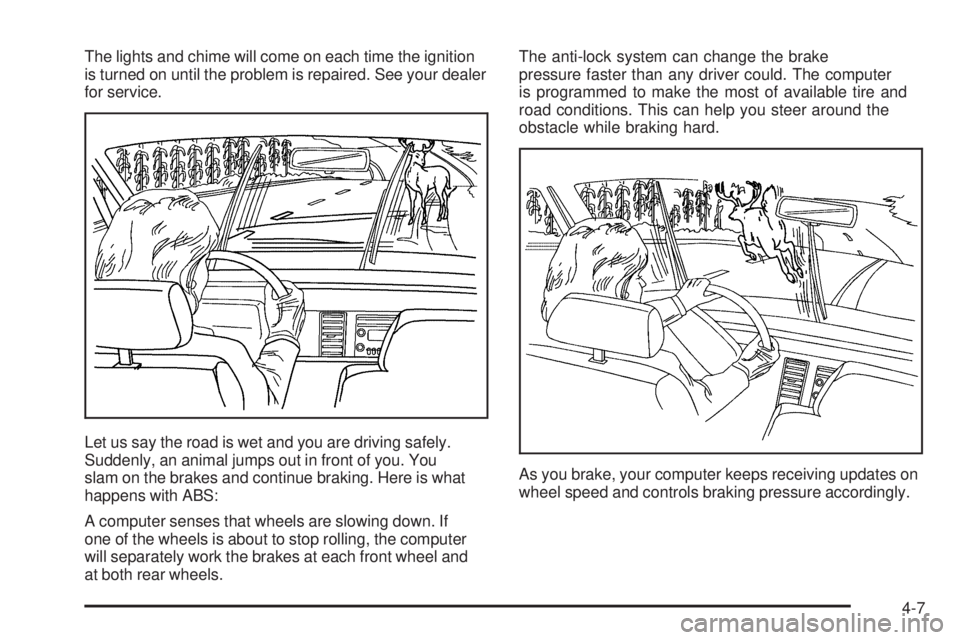
Let us say the road is wet and you are driving safely.
Suddenly, an animal jumps out in front of you. You
slam on the brakes and continue braking. Here is what
happens with ABS:
A computer senses that wheels are slowing down. If
one of the wheels is about to stop rolling, the computer
will separately work the brakes at each front wheel and
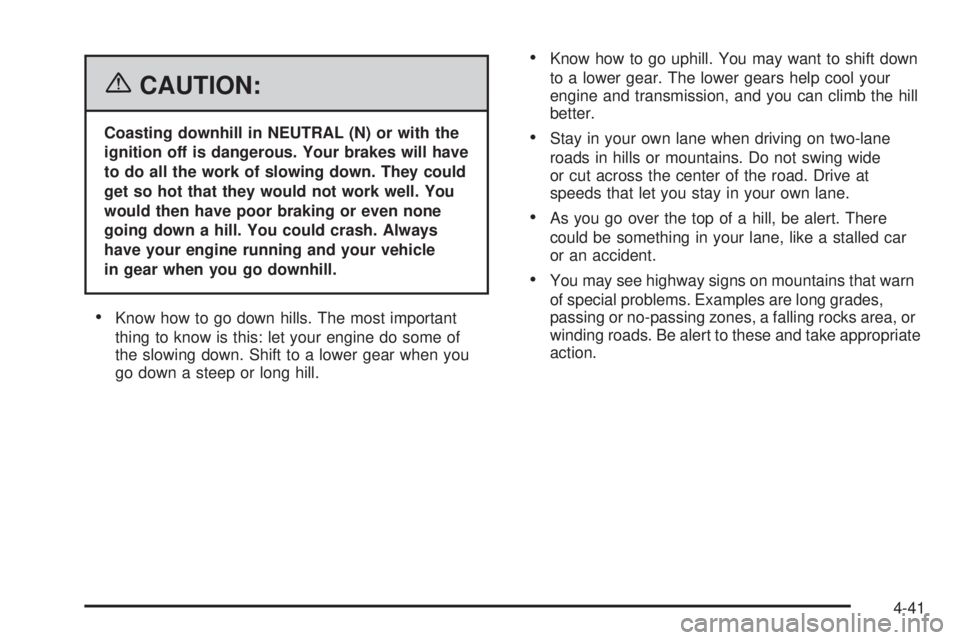
at both rear wheels.The anti-lock system can change the brake
pressure faster than any driver could. The computer
is programmed to make the most of available tire and
road conditions. This can help you steer around the
obstacle while braking hard.
As you brake, your computer keeps receiving updates on
wheel speed and controls braking pressure accordingly.
4-7
Page 343 of 600

When you drive on sand, you will sense a change in
wheel traction. But it will depend upon how loosely
packed the sand is. On loosely packed sand, such as
on beaches or sand dunes, your tires will tend to sink into
the sand. This has an effect on steering, accelerating,
and braking. Drive at a reduced speed and avoid sharp
turns or abrupt maneuvers.
Hard packed snow and ice offer the worst tire traction.
On these surfaces, it is very easy to lose control. On wet
ice, for example, the traction is so poor that you will have
difficulty accelerating. And if you do get moving, poor
steering and difficult braking can cause you to slide out
of control.
{CAUTION:
Driving on frozen lakes, ponds, or rivers can
be dangerous. Underwater springs, currents
under the ice, or sudden thaws can weaken the
ice. Your vehicle could fall through the ice and
you and your passengers could drown. Drive
your vehicle on safe surfaces only.
Driving in Water
Heavy rain can mean �ash �ooding, and �ood waters
demand extreme caution.Find out how deep the water is before you drive through
it. If it is deep enough to cover the wheel hubs, axles, or
exhaust pipe, do not try it — you probably will not get
through. Also, water that deep can damage the axle and
other vehicle parts.
If the water is not too deep, drive slowly through it. At
faster speeds, water splashes on the ignition system and
your vehicle can stall. Stalling can also occur if you get
the tailpipe under water. And, as long as the tailpipe is
under water, you will never be able to start the engine.
When you go through water, remember that when the
brakes get wet, it may take you longer to stop.
{CAUTION:
Driving through rushing water can be
dangerous. Deep water can sweep your vehicle
downstream and you and your passengers
could drown. If it is only shallow water, it can
still wash away the ground from under your
tires, and you could lose traction and roll the
vehicle over. Do not drive through rushing
water.
SeeDriving in Rain and on Wet Roads on page 4-33for
more information on driving through water.
4-31
Page 353 of 600

{CAUTION:
Coasting downhill in NEUTRAL (N) or with the
ignition off is dangerous. Your brakes will have
to do all the work of slowing down. They could
get so hot that they would not work well. You
would then have poor braking or even none
going down a hill. You could crash. Always
have your engine running and your vehicle
in gear when you go downhill.
Know how to go down hills. The most important
thing to know is this: let your engine do some of
the slowing down. Shift to a lower gear when you
go down a steep or long hill.
Know how to go uphill. You may want to shift down
to a lower gear. The lower gears help cool your
engine and transmission, and you can climb the hill
better.
Stay in your own lane when driving on two-lane
roads in hills or mountains. Do not swing wide
or cut across the center of the road. Drive at
speeds that let you stay in your own lane.
As you go over the top of a hill, be alert. There
could be something in your lane, like a stalled car
or an accident.
You may see highway signs on mountains that warn
of special problems. Examples are long grades,
passing or no-passing zones, a falling rocks area, or
winding roads. Be alert to these and take appropriate
action.
4-41
Page 375 of 600

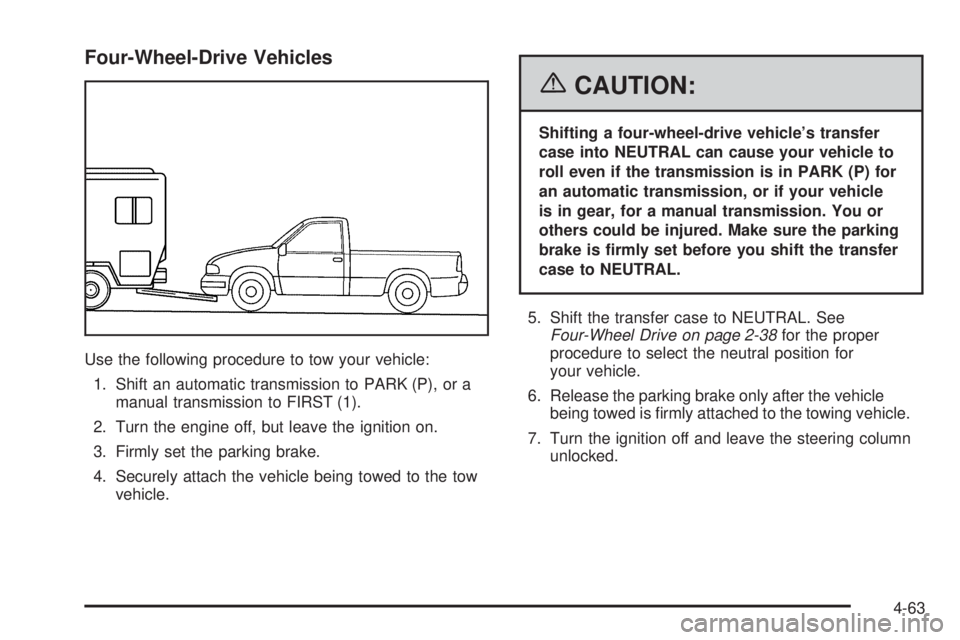
Four-Wheel-Drive Vehicles
Use the following procedure to tow your vehicle:
1. Shift an automatic transmission to PARK (P), or a
manual transmission to FIRST (1).
2. Turn the engine off, but leave the ignition on.
3. Firmly set the parking brake.
4. Securely attach the vehicle being towed to the tow
vehicle.
{CAUTION:
Shifting a four-wheel-drive vehicle’s transfer
case into NEUTRAL can cause your vehicle to
roll even if the transmission is in PARK (P) for
an automatic transmission, or if your vehicle
is in gear, for a manual transmission. You or
others could be injured. Make sure the parking
brake is �rmly set before you shift the transfer
case to NEUTRAL.
5. Shift the transfer case to NEUTRAL. See
Four-Wheel Drive on page 2-38for the proper
procedure to select the neutral position for
your vehicle.
6. Release the parking brake only after the vehicle
being towed is �rmly attached to the towing vehicle.
7. Turn the ignition off and leave the steering column
unlocked.
4-63
Page 376 of 600

Dolly Towing
Front Towing (Front Wheels
Off the Ground)
Two-Wheel-Drive Vehicles
Notice:If you tow a two-wheel-drive vehicle with the
rear wheels on the ground, the transmission could be
damaged. The repairs would not be covered by your
warranty. Never tow your vehicle with the rear wheels
on the ground.
Two-wheel-drive vehicles should not be towed
with the rear wheels on the ground. Two-wheel-drive
transmissions have no provisions for internal lubrication
while being towed.
To dolly tow a two-wheel-drive vehicle, you must tow
the vehicle with the rear wheels on the dolly. See “Rear
Towing (Rear Wheels Off the Ground)” later in this
section for more information.
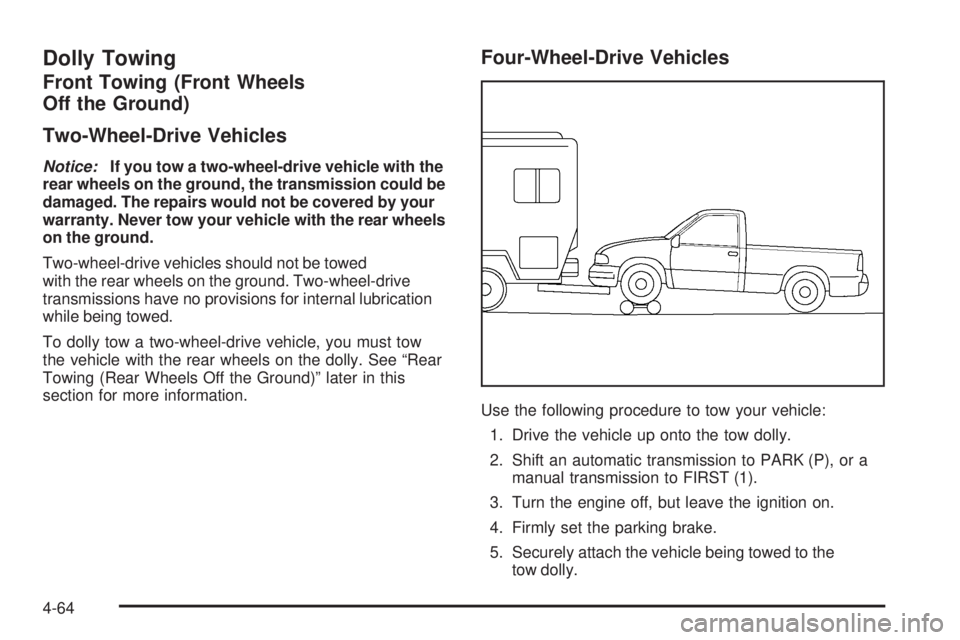
Four-Wheel-Drive Vehicles
Use the following procedure to tow your vehicle:
1. Drive the vehicle up onto the tow dolly.
2. Shift an automatic transmission to PARK (P), or a
manual transmission to FIRST (1).
3. Turn the engine off, but leave the ignition on.
4. Firmly set the parking brake.
5. Securely attach the vehicle being towed to the
tow dolly.
4-64