2006 FORD SUPER DUTY battery
[x] Cancel search: batteryPage 2 of 28
BLACKOUT LIGHTING (IF EQUIPPED)
If your vehicle is equipped with blackout lighting it will turn off all
interior and exterior lighting, regardless of ignition position or if any
doors are open.
The switch is mounted on the
instrument panel below the radio.
The courtesy/dome/exterior lights are deactivated when the vehicle is
turned off regardless of which position the blackout lighting switch is in;
these lights are activated when the vehicle's ignition is turned to
on/auxiliary.
Note:Battery saver mode is enabled when the vehicle is turned off.
There is no delayed timer on this feature.
Note:Black-out lighting will conflict with U.S. Federal Motor Vehicle
Safety Standards (FMVSS). By selecting this option, the
customer/operator has and is exercising Governmental Privilege to
exempt vehicles from full FMVSS compliance.
When blackout lighting is enabled, it will turn off ALL interior
and exterior lights (i.e.headlamps, stop lamps, backup lamps,
interior warning lights, etc). Proceed with caution.
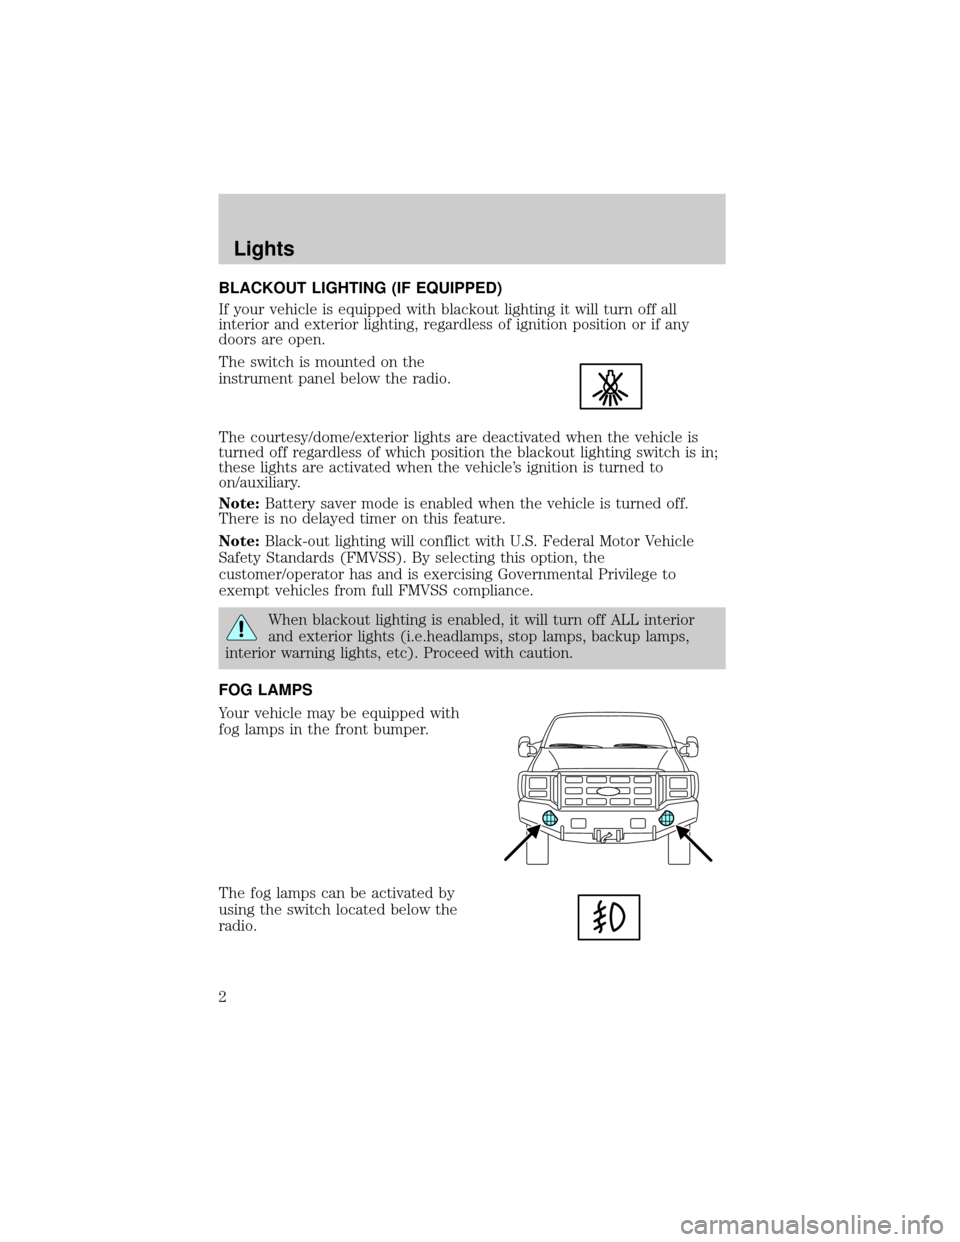
FOG LAMPS
Your vehicle may be equipped with
fog lamps in the front bumper.
The fog lamps can be activated by
using the switch located below the
radio.
Lights
2
Page 4 of 28
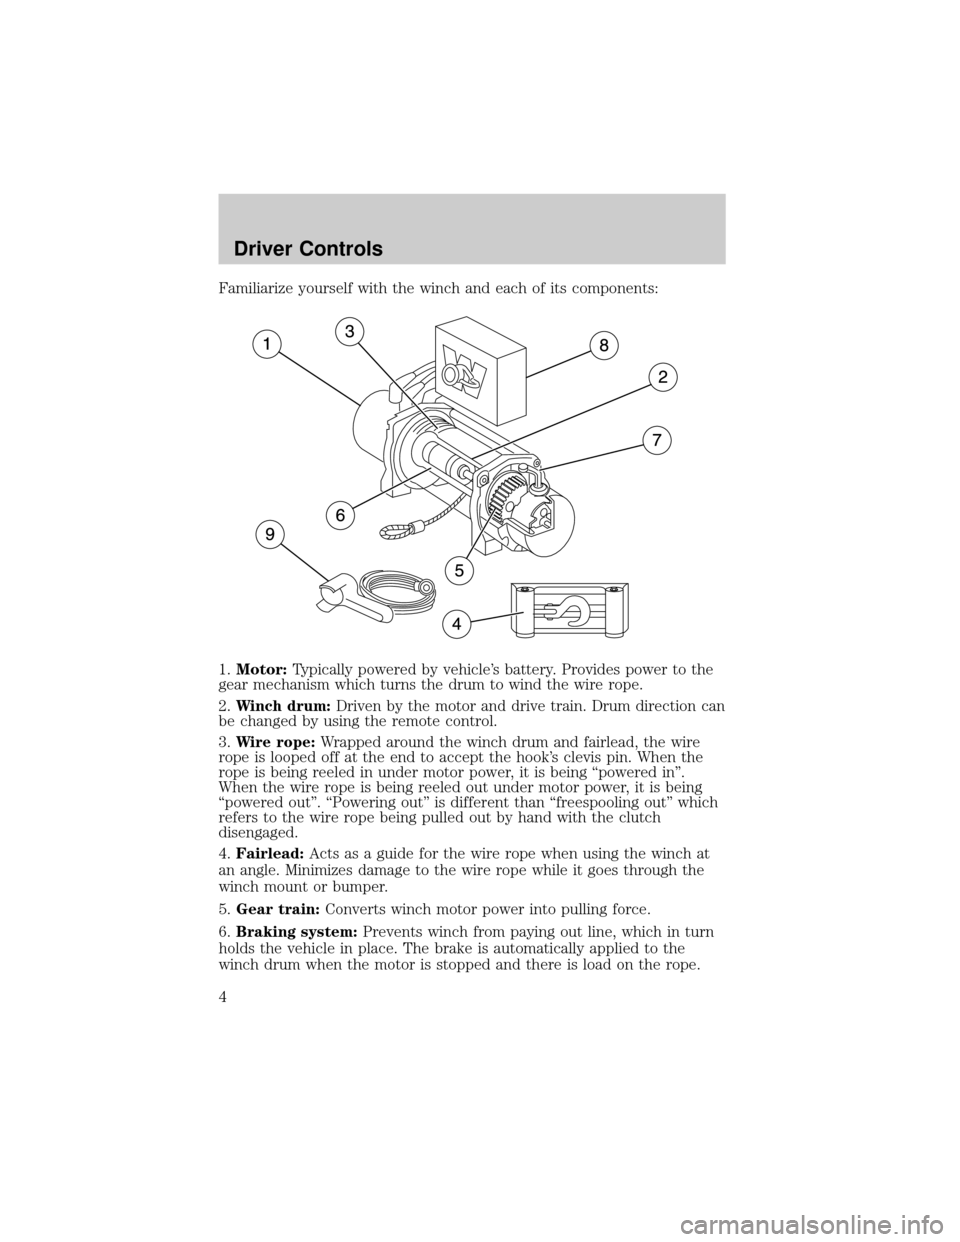
Familiarize yourself with the winch and each of its components:
1.Motor:Typically powered by vehicle's battery. Provides power to the
gear mechanism which turns the drum to wind the wire rope.
2.Winch drum:Driven by the motor and drive train. Drum direction can
be changed by using the remote control.
3.Wire rope:Wrapped around the winch drum and fairlead, the wire
rope is looped off at the end to accept the hook's clevis pin. When the
rope is being reeled in under motor power, it is being ªpowered inº.
When the wire rope is being reeled out under motor power, it is being
ªpowered outº. ªPowering outº is different than ªfreespooling outº which
refers to the wire rope being pulled out by hand with the clutch
disengaged.
4.Fairlead:Acts as a guide for the wire rope when using the winch at
an angle. Minimizes damage to the wire rope while it goes through the
winch mount or bumper.
5.Gear train:Converts winch motor power into pulling force.
6.Braking system:Prevents winch from paying out line, which in turn
holds the vehicle in place. The brake is automatically applied to the
winch drum when the motor is stopped and there is load on the rope.
Driver Controls
4
Page 6 of 28
²Tow hooks:Secured properly to your vehicle's frame, tow hooks
provide an attachment point for wire hooks, straps and chains.
²Tree trunk protector:Typically made of tough, high-quality nylon a
tree trunk protector provides an attachment point for the winch rope
to a wide variety of anchor points and objects, as well as protect living
trees.
²Heavy blanket:In certain situations you may decide to throw a
heavy blanket or similar object over the wire rope. A heavy blanket
such as a quilted mover's blanket can absorb energy should the wire
rope break. Place it on the wire rope midway between the winch and
the anchor point. Do this before the wire rope is put under tension.
Do not approach or move the blanket once tension is applied. Do not
allow it to get pulled into the fairlead. If necessary to move or remove
the blanket, slack the tension on the wire rope first.
²Recovery strap:Used to ªsnatchº out a stuck vehicle. Never use a
recovery strap in a winching operation. The recovery strap is designed
to stretch; because of this, it stores energy and could react like a
rubber band should your rigging fail.
Never attach a recovery strap to the winch hook to the increase
the length of a pull. Never attempt to tow a vehicle with the
recovery strap attached directly to the winch hook. Never use ªbungieº
straps that develop tremendous and potentially dangerous amounts of
force when stretched.
²Shovels and hand tools (i.e., axe or off-road jack):These come
in handy when additional assistance is needed during winching
activities.
²Backup parts:Extra items such as an extra clevis/D-shackle or a
remote control unit should be carried in case of emergency. For
severe and/or continuous winch use, you may want to consider
including an extra wire rope and winch hook.
²Toolbox items:Always bring along hand wrenches, screwdrivers,
pliers and tools to change wire rope.
²Jumper cables:It's always a good idea to carry jumper cables in case
your battery becomes drained during a winching operation. Also, a
dual battery system and a battery isolator kit can be installed to
prevent draining the electrical source during winching operation.
A fully charged conventional automotive battery with a minimum of 650
cold cranking amp is recommended to obtain peak performance from
your winch. Make sure all electrical connections are clean and tight.
Driver Controls
6
Page 9 of 28
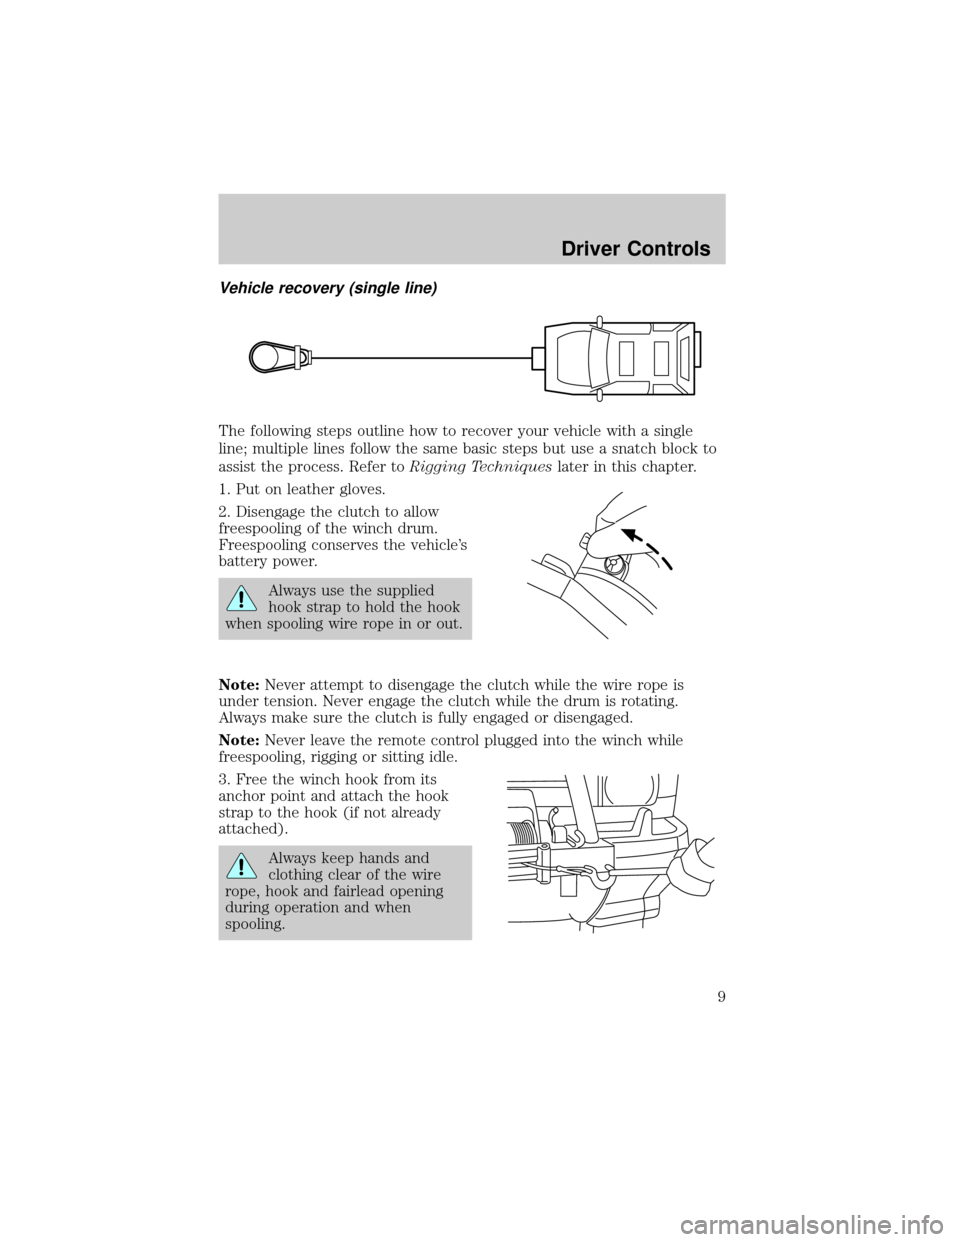
Vehicle recovery (single line)
The following steps outline how to recover your vehicle with a single
line; multiple lines follow the same basic steps but use a snatch block to
assist the process. Refer toRigging Techniqueslater in this chapter.
1. Put on leather gloves.
2. Disengage the clutch to allow
freespooling of the winch drum.
Freespooling conserves the vehicle's
battery power.
Always use the supplied
hook strap to hold the hook
when spooling wire rope in or out.
Note:Never attempt to disengage the clutch while the wire rope is
under tension. Never engage the clutch while the drum is rotating.
Always make sure the clutch is fully engaged or disengaged.
Note:Never leave the remote control plugged into the winch while
freespooling, rigging or sitting idle.
3. Free the winch hook from its
anchor point and attach the hook
strap to the hook (if not already
attached).
Always keep hands and
clothing clear of the wire
rope, hook and fairlead opening
during operation and when
spooling.
Driver Controls
9
Page 15 of 28
Secure the winch hook. While keeping the line near the ground, insert
the winch hook through the clevis/D-shackle. Check the anchor. Make
sure all connections are secured and free of debris before continuing
with the winching procedure.
Maintenance
²Inspect the wire rope before and after each winching operation. If the
wire rope has become kinked or frayed, it needs to be replaced. Be
sure to also inspect the winch hook and hook pin for signs of wear or
damage. Replace as necessary.
²Keep winch, wire rope and switch control free from contaminants. Use
a clean rag or towel to remove any dirt and debris. If necessary,
unwind the winch completely (leaving a minimum of five wraps of
rope on the drum) and wipe it clean before rewinding it. Using a light
oil on the rope and winch hook can keep rust and corrosion from
forming.
²Operating the winch for an extended period of time places an
additional load on your vehicle battery. Be sure to check and maintain
your battery and battery cables according to manufacturer guidelines.
Also, inspect the switch control and all electrical connections to be
certain they are clean and tight fitting.
²Inspect the remote control, if so equipped, for damage. Be sure to cap
the remote socket to prevent dirt and debris from entering the
connections. Store the remote control in a dry, protected area.
²No lubrication is required for the life of the winch.
Driver Controls
15
Page 22 of 28
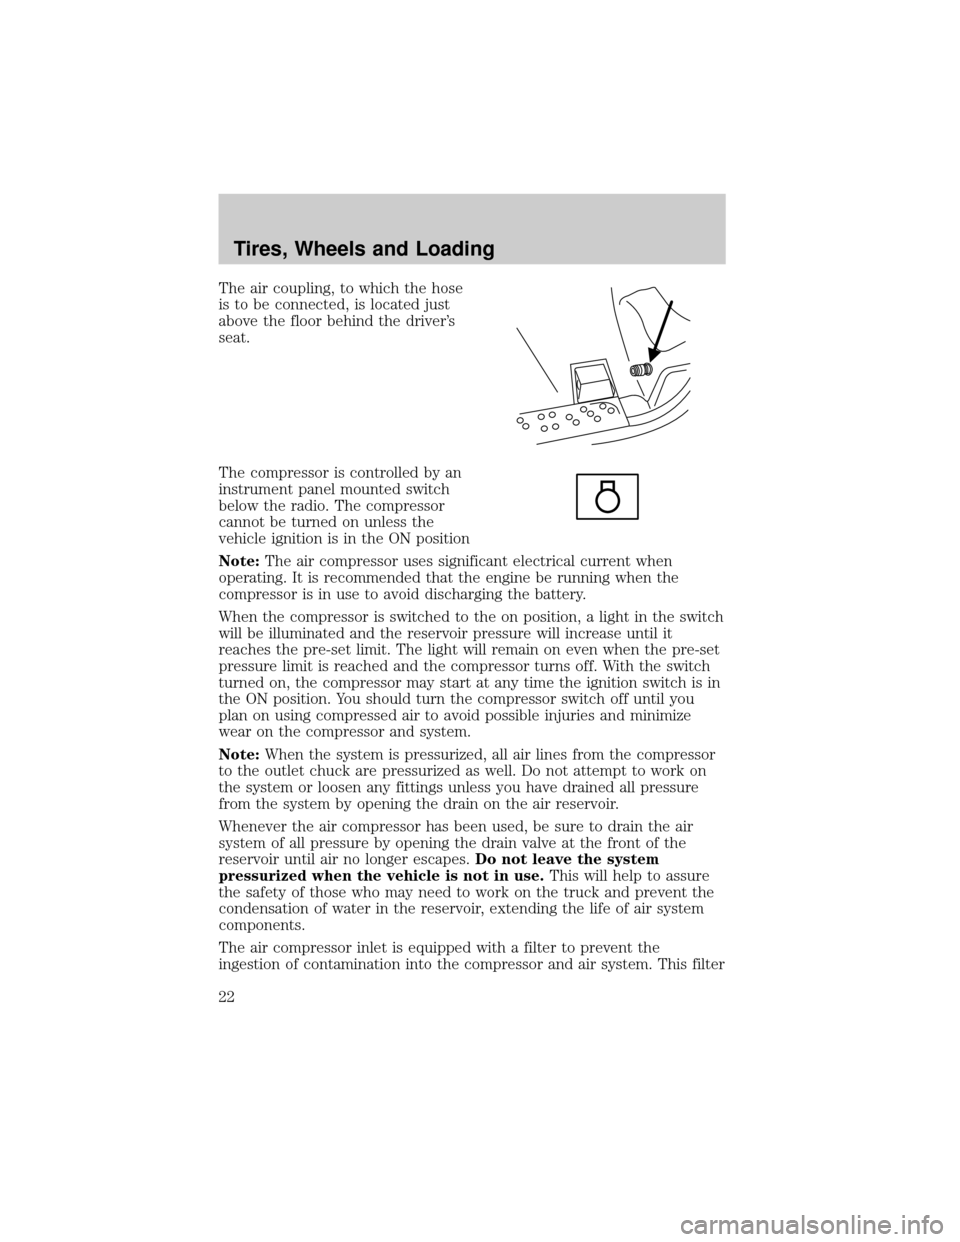
The air coupling, to which the hose
is to be connected, is located just
above the floor behind the driver's
seat.
The compressor is controlled by an
instrument panel mounted switch
below the radio. The compressor
cannot be turned on unless the
vehicle ignition is in the ON position
Note:The air compressor uses significant electrical current when
operating. It is recommended that the engine be running when the
compressor is in use to avoid discharging the battery.
When the compressor is switched to the on position, a light in the switch
will be illuminated and the reservoir pressure will increase until it
reaches the pre-set limit. The light will remain on even when the pre-set
pressure limit is reached and the compressor turns off. With the switch
turned on, the compressor may start at any time the ignition switch is in
the ON position. You should turn the compressor switch off until you
plan on using compressed air to avoid possible injuries and minimize
wear on the compressor and system.
Note:When the system is pressurized, all air lines from the compressor
to the outlet chuck are pressurized as well. Do not attempt to work on
the system or loosen any fittings unless you have drained all pressure
from the system by opening the drain on the air reservoir.
Whenever the air compressor has been used, be sure to drain the air
system of all pressure by opening the drain valve at the front of the
reservoir until air no longer escapes.Do not leave the system
pressurized when the vehicle is not in use.This will help to assure
the safety of those who may need to work on the truck and prevent the
condensation of water in the reservoir, extending the life of air system
components.
The air compressor inlet is equipped with a filter to prevent the
ingestion of contamination into the compressor and air system. This filter
Tires, Wheels and Loading
22