2006 FORD SUPER DUTY fuel pressure
[x] Cancel search: fuel pressurePage 4 of 72

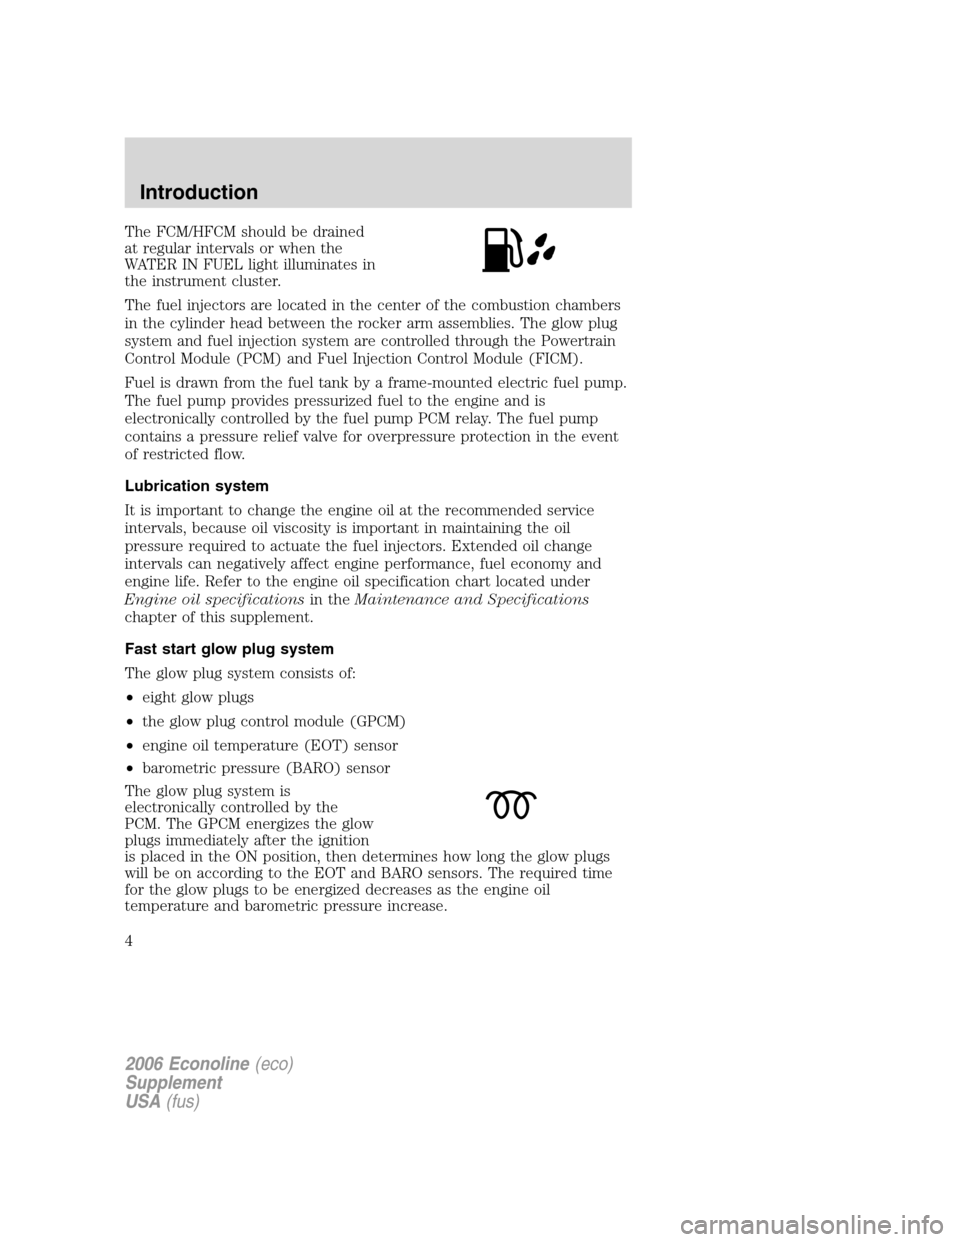
The FCM/HFCM should be drained
at regular intervals or when the
WATER IN FUEL light illuminates in
the instrument cluster.
The fuel injectors are located in the center of the combustion chambers
in the cylinder head between the rocker arm assemblies. The glow plug
system and fuel injection system are controlled through the Powertrain
Control Module (PCM) and Fuel Injection Control Module (FICM).
Fuel is drawn from the fuel tank by a frame-mounted electric fuel pump.
The fuel pump provides pressurized fuel to the engine and is
electronically controlled by the fuel pump PCM relay. The fuel pump
contains a pressure relief valve for overpressure protection in the event
of restricted flow.
Lubrication system
It is important to change the engine oil at the recommended service
intervals, because oil viscosity is important in maintaining the oil
pressure required to actuate the fuel injectors. Extended oil change
intervals can negatively affect engine performance, fuel economy and
engine life. Refer to the engine oil specification chart located under
Engine oil specificationsin theMaintenance and Specifications
chapter of this supplement.
Fast start glow plug system
The glow plug system consists of:
•eight glow plugs
•the glow plug control module (GPCM)
•engine oil temperature (EOT) sensor
•barometric pressure (BARO) sensor
The glow plug system is
electronically controlled by the
PCM. The GPCM energizes the glow
plugs immediately after the ignition
is placed in the ON position, then determines how long the glow plugs
will be on according to the EOT and BARO sensors. The required time
for the glow plugs to be energized decreases as the engine oil
temperature and barometric pressure increase.
2006 Econoline(eco)
Supplement
USA(fus)
Introduction
4
Page 12 of 72

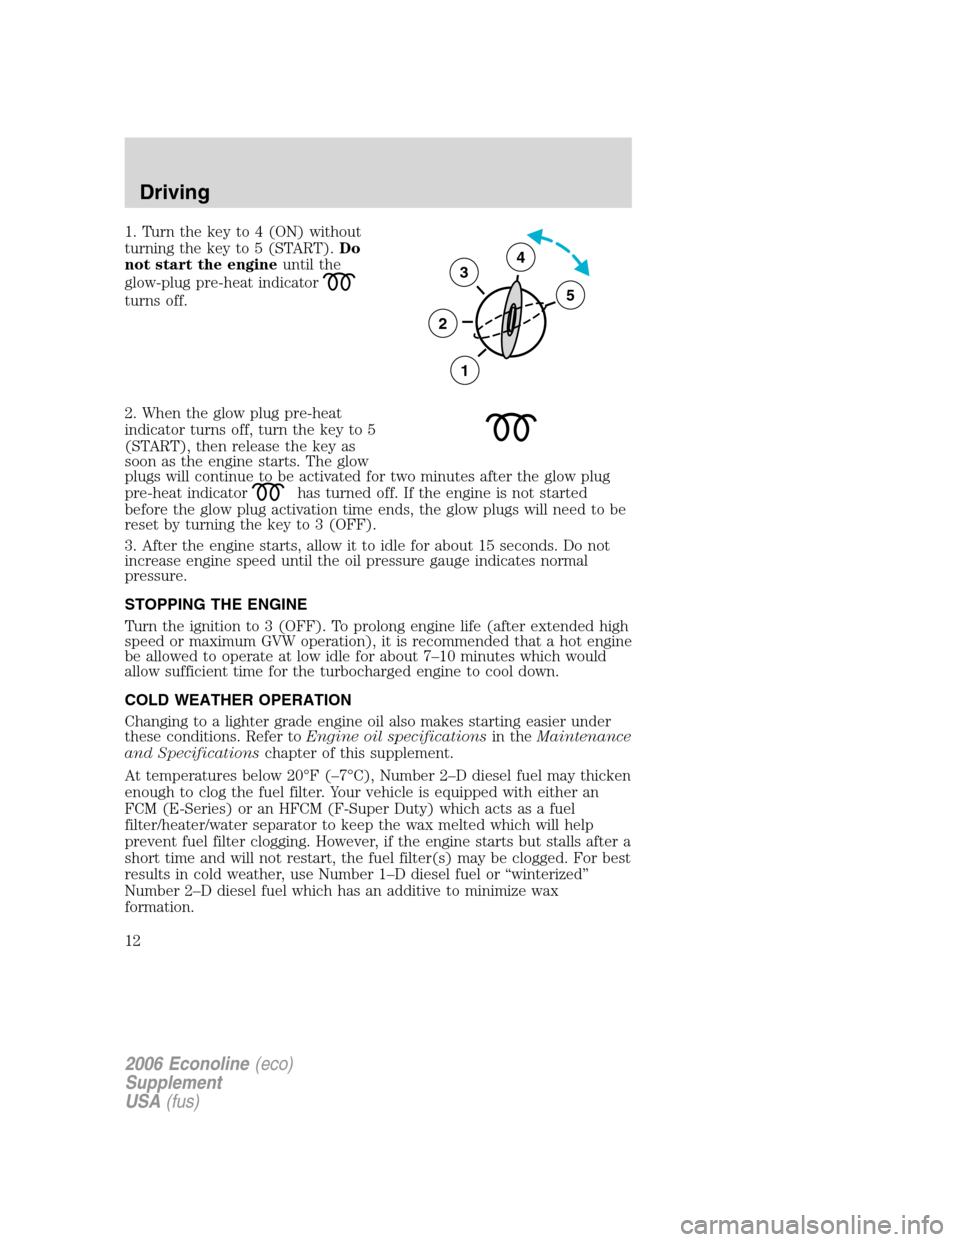
1. Turn the key to 4 (ON) without
turning the key to 5 (START).Do
not start the engineuntil the
glow-plug pre-heat indicator
turns off.
2. When the glow plug pre-heat
indicator turns off, turn the key to 5
(START), then release the key as
soon as the engine starts. The glow
plugs will continue to be activated for two minutes after the glow plug
pre-heat indicator
has turned off. If the engine is not started
before the glow plug activation time ends, the glow plugs will need to be
reset by turning the key to 3 (OFF).
3. After the engine starts, allow it to idle for about 15 seconds. Do not
increase engine speed until the oil pressure gauge indicates normal
pressure.
STOPPING THE ENGINE
Turn the ignition to 3 (OFF). To prolong engine life (after extended high
speed or maximum GVW operation), it is recommended that a hot engine
be allowed to operate at low idle for about 7–10 minutes which would
allow sufficient time for the turbocharged engine to cool down.
COLD WEATHER OPERATION
Changing to a lighter grade engine oil also makes starting easier under
these conditions. Refer toEngine oil specificationsin theMaintenance
and Specificationschapter of this supplement.
At temperatures below 20°F (–7°C), Number 2–D diesel fuel may thicken
enough to clog the fuel filter. Your vehicle is equipped with either an
FCM (E-Series) or an HFCM (F-Super Duty) which acts as a fuel
filter/heater/water separator to keep the wax melted which will help
prevent fuel filter clogging. However, if the engine starts but stalls after a
short time and will not restart, the fuel filter(s) may be clogged. For best
results in cold weather, use Number 1–D diesel fuel or “winterized”
Number 2–D diesel fuel which has an additive to minimize wax
formation.
3
2
1
5
4
2006 Econoline(eco)
Supplement
USA(fus)
Driving
12
Page 29 of 72

2. Carefully turn the filler cap counterclockwise until it stops.
3. Pull to remove the cap from the fuel filler pipe.
4. To install the cap, align the tabs on the cap with the notches on the
filler pipe.
5. Turn the filler cap clockwise until a few clicks are heard.
If the “Check Fuel Cap” message comes on and stays on after you start
the engine, the fuel filler cap may not be properly installed. Turn off the
engine, remove the fuel filler cap, align the cap properly and reinstall it.
If you must replace the fuel filler cap, replace it with a fuel filler
cap that is designed for your vehicle. The customer warranty may
be void for any damage to the fuel tank or fuel system if the
correct genuine Ford or Motorcraft fuel filler cap is not used.
The fuel system may be under pressure. If the fuel filler cap is
venting vapor or if you hear a hissing sound, wait until it stops
before completely removing the fuel filler cap. Otherwise, fuel may
spray out and injure you or others.
If you do not use the proper fuel filler cap, excessive pressure or
vacuum in the fuel tank may damage the fuel system or cause
the fuel cap to disengage in a collision, which may result in possible
personal injury.
Fuel quality
It should not be necessary to add any aftermarket additives to your fuel
tank if you use a properly formulated diesel fuel that meets the ASTM D
975 industry specification. Aftermarket additives can damage the injector
system or engine. Repairs to correct the effects of using an aftermarket
product in your fuel may not be covered by your warranty.
Do not blend used engine oil with diesel fuel under any
circumstances.Blending used oil with the fuel will significantly increase
your vehicle’s exhaust emissions and reduce engine life due to increased
internal wear.
Many of the world’s automakers approved the World-wide Fuel Charter
that recommends diesel fuel specifications to provide improved
performance and emission control system protection for your vehicle.
Diesel fuel that meets the World-wide Fuel Charter should be used when
available. Ask your fuel supplier about fuel that meets the World-wide
Fuel Charter.
2006 Econoline(eco)
Supplement
USA(fus)
Maintenance and Specifications
29
Page 50 of 72

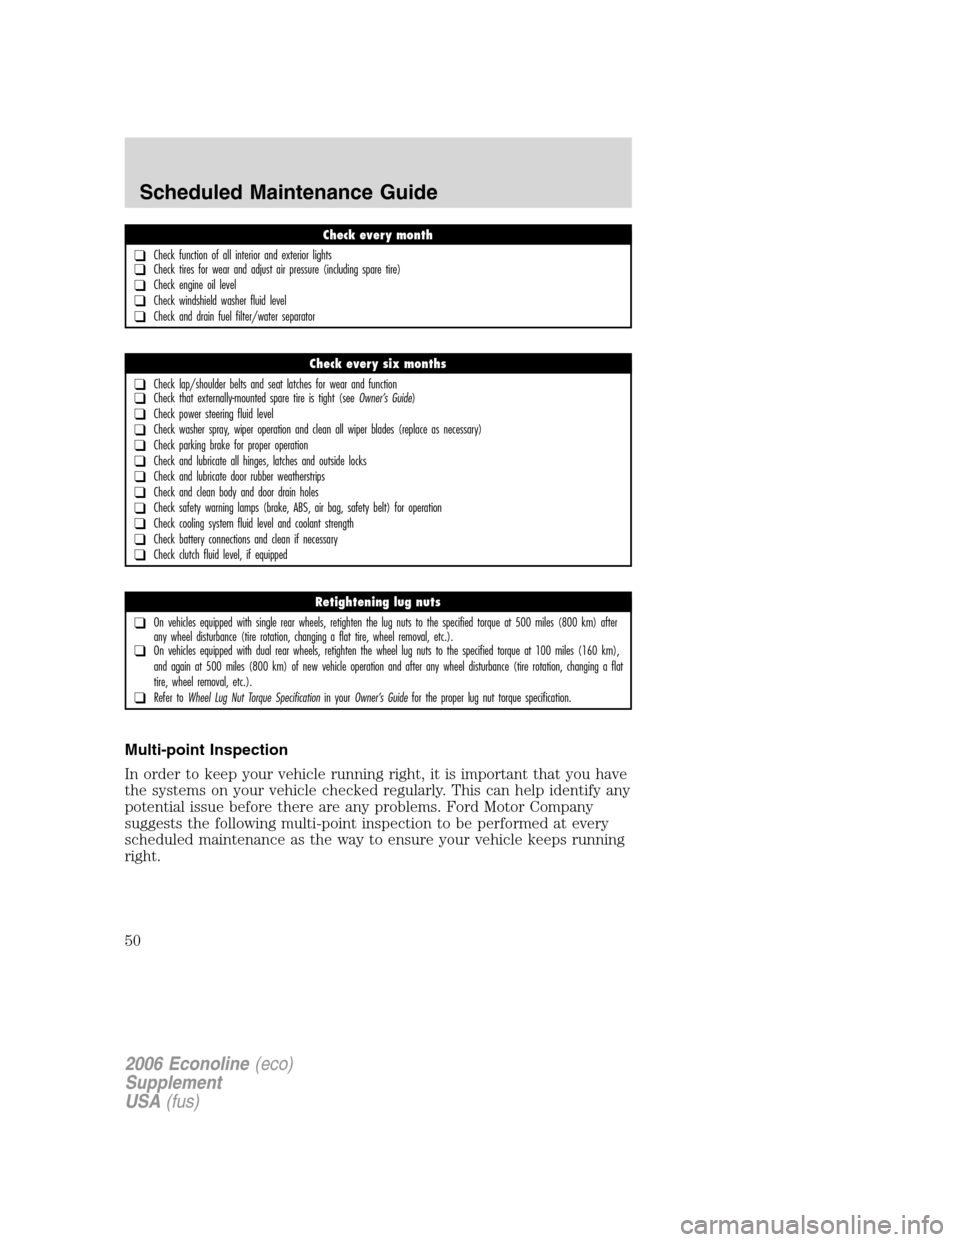
Multi-point Inspection
In order to keep your vehicle running right, it is important that you have
the systems on your vehicle checked regularly. This can help identify any
potential issue before there are any problems. Ford Motor Company
suggests the following multi-point inspection to be performed at every
scheduled maintenance as the way to ensure your vehicle keeps running
right.
Check every month
❑Check function of all interior and exterior lights❑Check tires for wear and adjust air pressure (including spare tire)
❑Check engine oil level
❑Check windshield washer fluid level
❑Check and drain fuel filter/water separator
Check every six months
❑Check lap/shoulder belts and seat latches for wear and function❑Check that externally-mounted spare tire is tight (seeOwner’s Guide)
❑Check power steering fluid level
❑Check washer spray, wiper operation and clean all wiper blades (replace as necessary)
❑Check parking brake for proper operation
❑Check and lubricate all hinges, latches and outside locks
❑Check and lubricate door rubber weatherstrips
❑Check and clean body and door drain holes
❑Check safety warning lamps (brake, ABS, air bag, safety belt) for operation
❑Check cooling system fluid level and coolant strength
❑Check battery connections and clean if necessary
❑Check clutch fluid level, if equipped
Retightening lug nuts
❑On vehicles equipped with single rear wheels, retighten the lug nuts to the specified torque at 500 miles (800 km) after
any wheel disturbance (tire rotation, changing a flat tire, wheel removal, etc.).
❑On vehicles equipped with dual rear wheels, retighten the wheel lug nuts to the specified torque at 100 miles (160 km),
and again at 500 miles (800 km) of new vehicle operation and after any wheel disturbance (tire rotation, changing a flat
tire, wheel removal, etc.).
❑Refer toWheel Lug Nut Torque Specificationin yourOwner’s Guidefor the proper lug nut torque specification.
2006 Econoline (eco)
Supplement
USA (fus)
Scheduled Maintenance Guide
50