2006 FORD MONDEO parking brake
[x] Cancel search: parking brakePage 5 of 198
Downloaded from www.Manualslib.com manuals search engine Brakes.......................118
Principle of operation.....................118
Hints on driving with ABS..............118
Parking brake..................................119
Stability control.........120
Principle of operation....................120
Using stability control....................120
Traction control.........121
Principle of operation.....................121
Using traction control....................121
Self-levelling
suspension.............122
Principle of operation....................122
Parking aid................123
Principle of operation....................123
Using the parking aid....................123
Cruise control...........124
Principle of operation....................124
Using cruise control......................124
Load carrying...........126
General information......................126
Cargo nets......................................126
Luggage covers.............................127
Roof racks and load carriers........127
Towing......................129
Towing a trailer...............................129
Essential towing checks...............129
Detachable tow ball......................130
Driving hints..............133
Running-in......................................133
Emergency
equipment..............134
First aid kit.......................................134
Warning triangle.............................134
Status after a
collision..................135
Fuel cut-off switch.........................135
Inspecting safety systemcomponents...............................135
Fuses........................136
Fuse box locations........................136
Changing a fuse.............................137
Fuse specification chart................137
Vehicle recovery.......141
Towing points..................................141
Transporting the vehicle...............142
Towing the vehicle on fourwheels.........................................143
Maintenance.............144
General information......................144
Engine compartmentoverview......................................145
Opening and closing thebonnet.........................................149
Engine oil check.............................149
Engine coolant check....................151
Automatic transmission fluidcheck...........................................152
Brake and clutch fluid check.......152
3
Table of Contents
Page 76 of 198
Downloaded from www.Manualslib.com manuals search engine •Engine
•Stability control (ESP)
•Ignition
•Low washer fluid
•Oil pressure
•Oil change
If a warning or indicator lamp doesnot illuminate when the ignition isswitched on, it indicates amalfunction. Have the systemchecked by an expert.
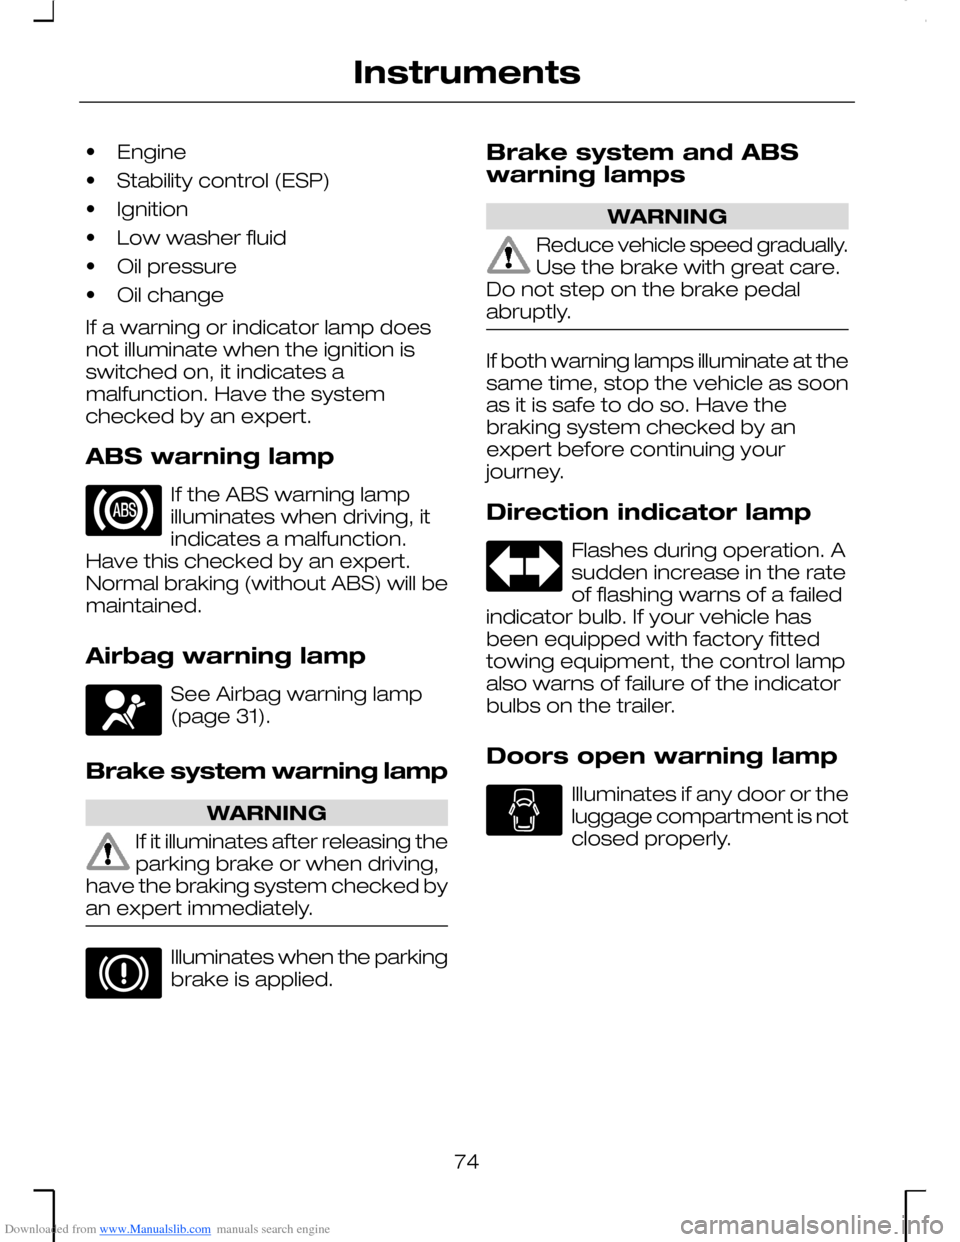
ABS warning lamp
If the ABS warning lampilluminates when driving, itindicates a malfunction.Have this checked by an expert.Normal braking (without ABS) will bemaintained.
Airbag warning lamp
See Airbag warning lamp(page 31).
Brake system warning lamp
WARNING
If it illuminates after releasing theparking brake or when driving,have the braking system checked byan expert immediately.
Illuminates when the parkingbrake is applied.
Brake system and ABSwarning lamps
WARNING
Reduce vehicle speed gradually.Use the brake with great care.Do not step on the brake pedalabruptly.
If both warning lamps illuminate at thesame time, stop the vehicle as soonas it is safe to do so. Have thebraking system checked by anexpert before continuing yourjourney.
Direction indicator lamp
Flashes during operation. Asudden increase in the rateof flashing warns of a failedindicator bulb. If your vehicle hasbeen equipped with factory fittedtowing equipment, the control lampalso warns of failure of the indicatorbulbs on the trailer.
Doors open warning lamp
Illuminates if any door or theluggage compartment is notclosed properly.
74
Instruments
Page 112 of 198
Downloaded from www.Manualslib.com manuals search engine AUTOMATIC
TRANSMISSION
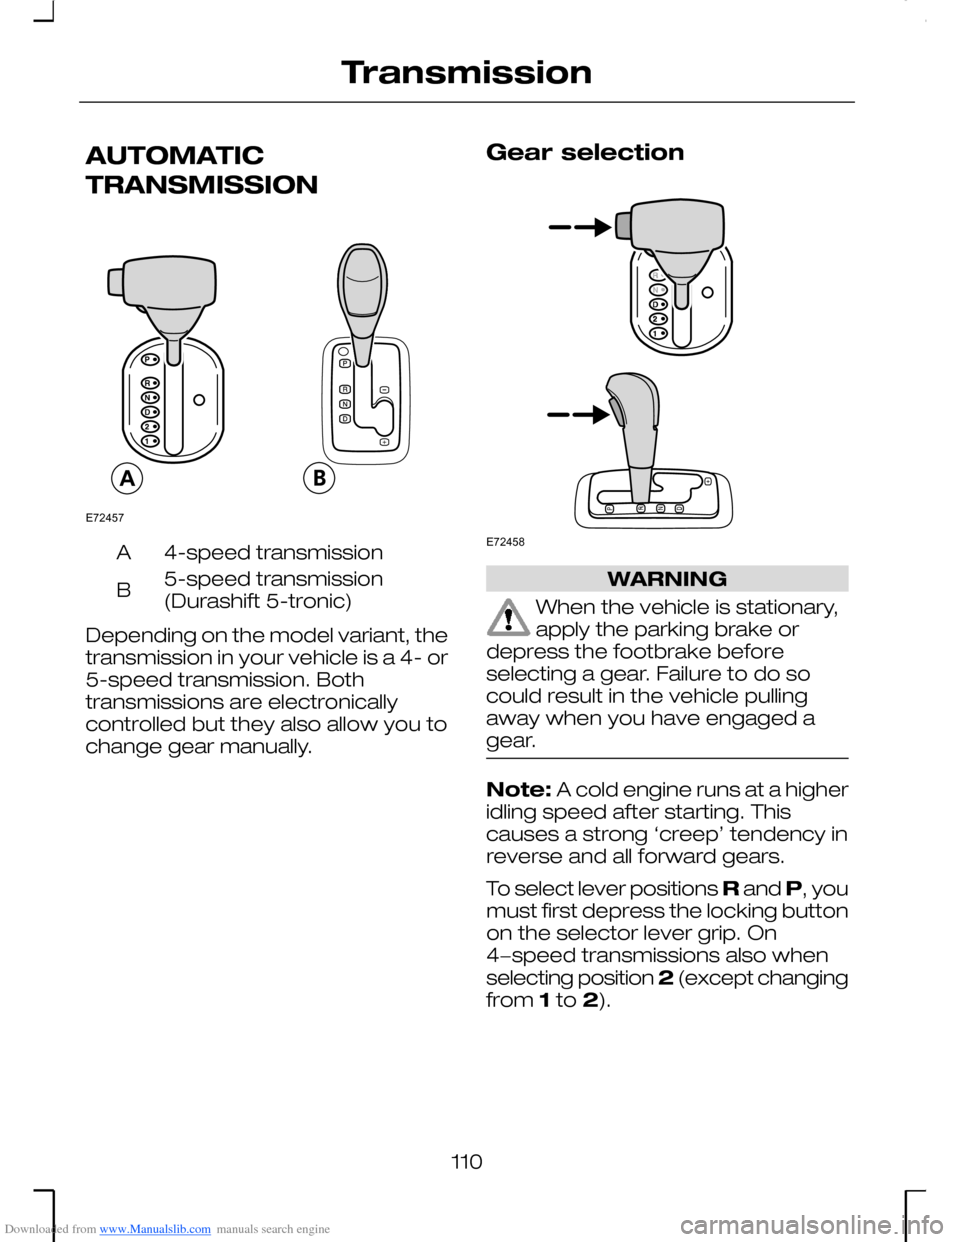
4-speed transmissionA
5-speed transmission(Durashift 5-tronic)B
Depending on the model variant, thetransmission in your vehicle is a 4- or5-speed transmission. Bothtransmissions are electronicallycontrolled but they also allow you tochange gear manually.
Gear selection
WARNING
When the vehicle is stationary,apply the parking brake ordepress the footbrake beforeselecting a gear. Failure to do socould result in the vehicle pullingaway when you have engaged agear.
Note: A cold engine runs at a higheridling speed after starting. Thiscauses a strong ‘creep’ tendency inreverse and all forward gears.
To select lever positions R and P, youmust first depress the locking buttonon the selector lever grip. On4−speed transmissions also whenselecting position 2 (except changingfrom 1 to 2).
110
TransmissionE72457 E72458
Page 113 of 198
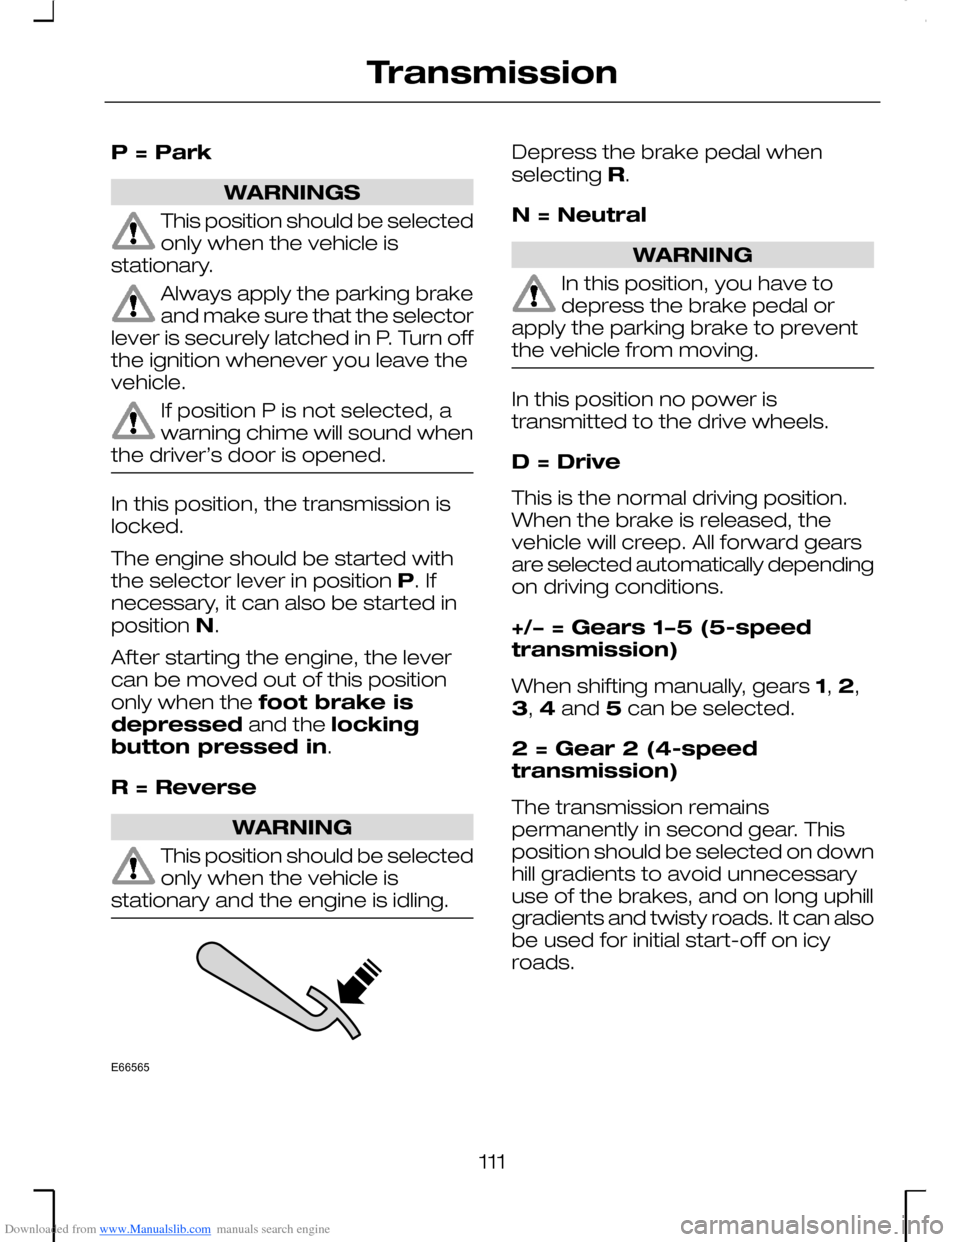
Downloaded from www.Manualslib.com manuals search engine P = Park
WARNINGS
This position should be selectedonly when the vehicle isstationary.
Always apply the parking brakeand make sure that the selectorlever is securely latched in P. Turn offthe ignition whenever you leave thevehicle.
If position P is not selected, awarning chime will sound whenthe driver’s door is opened.
In this position, the transmission islocked.
The engine should be started withthe selector lever in position P. Ifnecessary, it can also be started inposition N.
After starting the engine, the levercan be moved out of this positiononly when the foot brake isdepressed and the lockingbutton pressed in.
R = Reverse
WARNING
This position should be selectedonly when the vehicle isstationary and the engine is idling.
Depress the brake pedal whenselecting R.
N = Neutral
WARNING
In this position, you have todepress the brake pedal orapply the parking brake to preventthe vehicle from moving.
In this position no power istransmitted to the drive wheels.
D = Drive
This is the normal driving position.When the brake is released, thevehicle will creep. All forward gearsare selected automatically dependingon driving conditions.
+/− = Gears 1−5 (5-speedtransmission)
When shifting manually, gears 1, 2,3, 4 and 5 can be selected.
2 = Gear 2 (4-speedtransmission)
The transmission remainspermanently in second gear. Thisposition should be selected on downhill gradients to avoid unnecessaryuse of the brakes, and on long uphillgradients and twisty roads. It can alsobe used for initial start-off on icyroads.
111
TransmissionE66565
Page 115 of 198
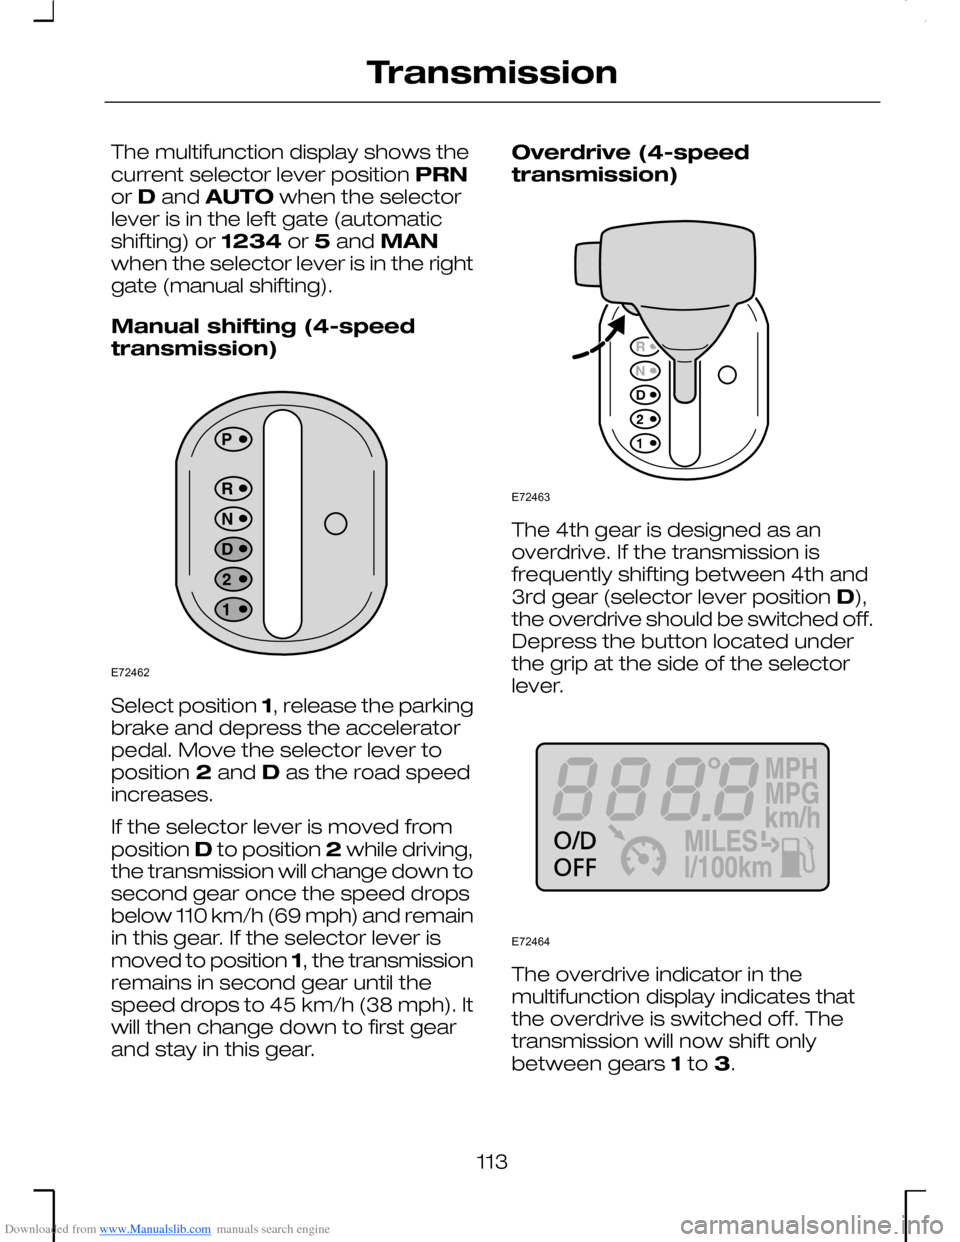
Downloaded from www.Manualslib.com manuals search engine The multifunction display shows thecurrent selector lever position PRNor D and AUTO when the selectorlever is in the left gate (automaticshifting) or 1234 or 5 and MANwhen the selector lever is in the rightgate (manual shifting).
Manual shifting (4-speedtransmission)
Select position 1, release the parkingbrake and depress the acceleratorpedal. Move the selector lever toposition 2 and D as the road speedincreases.
If the selector lever is moved fromposition D to position 2 while driving,the transmission will change down tosecond gear once the speed dropsbelow 110 km/h (69 mph) and remainin this gear. If the selector lever ismoved to position 1, the transmissionremains in second gear until thespeed drops to 45 km/h (38 mph). Itwill then change down to first gearand stay in this gear.
Overdrive (4-speedtransmission)
The 4th gear is designed as anoverdrive. If the transmission isfrequently shifting between 4th and3rd gear (selector lever position D),the overdrive should be switched off.Depress the button located underthe grip at the side of the selectorlever.
The overdrive indicator in themultifunction display indicates thatthe overdrive is switched off. Thetransmission will now shift onlybetween gears 1 to 3.
113
TransmissionE72462 E72463 E72464
Page 121 of 198
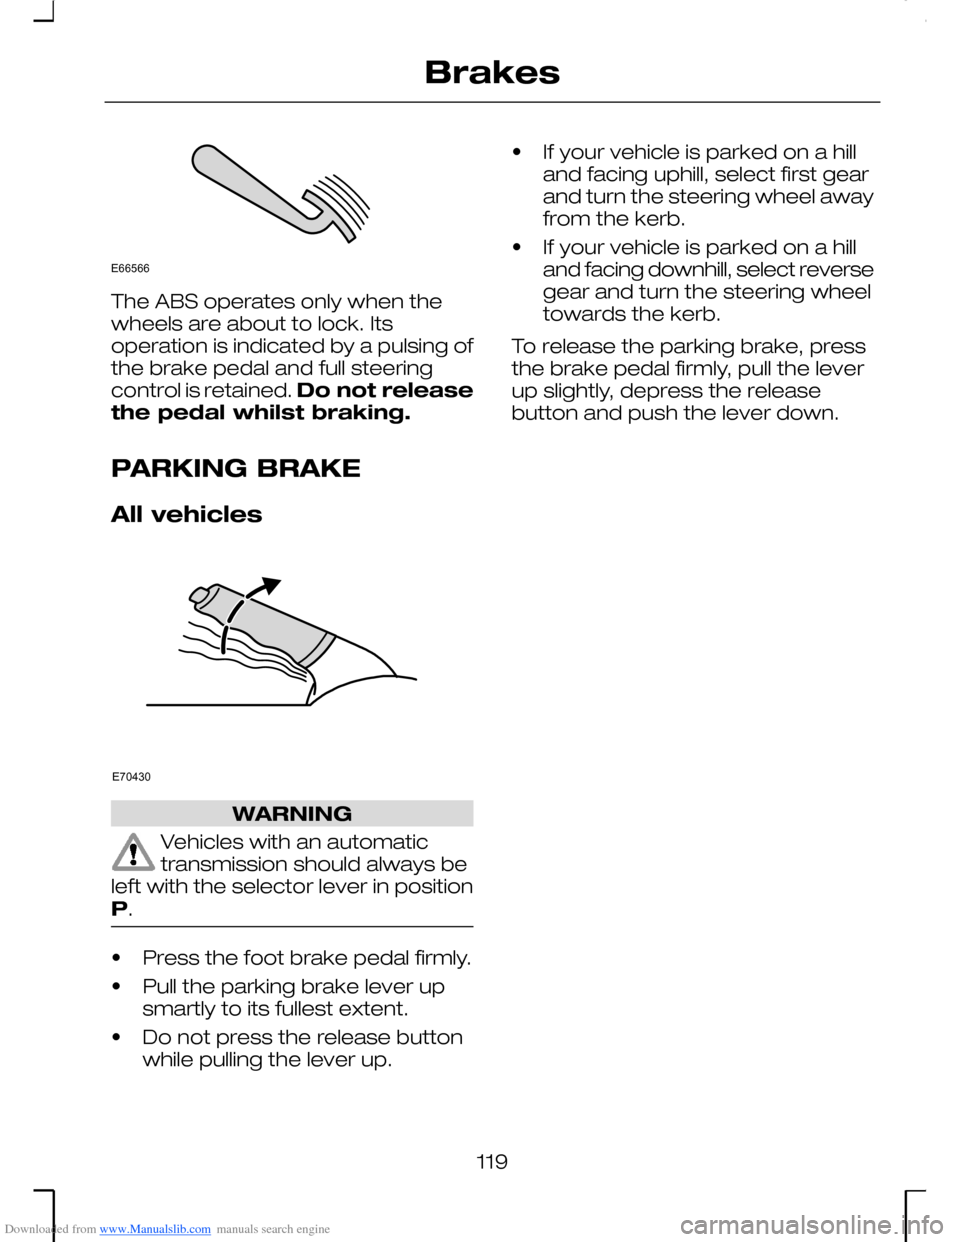
Downloaded from www.Manualslib.com manuals search engine The ABS operates only when thewheels are about to lock. Itsoperation is indicated by a pulsing ofthe brake pedal and full steeringcontrol is retained. Do not releasethe pedal whilst braking.
PARKING BRAKE
All vehicles
WARNING
Vehicles with an automatictransmission should always beleft with the selector lever in positionP.
•Press the foot brake pedal firmly.
•Pull the parking brake lever upsmartly to its fullest extent.
•Do not press the release buttonwhile pulling the lever up.
•If your vehicle is parked on a hilland facing uphill, select first gearand turn the steering wheel awayfrom the kerb.
•If your vehicle is parked on a hilland facing downhill, select reversegear and turn the steering wheeltowards the kerb.
To release the parking brake, pressthe brake pedal firmly, pull the leverup slightly, depress the releasebutton and push the lever down.
119
BrakesE66566 E70430
Page 146 of 198
Downloaded from www.Manualslib.com manuals search engine GENERAL INFORMATION
WARNINGS
The electronic ignition systemworks with high voltage. Nevertouch these components with theengine running or the ignitionswitched on.
The ignition must be switchedoff before working in the enginecompartment. Under some operatingconditions, the cooling system fanmay continue to run for severalminutes after the engine has beenswitched off. This is quite normal.Take care not to get any fingers orclothing such as ties or scarvescaught in the fan.
•Check and top up fluid levelsregularly.
•Check tyre pressure.
•Check brakes and lamps areoperating correctly.
•Check warning and indicatorlamps.
Every day check
•Operation of all exterior andinterior lamps and make sure thatall lenses are clean.
When filling up check
•Engine oil level
•Brake fluid level
•Washer fluid level
•Tyre pressures and condition (onlywhen cold)
Once a month check
•Coolant level (engine cold)
•Assemblies, pipes, hoses andreservoirs for leaks
•Power steering fluid level
•Operation of the air conditioning
•Operation of the parking brake
•Operation of the horn
144
Maintenance
Page 165 of 198
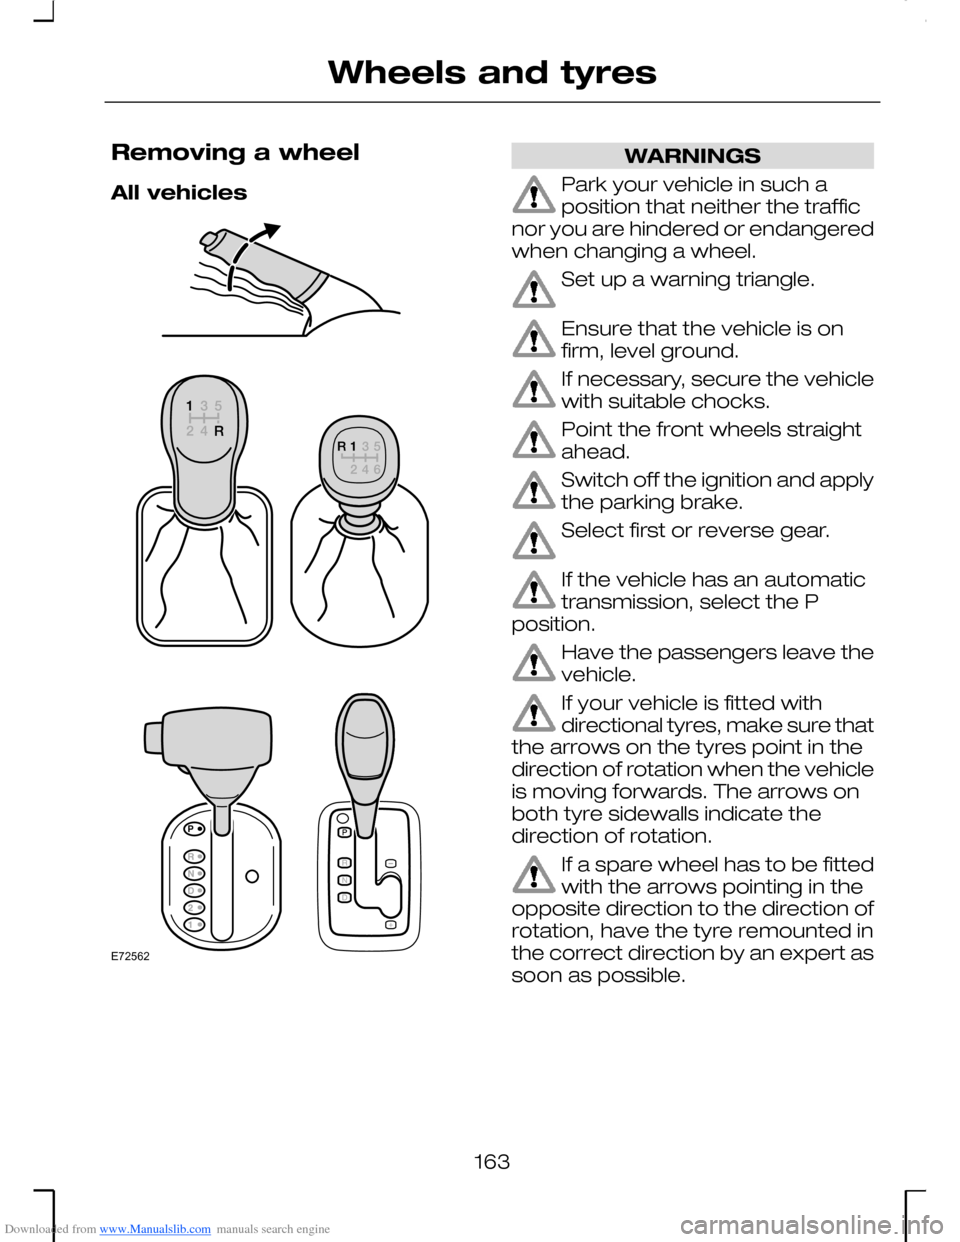
Downloaded from www.Manualslib.com manuals search engine Removing a wheel
All vehicles
WARNINGS
Park your vehicle in such aposition that neither the trafficnor you are hindered or endangeredwhen changing a wheel.
Set up a warning triangle.
Ensure that the vehicle is onfirm, level ground.
If necessary, secure the vehiclewith suitable chocks.
Point the front wheels straightahead.
Switch off the ignition and applythe parking brake.
Select first or reverse gear.
If the vehicle has an automatictransmission, select the Pposition.
Have the passengers leave thevehicle.
If your vehicle is fitted withdirectional tyres, make sure thatthe arrows on the tyres point in thedirection of rotation when the vehicleis moving forwards. The arrows onboth tyre sidewalls indicate thedirection of rotation.
If a spare wheel has to be fittedwith the arrows pointing in theopposite direction to the direction ofrotation, have the tyre remounted inthe correct direction by an expert assoon as possible.
163
Wheels and tyresE72562