Page 9 of 288
Vehicle Symbol Glossary
Power Windows
Front/Rear
Power Window Lockout
Child Safety Door
Lock/UnlockInterior Luggage
Compartment Release
Symbol
Panic AlarmEngine Oil
Engine CoolantEngine Coolant
Temperature
Do Not Open When HotBattery
Avoid Smoking, Flames,
or SparksBattery Acid
Explosive GasFan Warning
Power Steering FluidMaintain Correct Fluid
LevelMAX
MIN
Emission SystemEngine Air Filter
Passenger Compartment
Air FilterJack
Check Fuel CapLow Tire Pressure
Warning
2006 Freestyle(219)
Owners Guide (post-2002-fmt)
USA(fus)
Introduction
9
Page 84 of 288

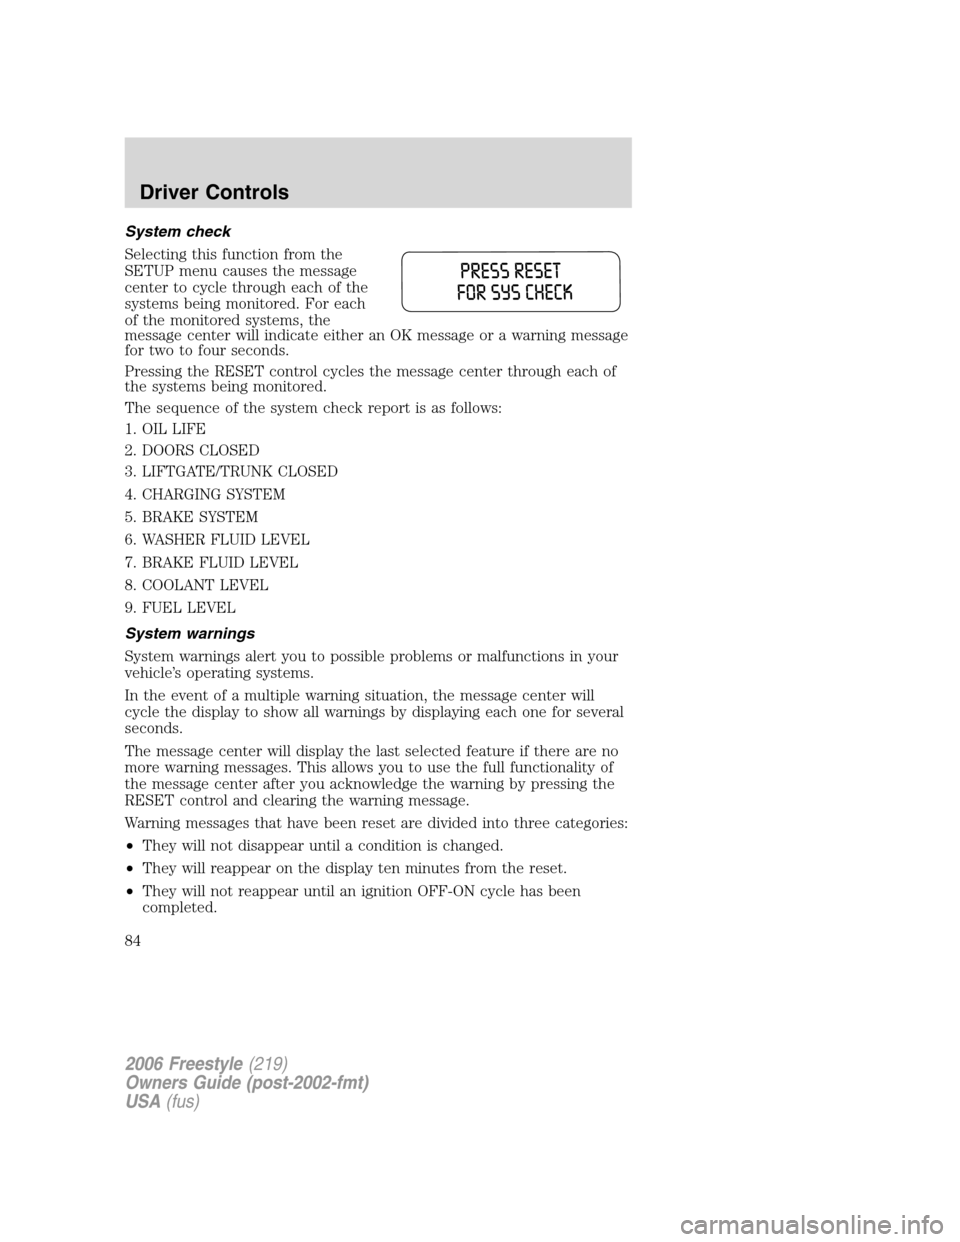
System check
Selecting this function from the
SETUP menu causes the message
center to cycle through each of the
systems being monitored. For each
of the monitored systems, the
message center will indicate either an OK message or a warning message
for two to four seconds.
Pressing the RESET control cycles the message center through each of
the systems being monitored.
The sequence of the system check report is as follows:
1. OIL LIFE
2. DOORS CLOSED
3. LIFTGATE/TRUNK CLOSED
4. CHARGING SYSTEM
5. BRAKE SYSTEM
6. WASHER FLUID LEVEL
7. BRAKE FLUID LEVEL
8. COOLANT LEVEL
9. FUEL LEVEL
System warnings
System warnings alert you to possible problems or malfunctions in your
vehicle’s operating systems.
In the event of a multiple warning situation, the message center will
cycle the display to show all warnings by displaying each one for several
seconds.
The message center will display the last selected feature if there are no
more warning messages. This allows you to use the full functionality of
the message center after you acknowledge the warning by pressing the
RESET control and clearing the warning message.
Warning messages that have been reset are divided into three categories:
•They will not disappear until a condition is changed.
•They will reappear on the display ten minutes from the reset.
•They will not reappear until an ignition OFF-ON cycle has been
completed.
2006 Freestyle(219)
Owners Guide (post-2002-fmt)
USA(fus)
Driver Controls
84
Page 85 of 288

This acts as a reminder that these warning conditions still exist within
the vehicle.
Warnings Status
Driver’s door ajar Warning cannot be reset (CLOSE
DOOR TO RESET) will be displayed
Passenger door ajar
Left rear door ajar
Right rear door ajar
Park brake engaged RELEASE PARK BRAKE will be
displayed
Low fuel level Warning returns after 10 minutes
Check charging system
Check brake system
Low brake fluid Warning returns after the ignition key
is turned from OFF to RUN
Liftgate ajar (if equipped)
Trunk ajar (if equipped)
Washer Fluid level low
Change oil soon
Oil change required
DRIVER’S DOOR AJAR.Displayed when the driver’s door is not
completely closed.
PASSENGER DOOR AJAR.Displayed when the passenger side door is
not completely closed.
LEFT REAR DOOR AJAR.Displayed when the left rear door is not
completely closed.
RIGHT REAR DOOR AJAR.Displayed when the right rear door is not
completely closed.
PARK BRAKE ENGAGED.Displayed when the park brake is engaged.
If the warning stays on after the park brake is off, contact your
authorized dealer as soon as possible.
LOW FUEL LEVEL.Displayed as an early reminder of a low fuel
condition.
CHECK CHARGING SYSTEM.Displayed when the electrical system is
not maintaining proper voltage. If you are operating electrical accessories
when the engine is idling at a low speed, turn off as many of the
electrical loads as possible. If the warning stays on or comes on when the
engine is operating at normal speeds, have the electrical system checked
as soon as possible.
2006 Freestyle(219)
Owners Guide (post-2002-fmt)
USA(fus)
Driver Controls
85
Page 86 of 288

CHECK BRAKE SYSTEM.Displayed when the brake system needs
servicing. If the warning stays on or continues to come on, contact your
authorized dealer as soon as possible.
LOW BRAKE FLUID.Indicates the brake fluid level is low and the
brake system should be inspected immediately. Refer toBrake fluid
reservoirin theMaintenance and Specificationschapter.
LIFTGATE AJAR (if equipped).Displayed when the liftgate is not
completely closed.
TRUNK AJAR (if equipped).Displayed when the trunk is not
completely closed.
LOW WASHER FLUID LEVEL.Indicates the washer fluid reservoir is
less than one quarter full. Check the washer fluid level. Refer to
Windshield washer fluidin theMaintenance and Specifications
chapter.
CHANGE OIL SOON/OIL CHANGE REQUIRED.Oil Life XX%,
CHANGE SOON/OIL LIFE 0%, CHANGE OIL, OIL LIFE XX%, CHANGE
SOON displayed when the engine oil life remaining is 10 percent and
again when the engine oil life remaining is between 5% and 1%. When oil
life left reaches 0%, the OIL LIFE 0%, CHANGE OIL message will be
displayed.
An oil change is required whenever indicated by the message center and
according to the recommended maintenance schedule. USE ONLY
RECOMMENDED ENGINE OILS.
To reset the oil monitoring system to 100% after each oil change
[approximately 5,000 miles (8,000 km) or 180 days] perform the
following:
To reset the oil life to 100% with system warnings CHANGE OIL
SOON/OIL CHANGE REQUIRED displayed:
1. Select this function from the
SETUP control for current display
mode.
2006 Freestyle(219)
Owners Guide (post-2002-fmt)
USA(fus)
Driver Controls
86
Page 87 of 288
2. Press and release the RESET
control to display “IF NEW OIL
HOLD RESET”.
3. Press and hold the RESET
control to display OIL LIFE SET TO
100%. Your oil life is now reset.
To set the oil life to 100% without system warnings displayed:
Press SETUP to display “PRESS
RESET FOR SYS CHECK”.
1. Press RESET to start the System
Check which will display “OIL LIFE
XX% RESET IF NEW”.
2. Press and hold the RESET until
“IF NEW OIL HOLD RESET” is
displayed, then release.
3. Press and hold RESET control
again until OIL LIFE SET TO 100%
is displayed. Your oil life is now
reset.
2006 Freestyle(219)
Owners Guide (post-2002-fmt)
USA(fus)
Driver Controls
87
Page 246 of 288
To prolong the life of the wiper blades, it is highly recommended to
scrape off the ice on the windshield before turning on the wipers. The
layer of ice has many sharp edges and can damage the micro edge of the
wiper rubber element.
ENGINE OIL
Checking the engine oil
Refer to thescheduled maintenance informationfor the appropriate
intervals for checking the engine oil.
1. Make sure the vehicle is on level ground.
2. Turn the engine off and wait a few minutes for the oil to drain into the
oil pan.
3. Set the parking brake and ensure the gearshift is securely latched in P
(Park).
4. Open the hood. Protect yourself from engine heat.
5. Locate and carefully remove the
engine oil level indicator (dipstick).
2006 Freestyle(219)
Owners Guide (post-2002-fmt)
USA(fus)
Maintenance and Specifications
246
Page 247 of 288

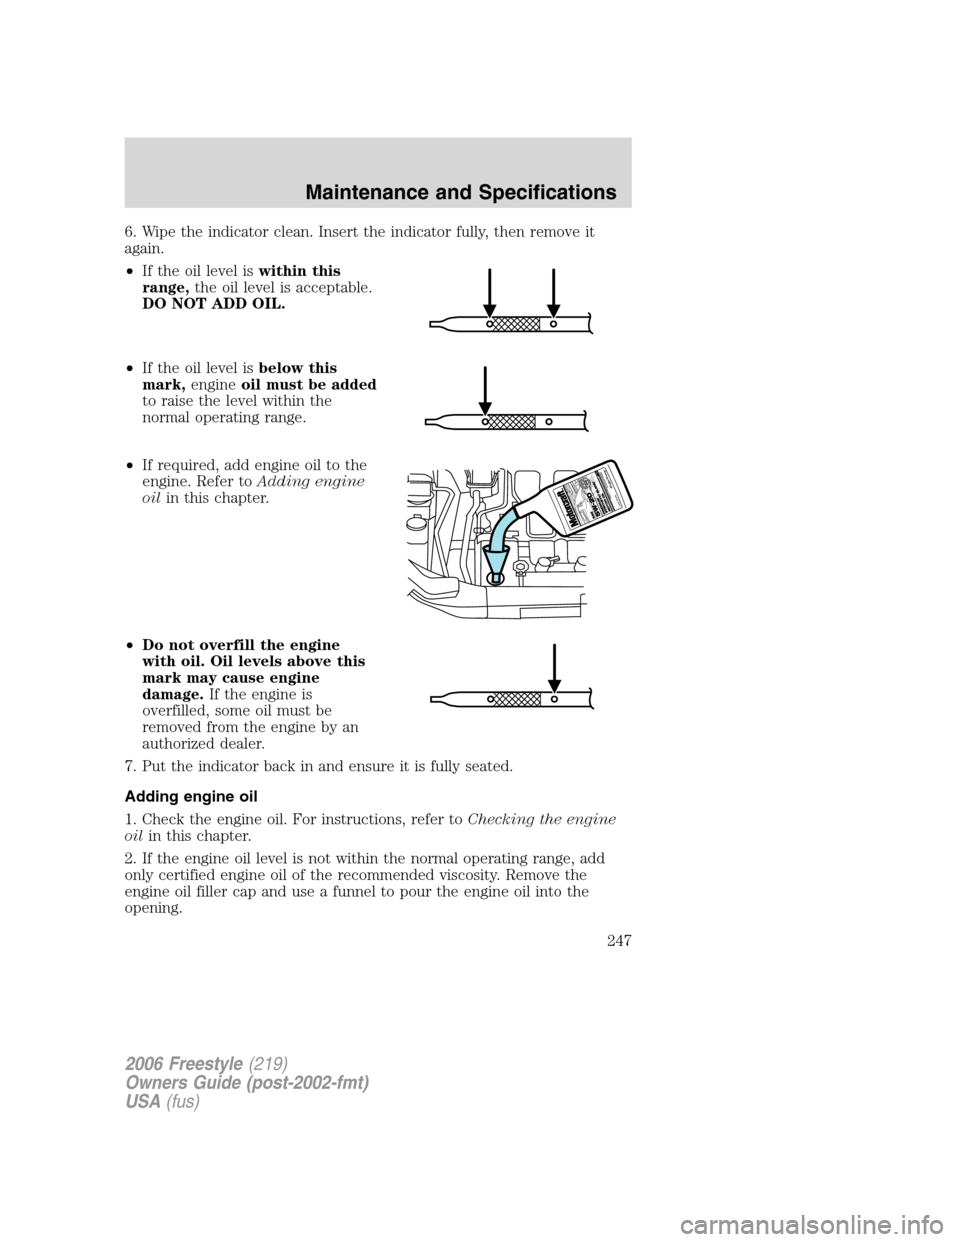
6. Wipe the indicator clean. Insert the indicator fully, then remove it
again.
•If the oil level iswithin this
range,the oil level is acceptable.
DO NOT ADD OIL.
•If the oil level isbelow this
mark,engineoil must be added
to raise the level within the
normal operating range.
•If required, add engine oil to the
engine. Refer toAdding engine
oilin this chapter.
•Do not overfill the engine
with oil. Oil levels above this
mark may cause engine
damage.If the engine is
overfilled, some oil must be
removed from the engine by an
authorized dealer.
7. Put the indicator back in and ensure it is fully seated.
Adding engine oil
1. Check the engine oil. For instructions, refer toChecking the engine
oilin this chapter.
2. If the engine oil level is not within the normal operating range, add
only certified engine oil of the recommended viscosity. Remove the
engine oil filler cap and use a funnel to pour the engine oil into the
opening.
2006 Freestyle(219)
Owners Guide (post-2002-fmt)
USA(fus)
Maintenance and Specifications
247
Page 248 of 288

3. Recheck the engine oil level. Make sure the oil level is not above the
normal operating range on the engine oil level indicator (dipstick).
4. Install the indicator and ensure it is fully seated.
5. Fully install the engine oil filler cap by turning the filler cap clockwise
until it stops.
To avoid possible oil loss, DO NOT operate the vehicle with the
engine oil level indicator and/or the engine oil filler cap removed.
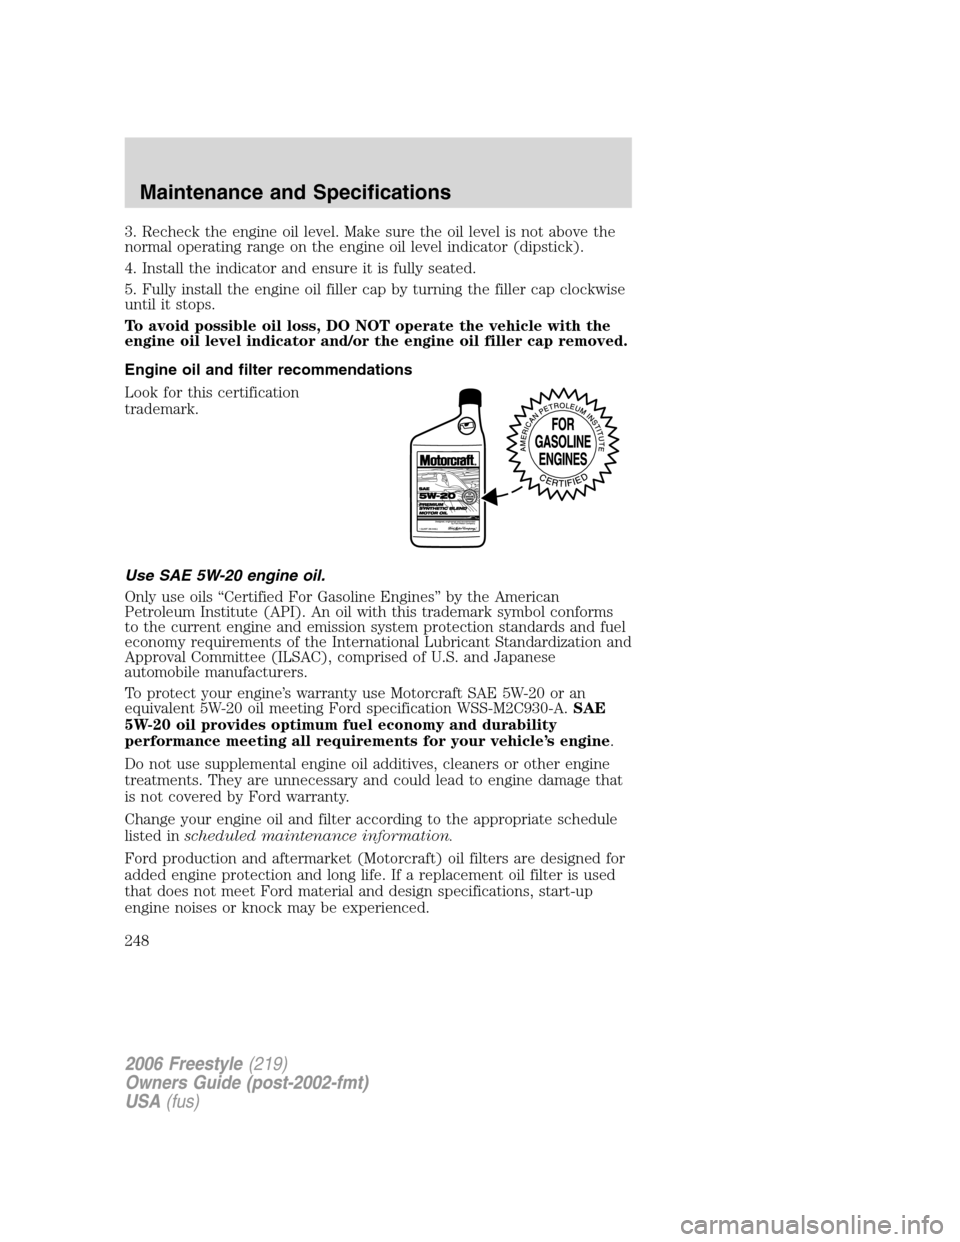
Engine oil and filter recommendations
Look for this certification
trademark.
Use SAE 5W-20 engine oil.
Only use oils “Certified For Gasoline Engines” by the American
Petroleum Institute (API). An oil with this trademark symbol conforms
to the current engine and emission system protection standards and fuel
economy requirements of the International Lubricant Standardization and
Approval Committee (ILSAC), comprised of U.S. and Japanese
automobile manufacturers.
To protect your engine’s warranty use Motorcraft SAE 5W-20 or an
equivalent 5W-20 oil meeting Ford specification WSS-M2C930-A.SAE
5W-20 oil provides optimum fuel economy and durability
performance meeting all requirements for your vehicle’s engine.
Do not use supplemental engine oil additives, cleaners or other engine
treatments. They are unnecessary and could lead to engine damage that
is not covered by Ford warranty.
Change your engine oil and filter according to the appropriate schedule
listed inscheduled maintenance information.
Ford production and aftermarket (Motorcraft) oil filters are designed for
added engine protection and long life. If a replacement oil filter is used
that does not meet Ford material and design specifications, start-up
engine noises or knock may be experienced.
2006 Freestyle(219)
Owners Guide (post-2002-fmt)
USA(fus)
Maintenance and Specifications
248