Page 30 of 288
7.MENU/MODEcontrol
In DVD playback mode, press to access the disc menu.
In stop mode, press to change media types (e.g. AM, FM, CD...)
8.VOL (VOLUME)control
Press (+) to increase or (-) to decrease the volume level.
Dual play mode
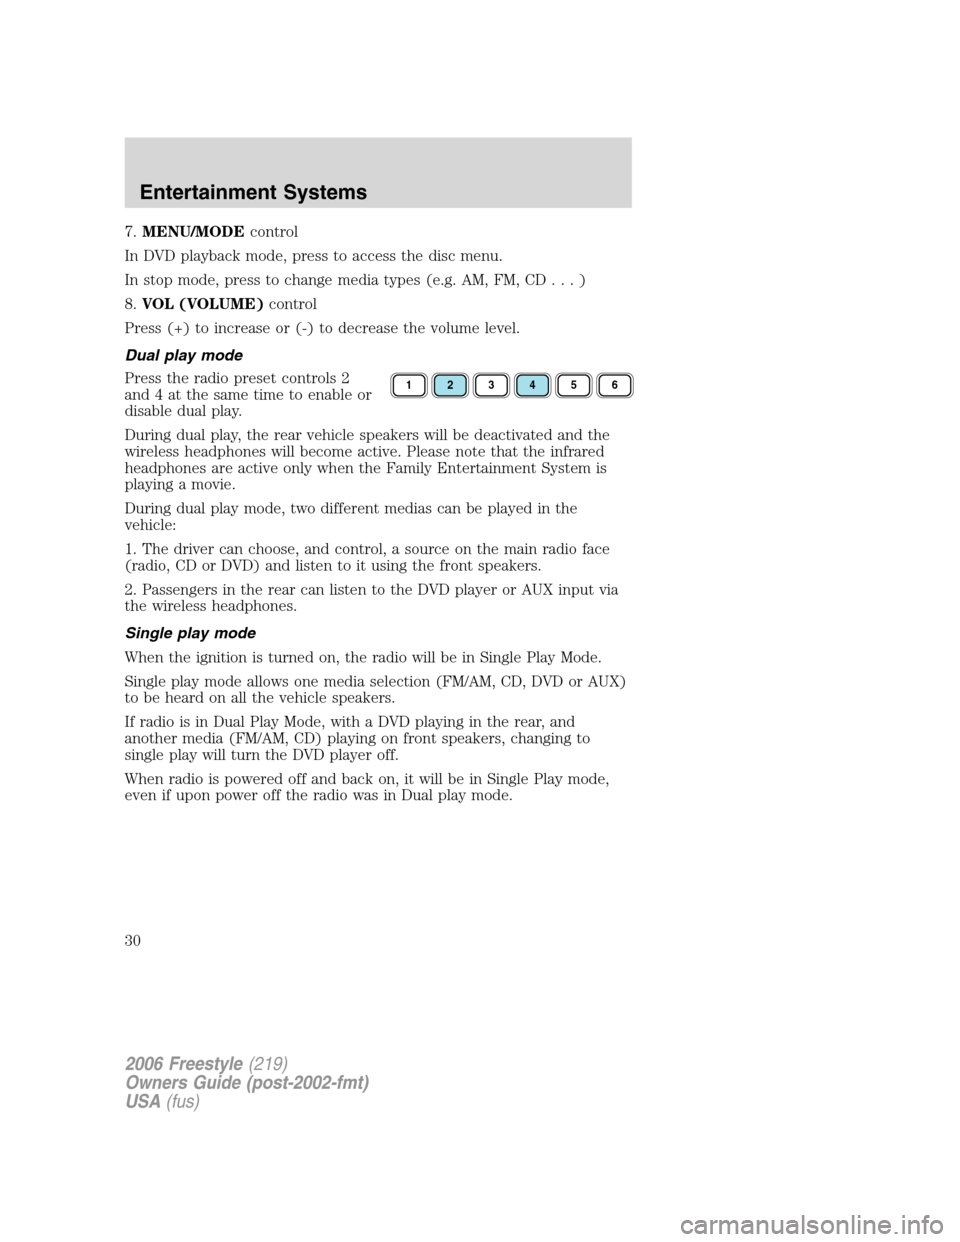
Press the radio preset controls 2
and 4 at the same time to enable or
disable dual play.
During dual play, the rear vehicle speakers will be deactivated and the
wireless headphones will become active. Please note that the infrared
headphones are active only when the Family Entertainment System is
playing a movie.
During dual play mode, two different medias can be played in the
vehicle:
1. The driver can choose, and control, a source on the main radio face
(radio, CD or DVD) and listen to it using the front speakers.
2. Passengers in the rear can listen to the DVD player or AUX input via
the wireless headphones.
Single play mode
When the ignition is turned on, the radio will be in Single Play Mode.
Single play mode allows one media selection (FM/AM, CD, DVD or AUX)
to be heard on all the vehicle speakers.
If radio is in Dual Play Mode, with a DVD playing in the rear, and
another media (FM/AM, CD) playing on front speakers, changing to
single play will turn the DVD player off.
When radio is powered off and back on, it will be in Single Play mode,
even if upon power off the radio was in Dual play mode.
123456
2006 Freestyle(219)
Owners Guide (post-2002-fmt)
USA(fus)
Entertainment Systems
30
Page 34 of 288
Playback and format
•The DVD player of your Family Entertainment DVD System can only
be used in the “playback” mode. (The DVD player does not offer a
record feature.)
•The system plays standard CDs or DVDs, CDR/RW, DVDRs, VCDs and
MP3 media.
Family Entertainment DVD System protection circuits
High temperature sensor circuit
•Excessively high temperatures may cause damage to the DVD player.
•When the temperature of the DVD player becomes too hot, the high
temperature sensor circuit stops machine operation. DVD/CD HOT will
be displayed on the radio display.
•The DVD player will remain disabled until it cools to a normal
operating temperature. The length of time for the system to cool will
vary depending on the climate and operating conditions.
Operating
•Only use the system when the vehicle is started for optimal
performance and to maintain battery life.
•If the Family Entertainment System (FES) is playing and the ignition
is turned OFF, the system will turn off, and suspend playback. When
the ignition is turned on again, playback will begin from the last
selected media source when the play control is pressed.
•To disable the DVD player rear controls, simultaneously press the 3
and 5 memory presets on the radio face. To enable the DVD player
rear controls again, press the 3 and 5 presets simultaneously.
•The DVD player is only capable of reading the bottom side of a disc.
When inserting a single sided disc, the label should be up. For a
multi-sided disc, the desired play side should be down when the disc
is inserted into the player.
•DVDs are formatted by regions. This DVD system can only play region
1 DVDs (DVDs manufactured for U.S. and Canada).
This unit is designed to play commercially pressed 4.75 (12 cm)
audio compact discs and DVDs only. Due to technical
incompatibility, certain recordable and re-recordable compact
discs may not function correctly when used in Ford DVD/CD
players. Irregular shaped discs, discs with a scratch protection
2006 Freestyle(219)
Owners Guide (post-2002-fmt)
USA(fus)
Entertainment Systems
34
Page 35 of 288
film attached, and discs with homemade paper (adhesive) labels
should not be inserted into the player. The label may peel and
cause the disc to become jammed. It is recommended that
homemade discs be identified with permanent felt tip marker
rather than adhesive labels. Ball point pens may damage discs.
Please contact your dealer for further information.
Inserting a CD/DVD
With the ignition ON, inserting a CD/DVD into the DVD player
automatically turns ON the FES and playback should begin immediately.
The counter is automatically reset to 0:00:00 when any disc is inserted
into the FES.
Removing a CD/DVD (while playing)
1. Press the STOP/EJECT control to stop playback if a disc is playing.
2. Press the STOP/EJECT control again to eject the CD/DVD.
If the CD/DVD is not removed within the allotted time, the system will
pull the CD/DVD back into the system for safety purposes.
If the CD/DVD will not eject from the system, press and hold the EJECT
control for approximately 2 seconds. The disc should eject whether the
vehicle ignition is ON or OFF.
Playing a video game/auxiliary device
1. Connect the video line from your video game device to the YELLOW
auxiliary input jack.
2. Connect the left and right audio lines to the WHITE (left) and RED
(right) auxiliary input jacks respectively.
3. Press the MODE control repeatedly until DVD/CD AUX (no disc in
player) or DVD/CD play (disc in player) illuminates in the radio display.
If a disc is in the system, playback should begin. To enable the aux
inputs, press the STOP control or press the AUX control on the DVD
player.
2006 Freestyle(219)
Owners Guide (post-2002-fmt)
USA(fus)
Entertainment Systems
35
Page 51 of 288
17.Driver temperature control:Press to increase/decrease the
temperature on the driver side of the cabin. Sets the passenger side
temperature also when DUAL is disengaged. The recommended vehicle
cabin setting is between 72°F (22°C) and 75°F (24°C).
18.AUTO:Press to engage automatic temperature control. Select the
desired temperature using the temperature control. The system will
automatically determine fan speed, airflow location, A/C on or off, and
outside or recirculated air, to heat or cool the vehicle to reach the
desired temperature.
19.REAR:Press to enable the control located in the rear seat. Press
again to turn the auxiliary system OFF.
AUXILIARY CLIMATE CONTROL (IF EQUIPPED)
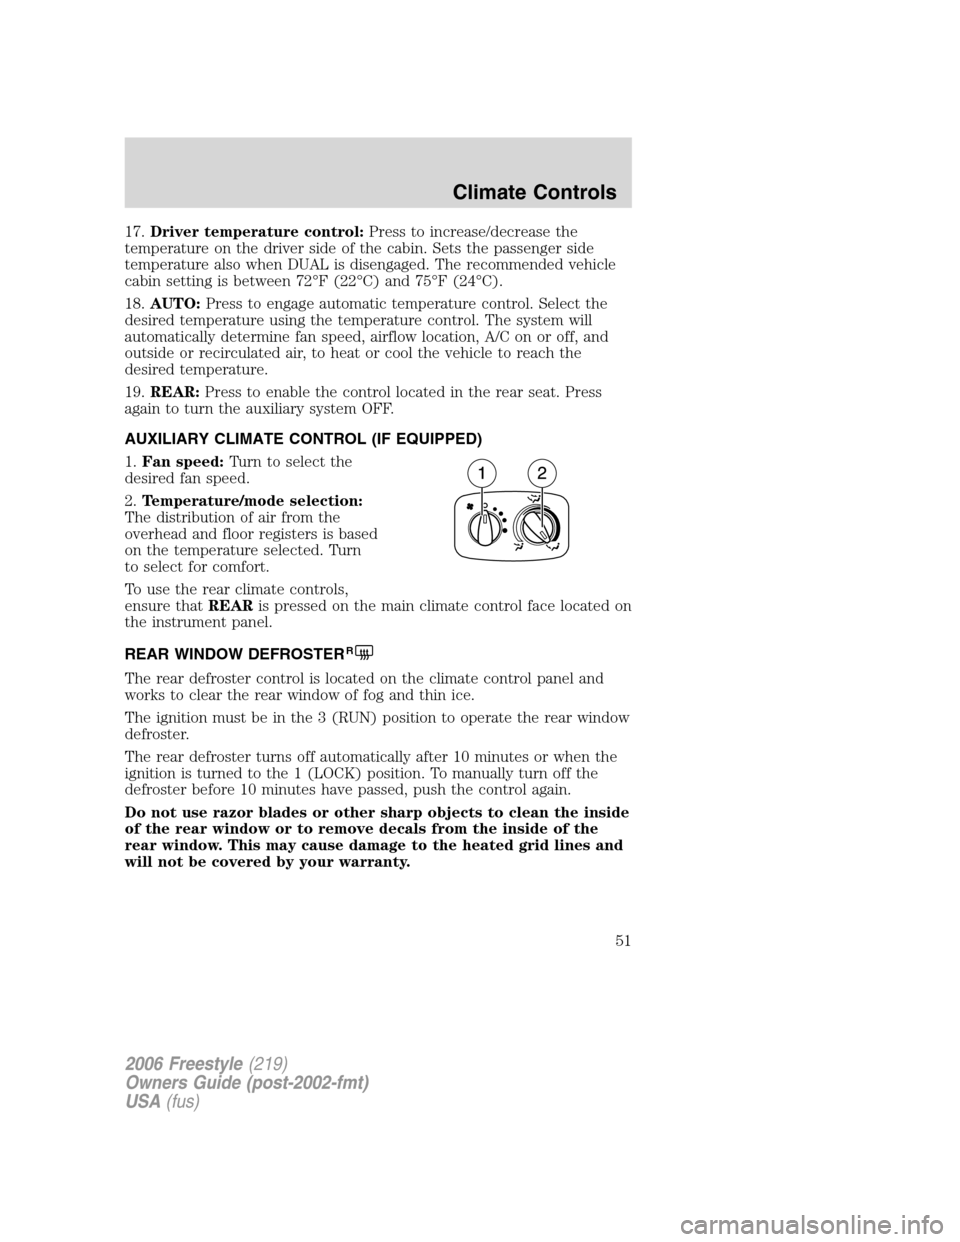
1.Fan speed:Turn to select the
desired fan speed.
2.Temperature/mode selection:
The distribution of air from the
overhead and floor registers is based
on the temperature selected. Turn
to select for comfort.
To use the rear climate controls,
ensure thatREARis pressed on the main climate control face located on
the instrument panel.
REAR WINDOW DEFROSTER
R
The rear defroster control is located on the climate control panel and
works to clear the rear window of fog and thin ice.
The ignition must be in the 3 (RUN) position to operate the rear window
defroster.
The rear defroster turns off automatically after 10 minutes or when the
ignition is turned to the 1 (LOCK) position. To manually turn off the
defroster before 10 minutes have passed, push the control again.
Do not use razor blades or other sharp objects to clean the inside
of the rear window or to remove decals from the inside of the
rear window. This may cause damage to the heated grid lines and
will not be covered by your warranty.
2006 Freestyle(219)
Owners Guide (post-2002-fmt)
USA(fus)
Climate Controls
51
Page 52 of 288
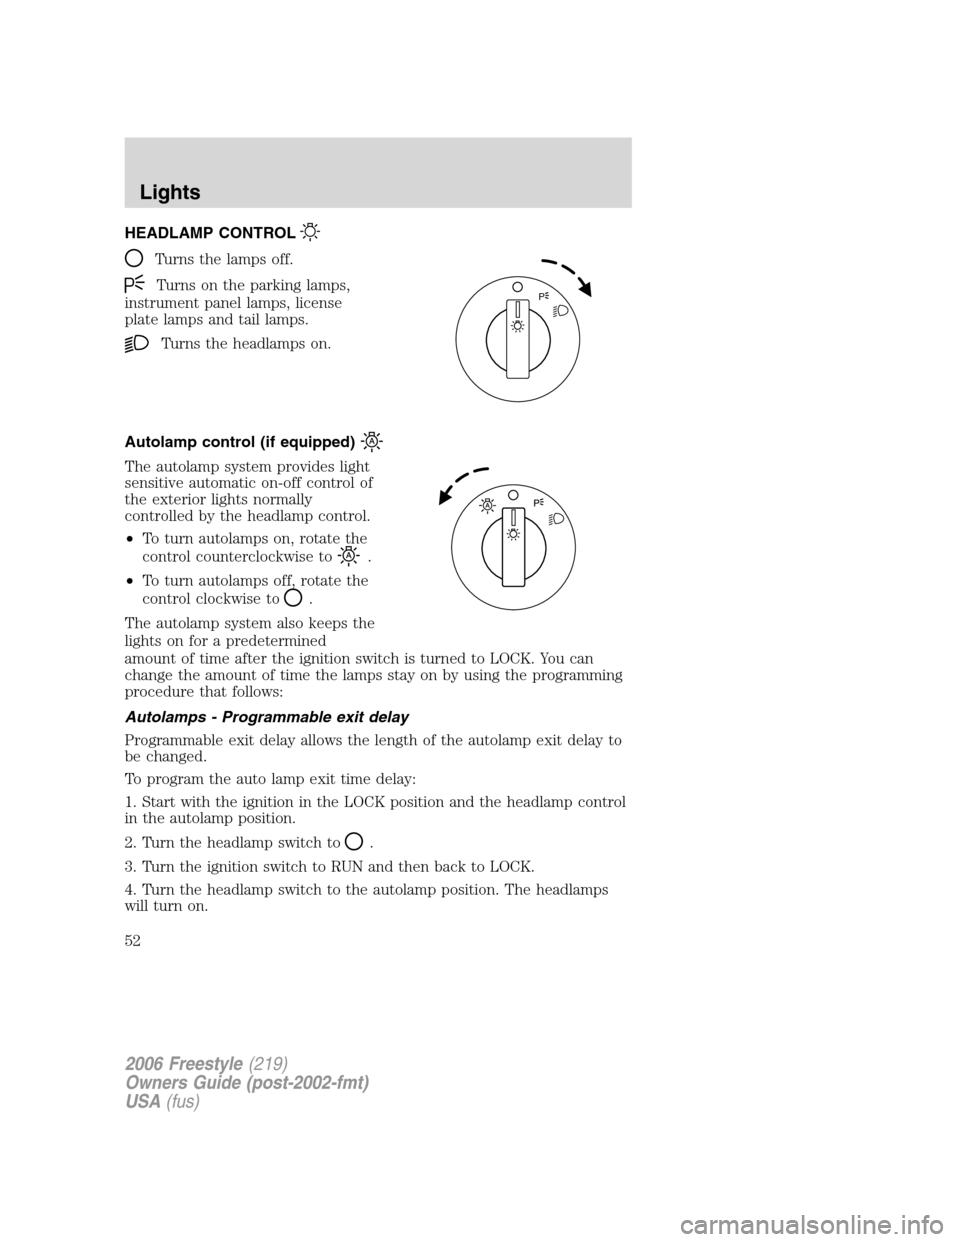
HEADLAMP CONTROL
Turns the lamps off.
Turns on the parking lamps,
instrument panel lamps, license
plate lamps and tail lamps.
Turns the headlamps on.
Autolamp control (if equipped)
The autolamp system provides light
sensitive automatic on-off control of
the exterior lights normally
controlled by the headlamp control.
•To turn autolamps on, rotate the
control counterclockwise to
.
•To turn autolamps off, rotate the
control clockwise to
.
The autolamp system also keeps the
lights on for a predetermined
amount of time after the ignition switch is turned to LOCK. You can
change the amount of time the lamps stay on by using the programming
procedure that follows:
Autolamps - Programmable exit delay
Programmable exit delay allows the length of the autolamp exit delay to
be changed.
To program the auto lamp exit time delay:
1. Start with the ignition in the LOCK position and the headlamp control
in the autolamp position.
2. Turn the headlamp switch to
.
3. Turn the ignition switch to RUN and then back to LOCK.
4. Turn the headlamp switch to the autolamp position. The headlamps
will turn on.
P
2006 Freestyle(219)
Owners Guide (post-2002-fmt)
USA(fus)
Lights
52
Page 53 of 288
5. Wait the desired amount of time for the exit delay you want (up to
three minutes), then turn the headlamp switch to
. The headlamps
will turn off.
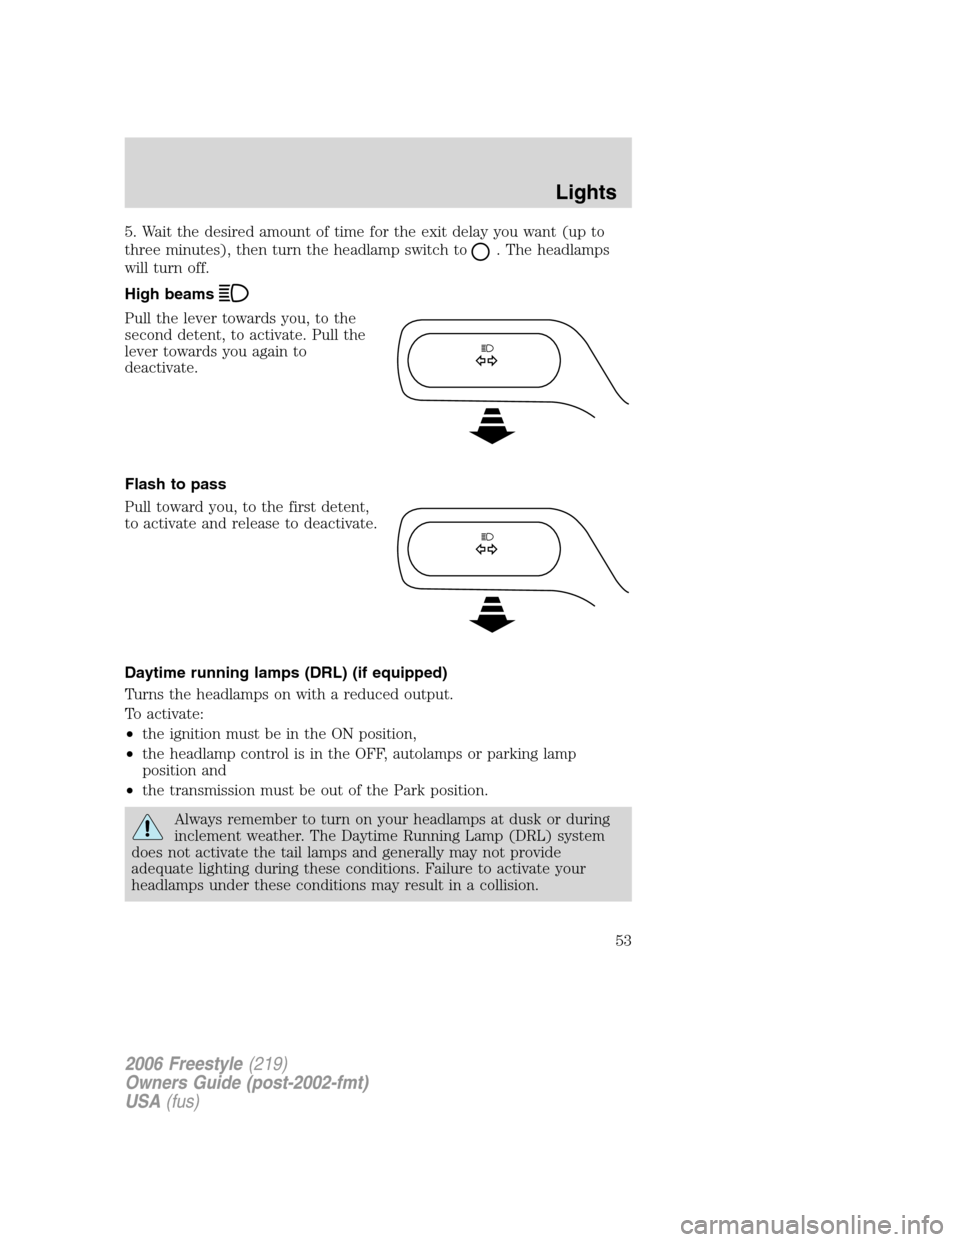
High beams
Pull the lever towards you, to the
second detent, to activate. Pull the
lever towards you again to
deactivate.
Flash to pass
Pull toward you, to the first detent,
to activate and release to deactivate.
Daytime running lamps (DRL) (if equipped)
Turns the headlamps on with a reduced output.
To activate:
•the ignition must be in the ON position,
•the headlamp control is in the OFF, autolamps or parking lamp
position and
•the transmission must be out of the Park position.
Always remember to turn on your headlamps at dusk or during
inclement weather. The Daytime Running Lamp (DRL) system
does not activate the tail lamps and generally may not provide
adequate lighting during these conditions. Failure to activate your
headlamps under these conditions may result in a collision.
2006 Freestyle(219)
Owners Guide (post-2002-fmt)
USA(fus)
Lights
53
Page 54 of 288
Foglamp control (if equipped)
With the ignition on, the foglamps
can be turned on when the
headlamp control is pulled toward
you and is in any of the following
positions:
•Parking lamps
•Low beams
•Autolamps (when active)
The foglamps will not operate when
the high beams are active.
PANEL DIMMER CONTROL
Use to adjust the brightness of the
instrument panel and all applicable
switches in the vehicle during
headlamp and parklamp operation.
Move the control to the full upright
position, past detent, to turn on the
interior lamps.
AIMING THE HEADLAMPS
The headlamps on your vehicle are properly aimed at the assembly plant.
If your vehicle has been in an accident the alignment of your headlamps
should be checked by your authorized dealer.
Vertical aim adjustment
1. Park the vehicle directly in front of a wall or screen on a level surface,
approximately 25 feet (7.6 meters) away.
2006 Freestyle(219)
Owners Guide (post-2002-fmt)
USA(fus)
Lights
54
Page 60 of 288
Replacing high-mount brake lamp bulbs
1. Make sure the ignition control is
in the OFF position.
2. Remove the two screws.
3. Unclip the bulb holder from the
reflector.
4. Pull the bulb straight out.
Install in reverse order.
Replacing license plate lamp bulbs
1. Make sure the headlamp switch is
in the OFF position.
2. Remove the screw from the
license plate lamp assembly and pull
it down.
3. Remove bulb socket by turning
counterclockwise.
4. Carefully pull the bulb out from
the socket.
Install new bulb(s) in reverse order.
Replacing foglamp bulbs
1. Make sure the foglamp switch is
in the OFF position.
2. Remove the bulb socket from the
foglamp by turning
counterclockwise.
3. Disconnect the electrical
connector.
Install the new bulb in reverse order.
2006 Freestyle(219)
Owners Guide (post-2002-fmt)
USA(fus)
Lights
60