Page 68 of 288

AUTOMATIC DIMMING INSIDE REAR VIEW MIRROR (IF EQUIPPED)
Your vehicle may be equipped with
an inside rear view mirror with an
auto-dimming function. The
electronic day/night mirror will
change from the normal (high
reflective) state to the non-glare
(darkened) state when bright lights (glare) reach the mirror. When the
mirror detects bright light from behind the vehicle, it will automatically
adjust (darken) to minimize glare.
The mirror will automatically return to the normal state whenever the
vehicle is placed in R (Reverse) to ensure a bright clear view when
backing up.
Do not block the sensor on the backside of the inside rear view mirror
since this may impair proper mirror performance.
EXTERIOR MIRRORS
Power side view mirrors
To adjust your mirrors:
1. Rotate the control clockwise to
adjust the right mirror and rotate
the control counterclockwise to
adjust the left mirror.
2. Move the control in the direction
you wish to tilt the mirror.
3. Return to the center position to
lock mirrors in place.
Fold-away mirrors
Pull the side mirrors in carefully
when driving through a narrow
space, like an automatic car wash.
2006 Freestyle(219)
Owners Guide (post-2002-fmt)
USA(fus)
Driver Controls
68
Page 209 of 288
The fuses are coded as follows.
Fuse/Relay
LocationFuse Amp
RatingPassenger Compartment Fuse
Panel Description
F1 20A High beams
F2 15A Interior lamps (Courtesy and
demand lamps), Delayed
accessory (Power windows and
moonroof)
F3 25A Access/Security (Power door lock
actuators, Liftgate lock actuator,
Liftgate solenoid)
F4 15A Adjustable pedal switch
F5 20A Horns
F6 20A Audio (Subwoofer)
F7 7.5A Power/Keep Alive Memory
(KAM): Cluster and Powertrain
Control Module (PCM), Climate
control, Analog clock
F8 15A Park lamps, Side markers, Trailer
tow protect
F9 20A Cigar lighter, Data Link Connector
(DLC)
F10 7.5A Mirrors and memory module
F11 20A Audio, Family Entertainment
System (FES)
F12 10A Back-up lamps, Electrochromatic
mirror, Reverse Sensing System
(RSS), Trailer tow protect
F13 7.5A Audio
F14 7.5A Starter relay coil, PCM
2006 Freestyle(219)
Owners Guide (post-2002-fmt)
USA(fus)
Roadside Emergencies
209
Page 217 of 288
1. Remove the carpeted floor panel
located in the rear of the vehicle,
remove the wing nut that secures
the spare tire by turning it
counterclockwise.
2. Lift and remove the spare tire
from the trunk.
3. Remove the second wing nut that
secures the jack retention bracket
by turning it counterclockwise,
remove the jack kit from the
vehicle.
4. Remove the jack and the wrench
from the felt bag. Fold down the
wrench socket to use to loosen the
lug nuts and to operate the jack.
Tire change procedure
1. Park on a level surface, activate
hazard flashers and set the parking
brake.
When one of the front wheels is off the ground, the transaxle
alone will not prevent the vehicle from moving or slipping off the
jack, even if the vehicle is in P (Park).
2006 Freestyle(219)
Owners Guide (post-2002-fmt)
USA(fus)
Roadside Emergencies
217
Page 218 of 288
To help prevent the vehicle from moving when you change a tire,
be sure to place the transaxle in P (Park), set the parking brake
and block (in both directions) the wheel that is diagonally opposite
(other side and end of the vehicle) to the tire being changed.
If the vehicle slips off the jack, you or someone else could be
seriously injured.
2. Place gearshift lever in P (Park),
turn engine OFF, and block the
diagonally opposite wheel.
3. Remove wheel cover (if
equipped) with the lug wrench tip
and loosen each wheel lug nut
one-half turn counterclockwise but
do not remove them until the wheel
is raised off the ground.
2006 Freestyle(219)
Owners Guide (post-2002-fmt)
USA(fus)
Roadside Emergencies
218
Page 219 of 288
4. Put the jack in the jack notch
next to the tire you are changing.
Turn the jack handle clockwise until
the wheel is completely off the
ground.
5. Remove the lug nuts with the lug wrench.
6. Replace the flat tire with the spare tire, making sure the valve stem is
facing outward. Reinstall the lug nuts until the wheel is snug against the
hub. Do not fully tighten the lug nuts until the wheel has been lowered.
7. Lower the wheel by turning the jack handle counterclockwise.
8. Remove the jack and fully tighten
the lug nuts in the order shown.
Refer toWheel lug nut torque
specificationslater in this chapter
for the proper lug nut torque
specification.
9. Install the wheel cover (if
equipped). The wheel cover will
only install if the Ford/Mercury logo
is aligned over the valve stem on the
wheel.
1
4 3
2 5
2006 Freestyle(219)
Owners Guide (post-2002-fmt)
USA(fus)
Roadside Emergencies
219
Page 221 of 288

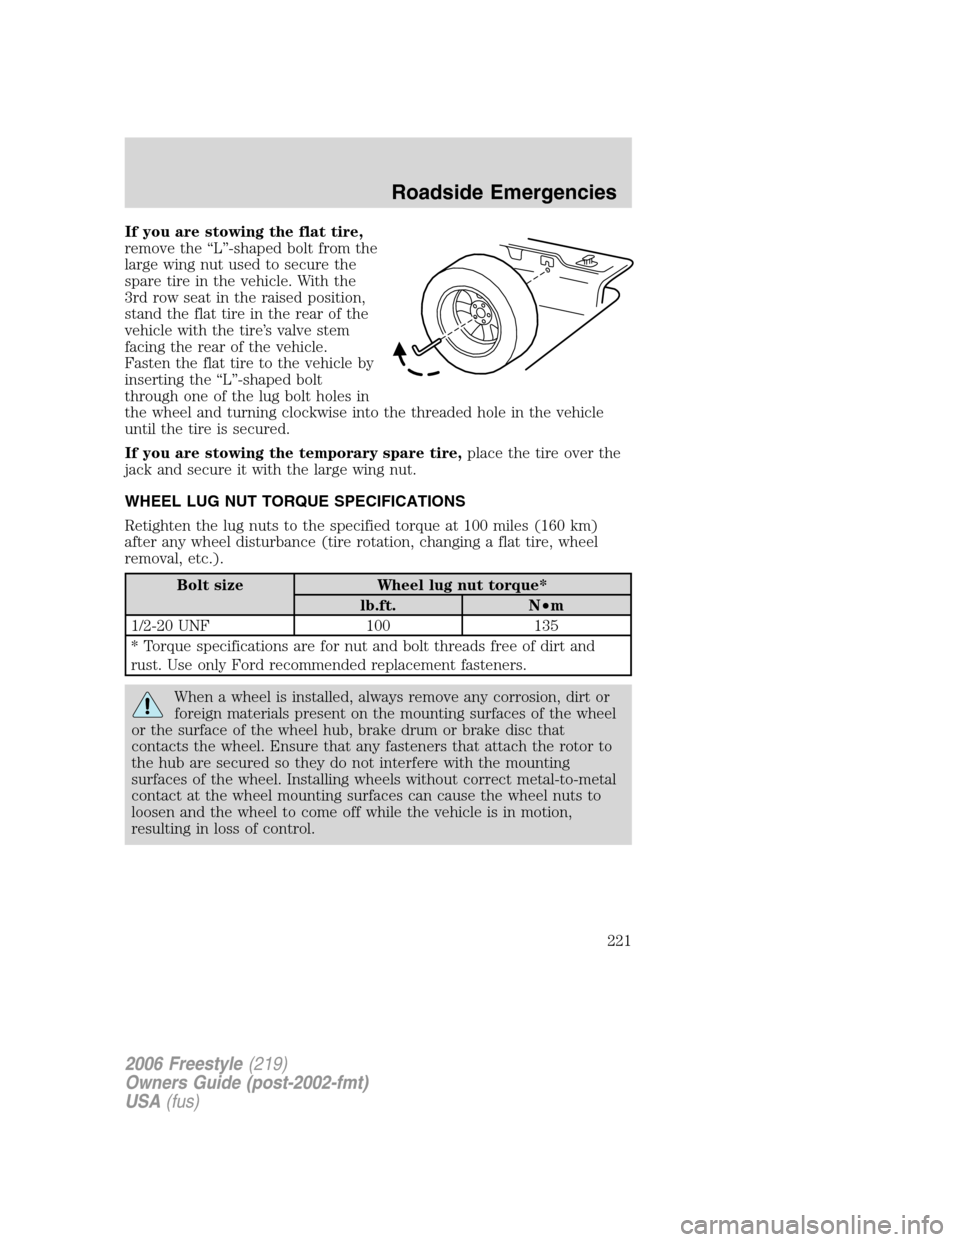
If you are stowing the flat tire,
remove the “L”-shaped bolt from the
large wing nut used to secure the
spare tire in the vehicle. With the
3rd row seat in the raised position,
stand the flat tire in the rear of the
vehicle with the tire’s valve stem
facing the rear of the vehicle.
Fasten the flat tire to the vehicle by
inserting the “L”-shaped bolt
through one of the lug bolt holes in
the wheel and turning clockwise into the threaded hole in the vehicle
until the tire is secured.
If you are stowing the temporary spare tire,place the tire over the
jack and secure it with the large wing nut.
WHEEL LUG NUT TORQUE SPECIFICATIONS
Retighten the lug nuts to the specified torque at 100 miles (160 km)
after any wheel disturbance (tire rotation, changing a flat tire, wheel
removal, etc.).
Bolt size Wheel lug nut torque*
lb.ft. N•m
1/2-20 UNF 100 135
* Torque specifications are for nut and bolt threads free of dirt and
rust. Use only Ford recommended replacement fasteners.
When a wheel is installed, always remove any corrosion, dirt or
foreign materials present on the mounting surfaces of the wheel
or the surface of the wheel hub, brake drum or brake disc that
contacts the wheel. Ensure that any fasteners that attach the rotor to
the hub are secured so they do not interfere with the mounting
surfaces of the wheel. Installing wheels without correct metal-to-metal
contact at the wheel mounting surfaces can cause the wheel nuts to
loosen and the wheel to come off while the vehicle is in motion,
resulting in loss of control.
2006 Freestyle(219)
Owners Guide (post-2002-fmt)
USA(fus)
Roadside Emergencies
221
Page 248 of 288

3. Recheck the engine oil level. Make sure the oil level is not above the
normal operating range on the engine oil level indicator (dipstick).
4. Install the indicator and ensure it is fully seated.
5. Fully install the engine oil filler cap by turning the filler cap clockwise
until it stops.
To avoid possible oil loss, DO NOT operate the vehicle with the
engine oil level indicator and/or the engine oil filler cap removed.
Engine oil and filter recommendations
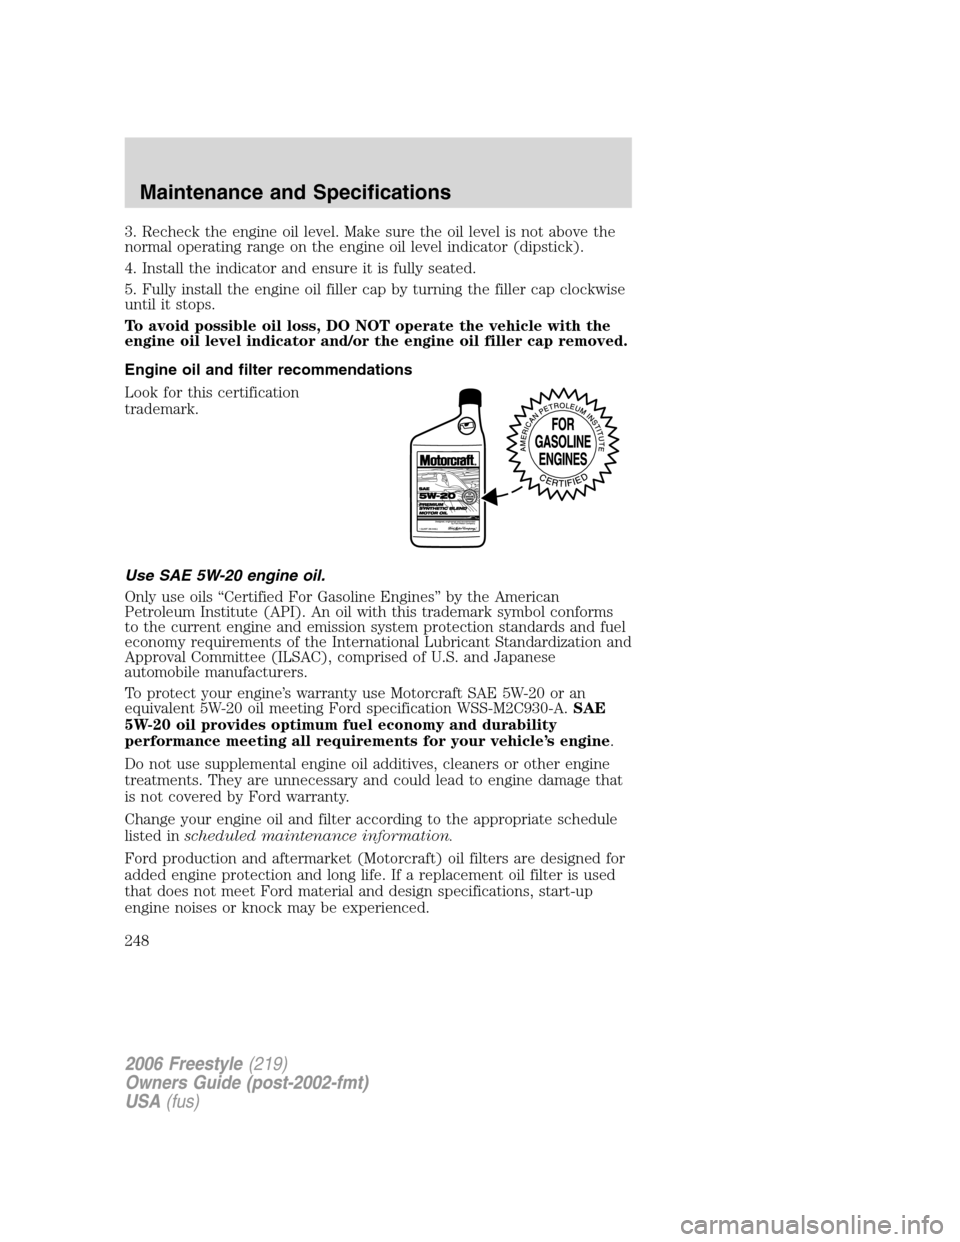
Look for this certification
trademark.
Use SAE 5W-20 engine oil.
Only use oils “Certified For Gasoline Engines” by the American
Petroleum Institute (API). An oil with this trademark symbol conforms
to the current engine and emission system protection standards and fuel
economy requirements of the International Lubricant Standardization and
Approval Committee (ILSAC), comprised of U.S. and Japanese
automobile manufacturers.
To protect your engine’s warranty use Motorcraft SAE 5W-20 or an
equivalent 5W-20 oil meeting Ford specification WSS-M2C930-A.SAE
5W-20 oil provides optimum fuel economy and durability
performance meeting all requirements for your vehicle’s engine.
Do not use supplemental engine oil additives, cleaners or other engine
treatments. They are unnecessary and could lead to engine damage that
is not covered by Ford warranty.
Change your engine oil and filter according to the appropriate schedule
listed inscheduled maintenance information.
Ford production and aftermarket (Motorcraft) oil filters are designed for
added engine protection and long life. If a replacement oil filter is used
that does not meet Ford material and design specifications, start-up
engine noises or knock may be experienced.
2006 Freestyle(219)
Owners Guide (post-2002-fmt)
USA(fus)
Maintenance and Specifications
248
Page 251 of 288

If the battery has been disconnected or a new battery has been installed,
the clock and radio settings must be reset once the battery is
reconnected.
•Always dispose of automotive
batteries in a responsible manner.
Follow your local authorized
standards for disposal. Call your
local authorized recycling center
to find out more about recycling
automotive batteries.
ENGINE COOLANT
Checking engine coolant
The concentration and level of engine coolant should be checked at the
intervals listed inscheduled maintenance information.The coolant
concentration should be maintained at 50/50 coolant and distilled water,
which equates to a freeze point of -34°F (-36°C). Coolant concentration
testing is possible with a hydrometer or antifreeze tester (such as the
Rotunda Battery and Antifreeze Tester, 014–R1060). The level of coolant
should be maintained at the “FULL COLD” level or within the “COLD
FILL RANGE” in the coolant reservoir. If the level falls below, add
coolant per the instructions in theAdding engine coolantsection.
Your vehicle was factory-filled with a 50/50 engine coolant and water
concentration. If the concentration of coolant falls below 40% or above
60%, the engine parts could become damaged or not work properly.A
50–50 mixture of coolant and water provides the following:
•Freeze protection down to -34°F (-36°C).
•Boiling protection up to 265°F (129°C).
•Protection against rust and other forms of corrosion.
•Enables calibrated gauges to work properly.
L
E
A
D
RETURN
RECYCLE
2006 Freestyle(219)
Owners Guide (post-2002-fmt)
USA(fus)
Maintenance and Specifications
251