2006 FORD F250 SUPER DUTY set clock
[x] Cancel search: set clockPage 21 of 312
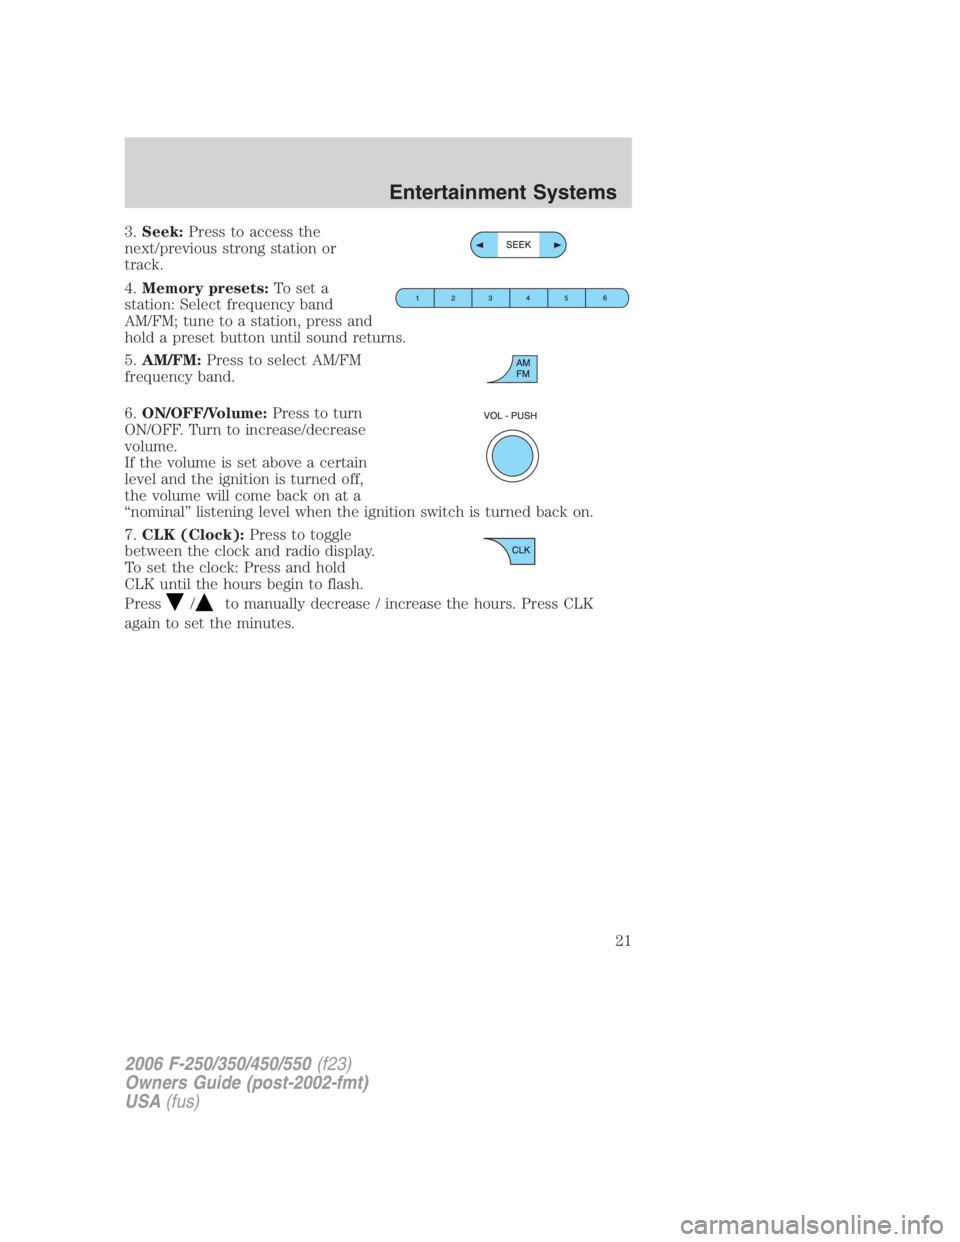
3. Seek: Press to access the
next/previous strong station or
track.
4. Memory presets: To set a
station: Select frequency band
AM/FM; tune to a station, press and
hold a preset button until sound returns.
5. AM/FM: Press to select AM/FM
frequency band.
6. ON/OFF/Volume: Press to turn
ON/OFF. Turn to increase/decrease
volume.
If the volume is set above a certain
level and the ignition is turned off,
the volume will come back on at a
“nominal” listening level when the ignition switch is turned back on.
7. CLK (Clock): Press to toggle
between the clock and radio display.
To set the clock: Press and hold
CLK until the hours begin to flash.
Press / to manually decrease / increase the hours. Press CLK
again to set the minutes.
2006 F-250/350/450/550 (f23)
Owners Guide (post-2002-fmt)
USA (fus) Entertainment Systems
21
Page 23 of 312
Treble: Press to adjust the treble setting. Use / / SEEK .
Balance: Press to adjust the audio between the left and right speakers.
Use
/ / SEEK .
Fade: Press to adjust the audio between the front and rear speakers.
Use / / SEEK .
Speed sensitive volume (if equipped): Radio volume automatically
changes slightly with vehicle speed to compensate for road and wind
noise. Press MENU to access and use
/ / SEEK to adjust.
Setting the clock: Press MENU until SELECT HOUR or SELECT MINS
is displayed. Use / to manually increase/decrease Press MENU
again to disengage clock mode.
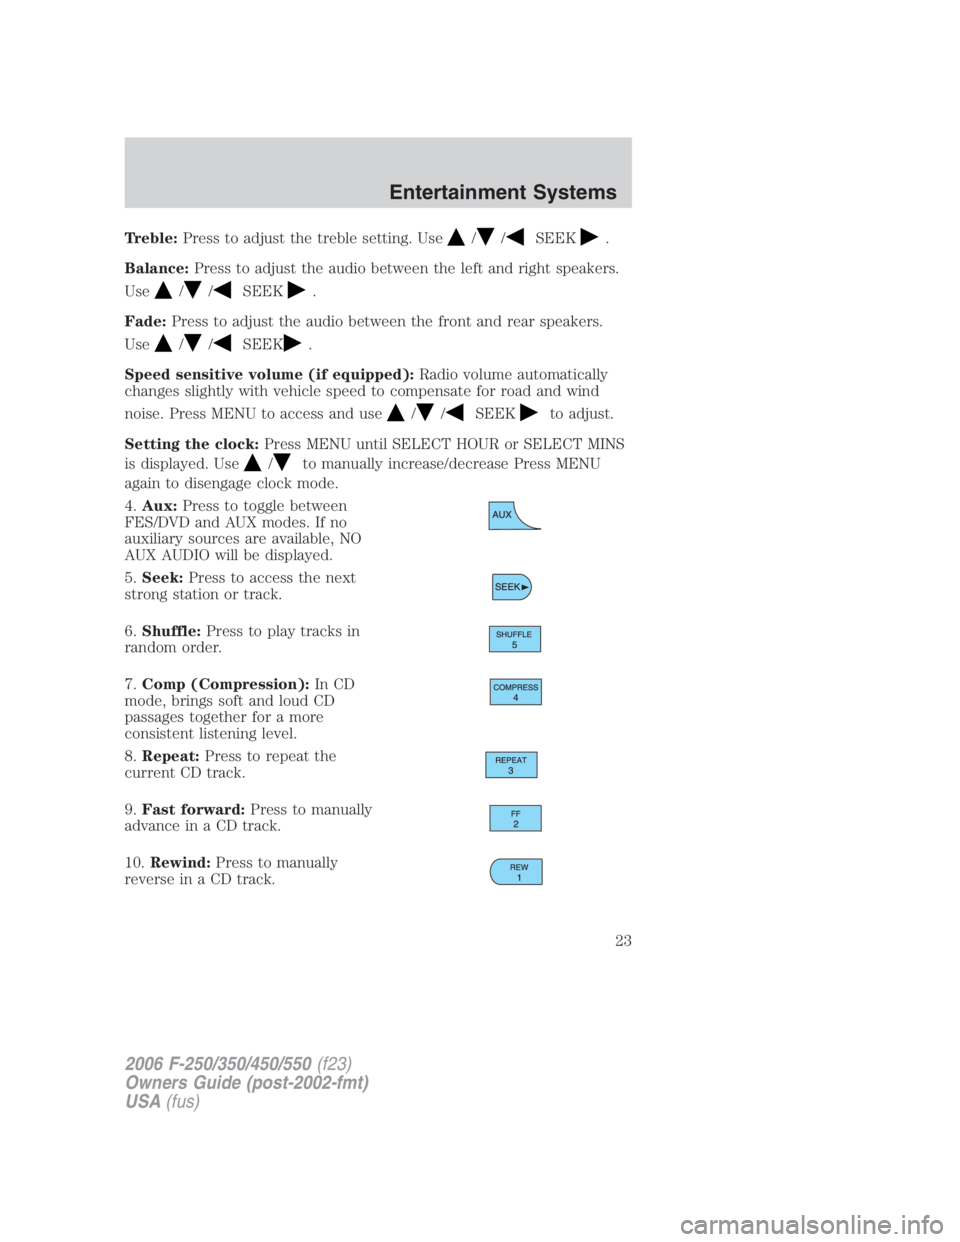
4. Aux: Press to toggle between
FES/DVD and AUX modes. If no
auxiliary sources are available, NO
AUX AUDIO will be displayed.
5. Seek: Press to access the next
strong station or track.
6. Shuffle: Press to play tracks in
random order.
7. Comp (Compression): In CD
mode, brings soft and loud CD
passages together for a more
consistent listening level.
8. Repeat: Press to repeat the
current CD track.
9. Fast forward: Press to manually
advance in a CD track.
10. Rewind: Press to manually
reverse in a CD track.
2006 F-250/350/450/550 (f23)
Owners Guide (post-2002-fmt)
USA (fus) Entertainment Systems
23
Page 26 of 312
Fade: Press to adjust the audio between the front and rear speakers.
Use / / SEEK .
Speed sensitive volume (if equipped): Radio volume automatically
changes slightly with vehicle speed to compensate for road and wind
noise. Press MENU to access and use
/ / SEEK to adjust.
Setting the clock: Press MENU until SELECT HOUR or SELECT MINS
is displayed. Press
/ / SEEK to adjust the hours/minutes.
Autoset: Allows you to set the strongest local radio stations without
losing your original manually set preset stations for AM/FM1/FM2 . Press
MENU to access. Use
/ / SEEK to set.
When the six strongest stations are filled, the station stored in preset 1
will begin playing. If there are less than six strong stations, the system
will store the last one in the remaining presets.
Dolby noise reduction: In tape mode, this feature reduces tape noise
and hiss. Press
/ / SEEK to cycle ON/OFF. The Dolby noise
reduction system is manufactured under license from Dolby Laboratories
Licensing Corporation. Dolby and double-D are registered trademarks of
Dolby Laboratories Licensing Corporation.
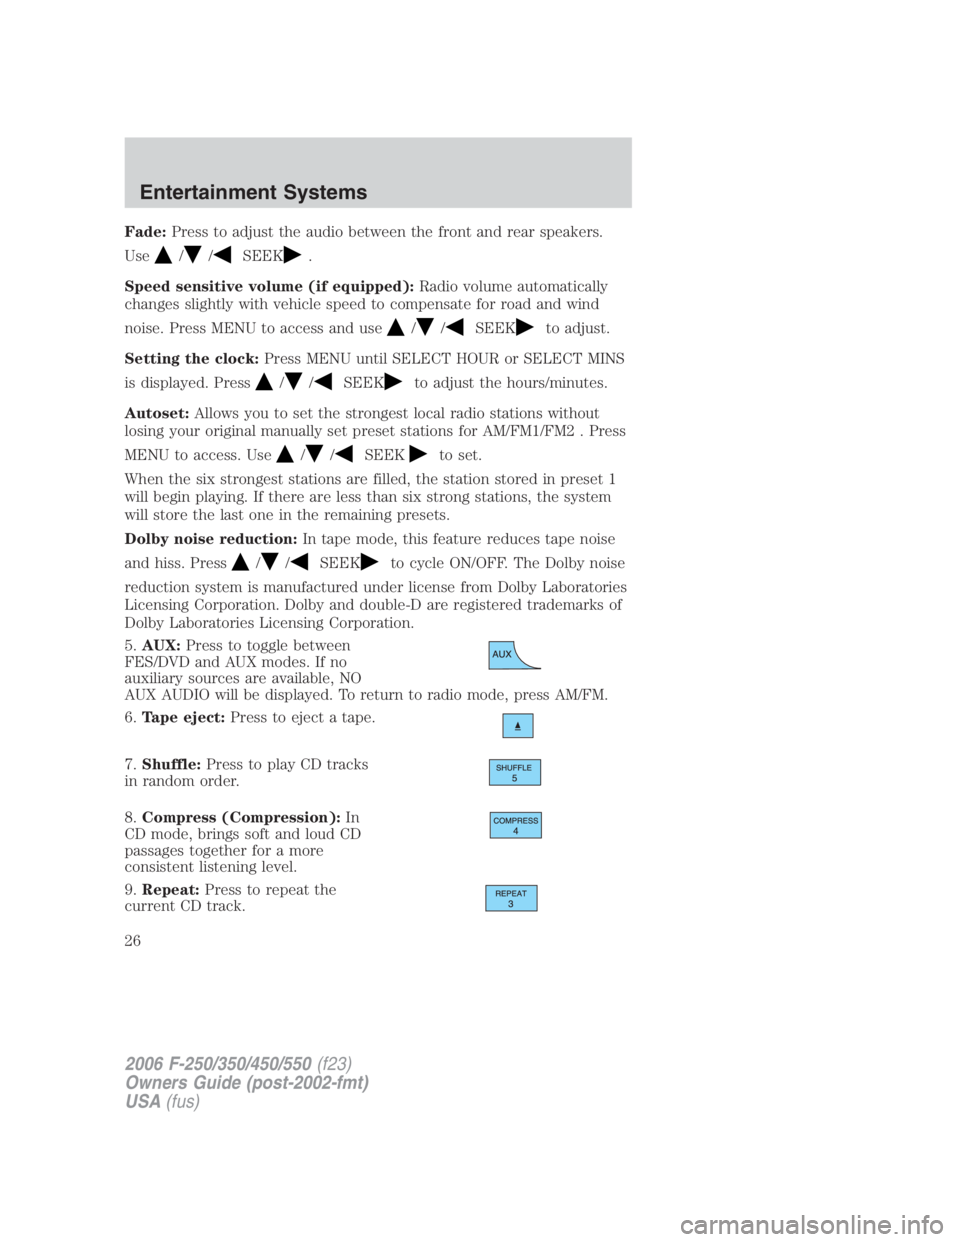
5. AUX: Press to toggle between
FES/DVD and AUX modes. If no
auxiliary sources are available, NO
AUX AUDIO will be displayed. To return to radio mode, press AM/FM.
6. Tape eject: Press to eject a tape.
7. Shuffle: Press to play CD tracks
in random order.
8. Compress (Compression): In
CD mode, brings soft and loud CD
passages together for a more
consistent listening level.
9. Repeat: Press to repeat the
current CD track.
2006 F-250/350/450/550 (f23)
Owners Guide (post-2002-fmt)
USA (fus)Entertainment Systems
26
Page 29 of 312
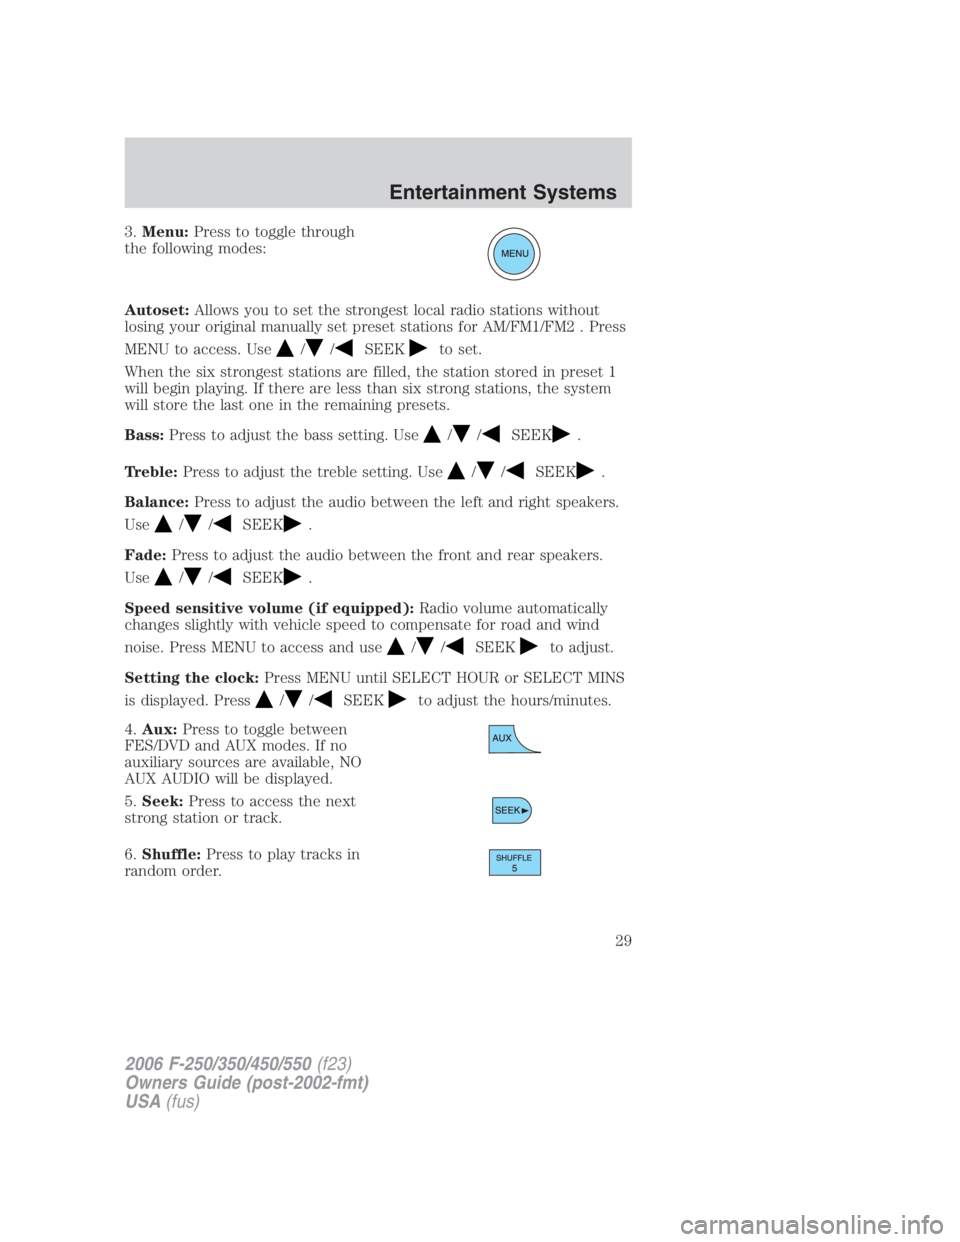
3. Menu: Press to toggle through
the following modes:
Autoset: Allows you to set the strongest local radio stations without
losing your original manually set preset stations for AM/FM1/FM2 . Press
MENU to access. Use / / SEEK to set.
When the six strongest stations are filled, the station stored in preset 1
will begin playing. If there are less than six strong stations, the system
will store the last one in the remaining presets.
Bass: Press to adjust the bass setting. Use / / SEEK .
Treble: Press to adjust the treble setting. Use
/ / SEEK .
Balance: Press to adjust the audio between the left and right speakers.
Use / / SEEK .
Fade: Press to adjust the audio between the front and rear speakers.
Use
/ / SEEK .
Speed sensitive volume (if equipped): Radio volume automatically
changes slightly with vehicle speed to compensate for road and wind
noise. Press MENU to access and use / / SEEK to adjust.
Setting the clock: Press MENU until SELECT HOUR or SELECT MINS
is displayed. Press / / SEEK to adjust the hours/minutes.
4. Aux: Press to toggle between
FES/DVD and AUX modes. If no
auxiliary sources are available, NO
AUX AUDIO will be displayed.
5. Seek: Press to access the next
strong station or track.
6. Shuffle: Press to play tracks in
random order.
2006 F-250/350/450/550 (f23)
Owners Guide (post-2002-fmt)
USA (fus) Entertainment Systems
29
Page 185 of 312
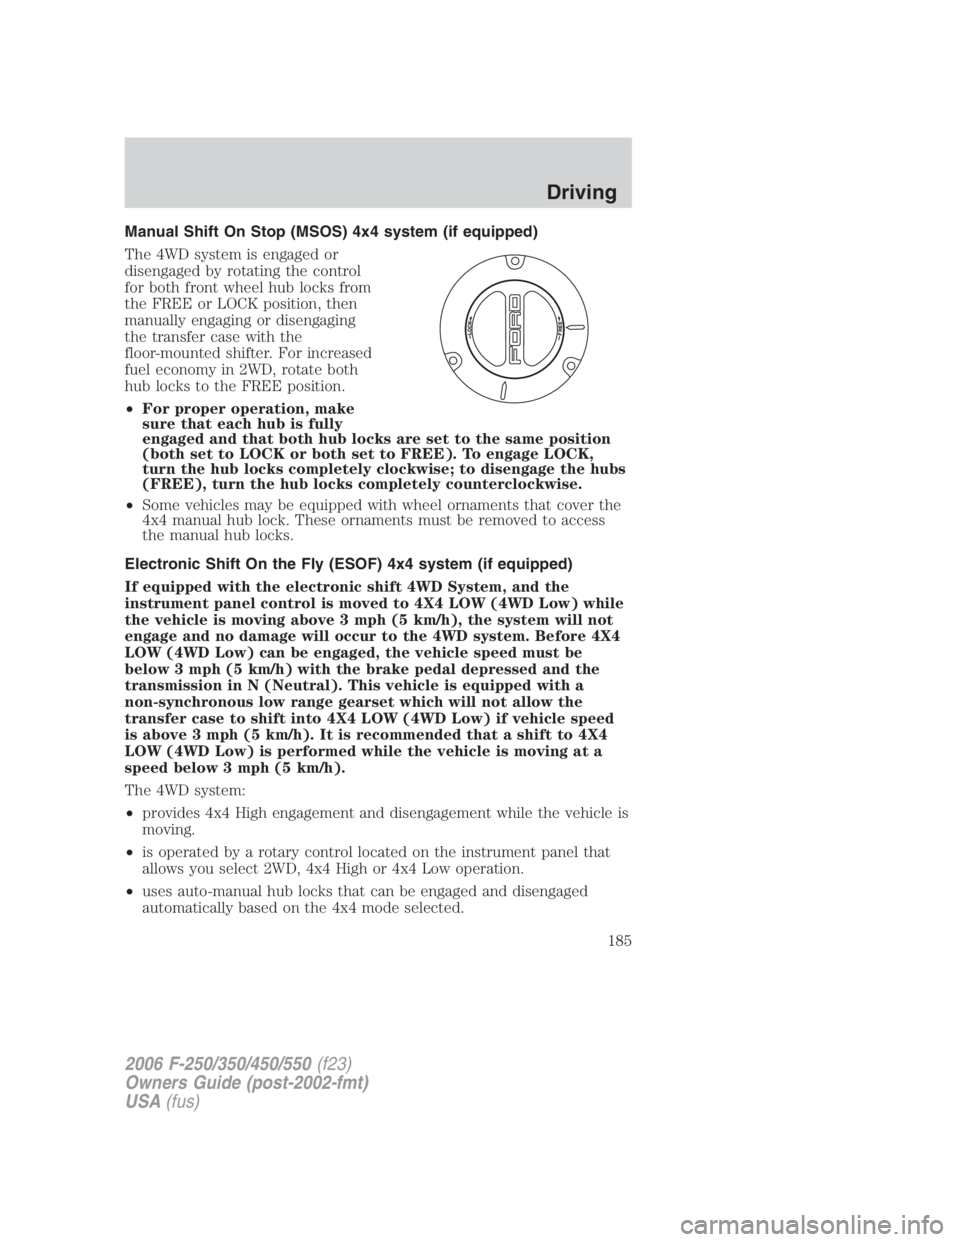
Manual Shift On Stop (MSOS) 4x4 system (if equipped)
The 4WD system is engaged or
disengaged by rotating the control
for both front wheel hub locks from
the FREE or LOCK position, then
manually engaging or disengaging
the transfer case with the
floor-mounted shifter. For increased
fuel economy in 2WD, rotate both
hub locks to the FREE position.
• For proper operation, make
sure that each hub is fully
engaged and that both hub locks are set to the same position
(both set to LOCK or both set to FREE). To engage LOCK,
turn the hub locks completely clockwise; to disengage the hubs
(FREE), turn the hub locks completely counterclockwise.
• Some vehicles may be equipped with wheel ornaments that cover the
4x4 manual hub lock. These ornaments must be removed to access
the manual hub locks.
Electronic Shift On the Fly (ESOF) 4x4 system (if equipped)
If equipped with the electronic shift 4WD System, and the
instrument panel control is moved to 4X4 LOW (4WD Low) while
the vehicle is moving above 3 mph (5 km/h), the system will not
engage and no damage will occur to the 4WD system. Before 4X4
LOW (4WD Low) can be engaged, the vehicle speed must be
below 3 mph (5 km/h) with the brake pedal depressed and the
transmission in N (Neutral). This vehicle is equipped with a
non-synchronous low range gearset which will not allow the
transfer case to shift into 4X4 LOW (4WD Low) if vehicle speed
is above 3 mph (5 km/h). It is recommended that a shift to 4X4
LOW (4WD Low) is performed while the vehicle is moving at a
speed below 3 mph (5 km/h).
The 4WD system:
• provides 4x4 High engagement and disengagement while the vehicle is
moving.
• is operated by a rotary control located on the instrument panel that
allows you select 2WD, 4x4 High or 4x4 Low operation.
• uses auto-manual hub locks that can be engaged and disengaged
automatically based on the 4x4 mode selected.
2006 F-250/350/450/550 (f23)
Owners Guide (post-2002-fmt)
USA (fus) Driving
185
Page 186 of 312
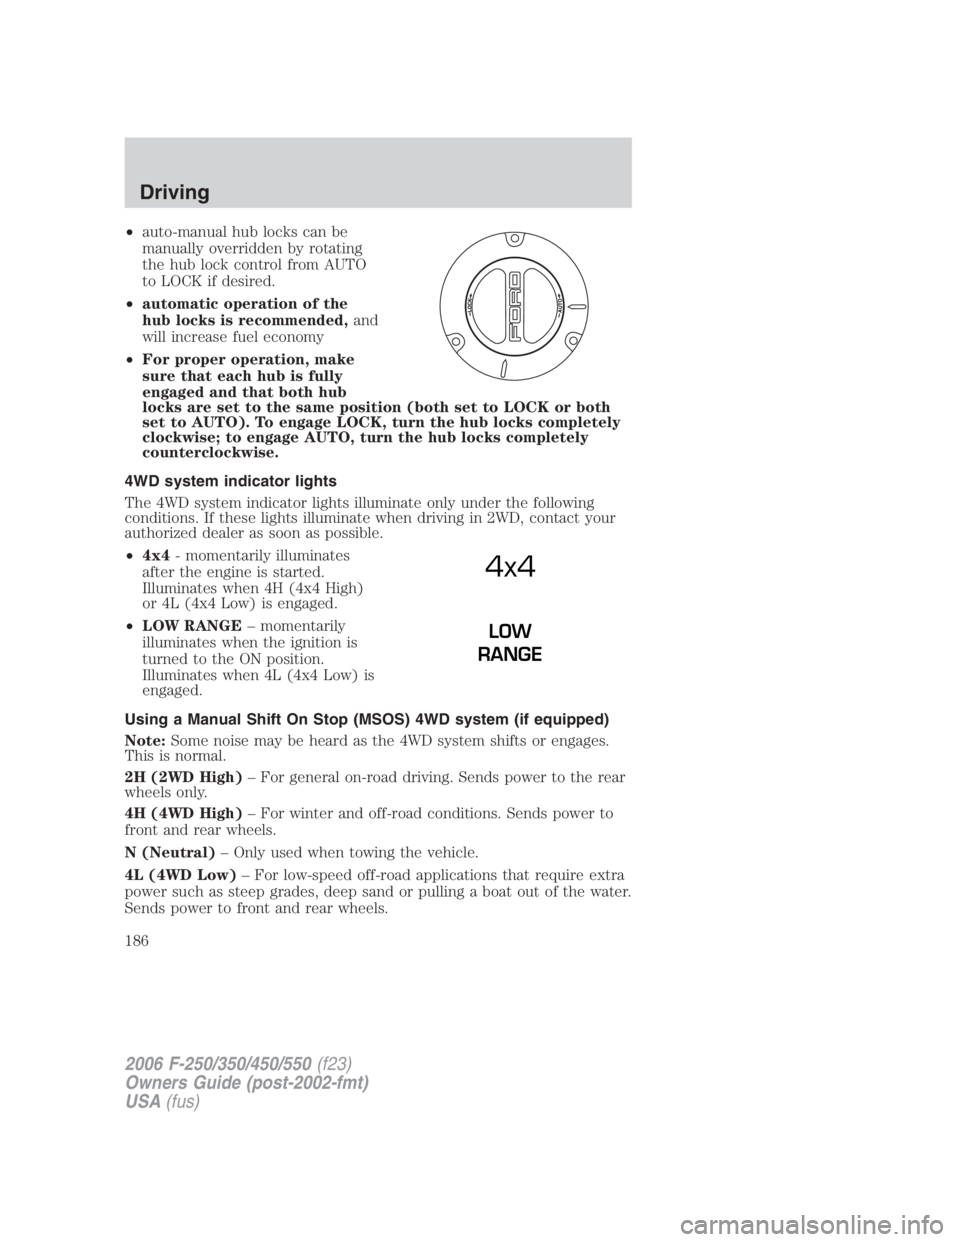
• auto-manual hub locks can be
manually overridden by rotating
the hub lock control from AUTO
to LOCK if desired.
• automatic operation of the
hub locks is recommended, and
will increase fuel economy
• For proper operation, make
sure that each hub is fully
engaged and that both hub
locks are set to the same position (both set to LOCK or both
set to AUTO). To engage LOCK, turn the hub locks completely
clockwise; to engage AUTO, turn the hub locks completely
counterclockwise.
4WD system indicator lights
The 4WD system indicator lights illuminate only under the following
conditions. If these lights illuminate when driving in 2WD, contact your
authorized dealer as soon as possible.
• 4x4 - momentarily illuminates
after the engine is started.
Illuminates when 4H (4x4 High)
or 4L (4x4 Low) is engaged.
• LOW RANGE – momentarily
illuminates when the ignition is
turned to the ON position.
Illuminates when 4L (4x4 Low) is
engaged.
Using a Manual Shift On Stop (MSOS) 4WD system (if equipped)
Note: Some noise may be heard as the 4WD system shifts or engages.
This is normal.
2H (2WD High) – For general on-road driving. Sends power to the rear
wheels only.
4H (4WD High) – For winter and off-road conditions. Sends power to
front and rear wheels.
N (Neutral) – Only used when towing the vehicle.
4L (4WD Low) – For low-speed off-road applications that require extra
power such as steep grades, deep sand or pulling a boat out of the water.
Sends power to front and rear wheels. 4x4 LOW
RANGE
2006 F-250/350/450/550 (f23)
Owners Guide (post-2002-fmt)
USA (fus)Driving
186
Page 218 of 312
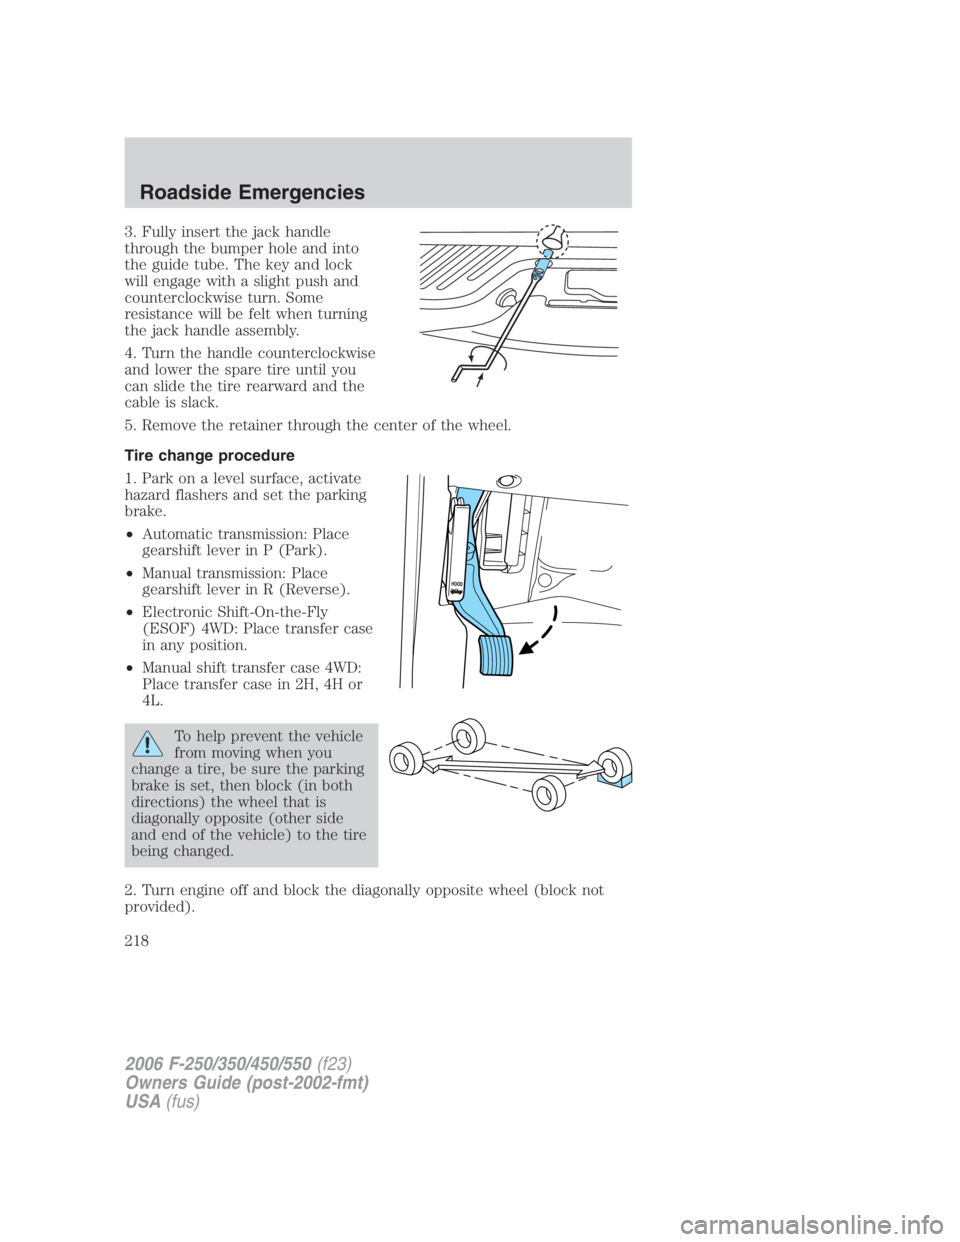
3. Fully insert the jack handle
through the bumper hole and into
the guide tube. The key and lock
will engage with a slight push and
counterclockwise turn. Some
resistance will be felt when turning
the jack handle assembly.
4. Turn the handle counterclockwise
and lower the spare tire until you
can slide the tire rearward and the
cable is slack.
5. Remove the retainer through the center of the wheel.
Tire change procedure
1. Park on a level surface, activate
hazard flashers and set the parking
brake.
• Automatic transmission: Place
gearshift lever in P (Park).
• Manual transmission: Place
gearshift lever in R (Reverse).
• Electronic Shift-On-the-Fly
(ESOF) 4WD: Place transfer case
in any position.
• Manual shift transfer case 4WD:
Place transfer case in 2H, 4H or
4L.
To help prevent the vehicle
from moving when you
change a tire, be sure the parking
brake is set, then block (in both
directions) the wheel that is
diagonally opposite (other side
and end of the vehicle) to the tire
being changed.
2. Turn engine off and block the diagonally opposite wheel (block not
provided).
2006 F-250/350/450/550 (f23)
Owners Guide (post-2002-fmt)
USA (fus)Roadside Emergencies
218
Page 219 of 312
3. Remove the jack, jack handle, lug wrench and spare tire from the
stowage locations.
4. Use the tip of the lug wrench to remove any wheel trim.
5. Loosen each wheel lug nut one-half turn counterclockwise but do not
remove them until the wheel is raised off the ground.
When one of the rear wheels is off the ground, the transmission
alone will not prevent the vehicle from moving or slipping off the
jack, even if the transmission is in P (Park) (automatic transmission)
or R (Reverse) (manual transmission). To prevent the vehicle from
moving when you change the tire, be sure that the parking brake is set
and the diagonally opposite wheel is blocked.
If the vehicle slips off the jack, you or someone else could be
seriously injured.
The following steps apply to F–250/F–350 Single Rear Wheel
(SRW) vehicles only (unless otherwise noted):
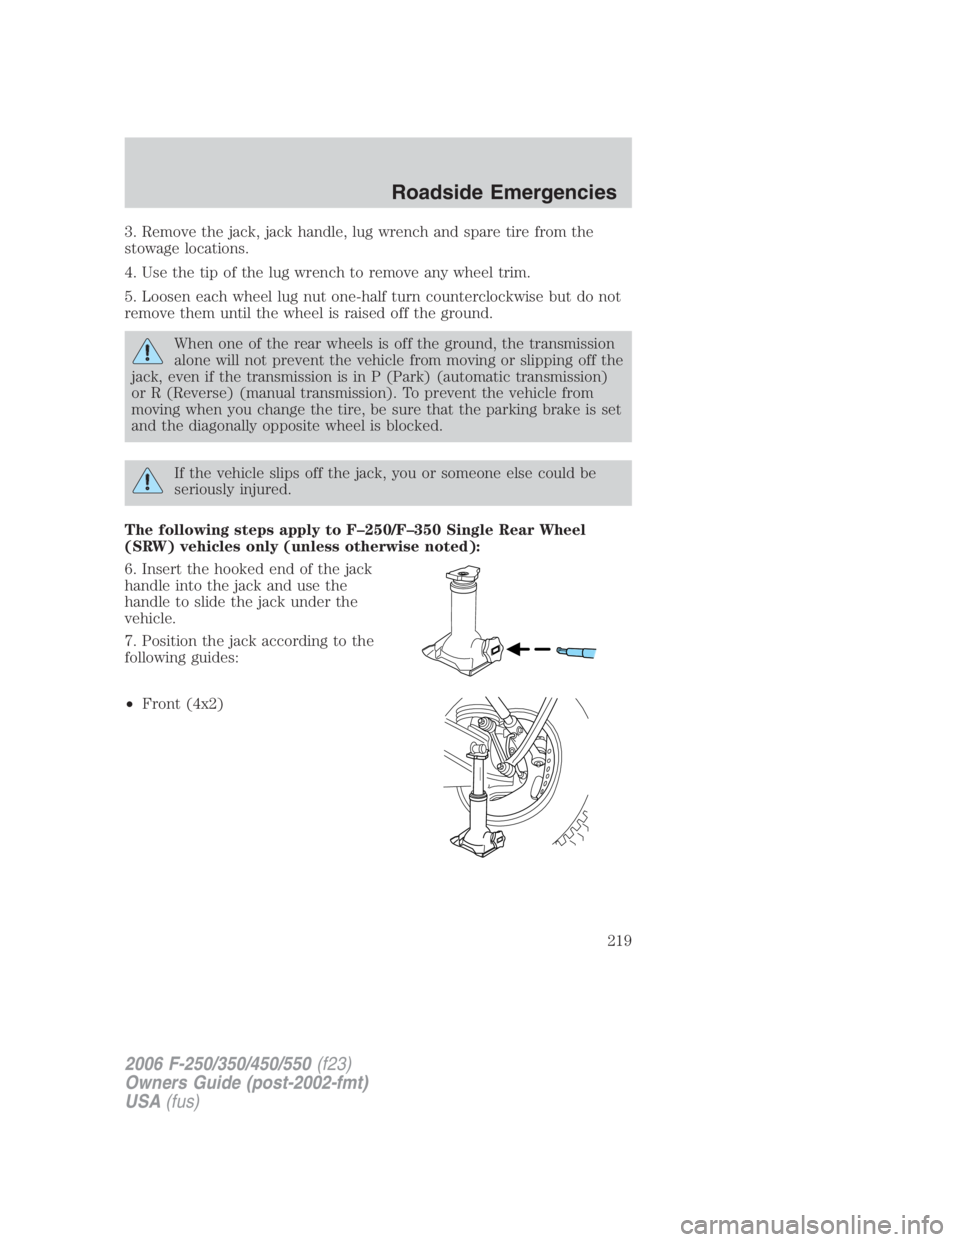
6. Insert the hooked end of the jack
handle into the jack and use the
handle to slide the jack under the
vehicle.
7. Position the jack according to the
following guides:
• Front (4x2)
2006 F-250/350/450/550 (f23)
Owners Guide (post-2002-fmt)
USA (fus) Roadside Emergencies
219