2006 FORD F250 SUPER DUTY AUX
[x] Cancel search: AUXPage 23 of 312
Treble: Press to adjust the treble setting. Use / / SEEK .
Balance: Press to adjust the audio between the left and right speakers.
Use
/ / SEEK .
Fade: Press to adjust the audio between the front and rear speakers.
Use / / SEEK .
Speed sensitive volume (if equipped): Radio volume automatically
changes slightly with vehicle speed to compensate for road and wind
noise. Press MENU to access and use
/ / SEEK to adjust.
Setting the clock: Press MENU until SELECT HOUR or SELECT MINS
is displayed. Use / to manually increase/decrease Press MENU
again to disengage clock mode.
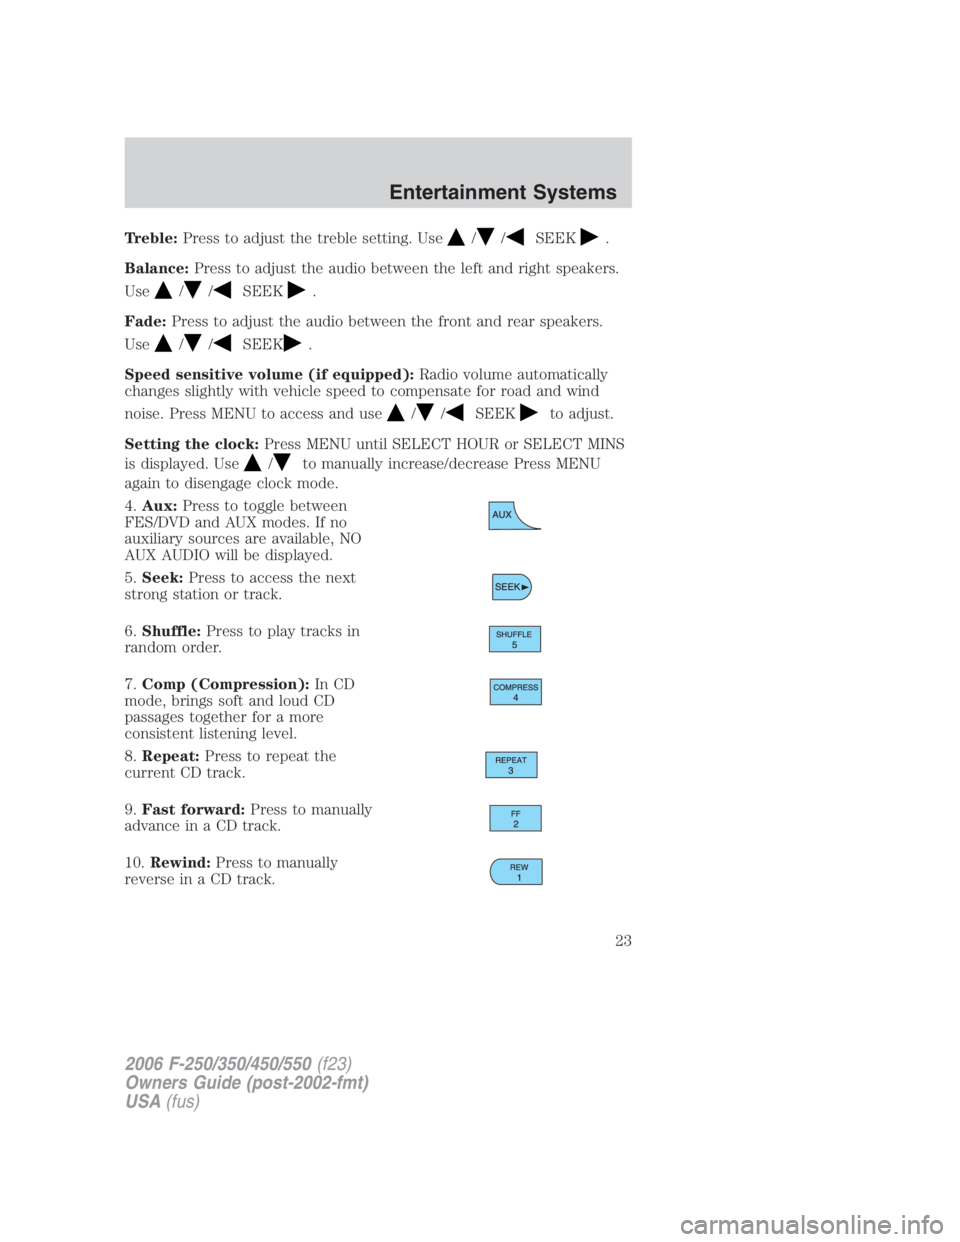
4. Aux: Press to toggle between
FES/DVD and AUX modes. If no
auxiliary sources are available, NO
AUX AUDIO will be displayed.
5. Seek: Press to access the next
strong station or track.
6. Shuffle: Press to play tracks in
random order.
7. Comp (Compression): In CD
mode, brings soft and loud CD
passages together for a more
consistent listening level.
8. Repeat: Press to repeat the
current CD track.
9. Fast forward: Press to manually
advance in a CD track.
10. Rewind: Press to manually
reverse in a CD track.
2006 F-250/350/450/550 (f23)
Owners Guide (post-2002-fmt)
USA (fus) Entertainment Systems
23
Page 26 of 312
Fade: Press to adjust the audio between the front and rear speakers.
Use / / SEEK .
Speed sensitive volume (if equipped): Radio volume automatically
changes slightly with vehicle speed to compensate for road and wind
noise. Press MENU to access and use
/ / SEEK to adjust.
Setting the clock: Press MENU until SELECT HOUR or SELECT MINS
is displayed. Press
/ / SEEK to adjust the hours/minutes.
Autoset: Allows you to set the strongest local radio stations without
losing your original manually set preset stations for AM/FM1/FM2 . Press
MENU to access. Use
/ / SEEK to set.
When the six strongest stations are filled, the station stored in preset 1
will begin playing. If there are less than six strong stations, the system
will store the last one in the remaining presets.
Dolby noise reduction: In tape mode, this feature reduces tape noise
and hiss. Press
/ / SEEK to cycle ON/OFF. The Dolby noise
reduction system is manufactured under license from Dolby Laboratories
Licensing Corporation. Dolby and double-D are registered trademarks of
Dolby Laboratories Licensing Corporation.
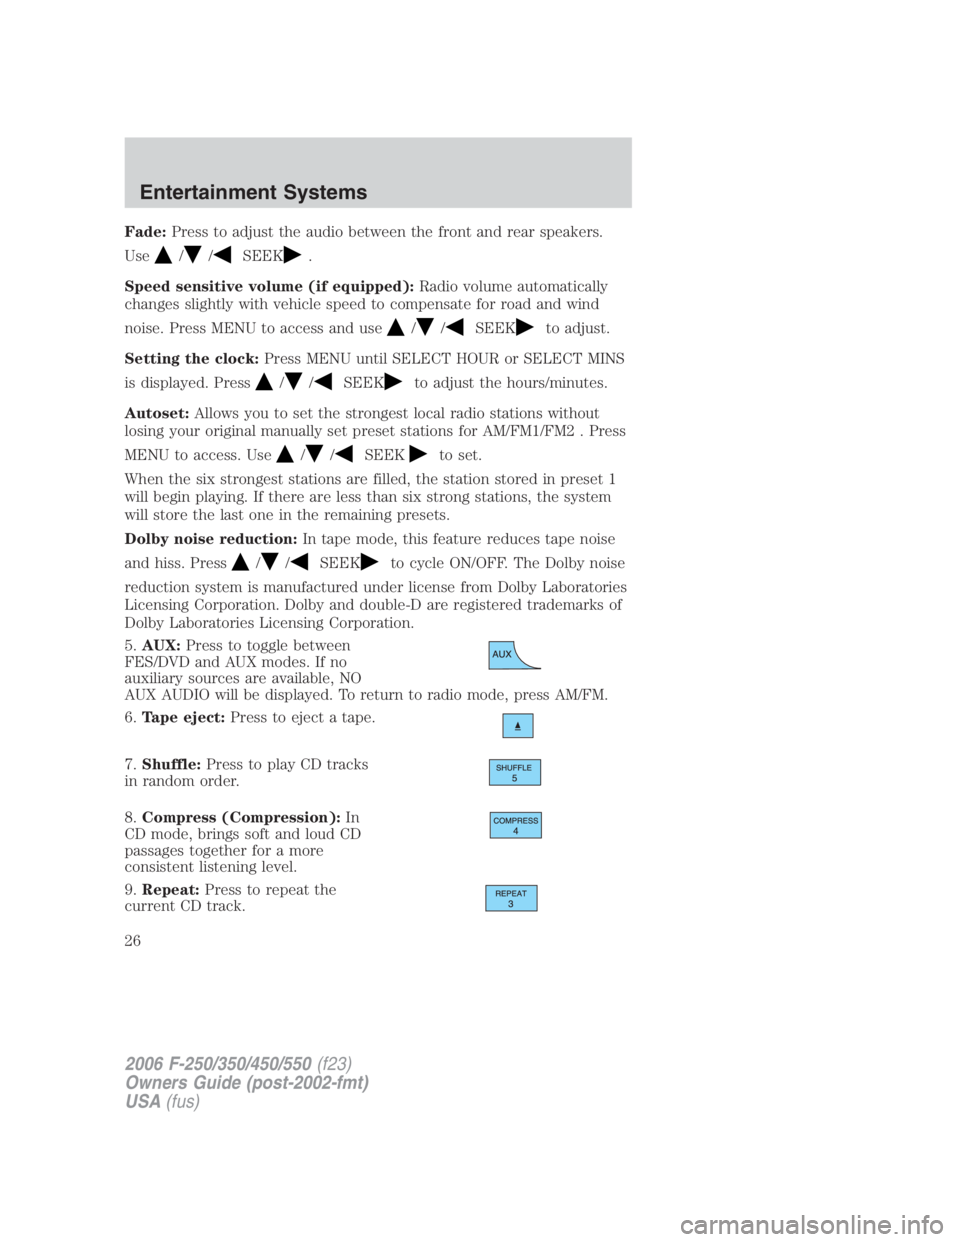
5. AUX: Press to toggle between
FES/DVD and AUX modes. If no
auxiliary sources are available, NO
AUX AUDIO will be displayed. To return to radio mode, press AM/FM.
6. Tape eject: Press to eject a tape.
7. Shuffle: Press to play CD tracks
in random order.
8. Compress (Compression): In
CD mode, brings soft and loud CD
passages together for a more
consistent listening level.
9. Repeat: Press to repeat the
current CD track.
2006 F-250/350/450/550 (f23)
Owners Guide (post-2002-fmt)
USA (fus)Entertainment Systems
26
Page 29 of 312
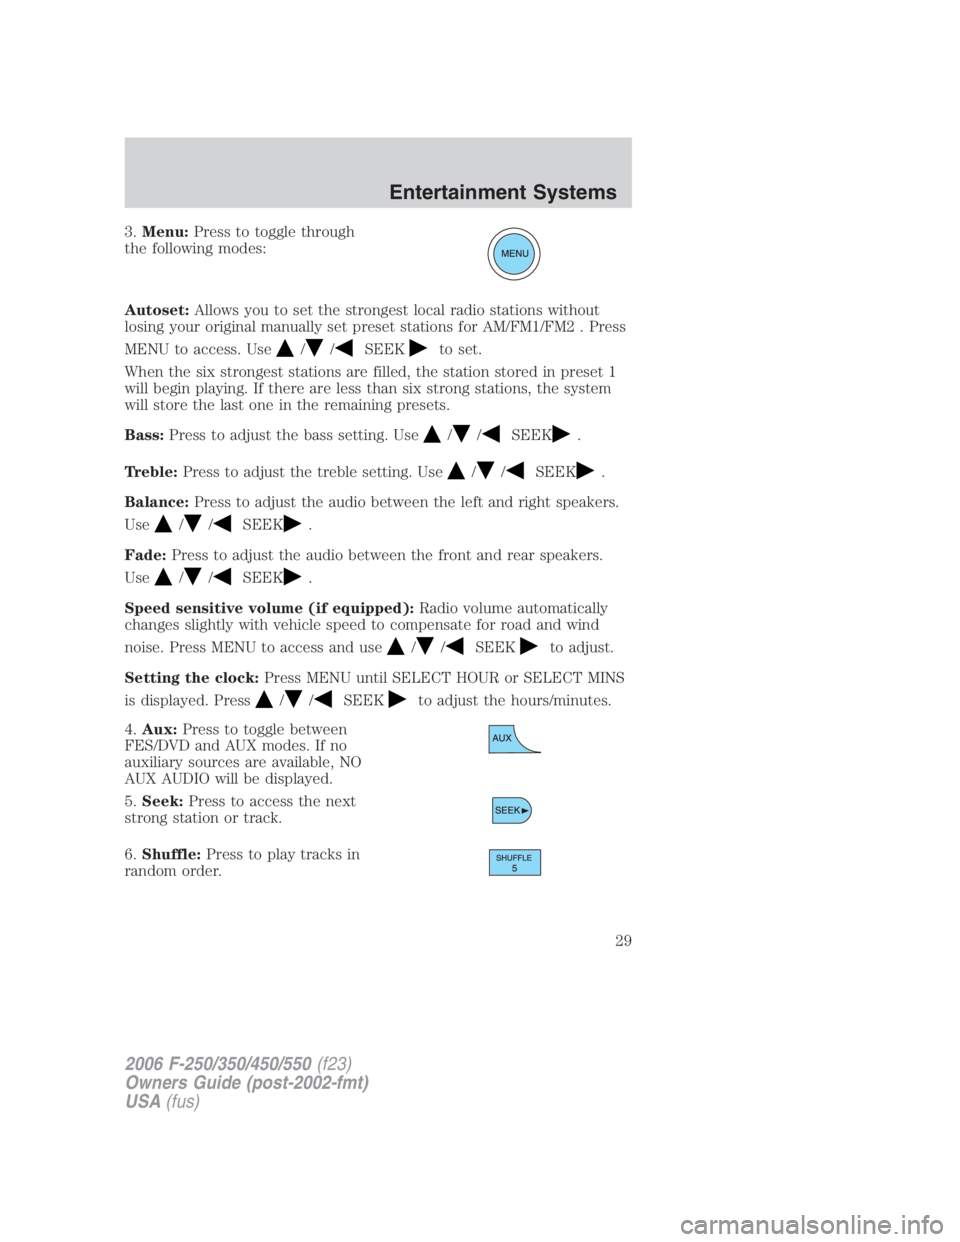
3. Menu: Press to toggle through
the following modes:
Autoset: Allows you to set the strongest local radio stations without
losing your original manually set preset stations for AM/FM1/FM2 . Press
MENU to access. Use / / SEEK to set.
When the six strongest stations are filled, the station stored in preset 1
will begin playing. If there are less than six strong stations, the system
will store the last one in the remaining presets.
Bass: Press to adjust the bass setting. Use / / SEEK .
Treble: Press to adjust the treble setting. Use
/ / SEEK .
Balance: Press to adjust the audio between the left and right speakers.
Use / / SEEK .
Fade: Press to adjust the audio between the front and rear speakers.
Use
/ / SEEK .
Speed sensitive volume (if equipped): Radio volume automatically
changes slightly with vehicle speed to compensate for road and wind
noise. Press MENU to access and use / / SEEK to adjust.
Setting the clock: Press MENU until SELECT HOUR or SELECT MINS
is displayed. Press / / SEEK to adjust the hours/minutes.
4. Aux: Press to toggle between
FES/DVD and AUX modes. If no
auxiliary sources are available, NO
AUX AUDIO will be displayed.
5. Seek: Press to access the next
strong station or track.
6. Shuffle: Press to play tracks in
random order.
2006 F-250/350/450/550 (f23)
Owners Guide (post-2002-fmt)
USA (fus) Entertainment Systems
29
Page 56 of 312
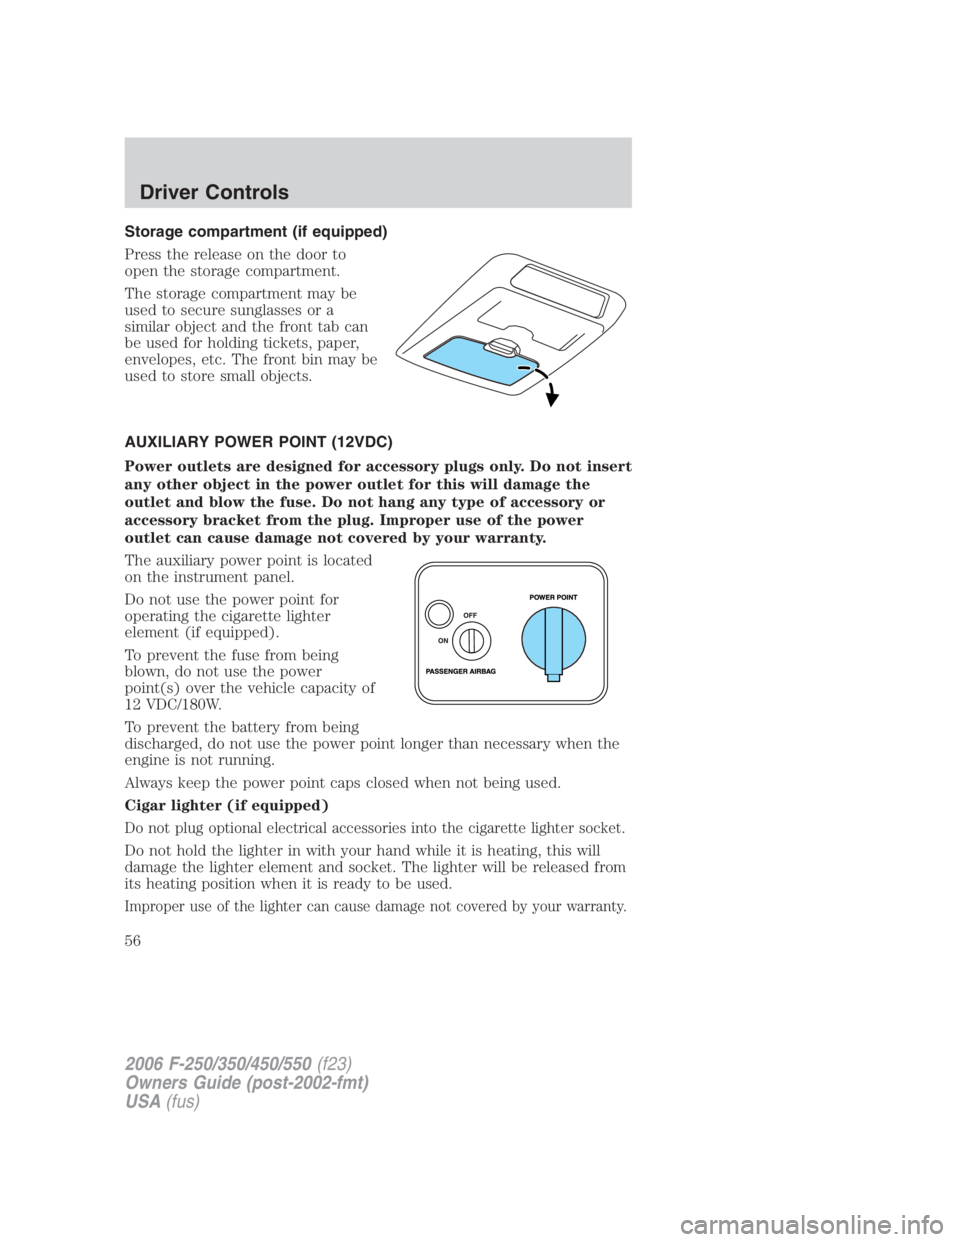
Storage compartment (if equipped)
Press the release on the door to
open the storage compartment.
The storage compartment may be
used to secure sunglasses or a
similar object and the front tab can
be used for holding tickets, paper,
envelopes, etc. The front bin may be
used to store small objects.
AUXILIARY POWER POINT (12VDC)
Power outlets are designed for accessory plugs only. Do not insert
any other object in the power outlet for this will damage the
outlet and blow the fuse. Do not hang any type of accessory or
accessory bracket from the plug. Improper use of the power
outlet can cause damage not covered by your warranty.
The auxiliary power point is located
on the instrument panel.
Do not use the power point for
operating the cigarette lighter
element (if equipped).
To prevent the fuse from being
blown, do not use the power
point(s) over the vehicle capacity of
12 VDC/180W.
To prevent the battery from being
discharged, do not use the power point longer than necessary when the
engine is not running.
Always keep the power point caps closed when not being used.
Cigar lighter (if equipped)
Do not plug optional electrical accessories into the cigarette lighter socket.
Do not hold the lighter in with your hand while it is heating, this will
damage the lighter element and socket. The lighter will be released from
its heating position when it is ready to be used.
Improper use of the lighter can cause damage not covered by your warranty.
2006 F-250/350/450/550 (f23)
Owners Guide (post-2002-fmt)
USA (fus)Driver Controls
56
Page 64 of 312
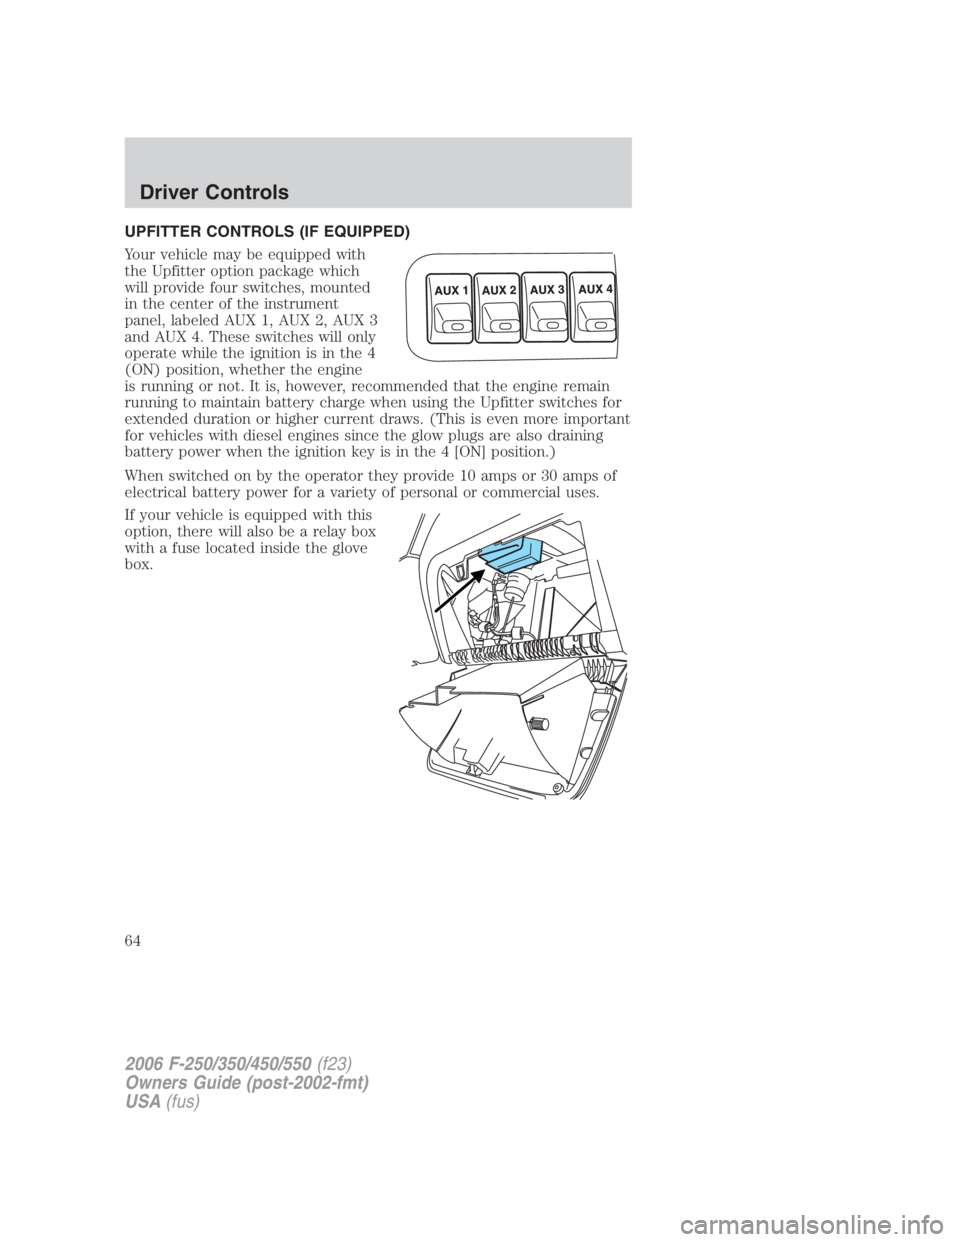
UPFITTER CONTROLS (IF EQUIPPED)
Your vehicle may be equipped with
the Upfitter option package which
will provide four switches, mounted
in the center of the instrument
panel, labeled AUX 1, AUX 2, AUX 3
and AUX 4. These switches will only
operate while the ignition is in the 4
(ON) position, whether the engine
is running or not. It is, however, recommended that the engine remain
running to maintain battery charge when using the Upfitter switches for
extended duration or higher current draws. (This is even more important
for vehicles with diesel engines since the glow plugs are also draining
battery power when the ignition key is in the 4 [ON] position.)
When switched on by the operator they provide 10 amps or 30 amps of
electrical battery power for a variety of personal or commercial uses.
If your vehicle is equipped with this
option, there will also be a relay box
with a fuse located inside the glove
box.
2006 F-250/350/450/550 (f23)
Owners Guide (post-2002-fmt)
USA (fus)Driver Controls
64
Page 65 of 312
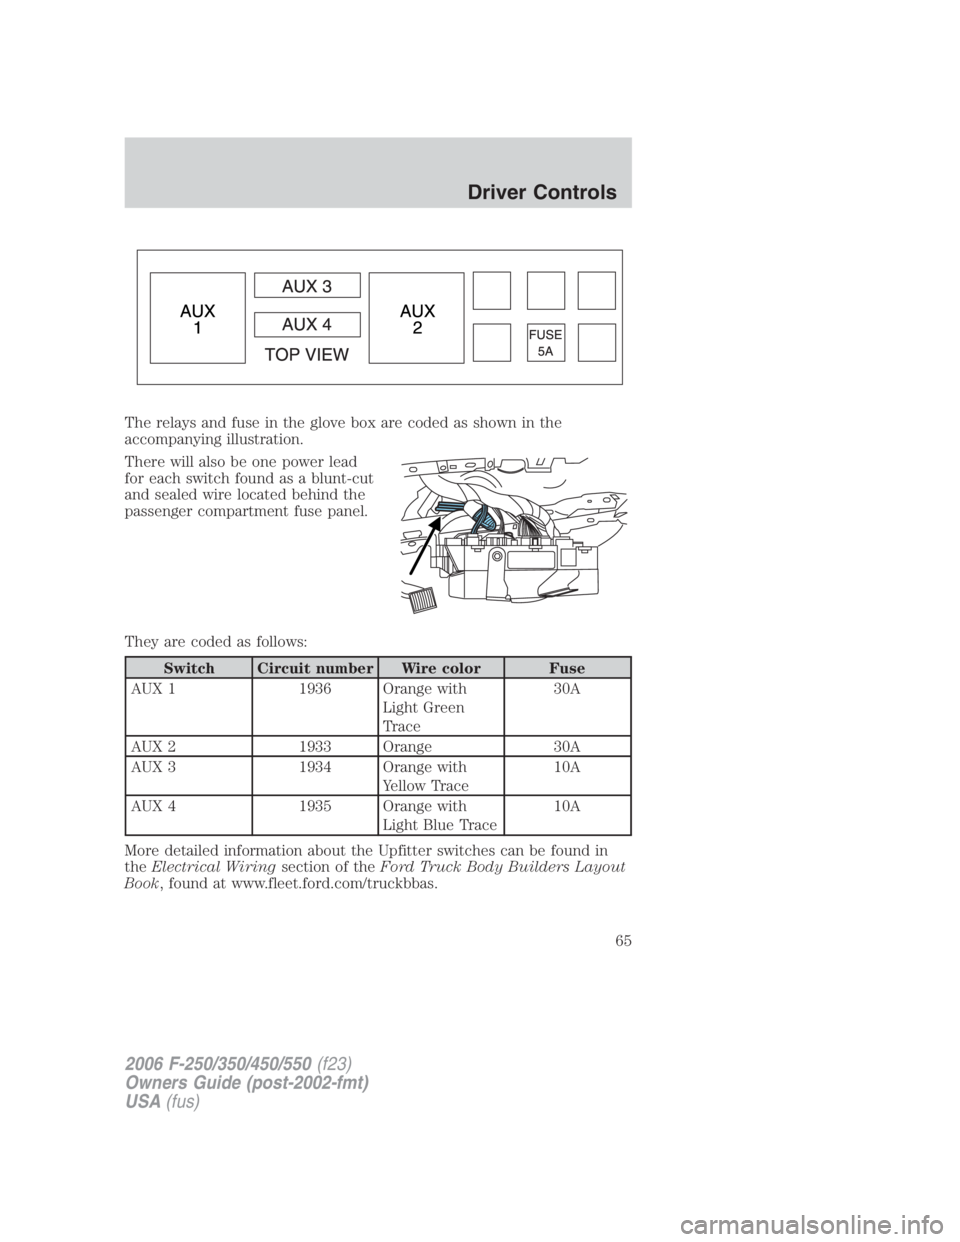
The relays and fuse in the glove box are coded as shown in the
accompanying illustration.
There will also be one power lead
for each switch found as a blunt-cut
and sealed wire located behind the
passenger compartment fuse panel.
They are coded as follows:
Switch Circuit number Wire color Fuse
AUX 1 1936 Orange with
Light Green
Trace 30A
AUX 2 1933 Orange 30A
AUX 3 1934 Orange with
Yellow Trace 10A
AUX 4 1935 Orange with
Light Blue Trace 10A
More detailed information about the Upfitter switches can be found in
the Electrical Wiring section of the Ford Truck Body Builders Layout
Book , found at www.fleet.ford.com/truckbbas.
2006 F-250/350/450/550 (f23)
Owners Guide (post-2002-fmt)
USA (fus) Driver Controls
65
Page 198 of 312
VEHICLE USED AS A STATIONARY POWER SOURCE
Auxiliary equipment called power take-off, or PTO, is often added to the
engine or transmission to operate utility equipment. Examples include a
wheel-lift for tow trucks, tools for construction and cranes. PTO
applications draw auxiliary horsepower from the powertrain, often while
the vehicle is stationary. In this condition, there is limited cooling air
flow through the radiator and around the vehicle that normally occurs
when a vehicle is moving. Depending on the level and duration of
auxiliary horsepower draw, vehicle conditions and surrounding
environmental conditions and other factors, this can contribute to
elevated transmission fluid temperatures and result in accelerated fluid
deterioration, fuel vapor over-pressurization, and other concerns. Ford
trucks are fully qualified for stationary PTO operation for 10 minutes or
less of continuous operation. For stationary PTO operation of extended
duration (beyond 10 minutes), diesel engine is recommended. Further
consult your aftermarket PTO installer, since the duration of operation
limit for the aftermarket PTO may be less than 10 minutes.
A more complete description of PTO operation is discussed in the Ford
Truck Body Builders Layout Book, found at
www.fleet.ford.com/truckbbas.
DRIVING THROUGH WATER
If driving through deep or standing water is unavoidable, proceed very
slowly especially when the depth is not known. Never drive through
water that is higher than the bottom of the hubs (for trucks) or the
bottom of the wheel rims (for cars). When driving through water,
traction or brake capability may be limited. Also, water may enter your
engine’s air intake and severely damage your engine or your vehicle may
stall. Driving through deep water where the transmission vent
tube is submerged may allow water into the transmission and
cause internal transmission damage.
Once through the water, always dry the brakes by moving your
vehicle slowly while applying light pressure on the brake pedal.
Wet brakes do not stop the vehicle as quickly as dry brakes.
2006 F-250/350/450/550 (f23)
Owners Guide (post-2002-fmt)
USA (fus)Driving
198
Page 199 of 312
SNOWPLOWING
Ford recommends that the Super Duty F-Series used for snow removal
include a snow plow package option.
Installing the snowplow
Weight limits and guidelines for selecting and installing the snowplow can
be found in the Ford Truck Body Builders Layout Book, Snowplow
section, found at www.fleet.ford.com/truckbbas. A typical installation
affects the following:
• Certification to government safety laws such as occupant protection
and airbag deployment, braking, and lighting. Look for an “Alterer’s
Label” on the vehicle from the snowplow installer certifying that the
installation meets all applicable Federal Motor Vehicle Safety
Standards (FMVSS).
• The Total Accessory Reserve Capacity (TARC) is shown on the lower
right side of the vehicle’s Safety Compliance Certification Label. This
applies to Ford-completed vehicles of 10,000 lb. (4,536 kg) GVWR or
less. This is the weight of permanently-attached auxiliary equipment,
such as snowplow frame-mounting hardware, that can be added to the
vehicle and satisfy Ford compliance certification to FMVSS. Exceeding
this weight may require the auxiliary equipment installer additional
safety certification responsibility. The Front Accessory Reserve
Capacity (FARC) is added for customer convenience.
• Rear ballast weight behind the rear axle may be required to prevent
exceeding the FGAWR, and provide front-to-rear weight balance for
proper braking and steering.
• Front wheel toe may require re-adjustment to prevent premature
uneven tire wear. Specifications are found in the Ford Workshop
Manual .
• Headlight aim may require re-adjustment.
• Federal and some local regulations require additional exterior lamps
for snowplow-equipped vehicles. Consult your authorized dealer for
additional information.
• Snowplowing with vehicles equipped with a 6.0 Liter Power Stroke
diesel engine may result in engine overheating under certain operating
conditions unless equipped with the special engine cooling fan clutch
that is included with a snow plow package option.
2006 F-250/350/450/550 (f23)
Owners Guide (post-2002-fmt)
USA (fus) Driving
199