Page 200 of 312

Operating the vehicle with the snowplow attached
Do not use your vehicle for snow removal until it has been driven at
least 500 miles (800 km).
The attached snowplow blade restricts airflow to the radiator, and may
cause the engine to run at a higher temperature:
• If you are driving more than 15 miles (24 km) where outside air
temperatures are above freezing, then angle the plow blade to full left
or right to maximize airflow to the radiator.
• If you are driving less than 15 miles (24 km) at speeds up to 40 mph
(64 km/h) in cold weather you will not need to adjust blade position
Follow the severe duty schedule in your scheduled maintenance
information for engine oil and transmission fluid change intervals.
Snowplowing with your airbag-equipped vehicle
Your vehicle is equipped with a driver and passenger airbag
Supplemental Restraint System (SRS) The SRS is designed to activate in
certain frontal and offset frontal collisions when the vehicle sustains
sufficient longitudinal deceleration.
Careless or high speed driving while plowing snow which results in
sufficient vehicle decelerations can deploy the airbag. Such driving also
increases the risk of accidents.
All occupants of the vehicle, including the driver, should always
properly wear their safety belts, even when an air bag
supplemental restraint system (SRS) is provided.
Never remove or defeat the “tripping mechanisms” designed into the
snow removal equipment by its manufacturer. Doing so may cause
damage to the vehicle and the snow removal equipment as well as
possible airbag deployment.
Do not attempt to service, repair, or modify the air bag
supplemental restraint system (SRS) or its fuses. See your Ford
or Lincoln Mercury dealer.
Additional equipment such as snowplow equipment may effect
the performance of the airbag sensors increasing the risk of
injury. Please refer to the Body Builders Layout Book for instructions
about the appropriate installation of additional equipment.
2006 F-250/350/450/550 (f23)
Owners Guide (post-2002-fmt)
USA (fus)Driving
200
Page 213 of 312
Fuse/Relay
Location Fuse Amp
Rating Power Distribution Box
Description
12 2A** Brake pressure switch
13 15A** Daytime Running Lamps (DRL)
14 — Not used
15 15A** IDM logic (Diesel engine only)
16 — Not used
17 10A** A/C clutch
18 10A** IDM relay (Diesel engine only)
19 — Not used
20 10A** Trailer tow back-up lamps
21 — Not used
22 60A*** ABS (Coils)
23 60A*** ABS (Pump)
201 1
� 2
ISO relay Trailer tow right turn signal/stop
lamp
202 1
� 2
ISO relay Trailer tow left turn signal/stop
lamp
203 1
� 2
ISO relay A/C clutch
204 — Not used
205 1
� 2
ISO relay DRL #1
206 1
� 2
ISO relay DRL #2
301 Full ISO relay DRL #3
302 Full ISO relay HFCM
303 Full ISO relay Blower
304 High-current
relay IDM (Diesel engine only)
* Cartridge Fuse ** Mini Fuses *** Maxi fuse
2006 F-250/350/450/550 (f23)
Owners Guide (post-2002-fmt)
USA (fus) Roadside Emergencies
213
Page 251 of 312
IDENTIFYING COMPONENTS IN THE ENGINE COMPARTMENT
5.4L V8 gasoline engines
Refer to the 6.0 Liter Power Stroke Direct Injection Turbo Diesel
Owner’s Guide Supplement for diesel engine component locations.
1. Transmission fluid dipstick (automatic transmission)
2. Air filter assembly
3. Engine coolant reservoir
4. Brake fluid reservoir
5. Clutch fluid reservoir (manual transmission)
6. Power distribution box
7. Power steering fluid reservoir
8. Engine oil dipstick
9. Engine oil filler cap
10. Windshield washer fluid reservoir
11. Battery
2006 F-250/350/450/550 (f23)
Owners Guide (post-2002-fmt)
USA (fus) Maintenance and Specifications
251
Page 252 of 312
6.8L V10 gasoline engine
Refer to the 6.0 Liter Power Stroke Direct Injection Turbo Diesel
Owner’s Guide Supplement for diesel engine component locations.
1. Transmission fluid dipstick (automatic transmission)
2. Engine coolant reservoir
3. Brake fluid reservoir
4. Clutch fluid reservoir (manual transmission)
5. Power distribution box
6. Power steering fluid reservoir
7. Air filter assembly
8. Engine oil dipstick
9. Engine oil filler cap
10. Windshield washer fluid reservoir
11. Battery 1 2 3 4 5
10 9 8 7 611
2006 F-250/350/450/550 (f23)
Owners Guide (post-2002-fmt)
USA (fus)Maintenance and Specifications
252
Page 254 of 312

CHANGING THE WIPER BLADES
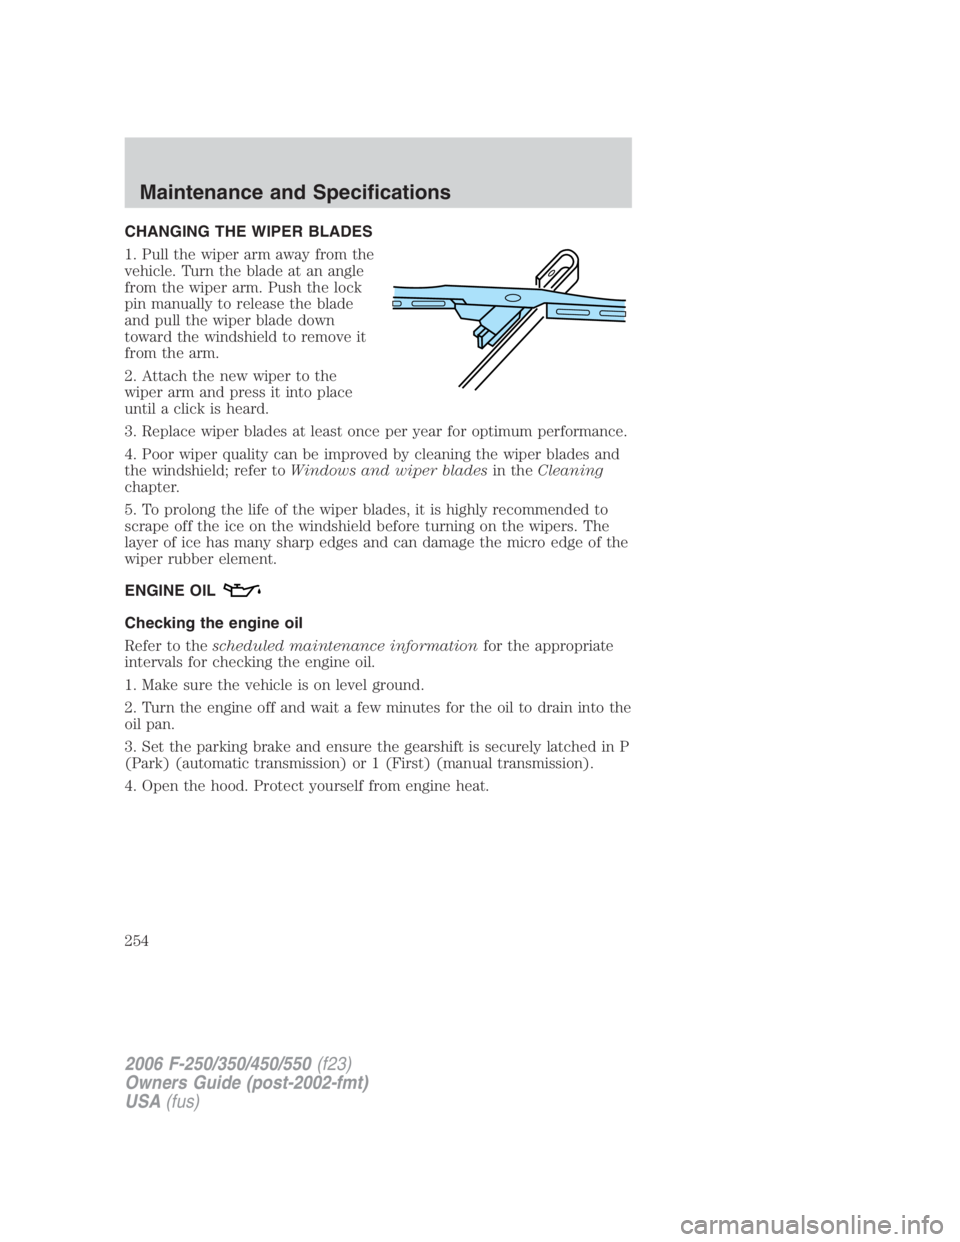
1. Pull the wiper arm away from the
vehicle. Turn the blade at an angle
from the wiper arm. Push the lock
pin manually to release the blade
and pull the wiper blade down
toward the windshield to remove it
from the arm.
2. Attach the new wiper to the
wiper arm and press it into place
until a click is heard.
3. Replace wiper blades at least once per year for optimum performance.
4. Poor wiper quality can be improved by cleaning the wiper blades and
the windshield; refer to Windows and wiper blades in the Cleaning
chapter.
5. To prolong the life of the wiper blades, it is highly recommended to
scrape off the ice on the windshield before turning on the wipers. The
layer of ice has many sharp edges and can damage the micro edge of the
wiper rubber element.
ENGINE OIL
Checking the engine oil
Refer to the scheduled maintenance information for the appropriate
intervals for checking the engine oil.
1. Make sure the vehicle is on level ground.
2. Turn the engine off and wait a few minutes for the oil to drain into the
oil pan.
3. Set the parking brake and ensure the gearshift is securely latched in P
(Park) (automatic transmission) or 1 (First) (manual transmission).
4. Open the hood. Protect yourself from engine heat.
2006 F-250/350/450/550 (f23)
Owners Guide (post-2002-fmt)
USA (fus)Maintenance and Specifications
254
Page 255 of 312
5. Locate and carefully remove the engine oil level indicator (dipstick).
• 5.4L V8 engine
• 6.8L V10 engine
2006 F-250/350/450/550 (f23)
Owners Guide (post-2002-fmt)
USA (fus) Maintenance and Specifications
255
Page 256 of 312

6. Wipe the indicator clean. Insert the indicator fully, then remove it
again.
• If the oil level is between the MIN and MAX marks, the oil level is
acceptable. DO NOT ADD OIL.
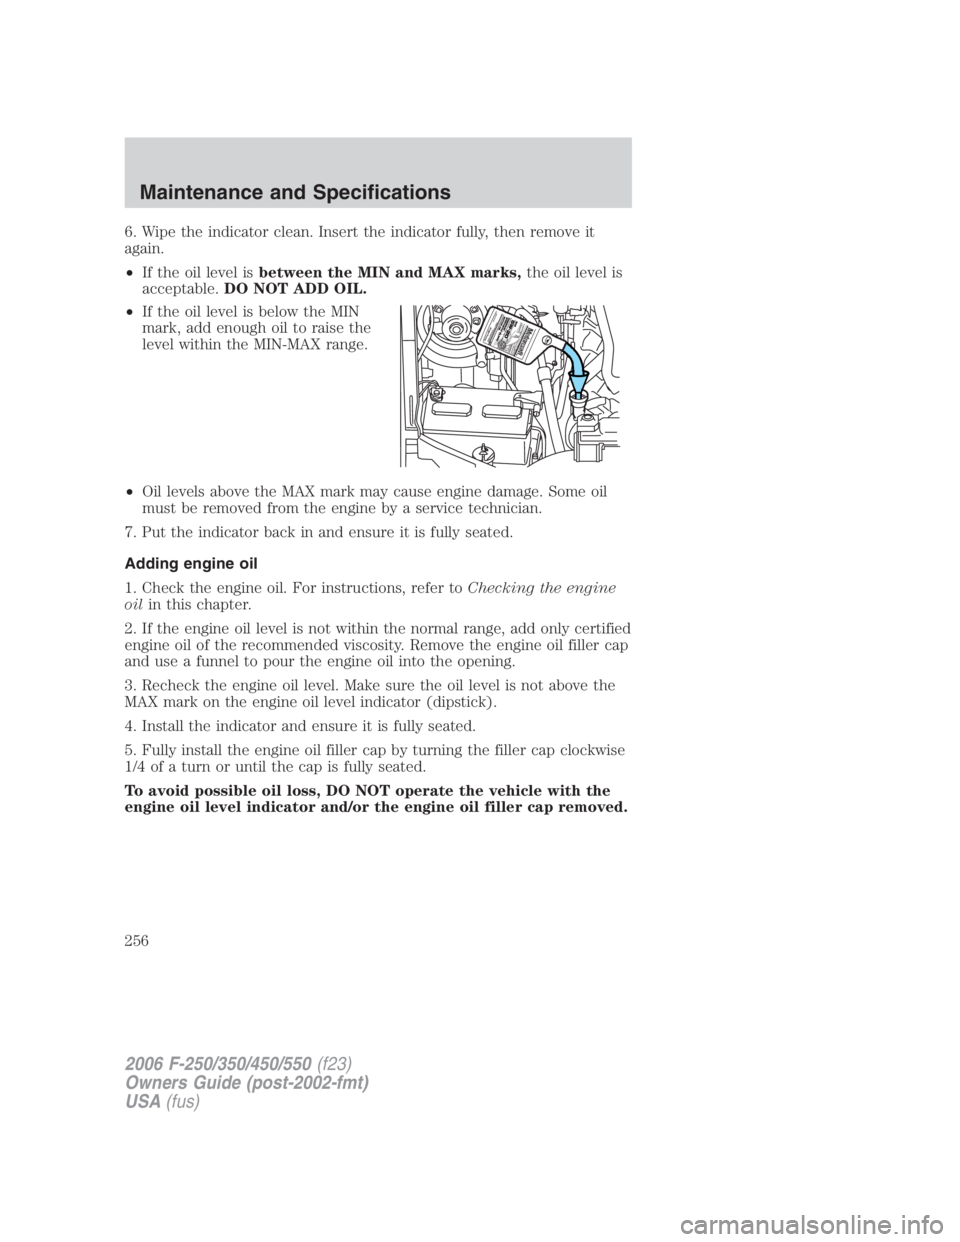
• If the oil level is below the MIN
mark, add enough oil to raise the
level within the MIN-MAX range.
• Oil levels above the MAX mark may cause engine damage. Some oil
must be removed from the engine by a service technician.
7. Put the indicator back in and ensure it is fully seated.
Adding engine oil
1. Check the engine oil. For instructions, refer to Checking the engine
oil in this chapter.
2. If the engine oil level is not within the normal range, add only certified
engine oil of the recommended viscosity. Remove the engine oil filler cap
and use a funnel to pour the engine oil into the opening.
3. Recheck the engine oil level. Make sure the oil level is not above the
MAX mark on the engine oil level indicator (dipstick).
4. Install the indicator and ensure it is fully seated.
5. Fully install the engine oil filler cap by turning the filler cap clockwise
1/4 of a turn or until the cap is fully seated.
To avoid possible oil loss, DO NOT operate the vehicle with the
engine oil level indicator and/or the engine oil filler cap removed.
2006 F-250/350/450/550 (f23)
Owners Guide (post-2002-fmt)
USA (fus)Maintenance and Specifications
256
Page 257 of 312

Engine oil and filter recommendations
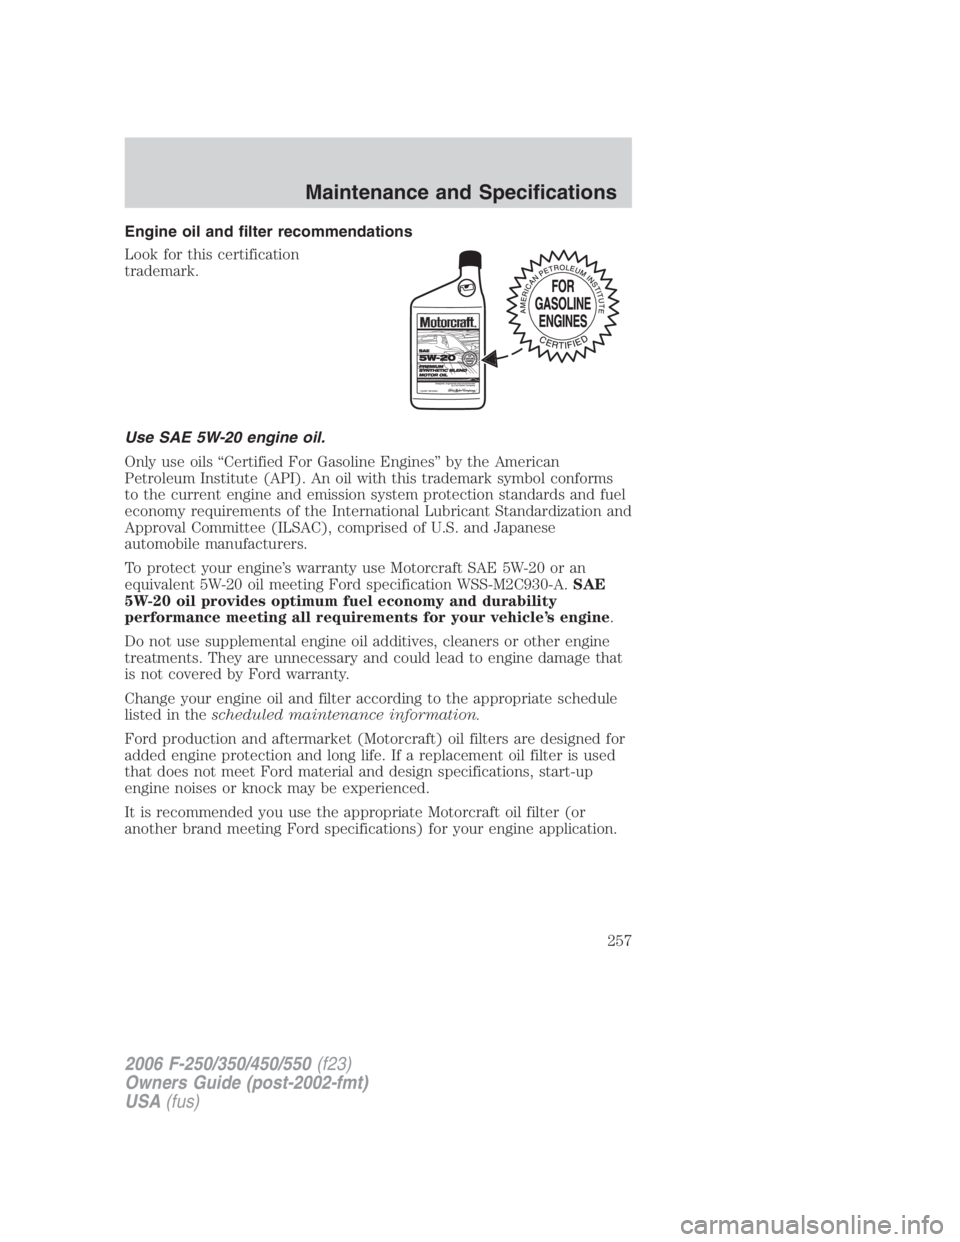
Look for this certification
trademark.
Use SAE 5W-20 engine oil.
Only use oils “Certified For Gasoline Engines” by the American
Petroleum Institute (API). An oil with this trademark symbol conforms
to the current engine and emission system protection standards and fuel
economy requirements of the International Lubricant Standardization and
Approval Committee (ILSAC), comprised of U.S. and Japanese
automobile manufacturers.
To protect your engine’s warranty use Motorcraft SAE 5W-20 or an
equivalent 5W-20 oil meeting Ford specification WSS-M2C930-A. SAE
5W-20 oil provides optimum fuel economy and durability
performance meeting all requirements for your vehicle’s engine .
Do not use supplemental engine oil additives, cleaners or other engine
treatments. They are unnecessary and could lead to engine damage that
is not covered by Ford warranty.
Change your engine oil and filter according to the appropriate schedule
listed in the scheduled maintenance information.
Ford production and aftermarket (Motorcraft) oil filters are designed for
added engine protection and long life. If a replacement oil filter is used
that does not meet Ford material and design specifications, start-up
engine noises or knock may be experienced.
It is recommended you use the appropriate Motorcraft oil filter (or
another brand meeting Ford specifications) for your engine application.
2006 F-250/350/450/550 (f23)
Owners Guide (post-2002-fmt)
USA (fus) Maintenance and Specifications
257