Page 83 of 312
The UNLOCK feature will work again after:
• a door has become ajar,
• the ignition is turned to the 4 (ON) position,
• unlocking the vehicle using the keyless entry keypad,
• or using the UNLOCK
control on your remote entry transmitter (if
equipped).
This feature is initially deactivated, but may be activated by taking your
vehicle to an authorized dealer.
Sounding a panic alarm
Press
to activate the alarm. Press again or turn the ignition to 4
(ON) to deactivate.
Note: The panic alarm will only operate when the ignition is in the 2
(LOCK) or 3 (OFF) position.
Replacing the battery
The remote entry transmitter uses one coin type three-volt lithium
battery CR2032 or equivalent.
To replace the battery:
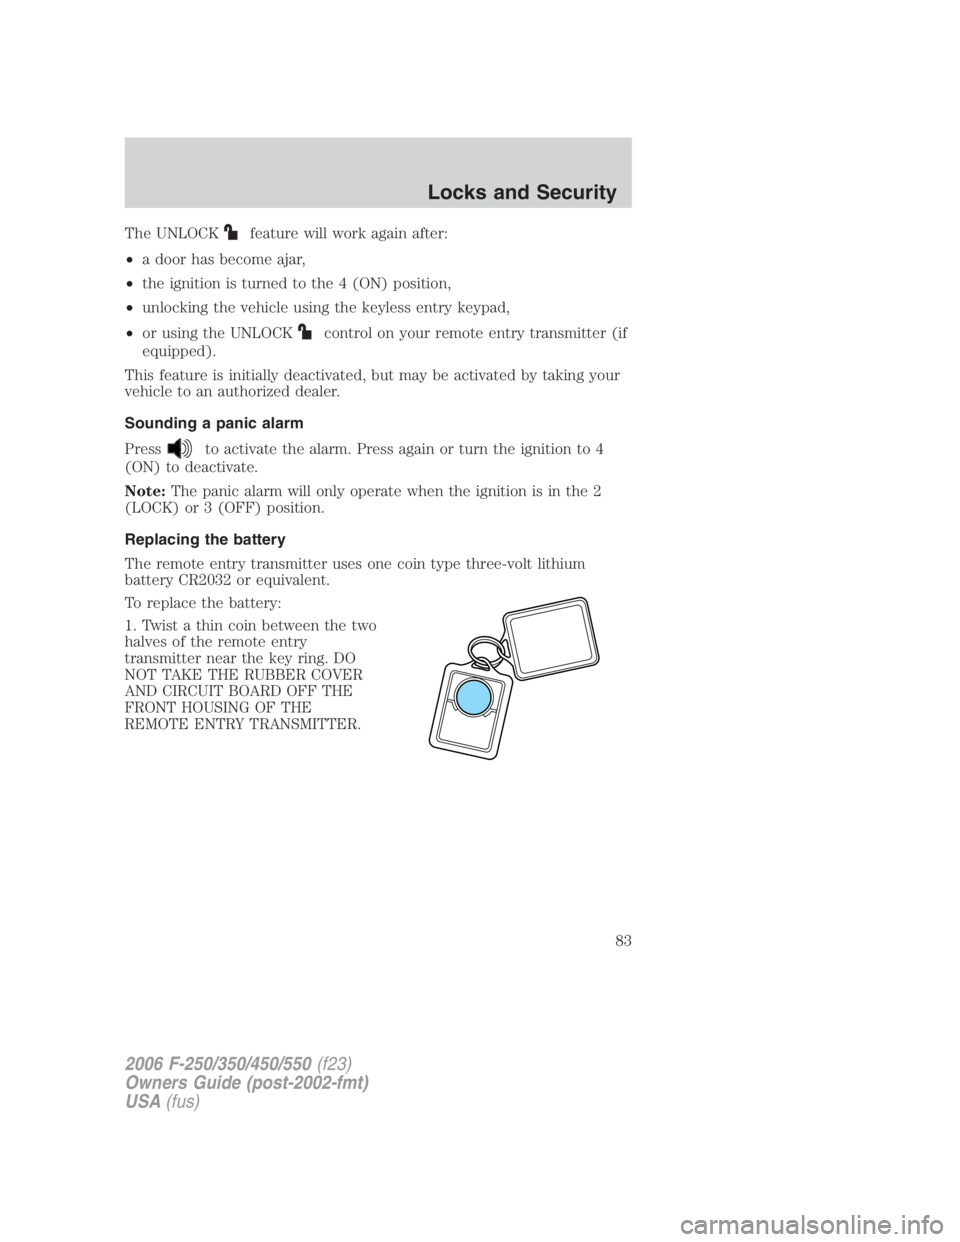
1. Twist a thin coin between the two
halves of the remote entry
transmitter near the key ring. DO
NOT TAKE THE RUBBER COVER
AND CIRCUIT BOARD OFF THE
FRONT HOUSING OF THE
REMOTE ENTRY TRANSMITTER.
2006 F-250/350/450/550 (f23)
Owners Guide (post-2002-fmt)
USA (fus) Locks and Security
83
Page 85 of 312
To program the keyless entry
keypads remote entry transmitters
yourself:
1. Ensure the vehicle is
electronically unlocked.
2. Put the key in the ignition.
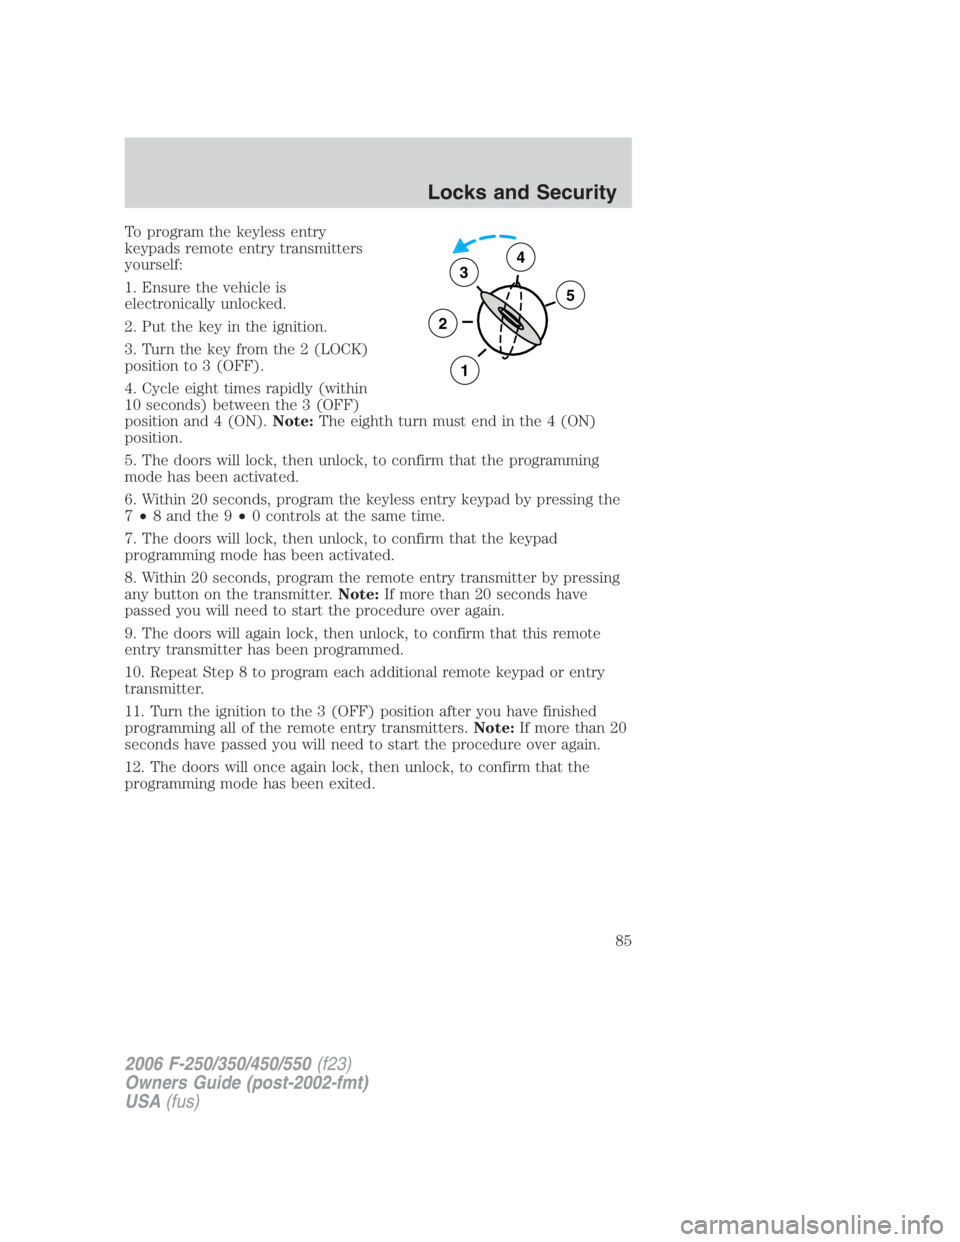
3. Turn the key from the 2 (LOCK)
position to 3 (OFF).
4. Cycle eight times rapidly (within
10 seconds) between the 3 (OFF)
position and 4 (ON). Note: The eighth turn must end in the 4 (ON)
position.
5. The doors will lock, then unlock, to confirm that the programming
mode has been activated.
6. Within 20 seconds, program the keyless entry keypad by pressing the
7 • 8 and the 9 • 0 controls at the same time.
7. The doors will lock, then unlock, to confirm that the keypad
programming mode has been activated.
8. Within 20 seconds, program the remote entry transmitter by pressing
any button on the transmitter. Note: If more than 20 seconds have
passed you will need to start the procedure over again.
9. The doors will again lock, then unlock, to confirm that this remote
entry transmitter has been programmed.
10. Repeat Step 8 to program each additional remote keypad or entry
transmitter.
11. Turn the ignition to the 3 (OFF) position after you have finished
programming all of the remote entry transmitters. Note: If more than 20
seconds have passed you will need to start the procedure over again.
12. The doors will once again lock, then unlock, to confirm that the
programming mode has been exited. 3
2
1 54
2006 F-250/350/450/550 (f23)
Owners Guide (post-2002-fmt)
USA (fus) Locks and Security
85
Page 86 of 312
Illuminated entry
The interior lamps illuminate when the remote entry system is used to
unlock the door(s).
The illuminated entry system will turn off the interior lights if:
• the ignition switch is turned to the 4 (ON) position, or
• the remote transmitter lock control is pressed, or
• the 7 • 8 and the 9 • 0 controls on the keyless entry keypad are
pressed, or
• after 25 seconds of illumination.
The dome lamp control (if equipped) must not be set to the off position
for the illuminated entry system to operate.
The inside lights will not turn off if:
• they have been turned on with the dimmer control, or
• any door is open.
The battery saver will shut off the interior lamps 30 minutes after the
ignition has been turned to the 3 (OFF) position, 10 minutes after if the
dome lamp is off, and 30 minutes after if the dome lamp switch is left
on.
KEYLESS ENTRY SYSTEM
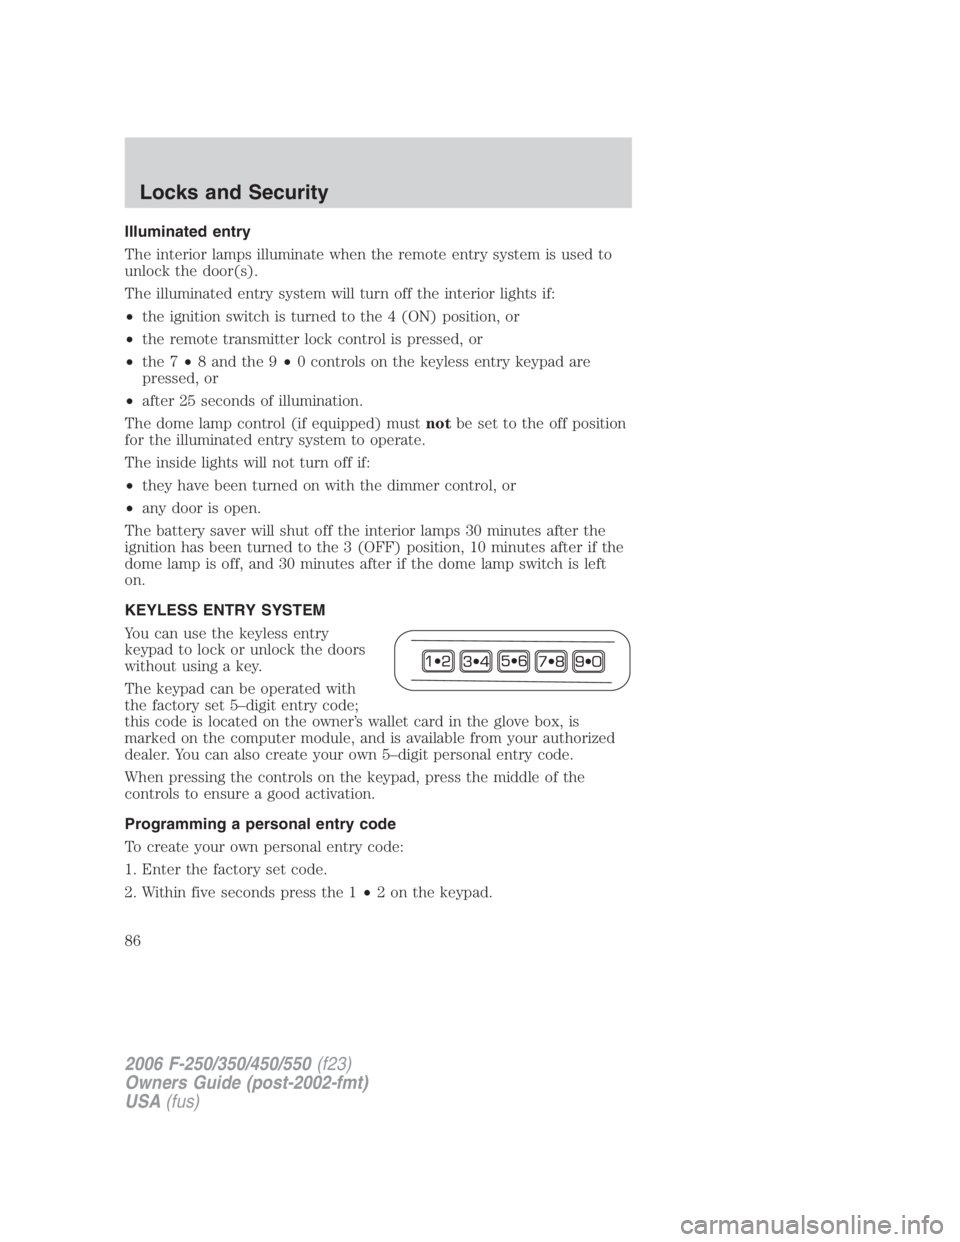
You can use the keyless entry
keypad to lock or unlock the doors
without using a key.
The keypad can be operated with
the factory set 5–digit entry code;
this code is located on the owner’s wallet card in the glove box, is
marked on the computer module, and is available from your authorized
dealer. You can also create your own 5–digit personal entry code.
When pressing the controls on the keypad, press the middle of the
controls to ensure a good activation.
Programming a personal entry code
To create your own personal entry code:
1. Enter the factory set code.
2. Within five seconds press the 1 • 2 on the keypad.
2006 F-250/350/450/550 (f23)
Owners Guide (post-2002-fmt)
USA (fus)Locks and Security
86
Page 87 of 312
3. Enter your personal 5-digit code. Each number must be entered
within five seconds of each other.
4. The doors will again lock then unlock to confirm that your personal
keycode has been programmed to the module.
Tips:
• Do not set a code that uses five of the same number.
• Do not use five numbers in sequential order.
• The factory set code will work even if you have set your own personal
code.
• If you set a second personal code it will erase your first personal code.
Erasing personal code
1. Enter the factory set 5–digit code.
2. Within five seconds, press the 1 • 2 on the keypad and release.
3. Press and hold the 1 • 2 for two seconds. This must be done within
five seconds of completing Step 2.
Your personal code is now erased and only the factory set 5–digit code
will work.
Anti-scan feature
If an incorrect code has been entered 7 times (35 consecutive button
presses), the keypad will go into an anti-scan mode. This mode disables
the keypad for one minute and the keypad lamp will flash during this
time.
The anti-scan feature will turn off after:
• one minute of keypad inactivity.
• pressing the control on the remote entry transmitter.
• the ignition is turned to the 4 (ON) position.
Unlocking and locking the doors using keyless entry
To unlock the driver’s door, enter the factory set 5-digit code or your
personal code. Each number must be pressed within five seconds of each
other. The interior lamps will illuminate after entering a valid keypad
entry code.
To unlock all doors, press the 3 • 4 control within five seconds.
To lock all doors, press the 7 • 8 and the 9 • 0 at the same time. You
do not need to enter the keypad code first. Note: The interior lamps
will turn off.
2006 F-250/350/450/550 (f23)
Owners Guide (post-2002-fmt)
USA (fus) Locks and Security
87
Page 88 of 312
Autolock (if equipped)
This feature automatically locks all vehicle doors when the following
conditions are met:
• the ignition key is in the 4 (ON) position,
• all the doors are closed,
• the brake is pressed before reaching 5 mph (8 km/h), and
• the vehicle is traveling more than 5 mph (8 km/h).
Relock
The autolock feature repeats when the following conditions are met:
• the vehicle’s speed is less than 5 mph (8 km/h),
• any door is opened then closed while the ignition is in the 4 (ON)
position,
• the brake is pressed before reaching 5 mph (8 km/h), and
• the vehicle is traveling more than 5 mph (8 km/h).
To deactivate/reactivate the autolock feature using the keypad
Your vehicle comes with the autolock feature activated. To
deactivate/reactivate this feature:
1. Ensure that the anti-theft system is not armed.
2. Turn the ignition to the 3 (OFF) position.
3. Close all the doors, liftgate and cargo doors.
4. Enter the 5-digit entry code.
5. Press and hold the 7 • 8. While holding the 7 • 8, press and release
the 3 • 4.
6. Release the 7 • 8.
The horn will chirp once when the system has been successfully
deactivated.
The horn will chirp twice (one short and one long chirp) when the
system has been successfully reactivated.
2006 F-250/350/450/550 (f23)
Owners Guide (post-2002-fmt)
USA (fus)Locks and Security
88
Page 89 of 312
To deactivate/reactivate the autolock feature using the power door
unlock control
You must complete Steps 1-7 within 30 seconds or the procedure will
have to be repeated. If the procedure needs to be repeated, you must
wait 30 seconds.
1. Insert the key and turn the ignition to the 4 (ON) position.
2. Press the power door unlock control three times.
3. Turn the ignition from the 4 (ON) position to the 3 (OFF) position.
4. Press the power door unlock control three times.
5. Turn the ignition back to the 4 (ON) position. The horn will chirp.
6. Press the unlock control, then press the lock control. The horn will
chirp once if autolock was deactivated or twice (one short and one long
chirp) if autolock was activated. Note: Pressing the power door
UNLOCK/LOCK button again will toggle between activating and
deactivating the autolock feature.
7. Turn the ignition to the 3 (OFF) position. The horn will chirp once to
confirm the procedure is complete.
2006 F-250/350/450/550 (f23)
Owners Guide (post-2002-fmt)
USA (fus) Locks and Security
89
Page 101 of 312
BELT AND RETRACTOR ASSEMBLY MUST BE REPLACED if
the seat belt assembly “automatic locking retractor” feature or
any other seat belt function is not operating properly when checked
according to the procedures in the Workshop Manual . Failure to
replace the belt and retractor assembly could increase the risk of
injury in collisions.
Energy Management Feature
• This vehicle has a seat belt system with an energy management
feature at the front outboard seating positions to help further reduce
the risk of injury in the event of a head-on collision.
• The front outboard seat belt systems have a retractor assembly that is
designed to pay out webbing in a controlled manner. This feature is
designed to help reduce the belt force acting on the occupant’s chest.
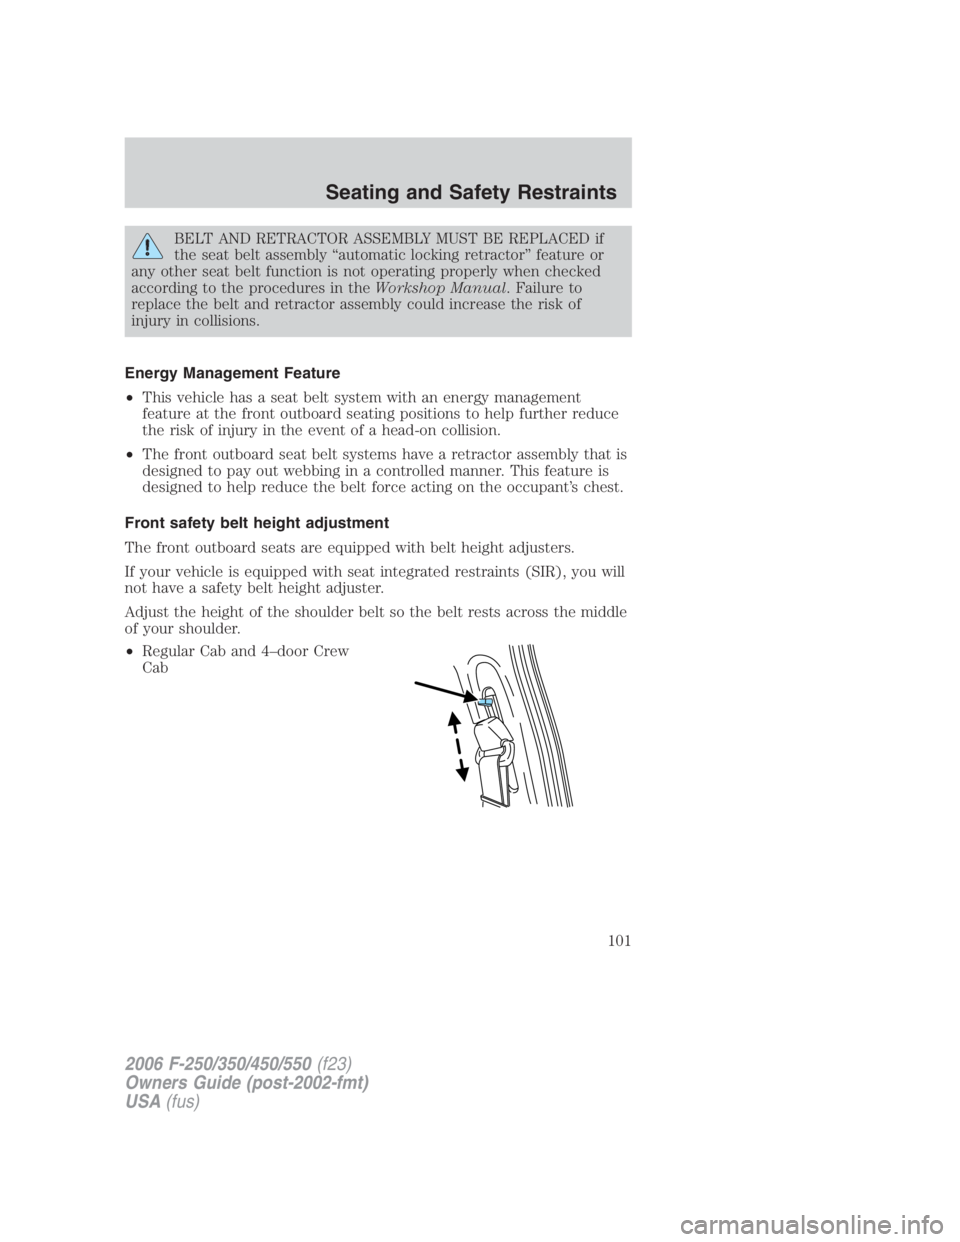
Front safety belt height adjustment
The front outboard seats are equipped with belt height adjusters.
If your vehicle is equipped with seat integrated restraints (SIR), you will
not have a safety belt height adjuster.
Adjust the height of the shoulder belt so the belt rests across the middle
of your shoulder.
• Regular Cab and 4–door Crew
Cab
2006 F-250/350/450/550 (f23)
Owners Guide (post-2002-fmt)
USA (fus) Seating and Safety Restraints
101
Page 102 of 312
• 4–door Super Cab
To adjust the shoulder belt height, push the button and slide the height
adjuster up or down. Release the button and pull down on the height
adjuster to make sure it is locked in place.
Position the safety belt height adjusters so that the belt rests
across the middle of your shoulder. Failure to adjust the safety
belt properly could reduce the effectiveness of the seat belt and
increase the risk of injury in a collision.
Lap belts
Adjusting the lap belt
The lap belt should fit snugly and as low as possible around the
hips, not across the waist.
• 1st row center seating position
The lap belt does not adjust automatically.
2006 F-250/350/450/550 (f23)
Owners Guide (post-2002-fmt)
USA (fus)Seating and Safety Restraints
102