2006 FORD F SERIES MOTORHOME AND COMMERCIAL CHASSIS brake light
[x] Cancel search: brake lightPage 59 of 128
Do not drive your vehicle until you verify that the brakelamps
are working.
Always set the parking brake fully and make sure the gearshift is
latched in P (Park). Turn the ignition to the LOCK position and
remove the key whenever you leave your vehicle.
If the parking brake is fully released, but the brake warning lamp
remains illuminated, the brakes may not be working properly.
See your dealer or a qualified service technician.
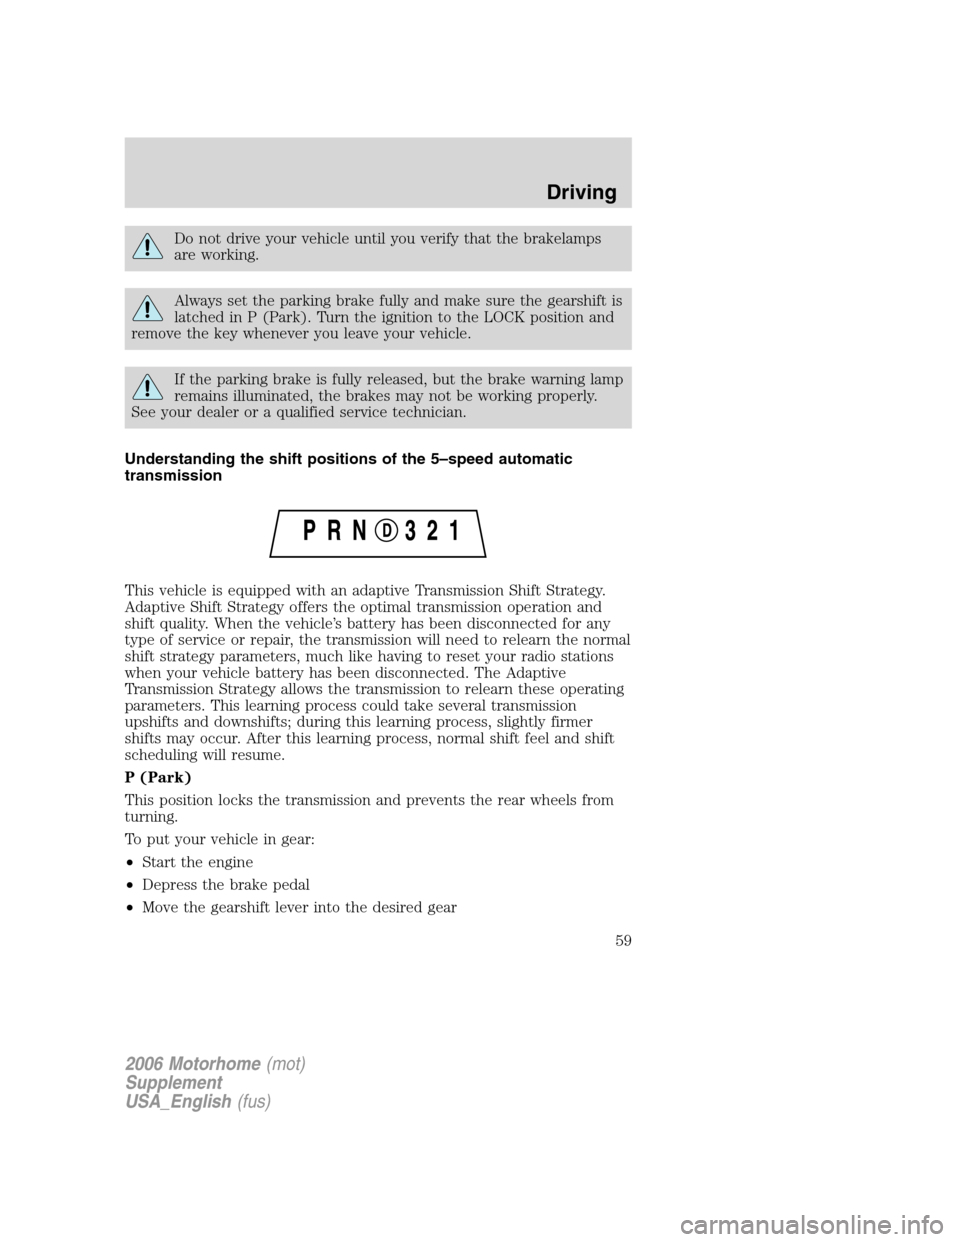
Understanding the shift positions of the 5–speed automatic
transmission
This vehicle is equipped with an adaptive Transmission Shift Strategy.
Adaptive Shift Strategy offers the optimal transmission operation and
shift quality. When the vehicle’s battery has been disconnected for any
type of service or repair, the transmission will need to relearn the normal
shift strategy parameters, much like having to reset your radio stations
when your vehicle battery has been disconnected. The Adaptive
Transmission Strategy allows the transmission to relearn these operating
parameters. This learning process could take several transmission
upshifts and downshifts; during this learning process, slightly firmer
shifts may occur. After this learning process, normal shift feel and shift
scheduling will resume.
P (Park)
This position locks the transmission and prevents the rear wheels from
turning.
To put your vehicle in gear:
•Start the engine
•Depress the brake pedal
•Move the gearshift lever into the desired gear
2006 Motorhome(mot)
Supplement
USA_English(fus)
Driving
59
Page 60 of 128
To put your vehicle in P (Park):
•Come to a complete stop
•Move the gearshift lever and securely latch it in P (Park)
Always set the parking brake fully and make sure the gearshift is
latched in P (Park). Turn the ignition to the LOCK position and
remove the key whenever you leave your vehicle.
R (Reverse)
With the gearshift lever in R (Reverse), the vehicle will move backward.
Always come to a complete stop before shifting into and out of R
(Reverse).
N (Neutral)
With the gearshift lever in N (Neutral), the vehicle can be started and is
free to roll. Hold the brake pedal down while in this position.
D (Overdrive) with Tow/Haul OFF
D (Overdrive) with Tow/Haul OFF is the normal driving position for the
best fuel economy. The overdrive function allows automatic upshifts and
downshifts through gears one through five.
D (Overdrive) with Tow/Haul ON
The Tow/Haul feature improves transmission operation when towing a
trailer or a heavy load. All transmission gear ranges are available when
using Tow/Haul.
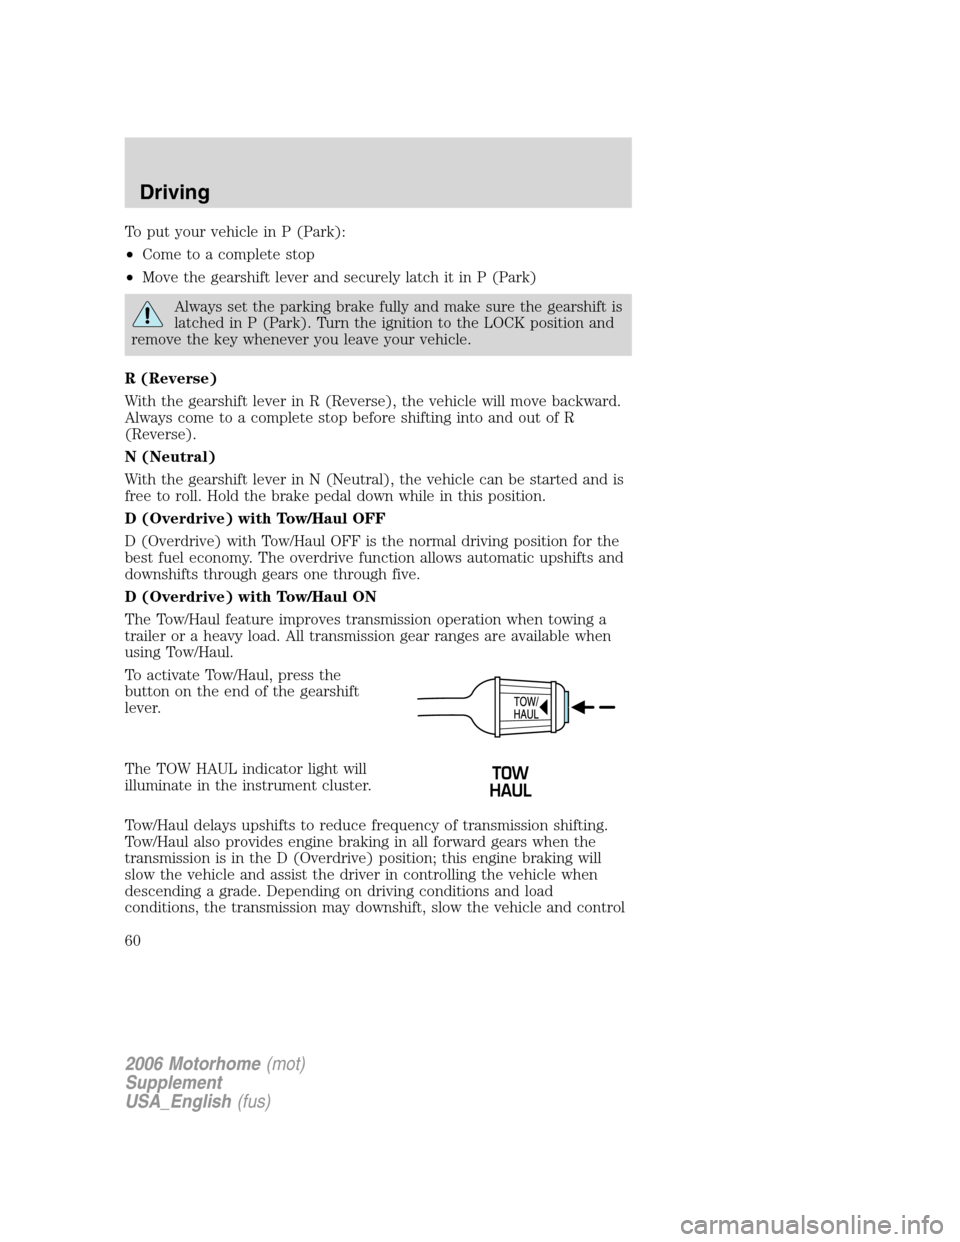
To activate Tow/Haul, press the
button on the end of the gearshift
lever.
The TOW HAUL indicator light will
illuminate in the instrument cluster.
Tow/Haul delays upshifts to reduce frequency of transmission shifting.
Tow/Haul also provides engine braking in all forward gears when the
transmission is in the D (Overdrive) position; this engine braking will
slow the vehicle and assist the driver in controlling the vehicle when
descending a grade. Depending on driving conditions and load
conditions, the transmission may downshift, slow the vehicle and control
2006 Motorhome(mot)
Supplement
USA_English(fus)
Driving
60
Page 61 of 128
the vehicle speed when descending a hill, without the accelerator pedal
being pressed. The amount of downshift braking provided will vary based
upon the amount the brake pedal is depressed.
Grade braking downshifts occur automatically when:
•positive vehicle acceleration (natural acceleration from driving on a
decline) is sensed.
•nearly all pressure is released from the accelerator pedal.
•a minimum amount of time has expired since the last grade braking
downshift.
Grade braking downshift mode is immediately exited if the Tow/Haul
mode is deactivated or if the accelerator pedal is depressed beyond a
minimum threshold.
To deactivate the Tow/Haul feature and return to normal driving mode,
press the button on the end of the gearshift lever. The TOW HAUL light
will no longer be illuminated.
When you shut-off and restart the engine, the transmission will
automatically return to normal D (Overdrive) mode (Tow/Haul OFF).
Do not use the Tow/Haul feature when driving in icy or slippery
conditions as the increased engine braking can cause the rear
wheels to slide and the vehicle to swing around with the possible loss
of vehicle control.
3 (Third)
Transmission operates up to third gear only.
Used for improved traction on slippery roads. Selecting 3 (Third)
provides engine braking.
2 (Second)
Use 2 (Second) to start-up on slippery roads or to provide additional
engine braking on downgrades.
1 (First)
•Provides maximum engine braking.
•Allows upshifts by moving gearshift lever.
•The transmission will not downshift into 1 (First) at high speeds; it
will downshift to a lower gear and then shift into 1 (First) when the
vehicle reaches slower speeds.
2006 Motorhome(mot)
Supplement
USA_English(fus)
Driving
61
Page 62 of 128
Forced downshifts
•Allowed in D (Overdrive) with the Tow/Haul feature on or off.
•Depress the accelerator to the floor.
•Allows transmission to select an appropriate gear.
If your vehicle gets stuck in mud or snow
If your vehicle gets stuck in mud or snow, it may be rocked out by
shifting between forward and reverse gears, stopping between shifts in a
steady pattern. Press lightly on the accelerator in each gear.
Do not rock the vehicle if the engine is not at normal operating
temperature or damage to the transmission may occur.
Do not rock the vehicle for more than a minute or damage to the
transmission and tires may occur, or the engine may overheat.
DRIVING THROUGH WATER
Do not drive quickly through standing water, especially if the depth is
unknown. Traction or brake capability may be limited and if the ignition
system gets wet, your engine may stall. Water may also enter your
engine’s air intake and severely damage your engine.
If driving through deep or standing water is unavoidable, proceed very
slowly. Never drive through water that is higher than the bottom of the
hubs (for trucks) or the bottom of the wheel rims (for cars).
Once through the water, always try the brakes. Wet brakes do not stop
the vehicle as effectively as dry brakes. Drying can be improved by
moving your vehicle slowly while applying light pressure on the brake
pedal.
Driving through deep water where the transmission vent tube is
submerged may allow water into the transmission and cause
internal transmission damage. Have the fluid checked and, if
water is found, replace the fluid.
2006 Motorhome(mot)
Supplement
USA_English(fus)
Driving
62
Page 64 of 128
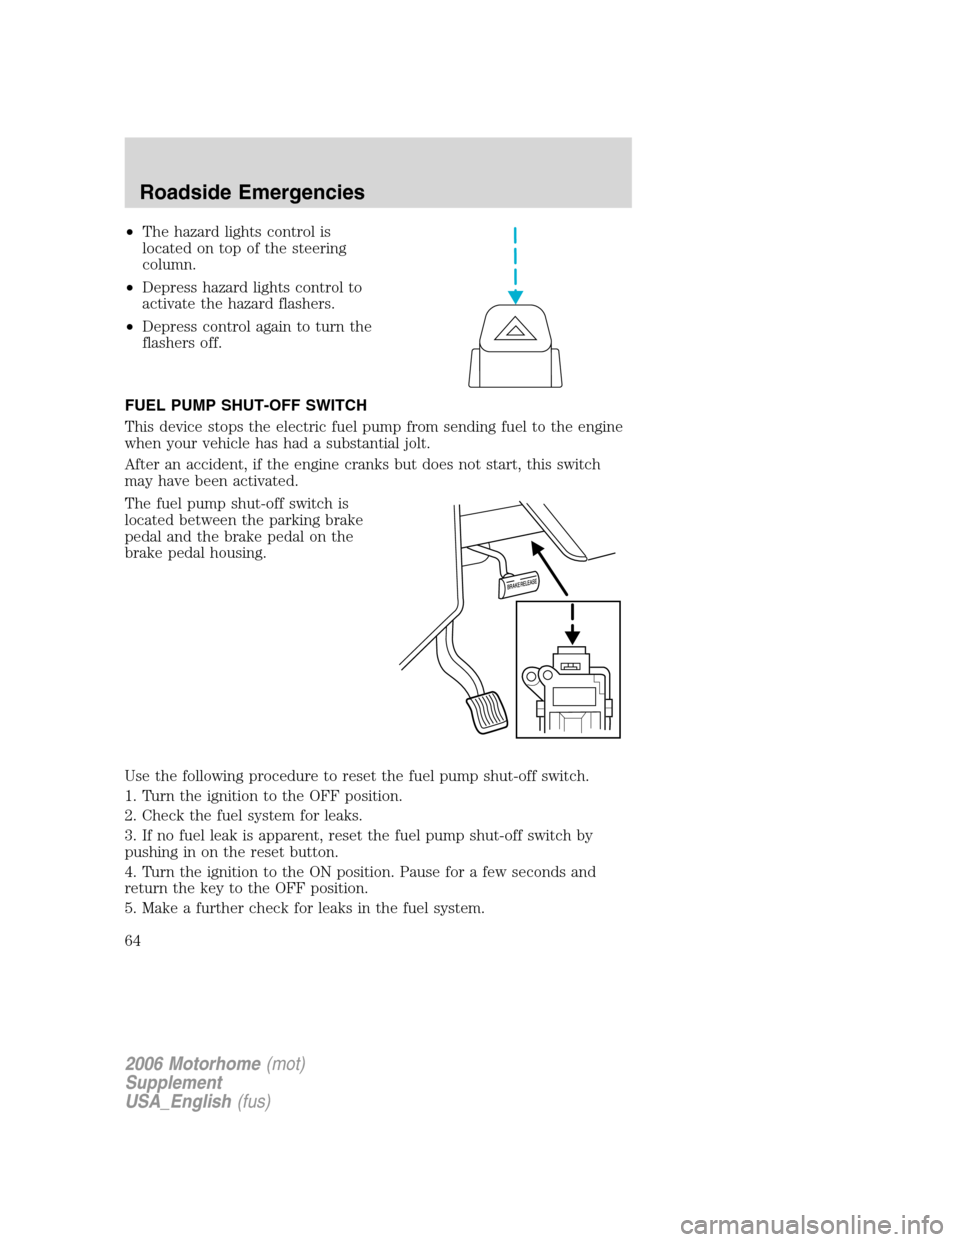
•The hazard lights control is
located on top of the steering
column.
•Depress hazard lights control to
activate the hazard flashers.
•Depress control again to turn the
flashers off.
FUEL PUMP SHUT-OFF SWITCH
This device stops the electric fuel pump from sending fuel to the engine
when your vehicle has had a substantial jolt.
After an accident, if the engine cranks but does not start, this switch
may have been activated.
The fuel pump shut-off switch is
located between the parking brake
pedal and the brake pedal on the
brake pedal housing.
Use the following procedure to reset the fuel pump shut-off switch.
1. Turn the ignition to the OFF position.
2. Check the fuel system for leaks.
3. If no fuel leak is apparent, reset the fuel pump shut-off switch by
pushing in on the reset button.
4. Turn the ignition to the ON position. Pause for a few seconds and
return the key to the OFF position.
5. Make a further check for leaks in the fuel system.
2006 Motorhome(mot)
Supplement
USA_English(fus)
Roadside Emergencies
64
Page 71 of 128
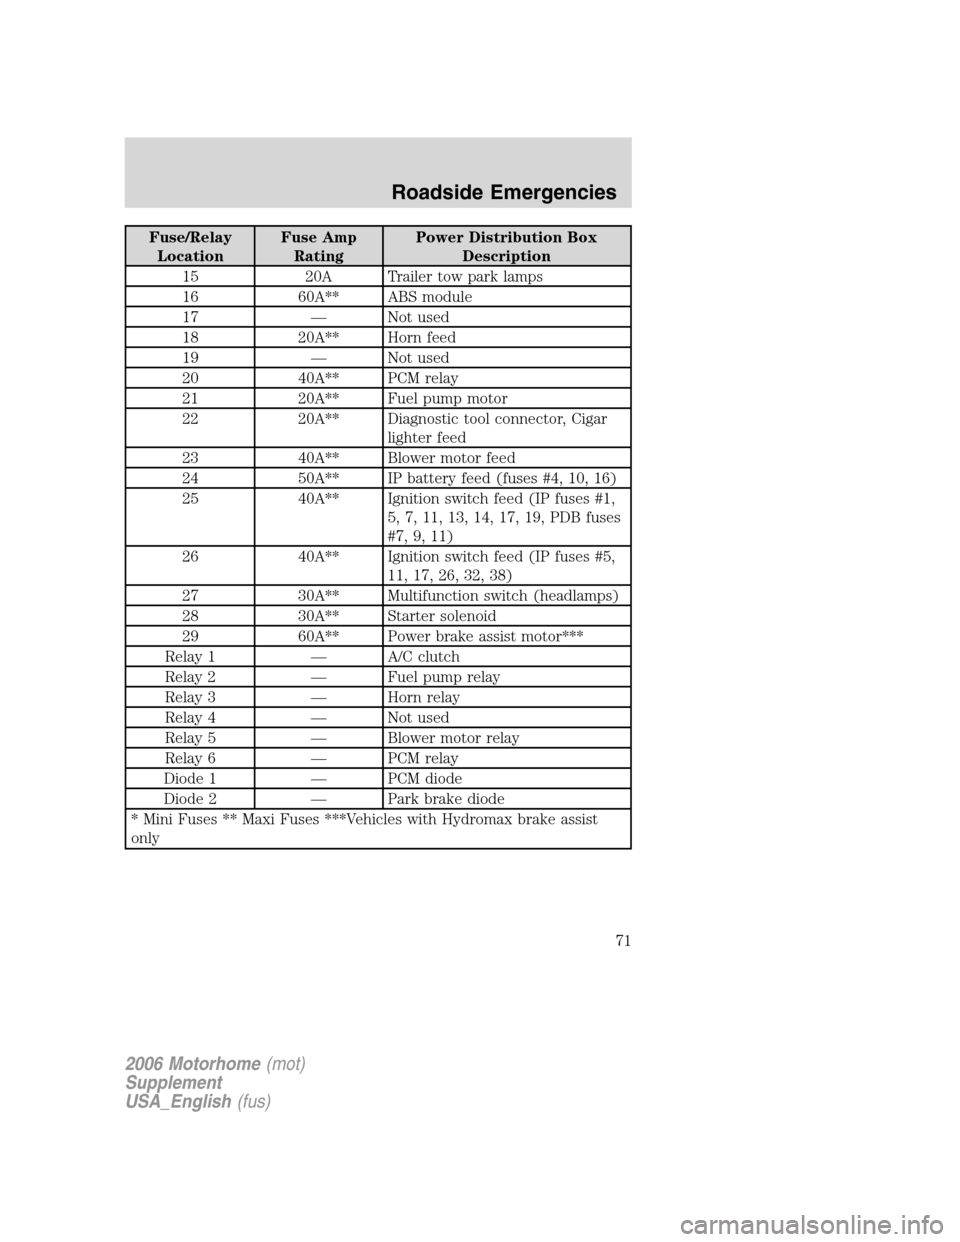
Fuse/Relay
LocationFuse Amp
RatingPower Distribution Box
Description
15 20A Trailer tow park lamps
16 60A** ABS module
17 — Not used
18 20A** Horn feed
19 — Not used
20 40A** PCM relay
21 20A** Fuel pump motor
22 20A** Diagnostic tool connector, Cigar
lighter feed
23 40A** Blower motor feed
24 50A** IP battery feed (fuses #4, 10, 16)
25 40A** Ignition switch feed (IP fuses #1,
5, 7, 11, 13, 14, 17, 19, PDB fuses
#7, 9, 11)
26 40A** Ignition switch feed (IP fuses #5,
11, 17, 26, 32, 38)
27 30A** Multifunction switch (headlamps)
28 30A** Starter solenoid
29 60A** Power brake assist motor***
Relay 1 — A/C clutch
Relay 2 — Fuel pump relay
Relay 3 — Horn relay
Relay 4 — Not used
Relay 5 — Blower motor relay
Relay 6 — PCM relay
Diode 1 — PCM diode
Diode 2 — Park brake diode
* Mini Fuses ** Maxi Fuses ***Vehicles with Hydromax brake assist
only
2006 Motorhome(mot)
Supplement
USA_English(fus)
Roadside Emergencies
71
Page 73 of 128
Preparing your vehicle
When the battery is disconnected or a new battery is installed, the
transmission must relearn its shift strategy. As a result, the transmission
may have firm and/or soft shifts. This operation is considered normal and
will not affect function or durability of the transmission. Over time, the
adaptive learning process will fully update transmission operation.
1.Use only a 12–volt supply to start your vehicle.
2. Do not disconnect the battery of the disabled vehicle as this could
damage the vehicle’s electrical system.
3. Park the booster vehicle close to the hood of the disabled vehicle
making sure the two vehiclesdo nottouch. Set the parking brake on
both vehicles and stay clear of the engine cooling fan and other moving
parts.
4. Check all battery terminals and remove any excessive corrosion before
you attach the battery cables. Ensure that vent caps are tight and level.
5. Turn the heater fan on in both vehicles to protect any electrical
surges. Turn all other accessories off.
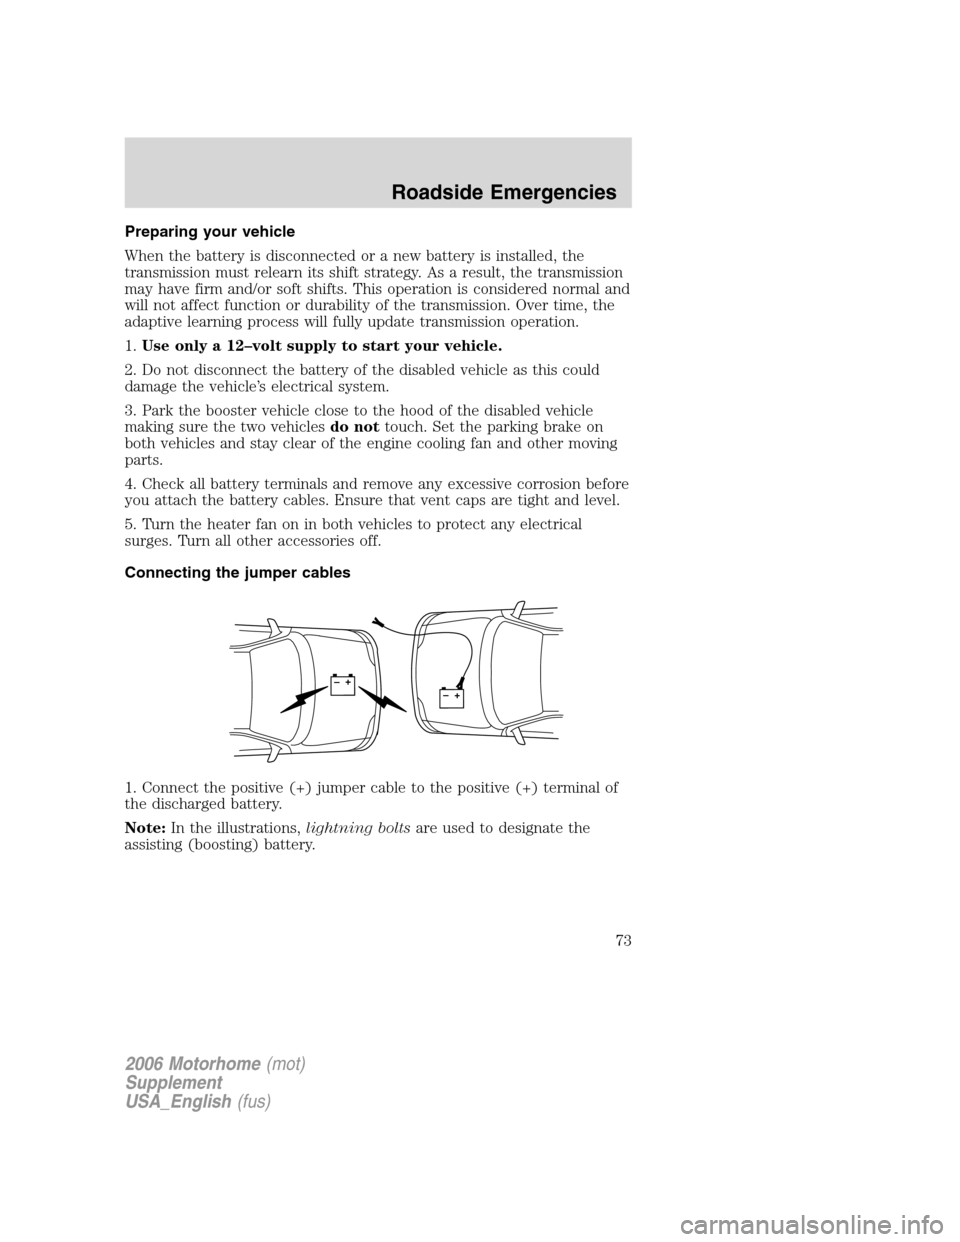
Connecting the jumper cables
1. Connect the positive (+) jumper cable to the positive (+) terminal of
the discharged battery.
Note:In the illustrations,lightning boltsare used to designate the
assisting (boosting) battery.
+–+–
2006 Motorhome(mot)
Supplement
USA_English(fus)
Roadside Emergencies
73
Page 87 of 128
SERVICE RECOMMENDATIONS
To help you service your vehicle:
•We highlight do-it-yourself items in the engine compartment for easy
location.
•We providescheduled maintenance informationwhich makes
tracking routine service easy.
If your vehicle requires professional service, your dealership can provide
the necessary parts and service. Check yourWarranty Guide/Owner
Information Guideto find out which parts and services are covered.
Use only recommended fuels, lubricants, fluids and service parts
conforming to specifications. Motorcraft parts are designed and built to
provide the best performance in your vehicle.
PRECAUTIONS WHEN SERVICING YOUR VEHICLE
•Do not work on a hot engine.
•Make sure that nothing gets caught in moving parts.
•Do not work on a vehicle with the engine running in an enclosed
space, unless you are sure you have enough ventilation.
•Keep all open flames and other lit material away from the battery and
all fuel related parts.
Working with the engine off
1. Set the parking brake and shift to P (Park).
2. Turn off the engine and remove the key.
3. Block the wheels.
Working with the engine on
1. Set the parking brake and shift to P (Park).
2. Block the wheels.
Note:Do not start your engine with the air cleaner removed and do not
remove it while the engine is running.
2006 Motorhome(mot)
Supplement
USA_English(fus)
Maintenance and Specifications
Maintenance and Specifications
87