Page 11 of 328
Vehicle Symbol Glossary
Power Windows
Front/Rear
Power Window Lockout
Child Safety Door
Lock/UnlockInterior Luggage
Compartment Release
Symbol
Panic AlarmEngine Oil
Engine CoolantEngine Coolant
Temperature
Do Not Open When HotBattery
Avoid Smoking, Flames,
or SparksBattery Acid
Explosive GasFan Warning
Power Steering FluidMaintain Correct Fluid
LevelMAX
MIN
Emission SystemEngine Air Filter
Passenger Compartment
Air FilterJack
Check Fuel CapLow Tire Pressure
Warning
Introduction
11
Page 17 of 328

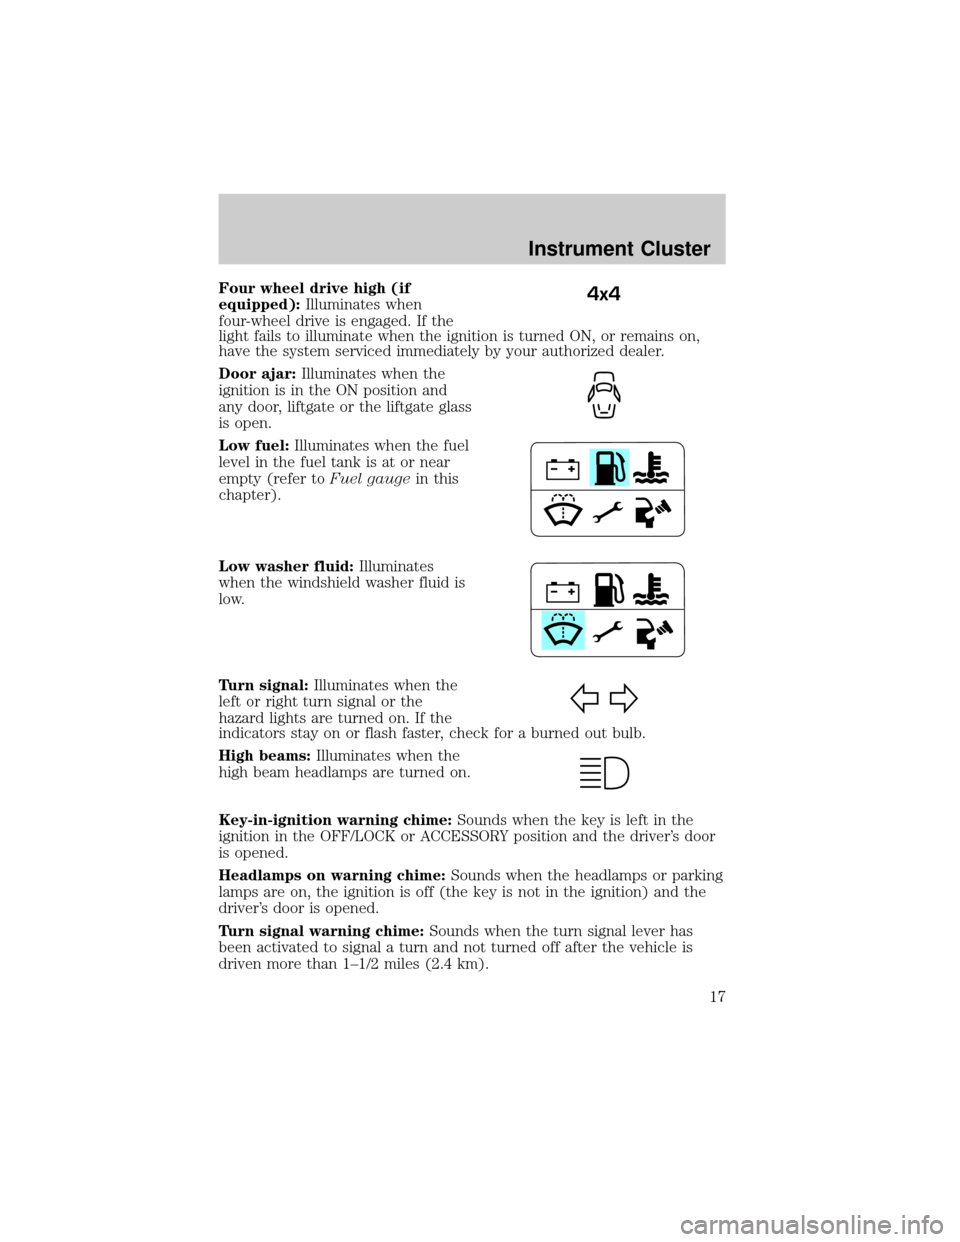
Four wheel drive high (if
equipped):Illuminates when
four-wheel drive is engaged. If the
light fails to illuminate when the ignition is turned ON, or remains on,
have the system serviced immediately by your authorized dealer.
Door ajar:Illuminates when the
ignition is in the ON position and
any door, liftgate or the liftgate glass
is open.
Low fuel:Illuminates when the fuel
level in the fuel tank is at or near
empty (refer toFuel gaugein this
chapter).
Low washer fluid:Illuminates
when the windshield washer fluid is
low.
Turn signal:Illuminates when the
left or right turn signal or the
hazard lights are turned on. If the
indicators stay on or flash faster, check for a burned out bulb.
High beams:Illuminates when the
high beam headlamps are turned on.
Key-in-ignition warning chime:Sounds when the key is left in the
ignition in the OFF/LOCK or ACCESSORY position and the driver's door
is opened.
Headlamps on warning chime:Sounds when the headlamps or parking
lamps are on, the ignition is off (the key is not in the ignition) and the
driver's door is opened.
Turn signal warning chime:Sounds when the turn signal lever has
been activated to signal a turn and not turned off after the vehicle is
driven more than 1±1/2 miles (2.4 km).4x4
Instrument Cluster
17
Page 21 of 328
AUDIO SYSTEMS
AM/FM Single CD/MP3 sound system (if equipped)
Accessory delay:Your vehicle is equipped with accessory delay. With
this feature, the window switches, radio and moon roof (if equipped)
may be used for up to ten minutes after the ignition is turned off or until
either front door is opened.
1.
/Tuner:Press to
manually go up or down the radio
frequency. Also use in menu mode
to select various settings.
2.MUTE/Phone:Press to mute the
playing media. Press again to return
to the playing media.
3.MENU:Press to toggle through
the following modes:
Setting the clock:Press MENU until SET HOURS or SET MINUTES is
displayed. Use
/to manually increase/decrease Press MENU again
to disengage clock mode.
Entertainment Systems
21
Page 29 of 328
Audiophile AM/FM In-dash Six CD/MP3 sound system (if equipped)
Accessory delay:Your vehicle is equipped with accessory delay. With
this feature, the window switches, radio and moon roof (if equipped)
may be used for up to ten minutes after the ignition switch is turned off
or until either front door is opened.
1.
/Tune/Disc selector:
Press and release to manually
advance up/down the radio
frequency or to select a desired
disc. Press and hold for a fast advance through radio frequencies or all
loaded discs. Also use in menu mode to select various settings.
2.MUTE/Phone:Press to mute the
playing media. Press again to return
to the playing media.
3.MENU:Press to toggle through
the following modes:
Setting the clock:Press until SET HOUR or SET MINS is displayed.
Press
/to adjust the hours/minutes.
Entertainment Systems
29
Page 58 of 328

Accessory delay
With accessory delay, the window switches, audio system and moon roof
(if equipped) may be used for up to ten minutes after the ignition switch
is turned to the OFF position or until either front door is opened.
AUTOMATIC DIMMING INSIDE REAR VIEW MIRROR (IF EQUIPPED)
Your vehicle may be equipped with
an inside rear view mirror with an
auto-dimming function. The
electrochromic day/night mirror will
change from the normal (high
reflective) state to the non-glare
(darkened) state when bright lights (glare) reach the mirror. When the
mirror detects bright light from behind the vehicle, it will automatically
adjust (darken) to minimize glare.
The mirror will automatically return to the normal state whenever the
vehicle is placed in R (Reverse) to ensure a bright clear view when
backing up.
Do not block the sensor on the backside of the inside rear view mirror
since this may impair proper mirror performance.
POWER SIDE VIEW MIRRORS
The ignition must be in the ACC or ON position to adjust the power side
view mirrors.
To adjust your mirrors:
1. Rotate the control clockwise to
adjust the right mirror and rotate
the control counterclockwise to
adjust the left mirror.
2. Move the control in the direction
you wish to tilt the mirror.
3. Return to the center position to
lock mirrors in place.
Driver Controls
58
Page 65 of 328

Bounce back override:To override bounce back, within 2 seconds after
reaching bounce back position, if the switch is held in the close position
the moon roof will close with a 20±25 percent increase of closing force
before it will bounce back again. If the switch is released before the
moon roof reaches fully closed position, the moon roof will stop. For
example: Bounce Back Override can be used to overcome the resistance
of ice on the moon roof or seals.
To vent:
²To tilt the moon roof into the vent position (when the glass panel is
closed), press and hold the front portion of the control.
²To close the moon roof from the vent position, press and hold the rear
portion of the control until the glass panel stops moving.
The moon roof has a sliding shade that can be opened or closed when
the glass panel is shut. To close the shade, pull it toward the front of the
vehicle.
Accessory delay:
With accessory delay, the window switches, audio system, and moon roof
(if equipped) may be used for up to 10 minutes after the ignition switch
is turned to the OFF position or until either front door is opened.
HOMELINKTWIRELESS CONTROL SYSTEM (IF EQUIPPED)
The HomeLinktWireless Control System, located on the overhead
console, provides a convenient way to replace up to three hand-held
transmitters with a single built-in device. This feature will learn the radio
frequency codes of most transmitters to operate garage doors, entry gate
operators, security systems, entry door locks, and home or office lighting.
When programming your HomeLinktWireless Control System to
a garage door or gate, be sure that people and objects are out of
the way to prevent potential harm or damage.
Do not use the HomeLinktWireless Control System with any garage
door opener that lacks safety stop and reverse features as required by
U.S. federal safety standards (this includes any garage door opener
model manufactured before April 1, 1982). A garage door which cannot
detect an object, signaling the door to stop and reverse, does not meet
current U.S. federal safety standards. For more information, contact
HomeLinktat:www.homelink.comor1±800±355±3515.
Driver Controls
65
Page 68 of 328

Gate Operator & Canadian Programming
During programming, your
hand-held transmitter may
automatically stop transmitting Ð
not allowing enough time for
HomeLinktto accept the signal
from the hand-held transmitter.
After completing Steps 1 and 2
outlined in theªProgrammingº
section, replace Step 3 with the
following:
Note:If programming a garage door opener or gate operator, it is
advised to unplug the device during the ªcyclingº process to prevent
overheating.
²Continue to press and hold the HomeLinktbutton (note Step 3 in the
ªProgrammingº section) while you press and release Ðevery two
seconds(ªcycleº) your hand-held transmitter until the frequency
signal has been accepted by the HomeLinkt. The indicator light will
flash slowly and then rapidly after HomeLinktaccepts the radio
frequency signal.
²Proceed with Step 4 in the ªProgrammingº section.
Operating the HomeLinkTWireless Control System
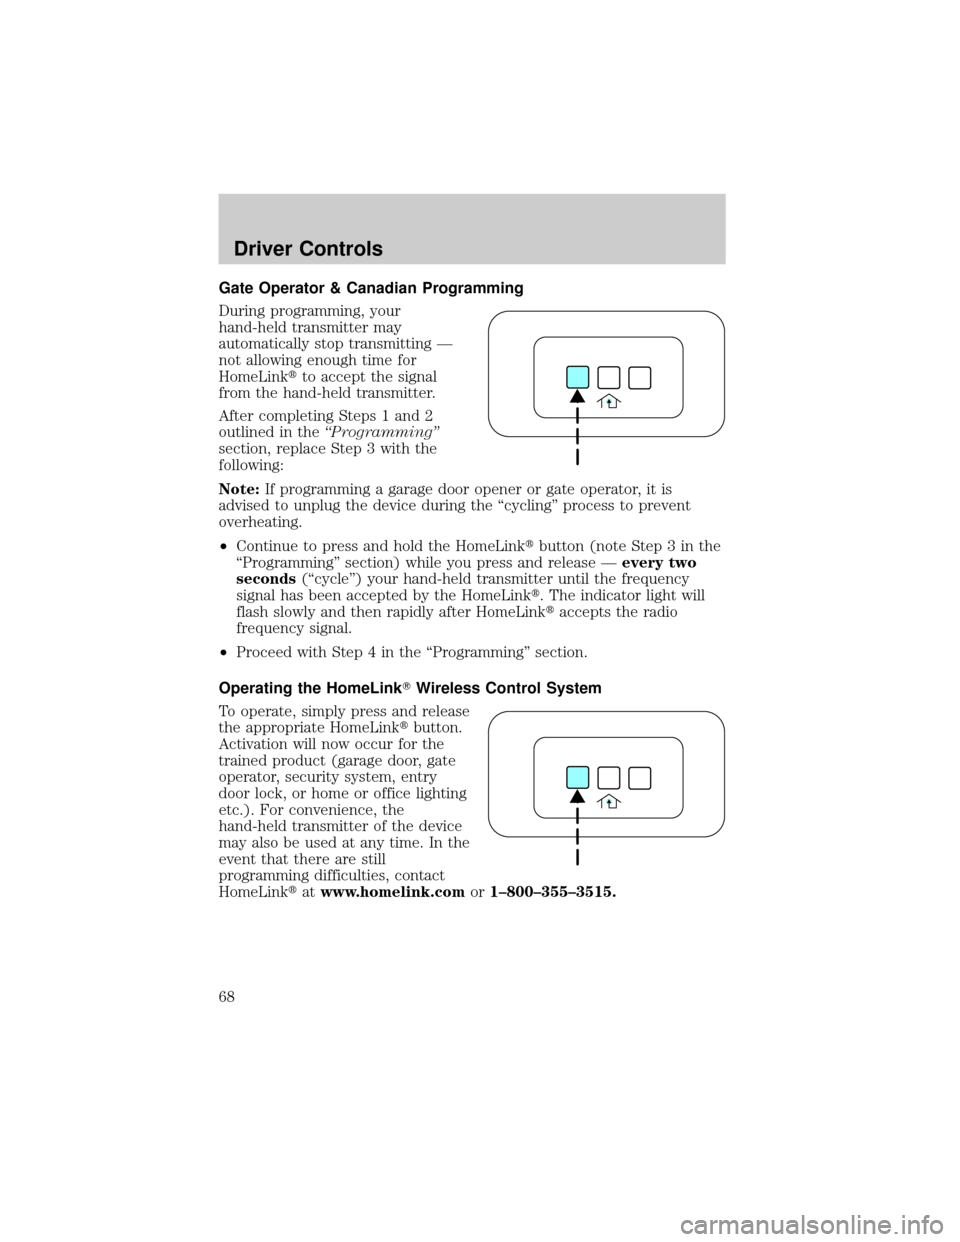
To operate, simply press and release
the appropriate HomeLinktbutton.
Activation will now occur for the
trained product (garage door, gate
operator, security system, entry
door lock, or home or office lighting
etc.). For convenience, the
hand-held transmitter of the device
may also be used at any time. In the
event that there are still
programming difficulties, contact
HomeLinktatwww.homelink.comor1±800±355±3515.
Driver Controls
68
Page 74 of 328

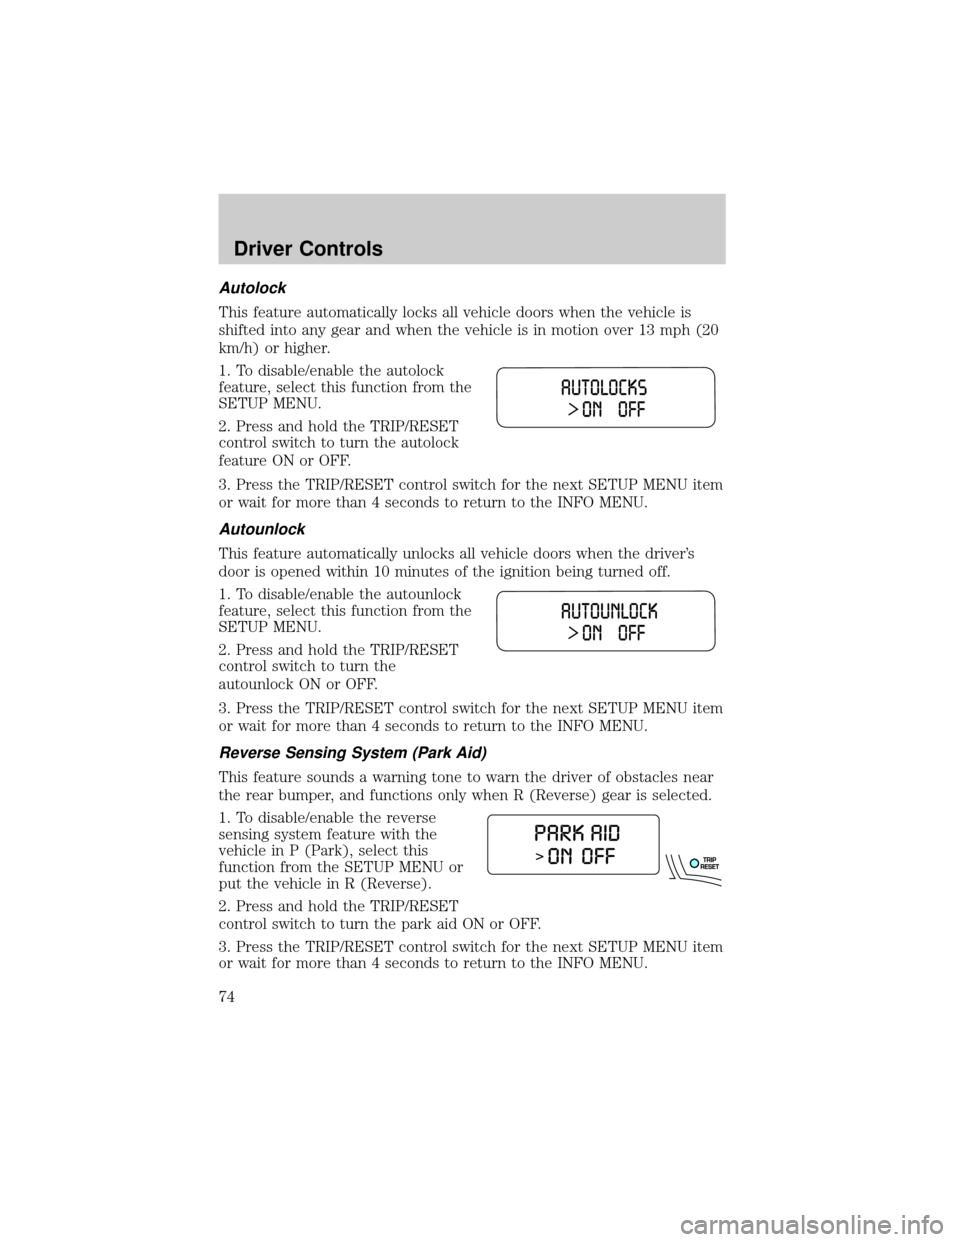
Autolock
This feature automatically locks all vehicle doors when the vehicle is
shifted into any gear and when the vehicle is in motion over 13 mph (20
km/h) or higher.
1. To disable/enable the autolock
feature, select this function from the
SETUP MENU.
2. Press and hold the TRIP/RESET
control switch to turn the autolock
feature ON or OFF.
3. Press the TRIP/RESET control switch for the next SETUP MENU item
or wait for more than 4 seconds to return to the INFO MENU.
Autounlock
This feature automatically unlocks all vehicle doors when the driver's
door is opened within 10 minutes of the ignition being turned off.
1. To disable/enable the autounlock
feature, select this function from the
SETUP MENU.
2. Press and hold the TRIP/RESET
control switch to turn the
autounlock ON or OFF.
3. Press the TRIP/RESET control switch for the next SETUP MENU item
or wait for more than 4 seconds to return to the INFO MENU.
Reverse Sensing System (Park Aid)
This feature sounds a warning tone to warn the driver of obstacles near
the rear bumper, and functions only when R (Reverse) gear is selected.
1. To disable/enable the reverse
sensing system feature with the
vehicle in P (Park), select this
function from the SETUP MENU or
put the vehicle in R (Reverse).
2. Press and hold the TRIP/RESET
control switch to turn the park aid ON or OFF.
3. Press the TRIP/RESET control switch for the next SETUP MENU item
or wait for more than 4 seconds to return to the INFO MENU.
Driver Controls
74