Page 2 of 360
Seating and Safety Restraints 151
Seating 151
Safety restraints 166
Airbags 180
Child restraints 187
Tires, Wheels and Loading 201
Tire Information 203
Tire Inflation 205
Tire Pressure Monitoring System (TPMS) 217
Vehicle loading 221
Trailer towing 228
Recreational towing 234
Driving 235
Starting 235
Brakes 238
Air suspension 245
Transmission operation 248
Roadside Emergencies 265
Getting roadside assistance 265
Hazard flasher switch 266
Fuel pump shut-off switch 266
Fuses and relays 268
Changing tires 277
Lug Nut Torque 284
Jump starting 285
Wrecker towing 290
Customer Assistance 292
Reporting safety defects (U.S. only) 300
Cleaning 301
Table of Contents
2
2006 Expedition(exd)
Owners Guide (post-2002-fmt)
USA(fus)
Page 8 of 360
Special instructions
For your added safety, your vehicle is fitted with sophisticated electronic
controls.
Please read the sectionSupplemental restraint system (SRS)
in theSeating and Safety Restraintschapter. Failure to follow
the specific warnings and instructions could result in personal injury.
Front seat mounted rear-facing child or infant seats should
NEVERbe placed in front of an active passenger air bag.
Using your vehicle with a snowplow
Do not use this vehicle for snowplowing.
Your vehicle is not equipped with a snowplowing package.
Notice to owners of pickup trucks and utility type vehicles
Utility vehicles have a significantly higher rollover rate than
other types of vehicles.
Before you drive your vehicle, please read thisOwner’s Guidecarefully.
Your vehicle is not a passenger car. As with other vehicles of this type,
failure to operate this vehicle correctly may result in loss of vehicle
control, vehicle rollover, personal injury or death.
Be sure to readDriving off roadin theDrivingchapter.
2006 Expedition(exd)
Owners Guide (post-2002-fmt)
USA(fus)
Introduction
8
Page 10 of 360
These are some of the symbols you may see on your vehicle.
Vehicle Symbol Glossary
Safety Alert
See Owner’s Guide
Fasten Safety BeltAir Bag-Front
Air Bag-SideChild Seat
Child Seat Installation
WarningChild Seat Lower
Anchor
Child Seat Tether
AnchorBrake System
Anti-Lock Brake SystemBrake Fluid -
Non-Petroleum Based
Powertrain MalfunctionSpeed Control
Master Lighting SwitchHazard Warning Flasher
Fog Lamps-FrontFuse Compartment
Fuel Pump ResetWindshield Wash/Wipe
Windshield
Defrost/DemistRear Window
Defrost/Demist
2006 Expedition(exd)
Owners Guide (post-2002-fmt)
USA(fus)
Introduction
10
Page 163 of 360
Before returning the seatback to its original position, make sure
that cargo or any objects are not trapped underneath the
seatback. After returning the seatback to its original position, pull on
the seatback to ensure that it has fully latched. An unlatched seat may
become dangerous in the event of a sudden stop or collision.
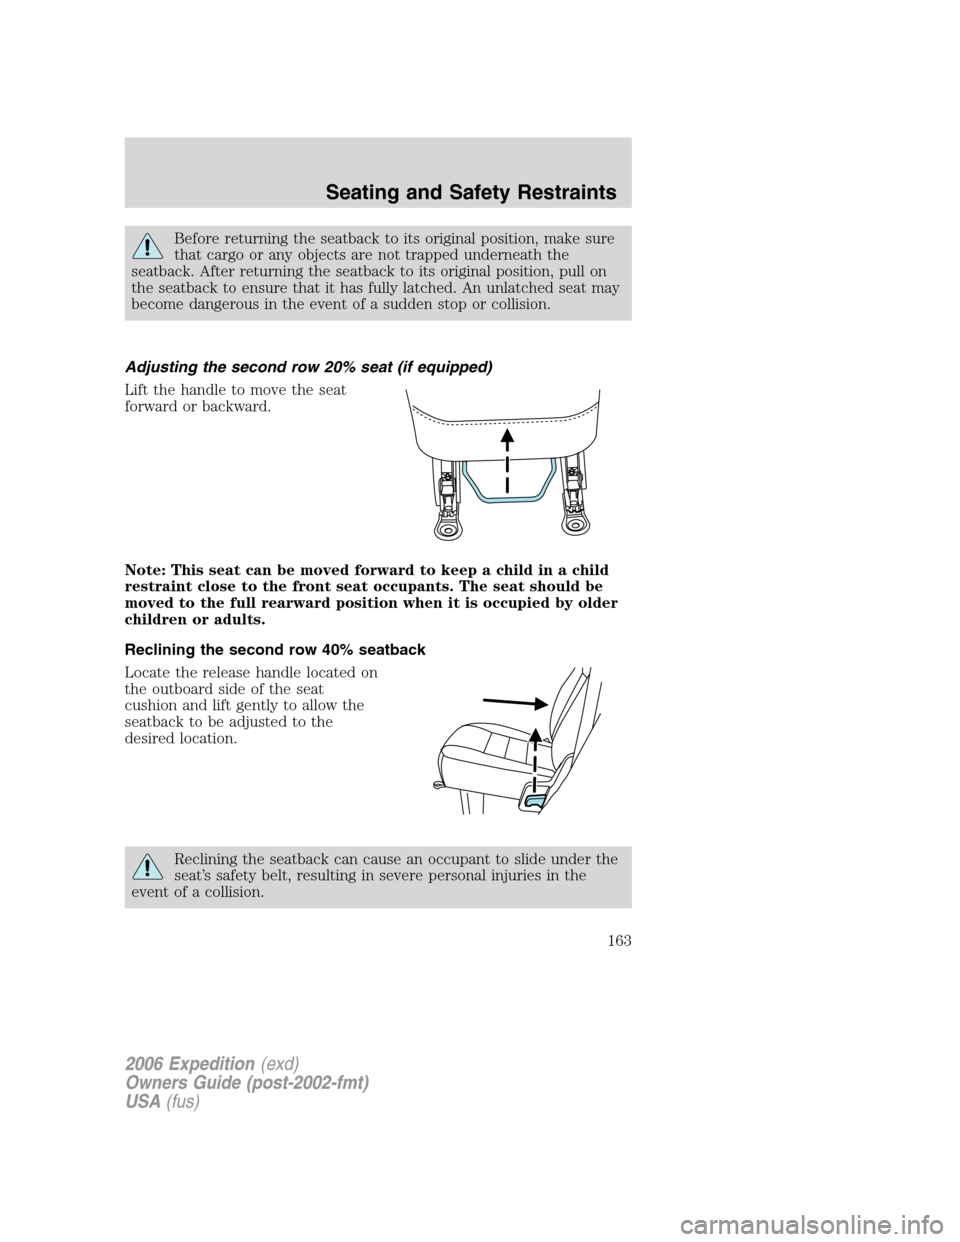
Adjusting the second row 20% seat (if equipped)
Lift the handle to move the seat
forward or backward.
Note: This seat can be moved forward to keep a child in a child
restraint close to the front seat occupants. The seat should be
moved to the full rearward position when it is occupied by older
children or adults.
Reclining the second row 40% seatback
Locate the release handle located on
the outboard side of the seat
cushion and lift gently to allow the
seatback to be adjusted to the
desired location.
Reclining the seatback can cause an occupant to slide under the
seat’s safety belt, resulting in severe personal injuries in the
event of a collision.
2006 Expedition(exd)
Owners Guide (post-2002-fmt)
USA(fus)
Seating and Safety Restraints
163
Page 169 of 360
•The warning light will either flash or stay lit.
•The warning light will not illuminate immediately after the ignition is
turned on.
•A series of five beeps will be heard. The tone pattern will repeat
periodically until the problem and warning light are repaired.
If any of these things happen, even intermittently, have the Personal
Safety System�serviced at an authorized dealer immediately. Unless
serviced, the system may not function properly in the event of a
collision.
Safety restraints precautions
Always drive and ride with your seatback upright and the lap
belt snug and low across the hips.
To reduce the risk of injury, make sure children sit in the back
seat where they can be properly restrained.
Never let a passenger hold a child on his or her lap while the
vehicle is moving. The passenger cannot protect the child from
injury in a collision.
All occupants of the vehicle, including the driver, should always
properly wear their safety belts, even when an airbag
supplemental restraint system (SRS) is provided.
It is extremely dangerous to ride in a cargo area, inside or
outside of a vehicle. In a collision, people riding in these areas
are more likely to be seriously injured or killed. Do not allow people to
ride in any area of your vehicle that is not equipped with seats and
safety belts. Be sure everyone in your vehicle is in a seat and using a
safety belt properly.
In a rollover crash, an unbelted person is significantly more likely
to die than a person wearing a safety belt.
2006 Expedition(exd)
Owners Guide (post-2002-fmt)
USA(fus)
Seating and Safety Restraints
169
Page 170 of 360
Each seating position in your vehicle has a specific safety belt
assembly which is made up of one buckle and one tongue that
are designed to be used as a pair. 1) Use the shoulder belt on the
outside shoulder only. Never wear the shoulder belt under the arm. 2)
Never swing the safety belt around your neck over the inside shoulder.
3) Never use a single belt for more than one person.
Always transport children 12 years old and under in the back
seat and always properly use appropriate child restraints.
Safety belts and seats can become hot in a vehicle that has been
closed up in sunny weather; they could burn a small child. Check
seat covers and buckles before you place a child anywhere near them.
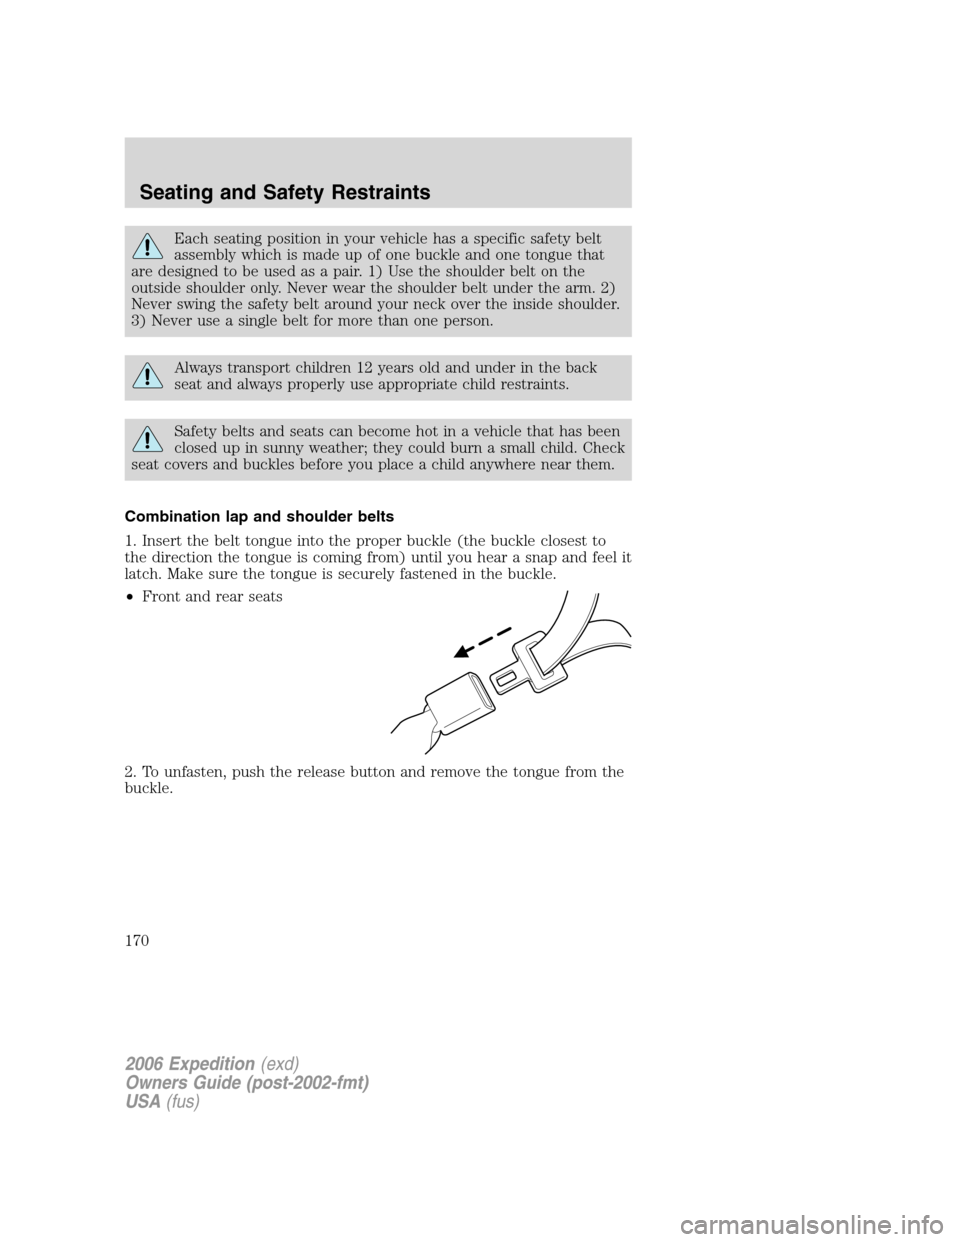
Combination lap and shoulder belts
1. Insert the belt tongue into the proper buckle (the buckle closest to
the direction the tongue is coming from) until you hear a snap and feel it
latch. Make sure the tongue is securely fastened in the buckle.
•Front and rear seats
2. To unfasten, push the release button and remove the tongue from the
buckle.
2006 Expedition(exd)
Owners Guide (post-2002-fmt)
USA(fus)
Seating and Safety Restraints
170
Page 172 of 360
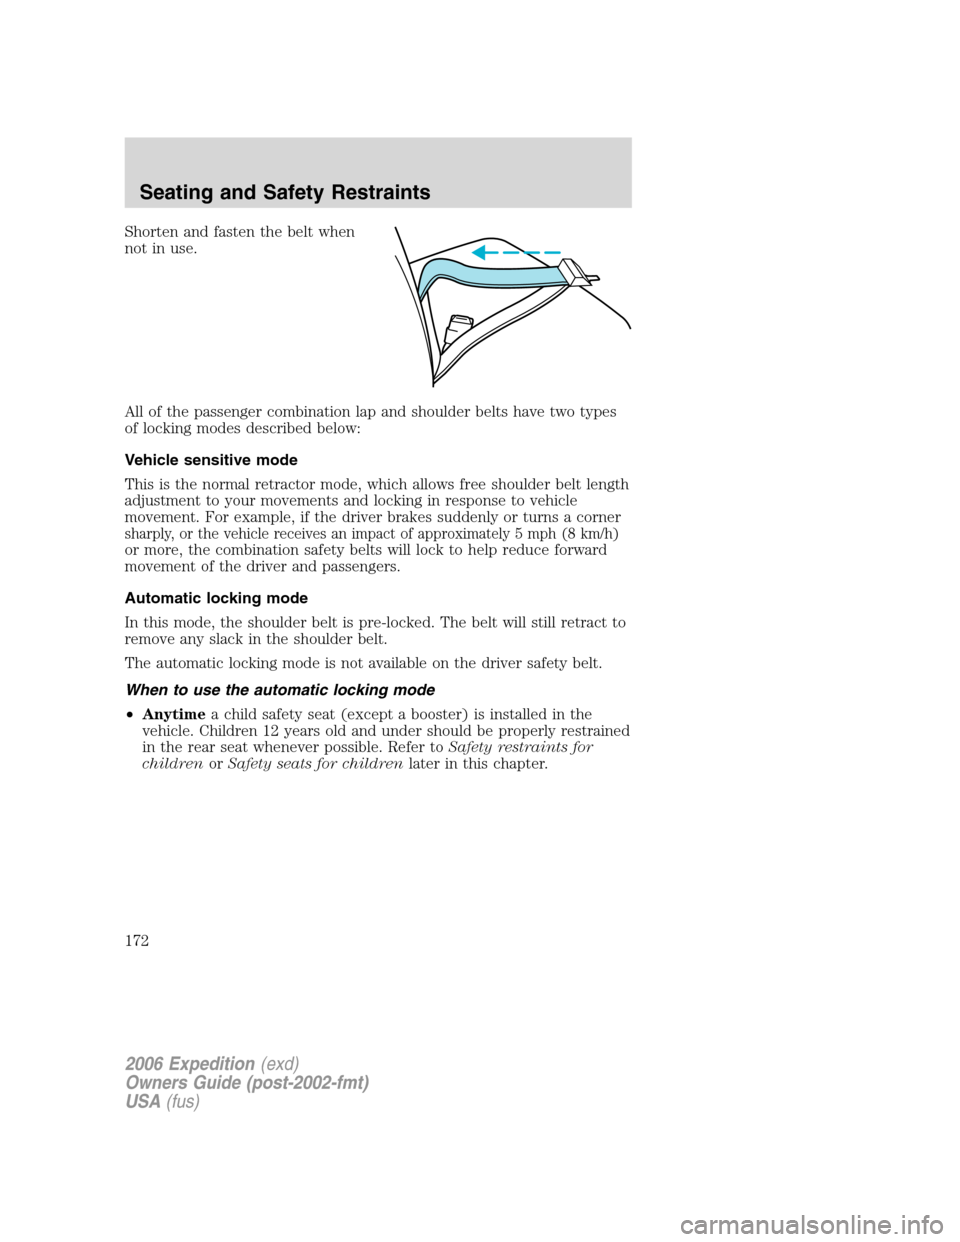
Shorten and fasten the belt when
not in use.
All of the passenger combination lap and shoulder belts have two types
of locking modes described below:
Vehicle sensitive mode
This is the normal retractor mode, which allows free shoulder belt length
adjustment to your movements and locking in response to vehicle
movement. For example, if the driver brakes suddenly or turns a corner
sharply, or the vehicle receives an impact of approximately 5 mph (8 km/h)
or more, the combination safety belts will lock to help reduce forward
movement of the driver and passengers.
Automatic locking mode
In this mode, the shoulder belt is pre-locked. The belt will still retract to
remove any slack in the shoulder belt.
The automatic locking mode is not available on the driver safety belt.
When to use the automatic locking mode
•Anytimea child safety seat (except a booster) is installed in the
vehicle. Children 12 years old and under should be properly restrained
in the rear seat whenever possible. Refer toSafety restraints for
childrenorSafety seats for childrenlater in this chapter.
2006 Expedition(exd)
Owners Guide (post-2002-fmt)
USA(fus)
Seating and Safety Restraints
172
Page 173 of 360
How to use the automatic locking mode
1. Buckle the combination lap and
shoulder belt.
2. Grasp the shoulder portion and
pull downward until the entire belt
is pulled out.
3. Allow the belt to retract. As the belt retracts, you will hear a clicking
sound. This indicates the safety belt is now in the automatic locking
mode.
How to disengage the automatic locking mode
Unbuckle the combination lap and shoulder belt and allow it to retract
completely to disengage the automatic locking mode and return to the
vehicle sensitive (emergency) locking mode.
After any vehicle collision, the combination lap and shoulder belt
system at all passenger seating positions must be checked by an
authorized dealer to verify that the “automatic locking retractor”
feature for child seats is still functioning properly, in addition to other
checks for proper seat belt system function.
2006 Expedition(exd)
Owners Guide (post-2002-fmt)
USA(fus)
Seating and Safety Restraints
173