Page 84 of 360
Operating tips
•To reduce fog build up on the windshield during humid weather, place
the air flow selector in the
position.
•To reduce humidity build up inside the vehicle: do not drive with the
air flow selector in the O (OFF) or (in cold weather) MAX A/C
position.
•Under normal weather conditions, do not leave the air flow selector in
MAX A/C or O (OFF) when the vehicle is parked. This allows the
vehicle to “breathe” using the outside air inlet vents.
•Do not put objects under the front seats that will interfere with the
airflow to the back seats.
•Remove any snow, ice or leaves from the air intake area at the base of
the windshield.
To aid in side window defogging/demisting in cold weather:
1. Select
.
2. Select A/C.
3. Adjust the temperature control to maintain comfort.
4. Set the fan speed to the highest setting.
5. Direct the outer instrument panel vents towards the side windows.
To increase airflow to the outer instrument panel vents, close the vents
located in the middle of the instrument panel.
Do not place objects on top of the instrument panel as these
objects may become projectiles in a collision or sudden stop.
2006 Expedition(exd)
Owners Guide (post-2002-fmt)
USA(fus)
Climate Controls
84
Page 90 of 360
16.EXT control:Press to display
the outside air temperature. Press
again to return to interior
temperature.Note:Exterior readings are most accurate when the
vehicle has been moving for a period of time.
17.Temperature conversion:
Press to toggle between Fahrenheit
and Celsius temperature on the
DATC display only. The set point temperatures in Celsius will be
displayed in half-degree increments.
Operating tips
•To reduce fog build up on the windshield during humid weather, place
the air flow selector in the
position.
•To reduce humidity build up inside the vehicle: do not drive with the
air flow selector in the O (OFF) or (in cold weather) MAX A/C
position.
•Under normal weather conditions, do not leave the air flow selector in
MAX A/C or O (OFF) when the vehicle is parked. This allows the
vehicle to “breathe” using the outside air inlet vents.
•Do not put objects under the front seats that will interfere with the
airflow to the back seats.
•Remove any snow, ice or leaves from the air intake area at the base of
the windshield.
To aid in side window defogging/demisting in cold weather:
1. Select
.
2. Select A/C.
3. Adjust the temperature control to maintain comfort.
4. Set the fan speed to the highest setting.
5. Direct the outer instrument panel vents towards the side windows.
To increase airflow to the outer instrument panel vents, close the vents
located in the middle of the instrument panel.
Do not place objects on top of the instrument panel as these
objects may become projectiles in a collision or sudden stop.
EXT
F C
2006 Expedition(exd)
Owners Guide (post-2002-fmt)
USA(fus)
Climate Controls
90
Page 156 of 360
•There is a filter located under
both front seats.
•It can be accessed from the
second row seat. Move the front
seat all the way forward and up
to ease access.
To remove climate controlled seat
air filter:
•Remove key from ignition.
•Push on the outside rigid edge of
the air filter at the center and
rotate downward once tab is
released.
•Remove filter.
����
����
2006 Expedition(exd)
Owners Guide (post-2002-fmt)
USA(fus)
Seating and Safety Restraints
156
Page 170 of 360
Each seating position in your vehicle has a specific safety belt
assembly which is made up of one buckle and one tongue that
are designed to be used as a pair. 1) Use the shoulder belt on the
outside shoulder only. Never wear the shoulder belt under the arm. 2)
Never swing the safety belt around your neck over the inside shoulder.
3) Never use a single belt for more than one person.
Always transport children 12 years old and under in the back
seat and always properly use appropriate child restraints.
Safety belts and seats can become hot in a vehicle that has been
closed up in sunny weather; they could burn a small child. Check
seat covers and buckles before you place a child anywhere near them.
Combination lap and shoulder belts
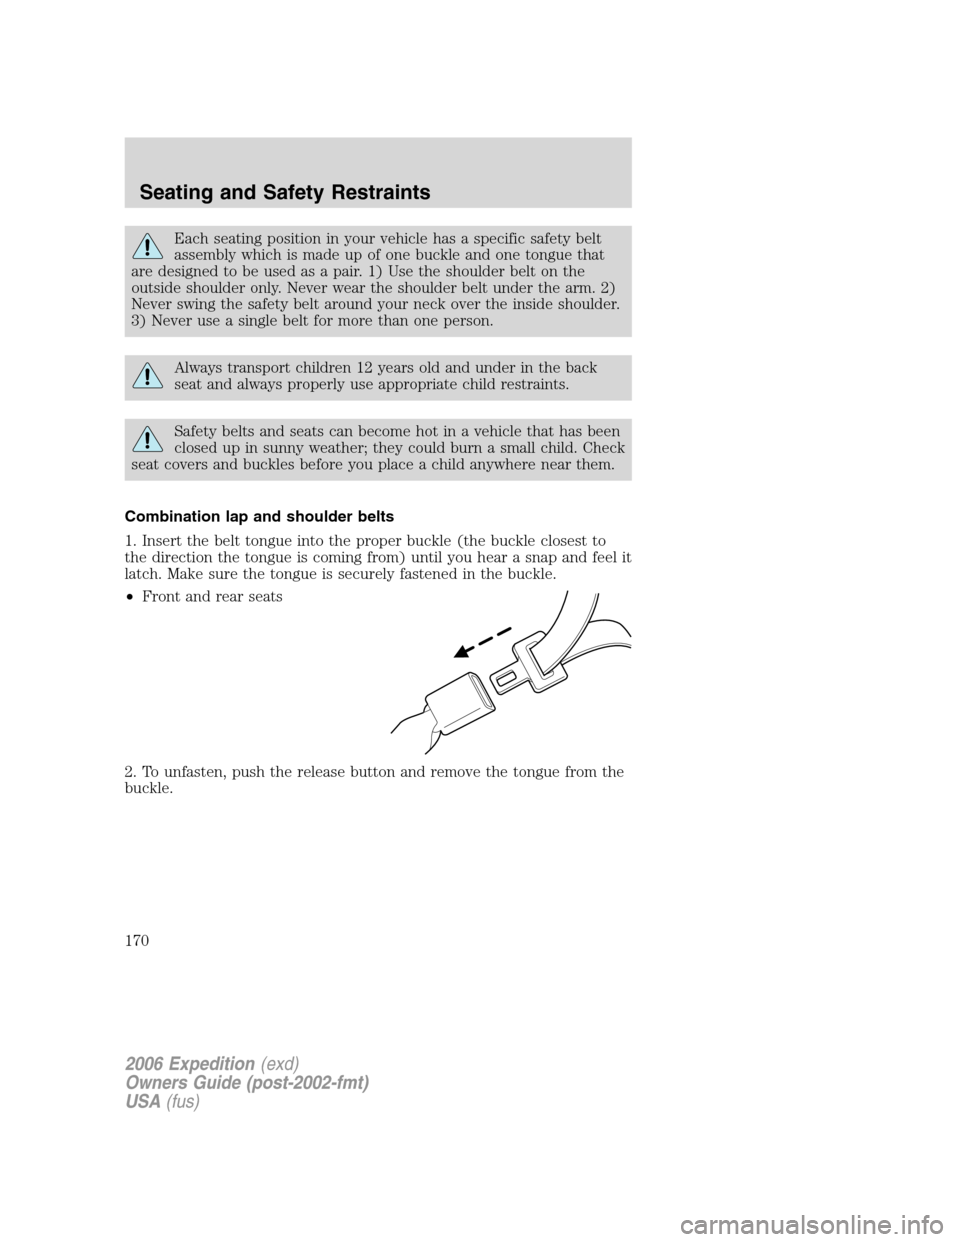
1. Insert the belt tongue into the proper buckle (the buckle closest to
the direction the tongue is coming from) until you hear a snap and feel it
latch. Make sure the tongue is securely fastened in the buckle.
•Front and rear seats
2. To unfasten, push the release button and remove the tongue from the
buckle.
2006 Expedition(exd)
Owners Guide (post-2002-fmt)
USA(fus)
Seating and Safety Restraints
170
Page 172 of 360
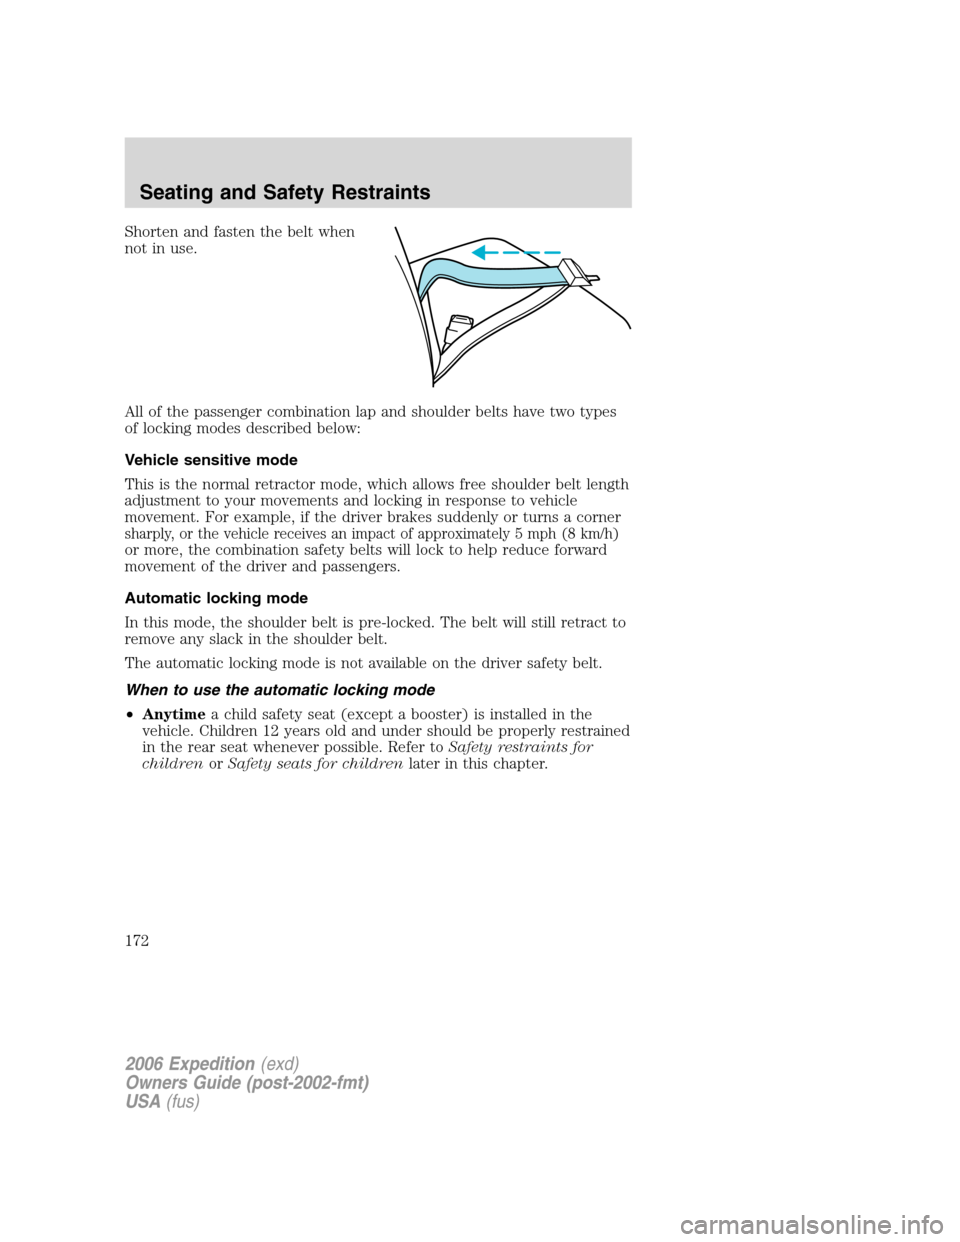
Shorten and fasten the belt when
not in use.
All of the passenger combination lap and shoulder belts have two types
of locking modes described below:
Vehicle sensitive mode
This is the normal retractor mode, which allows free shoulder belt length
adjustment to your movements and locking in response to vehicle
movement. For example, if the driver brakes suddenly or turns a corner
sharply, or the vehicle receives an impact of approximately 5 mph (8 km/h)
or more, the combination safety belts will lock to help reduce forward
movement of the driver and passengers.
Automatic locking mode
In this mode, the shoulder belt is pre-locked. The belt will still retract to
remove any slack in the shoulder belt.
The automatic locking mode is not available on the driver safety belt.
When to use the automatic locking mode
•Anytimea child safety seat (except a booster) is installed in the
vehicle. Children 12 years old and under should be properly restrained
in the rear seat whenever possible. Refer toSafety restraints for
childrenorSafety seats for childrenlater in this chapter.
2006 Expedition(exd)
Owners Guide (post-2002-fmt)
USA(fus)
Seating and Safety Restraints
172
Page 189 of 360
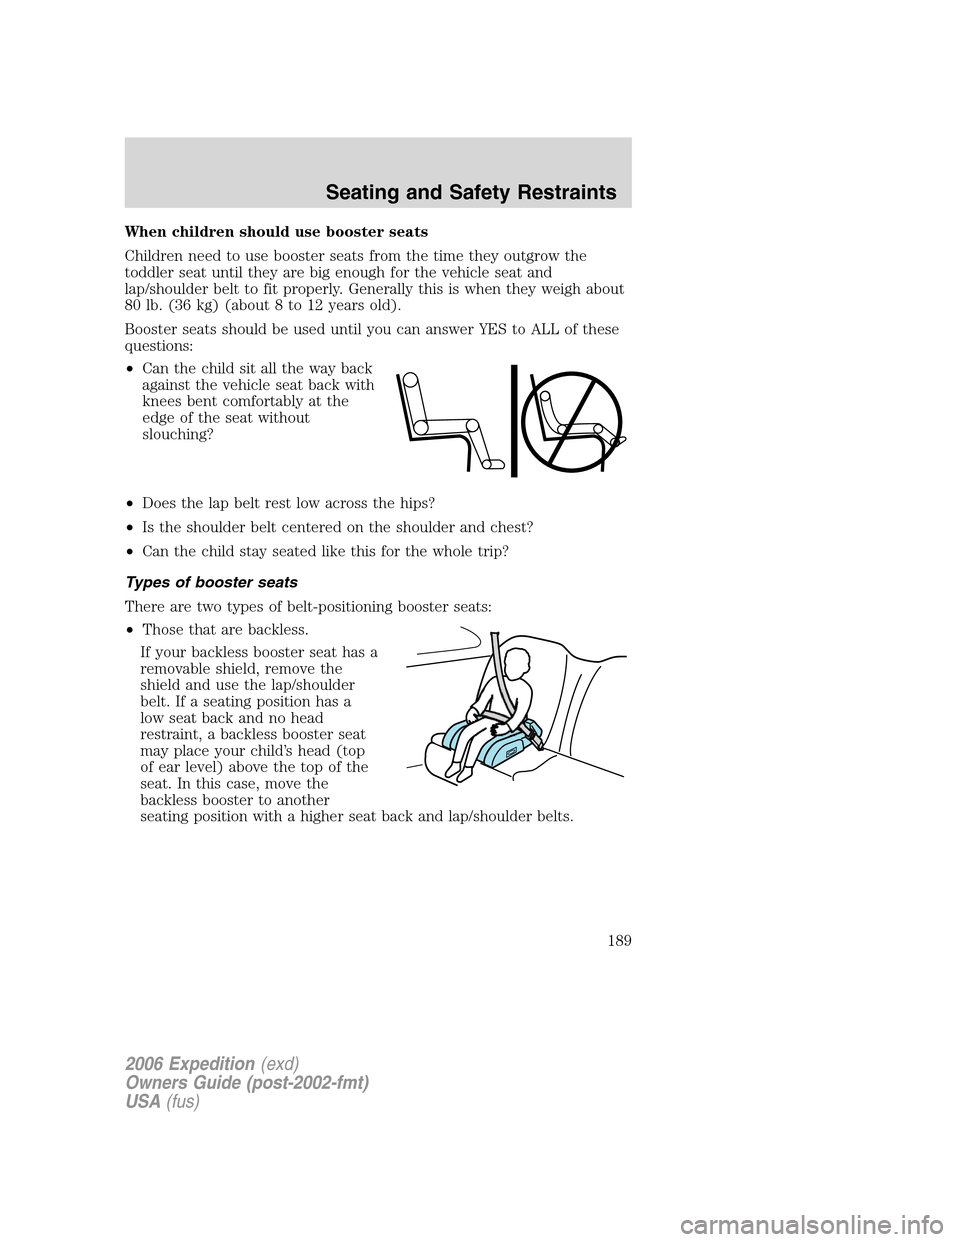
When children should use booster seats
Children need to use booster seats from the time they outgrow the
toddler seat until they are big enough for the vehicle seat and
lap/shoulder belt to fit properly. Generally this is when they weigh about
80 lb. (36 kg) (about 8 to 12 years old).
Booster seats should be used until you can answer YES to ALL of these
questions:
•Can the child sit all the way back
against the vehicle seat back with
knees bent comfortably at the
edge of the seat without
slouching?
•Does the lap belt rest low across the hips?
•Is the shoulder belt centered on the shoulder and chest?
•Can the child stay seated like this for the whole trip?
Types of booster seats
There are two types of belt-positioning booster seats:
•Those that are backless.
If your backless booster seat has a
removable shield, remove the
shield and use the lap/shoulder
belt. If a seating position has a
low seat back and no head
restraint, a backless booster seat
may place your child’s head (top
of ear level) above the top of the
seat. In this case, move the
backless booster to another
seating position with a higher seat back and lap/shoulder belts.
2006 Expedition(exd)
Owners Guide (post-2002-fmt)
USA(fus)
Seating and Safety Restraints
189
Page 194 of 360
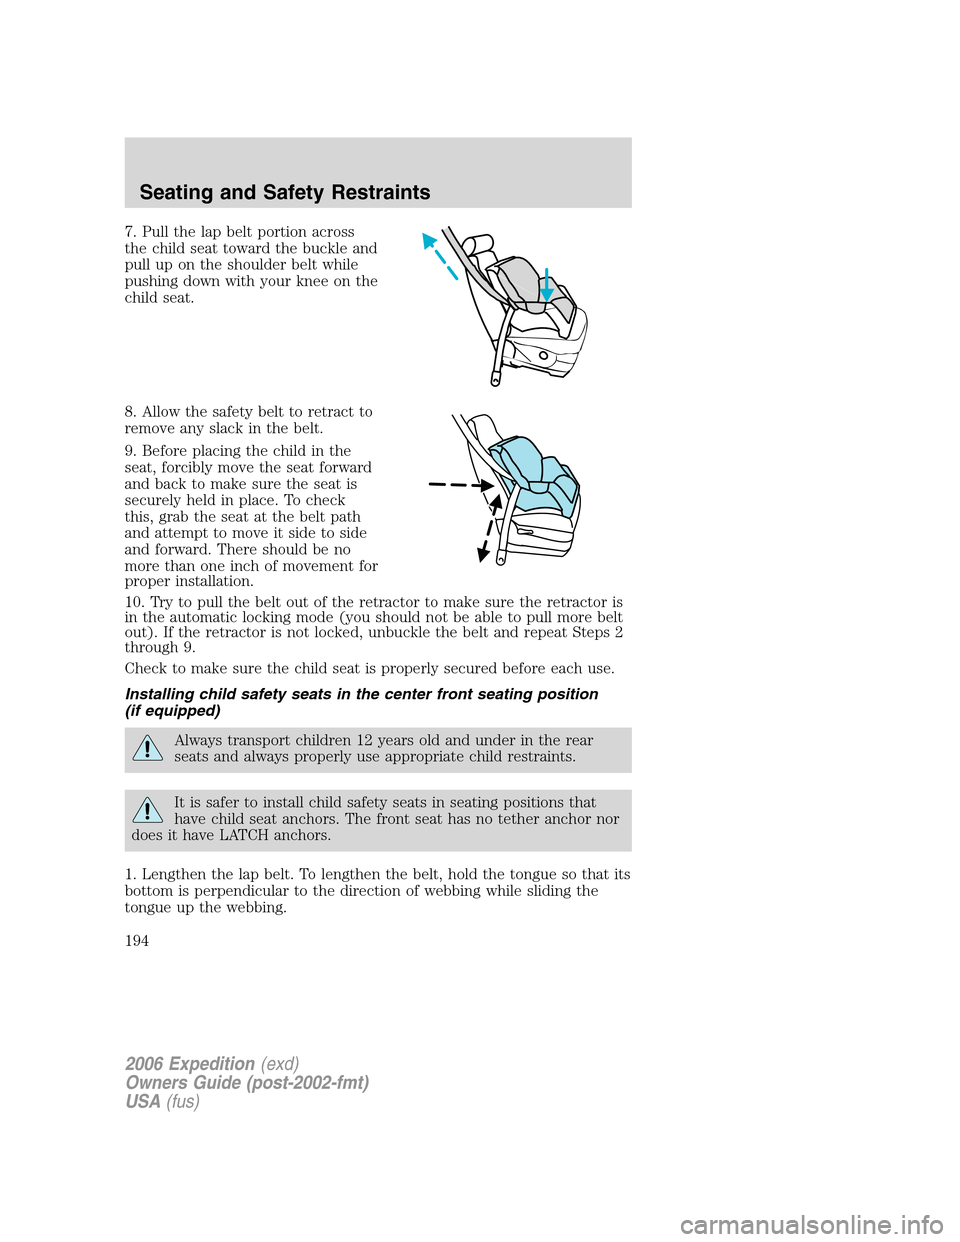
7. Pull the lap belt portion across
the child seat toward the buckle and
pull up on the shoulder belt while
pushing down with your knee on the
child seat.
8. Allow the safety belt to retract to
remove any slack in the belt.
9. Before placing the child in the
seat, forcibly move the seat forward
and back to make sure the seat is
securely held in place. To check
this, grab the seat at the belt path
and attempt to move it side to side
and forward. There should be no
more than one inch of movement for
proper installation.
10. Try to pull the belt out of the retractor to make sure the retractor is
in the automatic locking mode (you should not be able to pull more belt
out). If the retractor is not locked, unbuckle the belt and repeat Steps 2
through 9.
Check to make sure the child seat is properly secured before each use.
Installing child safety seats in the center front seating position
(if equipped)
Always transport children 12 years old and under in the rear
seats and always properly use appropriate child restraints.
It is safer to install child safety seats in seating positions that
have child seat anchors. The front seat has no tether anchor nor
does it have LATCH anchors.
1. Lengthen the lap belt. To lengthen the belt, hold the tongue so that its
bottom is perpendicular to the direction of webbing while sliding the
tongue up the webbing.
2006 Expedition(exd)
Owners Guide (post-2002-fmt)
USA(fus)
Seating and Safety Restraints
194
Page 280 of 360
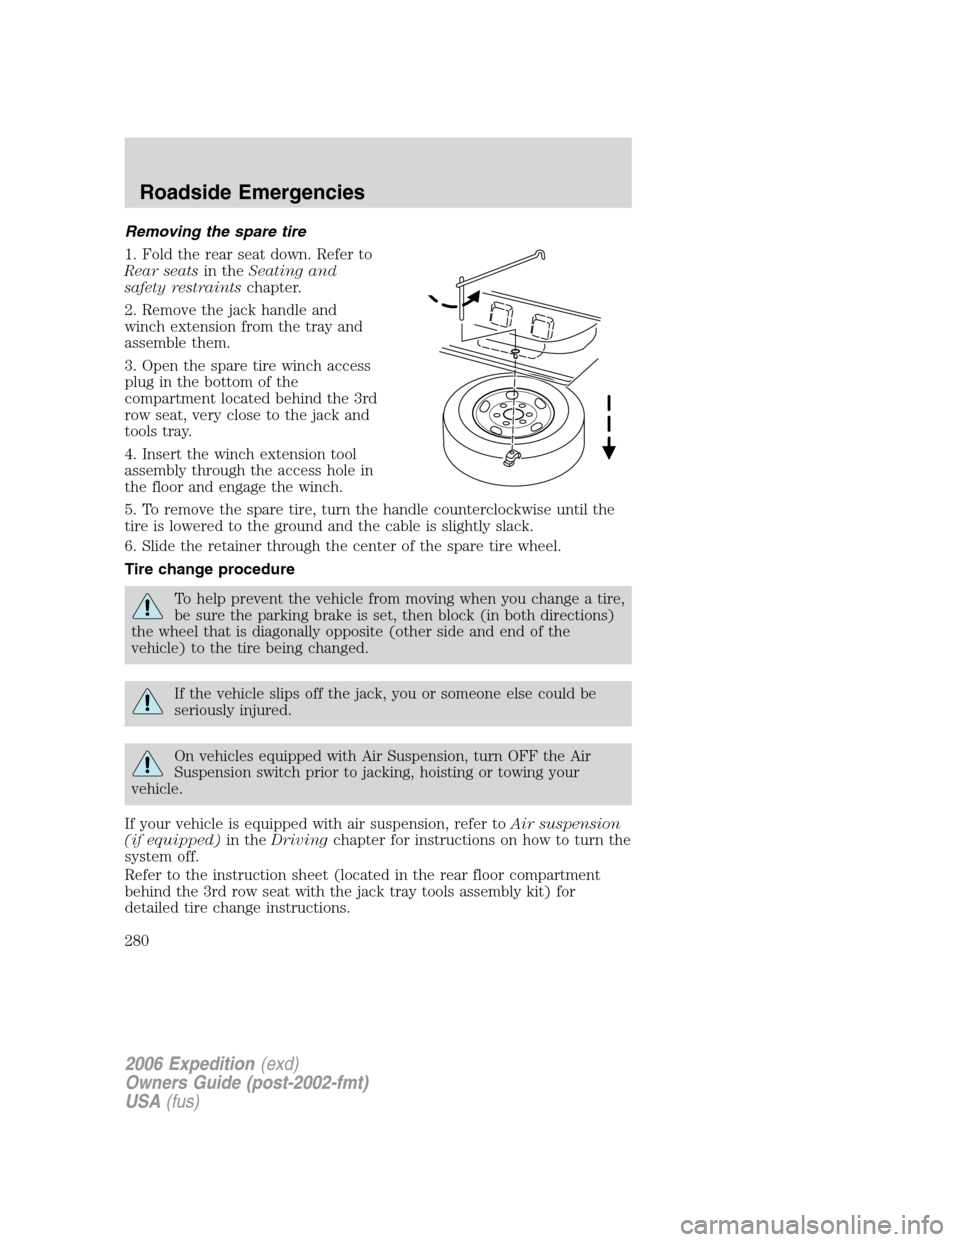
Removing the spare tire
1. Fold the rear seat down. Refer to
Rear seatsin theSeating and
safety restraintschapter.
2. Remove the jack handle and
winch extension from the tray and
assemble them.
3. Open the spare tire winch access
plug in the bottom of the
compartment located behind the 3rd
row seat, very close to the jack and
tools tray.
4. Insert the winch extension tool
assembly through the access hole in
the floor and engage the winch.
5. To remove the spare tire, turn the handle counterclockwise until the
tire is lowered to the ground and the cable is slightly slack.
6. Slide the retainer through the center of the spare tire wheel.
Tire change procedure
To help prevent the vehicle from moving when you change a tire,
be sure the parking brake is set, then block (in both directions)
the wheel that is diagonally opposite (other side and end of the
vehicle) to the tire being changed.
If the vehicle slips off the jack, you or someone else could be
seriously injured.
On vehicles equipped with Air Suspension, turn OFF the Air
Suspension switch prior to jacking, hoisting or towing your
vehicle.
If your vehicle is equipped with air suspension, refer toAir suspension
(if equipped)in theDrivingchapter for instructions on how to turn the
system off.
Refer to the instruction sheet (located in the rear floor compartment
behind the 3rd row seat with the jack tray tools assembly kit) for
detailed tire change instructions.
2006 Expedition(exd)
Owners Guide (post-2002-fmt)
USA(fus)
Roadside Emergencies
280