2006 CHEVROLET UPLANDER wiring
[x] Cancel search: wiringPage 119 of 458
{CAUTION:
It can be dangerous to drive with the liftgate
open because carbon monoxide (CO) gas can
come into your vehicle. You cannot see or
smell CO. It can cause unconsciousness and
even death. If you must drive with the liftgate
open or if electrical wiring or other cable
connections must pass through the seal
between the body and the liftgate:
Make sure all other windows are shut.
Turn the fan on your heating or cooling
system to its highest speed and select the
control setting that will force outside air
into your vehicle. SeeClimate Control
System on page 3-24.
If you have air outlets on or under the
instrument panel, open them all the way.
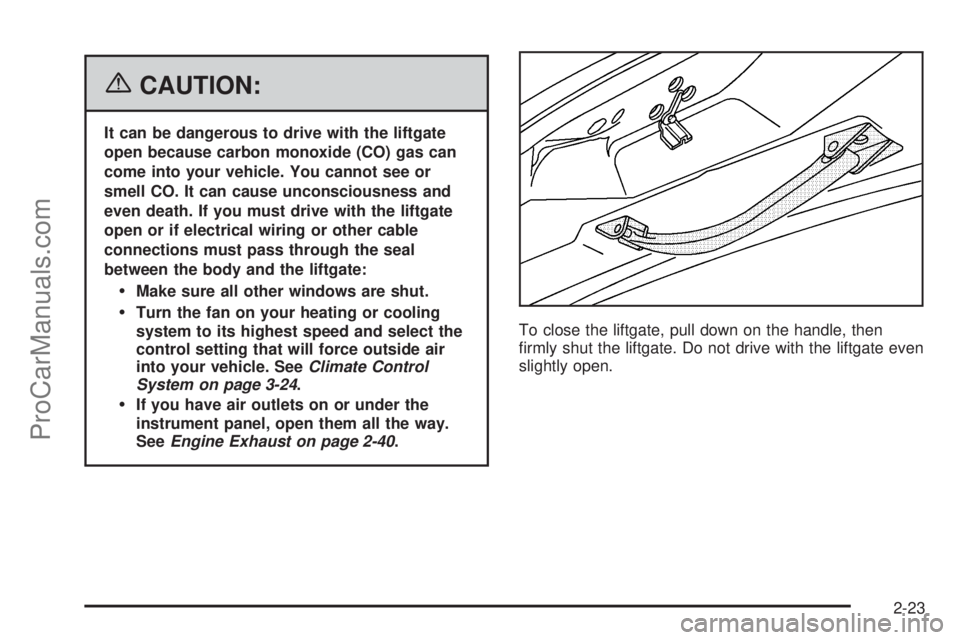
SeeEngine Exhaust on page 2-40.To close the liftgate, pull down on the handle, then
�rmly shut the liftgate. Do not drive with the liftgate even
slightly open.
2-23
ProCarManuals.com
Page 158 of 458

Turn and Lane-Change Signals
The turn signal has two upward (for right) and
two downward (for left) positions. These positions
allow you to signal a turn or a lane change.
To signal a turn, move the lever all the way up or down.
When the turn is �nished, the lever will return
automatically.
An arrow on the instrument
panel cluster will �ash in
the direction of the
turn or lane change.
To signal a lane change, just raise or lower the lever
until the arrow starts to �ash. Hold it there until you
complete your lane change. The lever will return by itself
when you release it.
As you signal a turn or a lane change, if the arrow
�ashes faster than normal, a signal bulb may be burned
out and other drivers will not see your turn signal.
If a bulb is burned out, replace it to help avoid an
accident. If the arrows do not go on at all when you
signal a turn, check for burned-out bulbs and check the
fuse. SeeBulb Replacement on page 5-45andFuses
and Circuit Breakers on page 5-94.If you have a trailer towing option with added wiring for
the trailer lamps, the signal indicator will �ash at a
normal rate even if a turn signal bulb is burned
out. Check the front and rear turn signal lamps regularly
to make sure they are working.
Turn Signal On Chime
If either turn signal is left on for more than 3/4 mile
(1.2 km), a chime will sound to let the driver know to
turn it off. If you need to leave the signal on for more
than 3/4 mile (1.2 km), turn off the signal and then
turn it back on.
Headlamp High/Low-Beam Changer
To change the headlamps from low beam to high
beam, push the turn signal/multifunction lever away
from you.
When the high beams are
on, this light will appear on
the instrument panel
cluster.
To change the headlamps from high beam to low beam,
pull the turn signal/multifunction lever toward you.
3-8
ProCarManuals.com
Page 184 of 458
Passenger Safety Belt Reminder
Light
Several seconds after the key is turned to RUN or
START, a chime will be provided for several seconds to
remind the front passenger to buckle their safety belt.
This would only occur if a passenger is detected by the
passenger sensing system. SeePassenger Sensing
System on page 1-82for more information. The
passenger safety belt light will also be provided and
stay on for several seconds, then it will �ash for several
more. You should have the passenger buckle their
safety belt.
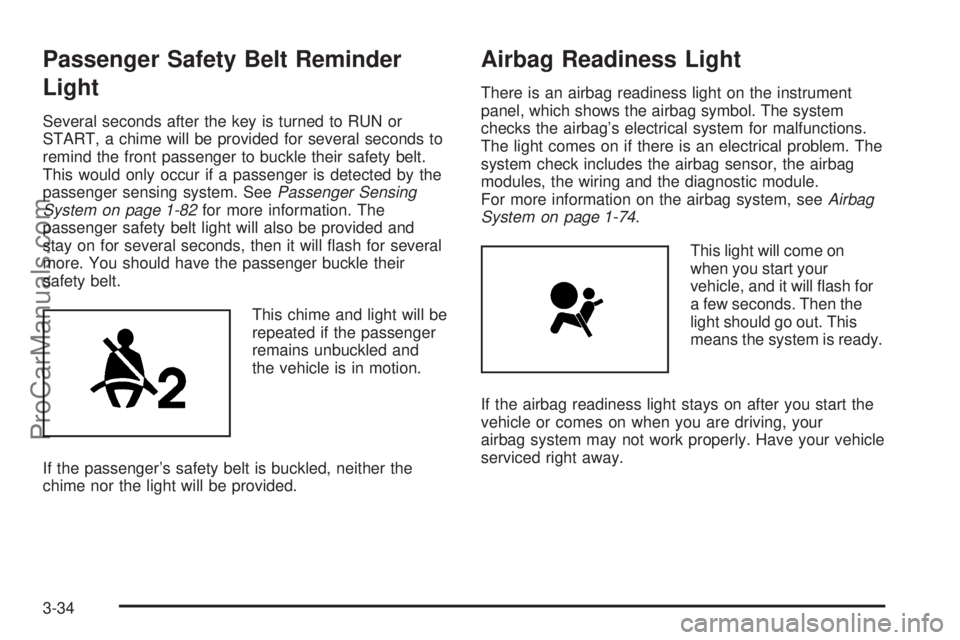
This chime and light will be
repeated if the passenger
remains unbuckled and
the vehicle is in motion.
If the passenger’s safety belt is buckled, neither the
chime nor the light will be provided.
Airbag Readiness Light
There is an airbag readiness light on the instrument
panel, which shows the airbag symbol. The system
checks the airbag’s electrical system for malfunctions.
The light comes on if there is an electrical problem. The
system check includes the airbag sensor, the airbag
modules, the wiring and the diagnostic module.
For more information on the airbag system, seeAirbag
System on page 1-74.
This light will come on
when you start your
vehicle, and it will �ash for
a few seconds. Then the
light should go out. This
means the system is ready.
If the airbag readiness light stays on after you start the
vehicle or comes on when you are driving, your
airbag system may not work properly. Have your vehicle
serviced right away.
3-34
ProCarManuals.com
Page 310 of 458
Following Distance
Stay at least twice as far behind the vehicle ahead as
you would when driving your vehicle without a trailer.
This can help you avoid situations that require
heavy braking and sudden turns.
Passing
You will need more passing distance up ahead when
you are towing a trailer. And, because you are a
good deal longer, you will need to go much farther
beyond the passed vehicle before you can return to
your lane.
Backing Up
Hold the bottom of the steering wheel with one hand.
Then, to move the trailer to the left, just move that hand
to the left. To move the trailer to the right, move your
hand to the right. Always back up slowly and, if possible,
have someone guide you.
Making Turns
Notice:Making very sharp turns while trailering
could cause the trailer to come in contact with the
vehicle. Your vehicle could be damaged. Avoid
making very sharp turns while trailering.
When you are turning with a trailer, make wider turns
than normal. Do this so your trailer will not strike soft
shoulders, curbs, road signs, trees, or other objects.
Avoid jerky or sudden maneuvers. Signal well in advance.
Turn Signals When Towing a Trailer
When you tow a trailer, your vehicle has to have
extra wiring.
The arrows on your instrument panel will �ash whenever
you signal a turn or lane change. Properly hooked up,
the trailer lamps will also �ash, telling other drivers
you are about to turn, change lanes, or stop.
When towing a trailer, the arrows on your instrument
panel will �ash for turns even if the bulbs on the trailer
are burned out. Thus, you may think drivers behind
you are seeing your signal when they are not. It
is important to check occasionally to be sure the trailer
bulbs are still working.
4-44
ProCarManuals.com
Page 312 of 458
When You Are Ready to Leave After
Parking on a Hill
1. Apply your regular brakes and hold the pedal down
while you do the following:
Start your engine.
Shift into a gear.
Release the parking brake.
2. Let up on the brake pedal.
3. Drive slowly until the trailer is clear of the chocks.
4. Stop and have someone pick up and store
the chocks.
Maintenance When Trailer Towing
Your vehicle will need service more often when you are
pulling a trailer. See the Maintenance Schedule for more
on this. Things that are especially important in trailer
operation are automatic transaxle �uid, engine oil, belts,
cooling system, and brake system. Each of these is
covered in this manual, and the Index will help you �nd
them quickly. If you are trailering, it is a good idea to
review these sections before you start your trip.
Check periodically to see that all hitch nuts and bolts
are tight.
Trailer Wiring Harness
Your vehicle may have a trailer wiring harness package
located in the glove box. It can be connected from
the rear of your vehicle to your trailer. Contact your
dealer for more information.
4-46
ProCarManuals.com
Page 314 of 458

Wheel Alignment and Tire Balance..................5-62
Wheel Replacement......................................5-62
Tire Chains..................................................5-64
Accessory In�ator.........................................5-64
If a Tire Goes Flat........................................5-66
Changing a Flat Tire.....................................5-66
Removing the Spare Tire and Tools................5-68
Removing the Flat Tire and Installing
the Spare Tire..........................................5-71
Secondary Latch System...............................5-77
Storing a Flat or Spare Tire and Tools............5-79
Compact Spare Tire......................................5-83
Appearance Care............................................5-84
Cleaning the Inside of Your Vehicle.................5-84
Fabric/Carpet...............................................5-85
Leather.......................................................5-86
Instrument Panel, Vinyl, and Other
Plastic Surfaces........................................5-86
Child Restraint Pad.......................................5-86
Care of Safety Belts and Built-in
Child Restraint Harness..............................5-87
Weatherstrips...............................................5-87
Washing Your Vehicle...................................5-87Cleaning Exterior Lamps/Lenses.....................5-87
Finish Care..................................................5-88
Windshield, Backglass, and Wiper Blades.........5-88
Aluminum Wheels.........................................5-89
Tires...........................................................5-89
Sheet Metal Damage.....................................5-90
Finish Damage.............................................5-90
Underbody Maintenance................................5-90
Chemical Paint Spotting.................................5-90
Vehicle Care/Appearance Materials..................5-91
Vehicle Identi�cation......................................5-92
Vehicle Identi�cation Number (VIN).................5-92
Service Parts Identi�cation Label.....................5-92
Electrical System............................................5-93
Add-On Electrical Equipment..........................5-93
Headlamp Wiring..........................................5-93
Windshield Wiper Fuses................................5-93
Power Windows and Other Power Options.......5-93
Fuses and Circuit Breakers............................5-94
Instrument Panel Fuse Block..........................5-94
Underhood Fuse Block..................................5-96
Capacities and Speci�cations..........................5-99
Section 5 Service and Appearance Care
5-2
ProCarManuals.com
Page 358 of 458
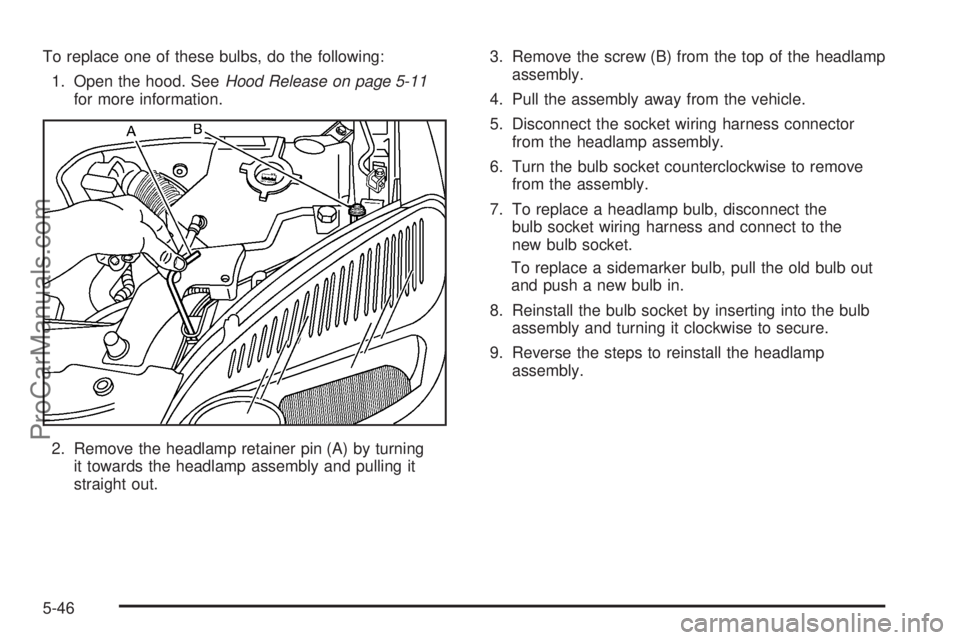
To replace one of these bulbs, do the following:
1. Open the hood. SeeHood Release on page 5-11
for more information.
2. Remove the headlamp retainer pin (A) by turning
it towards the headlamp assembly and pulling it
straight out.3. Remove the screw (B) from the top of the headlamp
assembly.
4. Pull the assembly away from the vehicle.
5. Disconnect the socket wiring harness connector
from the headlamp assembly.
6. Turn the bulb socket counterclockwise to remove
from the assembly.
7. To replace a headlamp bulb, disconnect the
bulb socket wiring harness and connect to the
new bulb socket.
To replace a sidemarker bulb, pull the old bulb out
and push a new bulb in.
8. Reinstall the bulb socket by inserting into the bulb
assembly and turning it clockwise to secure.
9. Reverse the steps to reinstall the headlamp
assembly.
5-46
ProCarManuals.com
Page 359 of 458
Front Turn Signal, Parking and
Daytime Running Lamps (DRL)
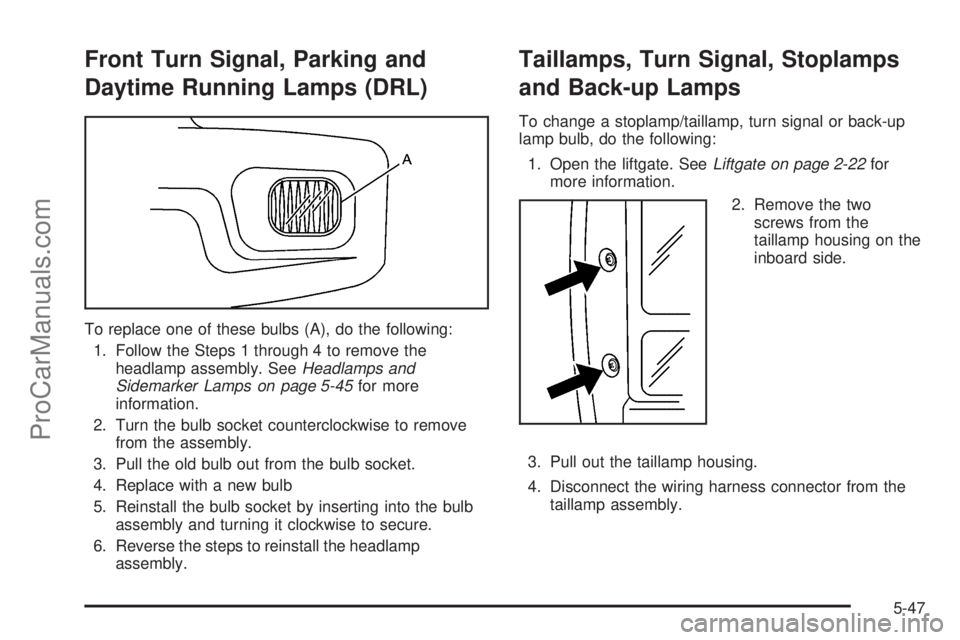
To replace one of these bulbs (A), do the following:
1. Follow the Steps 1 through 4 to remove the
headlamp assembly. SeeHeadlamps and
Sidemarker Lamps on page 5-45for more
information.
2. Turn the bulb socket counterclockwise to remove
from the assembly.
3. Pull the old bulb out from the bulb socket.
4. Replace with a new bulb
5. Reinstall the bulb socket by inserting into the bulb
assembly and turning it clockwise to secure.
6. Reverse the steps to reinstall the headlamp
assembly.
Taillamps, Turn Signal, Stoplamps
and Back-up Lamps
To change a stoplamp/taillamp, turn signal or back-up
lamp bulb, do the following:
1. Open the liftgate. SeeLiftgate on page 2-22for
more information.
2. Remove the two
screws from the
taillamp housing on the
inboard side.
3. Pull out the taillamp housing.
4. Disconnect the wiring harness connector from the
taillamp assembly.
5-47
ProCarManuals.com