2006 CHEVROLET TRAIL BLAZER oil reset
[x] Cancel search: oil resetPage 190 of 534
Change Engine Oil Light
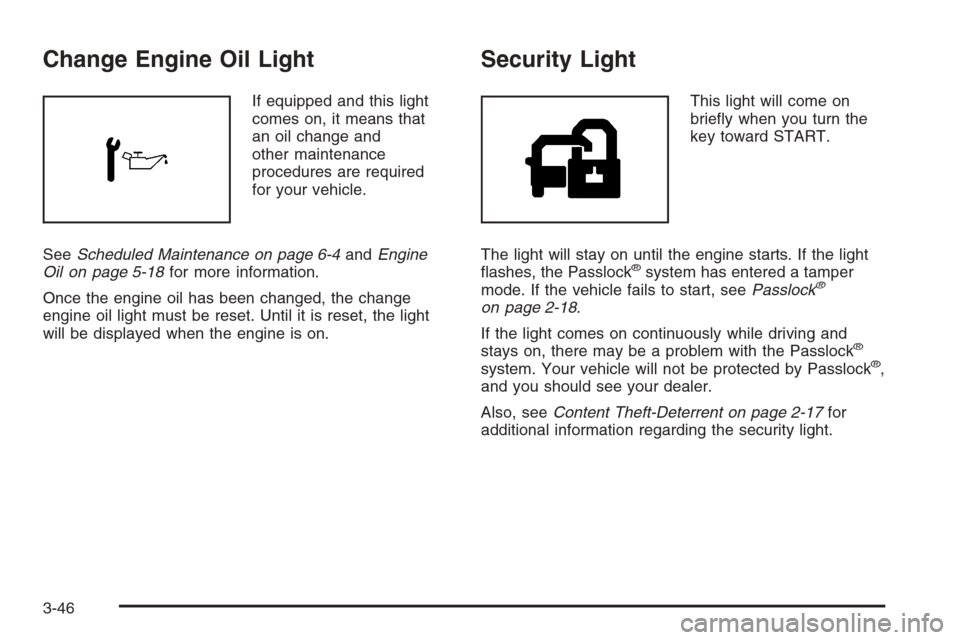
If equipped and this light
comes on, it means that
an oil change and
other maintenance
procedures are required
for your vehicle.
SeeScheduled Maintenance on page 6-4andEngine
Oil on page 5-18for more information.
Once the engine oil has been changed, the change
engine oil light must be reset. Until it is reset, the light
will be displayed when the engine is on.
Security Light
This light will come on
brie�y when you turn the
key toward START.
The light will stay on until the engine starts. If the light
�ashes, the Passlock
®system has entered a tamper
mode. If the vehicle fails to start, seePasslock®
on page 2-18.
If the light comes on continuously while driving and
stays on, there may be a problem with the Passlock
®
system. Your vehicle will not be protected by Passlock®,
and you should see your dealer.
Also, seeContent Theft-Deterrent on page 2-17for
additional information regarding the security light.
3-46
Page 195 of 534
If your vehicle does not have DIC steering wheel
buttons, you will not have all of the features listed.
Scroll through the odometer and trip odometer by
pressing the trip odometer reset stem located on the
instrument panel cluster. Turn off, or acknowledge, DIC
messages by pressing the trip odometer reset stem.
SeeSpeedometer and Odometer on page 3-32for
information on features for vehicles without DIC buttons.
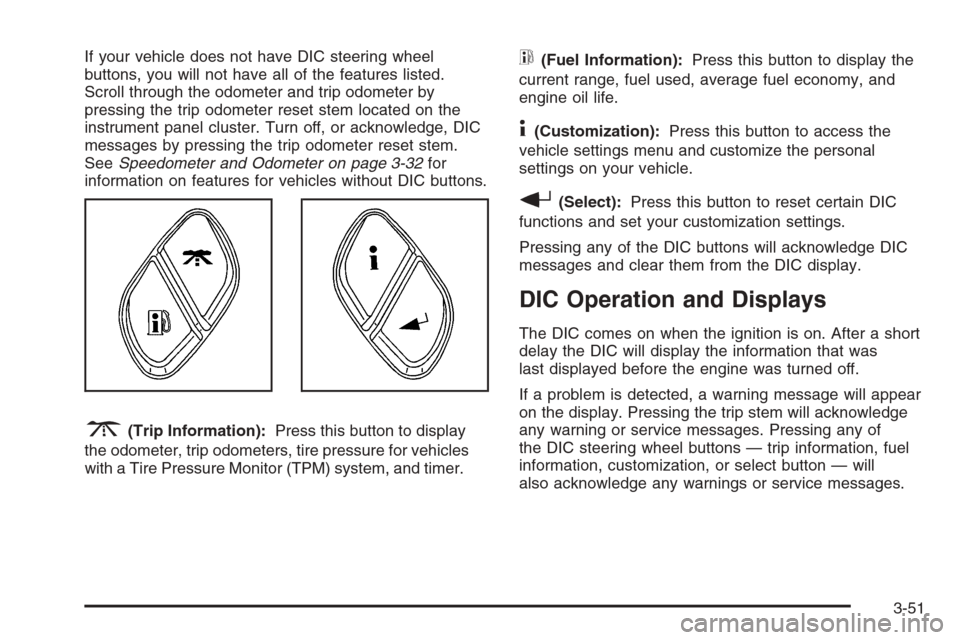
3(Trip Information):Press this button to display
the odometer, trip odometers, tire pressure for vehicles
with a Tire Pressure Monitor (TPM) system, and timer.
t(Fuel Information):Press this button to display the
current range, fuel used, average fuel economy, and
engine oil life.
4(Customization):Press this button to access the
vehicle settings menu and customize the personal
settings on your vehicle.
r(Select):Press this button to reset certain DIC
functions and set your customization settings.
Pressing any of the DIC buttons will acknowledge DIC
messages and clear them from the DIC display.
DIC Operation and Displays
The DIC comes on when the ignition is on. After a short
delay the DIC will display the information that was
last displayed before the engine was turned off.
If a problem is detected, a warning message will appear
on the display. Pressing the trip stem will acknowledge
any warning or service messages. Pressing any of
the DIC steering wheel buttons — trip information, fuel
information, customization, or select button — will
also acknowledge any warnings or service messages.
3-51
Page 197 of 534
Tire Pressures:The tire pressure mode is available
only on vehicles with a Tire Pressure Monitor (TPM)
system. Press the trip information button until TIRE
PRESSURES appears on the display. This mode shows
the tire pressure in pounds per square inch (psi) or
kilopascals (kPa). Press the select button to scroll
through the following information:
LF TIRE shows the tire pressure for the front
driver’s side tire.
RF TIRE shows the tire pressure for the front
passenger’s side tire.
LR TIRE shows the tire pressure for the rear
driver’s side tire.
RR TIRE shows the tire pressure for the rear
passenger’s side tire.Timer:The DIC can be used as a timer. Press the
select button while TIMER is displayed to start the timer.
The display will show the amount of time that has
passed since the timer was last reset, not including time
the ignition is off. Time will continue to be counted as
long as the ignition is on, even if another display is being
shown on the DIC. The timer will record up to 99 hours,
59 minutes and 59 seconds (99:59:59) after which
the display will roll back to zero.
To stop the counting of time, press the select button
brie�y while TIMER is displayed.
To reset the timer to zero, press and hold the select
button while TIMER is displayed.Fuel Information Button
t
(Fuel Information):Press the fuel information
button to scroll through the range, fuel used, average
fuel economy, and the engine oil life system.
3-53
Page 198 of 534
Fuel Range:Press the fuel information button until
RANGE appears on the display. This mode shows the
remaining distance you can drive without refueling.
It is based on fuel economy and the fuel remaining in
the fuel tank. The display will show LOW if the fuel level
is low.
The fuel economy data used to determine fuel range is
an average of recent driving conditions. As your
driving conditions change, this data is gradually updated.
Fuel range cannot be reset.
Fuel Used:Press the fuel information button until
FUEL USED appears on the display. This mode shows
the number of gallons or liters of fuel used since the
last reset of this menu item. To reset the fuel used
information, press and hold the select button for
one second while FUEL USED is displayed.
Average Fuel Economy:Press the fuel information
button until AVG. ECON appears on the display.
This mode shows how many miles per gallon (MPG),
liters per 100 kilometers (L/100 km), or kilometers
per liter (km/L) your vehicle is getting based on current
and past driving conditions.Press and hold the select button for one second while
AVG. ECON is displayed to reset the average fuel
economy. Average fuel economy will then be calculated
starting from that point. If the average fuel economy
is not reset, it will be continually updated each time
you drive.
Engine Oil Life System:Press the fuel information
button until ENGINE OIL LIFE appears on the display.
The engine oil life system shows an estimate of the
oil’s remaining useful life. It will show 100% when the
system is reset after an oil change. It will alert you
to change your oil on a schedule consistent with your
driving conditions.
Always reset the engine oil life system after an oil
change. To reset the engine oil life system, seeEngine
Oil Life System on page 5-23.
In addition to the engine oil life system monitoring the
oil life, additional maintenance is recommended in
the Maintenance Schedule in this manual. SeeEngine
Oil on page 5-18andScheduled Maintenance on
page 6-4.
3-54
Page 200 of 534
BATTERY NOT CHARGING
If the battery is not charging during operation, this
message will appear on the DIC. Driving with this
problem could drain your battery. Have the electrical
system checked by your GM dealer as soon as possible.
SeeVoltmeter Gage on page 3-38. Press the select
button to acknowledge this message and clear it from
the DIC display.
CHANGE ENGINE OIL
This message is displayed when the engine oil needs to
be changed and service is required for your vehicle.
SeeScheduled Maintenance on page 6-4andEngine
Oil on page 5-18for more information. Also seeEngine
Oil Life System on page 5-23for information on how
to reset the message. This message will clear itself after
10 seconds until the next ignition cycle.
CHECK TIRE PRESSURE
If your vehicle has a Tire Pressure Monitor (TPM)
system, and if a low tire pressure is detected in any of
the vehicle’s tires, this message will appear on the
DIC, along with a chime. Press the select button
to acknowledge this message and clear it from the DIC
display. The message will appear at each ignition
cycle until the tires are in�ated to the correct in�ation
pressure.
CHECK WASHER FLUID
If the washer �uid level is low, this message will appear
on the DIC. Adding washer �uid to the windshield
washer �uid reservoir will clear the message. See
Windshield Washer Fluid on page 5-40. Press the select
button to acknowledge this message and clear it from
the DIC display.
CURB VIEW ACTIVATED
The CURB VIEW ACTIVATED message is displayed
when the passenger outside rearview mirror moves into
the curb view position. SeeOutside Curb View Assist
Mirror on page 2-48for more information.
DRIVER DOOR AJAR
If the driver’s door is not fully closed, this message will
appear on the display and you will hear a chime.
Stop and turn off the vehicle, check the door for
obstacles, and close the door again. Check to see if the
message still appears on the DIC. Press the select
button to acknowledge this message and clear it from
the DIC display.
3-56
Page 286 of 534
A non-scrubbing action, wet-type cleaner which uses a
cassette with a fabric belt to clean the tape head
can be used. This type of cleaning cassette will not
eject on its own. A non-scrubbing action cleaner may not
clean as thoroughly as the scrubbing type cleaner.
The use of a non-scrubbing action, dry-type cleaning
cassette is not recommended.
After the player is cleaned, press and hold the EJT
button for �ve seconds to reset the CLEAN indicator.
The radio will display CLEANED to show the indicator
was reset.
Cassettes are subject to wear and the sound quality
may degrade over time. Always make sure the cassette
tape is in good condition before the tape player is
serviced.Care of Your CDs and DVDs
Handle CDs carefully. Store them in their original cases
or other protective cases and away from direct
sunlight and dust. The CD player scans the bottom
surface of the disc. If the surface of a CD is damaged,
such as cracked, broken, or scratched, the CD will
not play properly or not at all. If the surface of a CD is
soiled, take a soft, lint free cloth or dampen a clean, soft
cloth in a mild, neutral detergent solution mixed with
water, and clean it. Make sure the wiping process starts
from the center to the edge.
Do not touch the bottom side of a CD while handling it;
this could damage the surface. Pick up CDs by
grasping the outer edges or the edge of the hole and
the outer edge.
Care of the CD and DVD Player
The use of CD lens cleaners for CDs is not advised,
due to the risk of contaminating the lens of the CD optics
with lubricants internal to the CD mechanism.
3-142
Page 383 of 534
Your vehicle’s engine is �lled at the factory with a
Mobil 1®synthetic oil, which meets all requirements for
your vehicle.
Substitute Engine Oil: When adding oil to maintain
engine oil level, oil meeting GM Standard GM4718M
may not be available. You can add substitute oil
designated SAE 5W-30 with the starburst symbol at all
temperatures. Substitute oil not meeting GM Standard
GM4718M should not be used for an oil change.
Engine Oil Additives
Do not add anything to your oil. The recommended oils
with the starburst symbol that meet GM standards
are all you will need for good performance and engine
protection.
Engine Oil Life System
When to Change Engine Oil
Your vehicle has a computer system that lets you know
when to change the engine oil and �lter. This is
based on engine revolutions and engine temperature,
and not on mileage. Based on driving conditions,
the mileage at which an oil change will be indicated can
vary considerably. For the oil life system to work
properly, you must reset the system every time the oil is
changed.When the system has calculated that oil life has been
diminished, it will indicate that an oil change is
necessary. A change engine oil light will come on, or,
if your vehicle has a Driver Information Center (DIC),
a CHANGE ENGINE OIL message will come. See
Change Engine Oil Light on page 3-46orDIC Warnings
and Messages on page 3-55. Change your oil as
soon as possible within the next 600 miles (1 000 km).
It is possible that, if you are driving under the best
conditions, the oil life system may not indicate that an
oil change is necessary for over a year. However,
the engine oil and �lter must be changed at least once
a year and at this time the system must be reset.
Your dealer has GM-trained people who will perform
this work using genuine GM parts and reset the system.
It is also important to check the oil regularly and keep
it at the proper level.
If the system is ever reset accidentally, you must
change your oil at 3,000 miles (5 000 km) since the last
oil change. Remember to reset the oil life system
whenever the oil is changed.
5-23
Page 384 of 534
How to Reset the Engine Oil Life
System
The Engine Oil Life System calculates when to change
your engine oil and �lter based on vehicle use.
Anytime your oil is changed, reset the system so it can
calculate when the next oil change is required. If a
situation occurs where you change your oil prior to a
change engine oil light or CHANGE ENGINE OIL
message being turned on, reset the system.
To reset the Engine Oil Life System, do the following:
1. Turn the ignition key to RUN with the engine off.
2. Fully press and release the accelerator pedal slowly
three times within �ve seconds.
3. Turn the key to LOCK.
If the light/message comes back on when you start the
vehicle, the engine oil life system has not reset.
Repeat the procedure.
For vehicles with the Driver Information Center,
seeDriver Information Center (DIC) on page 3-50to
reset the system.
What to Do with Used Oil
Used engine oil contains certain elements that may be
unhealthy for your skin and could even cause cancer.
Do not let used oil stay on your skin for very long.Clean your skin and nails with soap and water, or a good
hand cleaner. Wash or properly dispose of clothing or
rags containing used engine oil. See the manufacturer’s
warnings about the use and disposal of oil products.
Used oil can be a threat to the environment. If you
change your own oil, be sure to drain all the oil from the
�lter before disposal. Never dispose of oil by putting it in
the trash, pouring it on the ground, into sewers, or into
streams or bodies of water. Instead, recycle it by taking it
to a place that collects used oil. If you have a problem
properly disposing of your used oil, ask your dealer, a
service station, or a local recycling center for help.
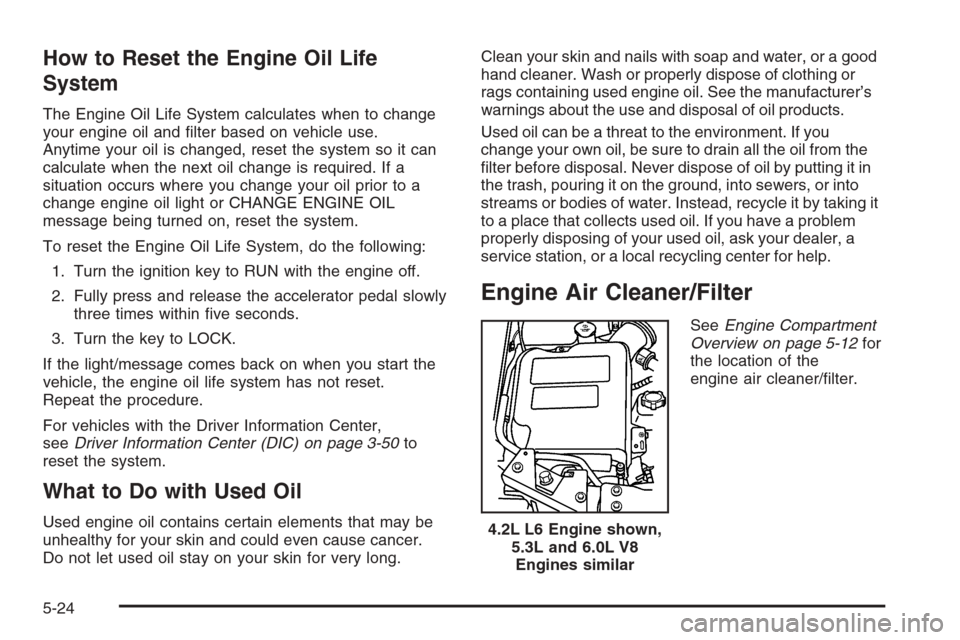
Engine Air Cleaner/Filter
SeeEngine Compartment
Overview on page 5-12for
the location of the
engine air cleaner/�lter.
4.2L L6 Engine shown,
5.3L and 6.0L V8
Engines similar
5-24