2006 CHEVROLET SUBURBAN service
[x] Cancel search: servicePage 273 of 540

Navigation/Radio System
Your vehicle may have a navigation radio system.
The navigation system has built-in features intended
to minimize driver distraction. Technology alone,
no matter how advanced, can never replace your own
judgment. See the Navigation System manual for
some tips to help you reduce distractions while driving.
Rear Seat Entertainment System
Your vehicle may have a DVD Rear Seat Entertainment
(RSE) system. The RSE system includes a DVD
player, a video display screen, two sets of wireless
headphones, and a remote control.
Parental Control
This button is located behind the video screen. Press
this button while a DVD or CD is playing to freeze
the video and mute the audio. The video screen will
display Parental Control ON and the power indicator
light on the DVD player will �ash. It will also disable all
other button operations from the remote control and
the DVD player, with the exception of the eject button.
Press this button again to restore operation of the
DVD player.
This button may also be used to turn the DVD player
power on and automatically resume play if the ignition
is in RUN, ACCESSORY, or if RAP is active.
Before You Drive
The RSE system is for rear seat passengers only.
The driver cannot safely view the video screen while
driving and should not try to do so.
Headphones
The RSE system includes two sets of wireless
headphones.
Each set of headphones has an ON/OFF control.
An indicator light will illuminate on the headphones
when they are on. If the light does not illuminate,
the batteries may need to be replaced. See “Battery
Replacement” following for more information.
Each set of headphones has a volume knob.
To adjust the volume, adjust this knob.
The transmitters are located below the video display
screen. The headphones will shut off automatically
if they lose the signal from the system after about
four minutes to save battery power. The signal may be
lost if the system is turned off or if the headphones
are out of range of the transmitters.
When using the wired headphones, if the front seat
passengers play a CD in the Radio with Six-Disc CD
(if equipped) or use XM™ Satellite Radio Service
(if equipped), you will hear the audio for these sources,
instead of the DVD or CD that is currently playing
through the RSE.
3-117
Page 276 of 540
Video Screen
The video screen is located in the overhead console.
To use the video screen, push forward on the release
latch and the screen will fold down. Adjust the screen’s
position as desired. When the video screen is not in
use, push it up into its latched position.
The DVD player and display will continue to operate
when the screen is in the up or the down position. The
video screen contains the transmitters for the wireless
headphones and the remote control. If the screen is in the
closed position, the signals will not be available for the
operation of the headphones or the remote control.
Notice:Avoid directly touching the video screen,
as damage may occur. See “Cleaning the Video
Screen” later in this section for more information.
DVD Player
The DVD player is located in the overhead console.
The DVD player can be controlled by the buttons on the
DVD player and/or by the buttons on the remote control.
See “Remote Control” later in this section for more
information.The DVD player power may be turned on when the
ignition is in RUN, ACCESSORY, or when Retained
Accessory Power (RAP) is active.
The RSE system DVD player is only compatible with
DVDs of the appropriate region code for the country that
the vehicle was sold in. The DVD region code is
printed on the jacket of most DVDs.
Standard audio CDs, CD-R, CD-RW, Video CD and
Photo CD/CD-R media are fully supported by this DVD
player. DVD-R and DVD-RW media is supported if
formatted as DVD-Video. DVD+R and DVD+RW media
may or may not be supported by the DVD player.
The DVD player does not support DVD-RAM,
DVD-ROM, and DVD Audio media. An error message
will appear on the display if this type of media is inserted
into the DVD player.
When using the wired headphones, not included, if the
front seat passengers play a CD in the Radio with
Six-Disc CD (if equipped) or use XM™ Satellite Radio
Service (if equipped), you will hear the audio for
these sources, instead of the DVD or CD that is currently
playing through the RSE.
If an error message appears on the video screen, see
“DVD Messages” later in this section.
3-120
Page 287 of 540
Radio Reception
You may experience frequency interference and static
during normal radio reception if items such as cellphone
chargers, vehicle convenience accessories, and
external electronic devices are plugged into the
accessory power outlet. If there is interference or static,
unplug the item from the accessory power outlet.
AM
The range for most AM stations is greater than for
FM, especially at night. The longer range can cause
station frequencies to interfere with each other.
For better radio reception, most AM radio stations will
boost the power levels during the day, and then reduce
these levels during the night. Static can also occur
when things like storms and power lines interfere with
radio reception. When this happens, try reducing
the treble on your radio.
FM Stereo
FM stereo will give the best sound, but FM signals
will reach only about 10 to 40 miles (16 to 65 km).
Tall buildings or hills can interfere with FM signals,
causing the sound to fade in and out.
XM™ Satellite Radio Service
XM™ Satellite Radio Service gives digital radio
reception from coast-to-coast in the 48 contiguous
United States, and in Canada (if available). Just as with
FM, tall buildings or hills can interfere with satellite
radio signals, causing the sound to fade in and out.
In addition, traveling or standing under heavy foliage,
bridges, garages, or tunnels may cause loss of the XM™
signal for a period of time. The radio may display
NO SIGNAL to indicate interference.
Care of the Cassette Tape Player
A tape player that is not cleaned regularly can cause
reduced sound quality, ruined cassettes, or a damaged
mechanism. Cassette tapes should be stored in their
cases away from contaminants, direct sunlight, and
extreme heat. If they are not, they may not operate
properly or may cause failure of the tape player.
The tape player should be cleaned regularly after every
50 hours of use. The radio may display CLEAN to
indicate that the tape player has been used for 50 hours
without resetting the tape clean timer. If this message
appears on the display, the cassette tape player needs to
be cleaned. It will still play tapes, but it should be cleaned
as soon as possible to prevent damage to the tapes
and player.
3-131
Page 288 of 540
If there is a reduction in sound quality, try a known good
cassette to see if the tape or the tape player is at fault. If
this other cassette has no improvement in sound quality,
clean the tape player.
For best results, use a scrubbing action, non-abrasive
cleaning cassette with pads which scrub the tape
head as the hubs of the cleaner cassette turn. The
recommended cleaning cassette is available through
your dealer.
When cleaning the cassette tape player with the
recommended non-abrasive cleaning cassette, it is
possible that the cassette may eject, because the cut
tape detection feature on the radio may recognize it as a
broken tape, in error. To prevent the cleaning cassette
from being ejected, use the following steps:
1. Turn the ignition on.
2. Turn the radio off.
3. Press and hold the TAPE DISC button for
�ve seconds. READY will appear on the display
and the cassette symbol will �ash for �ve seconds.
4. Insert the scrubbing action cleaning cassette.
5. Eject the cleaning cassette after the manufacturer’s
recommended cleaning time.
When the cleaning cassette has been ejected, the
cut tape detection feature will be active again.A non-scrubbing action, wet-type cleaner which uses
a cassette with a fabric belt to clean the tape head can
be used. This type of cleaning cassette will not eject
on its own. A non-scrubbing action cleaner may
not clean as thoroughly as the scrubbing type cleaner.
The use of a non-scrubbing action, dry-type cleaning
cassette is not recommended.
After the player is cleaned, press and hold the eject
button for �ve seconds to reset the CLEAN indicator.
The radio will display --- or CLEANED to show the
indicator was reset.
Cassettes are subject to wear and the sound quality
may degrade over time. Always make sure the cassette
tape is in good condition before the tape player is
serviced.
Care of Your CDs and DVDs
Handle CDs carefully. Store them in their original cases
or other protective cases and away from direct
sunlight and dust. The CD player scans the bottom
surface of the disc. If the surface of a CD is damaged,
such as cracked, broken, or scratched, the CD will
not play properly or not at all. If the surface of a CD is
soiled, take a soft, lint free cloth or dampen a clean, soft
cloth in a mild, neutral detergent solution mixed with
water, and clean it. Make sure the wiping process starts
from the center to the edge.
3-132
Page 297 of 540
Anti-Lock Brake System (ABS)
Your vehicle has the Anti-Lock Brake System (ABS),
an advanced electronic braking system that will
help prevent a braking skid.
When you start your engine and begin to drive away,
ABS will check itself. You may hear a momentary motor
or clicking noise while this test is going on. This is normal.
If there is a problem with
ABS, this warning light will
stay on. SeeAnti-Lock
Brake System Warning
Light on page 3-42.
Along with ABS, your vehicle has a Dynamic Rear
Proportioning (DRP) system. If there is a DRP problem,
both the brake and ABS warning lights will come on
accompanied by a 10-second chime. The lights and
chime will come on each time the ignition is turned on
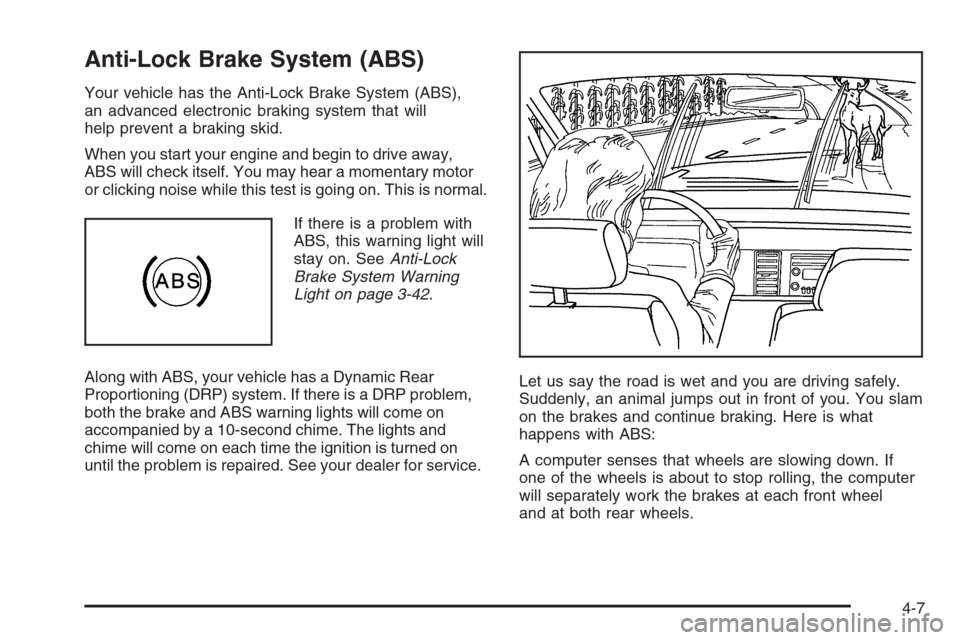
until the problem is repaired. See your dealer for service.Let us say the road is wet and you are driving safely.
Suddenly, an animal jumps out in front of you. You slam
on the brakes and continue braking. Here is what
happens with ABS:
A computer senses that wheels are slowing down. If
one of the wheels is about to stop rolling, the computer
will separately work the brakes at each front wheel
and at both rear wheels.
4-7
Page 299 of 540
StabiliTrak®System
Your vehicle may be equipped with the StabiliTrak®
system which combines antilock brake, traction and
stability control systems and helps the driver maintain
directional control of the vehicle in most driving
conditions.
When you �rst start your vehicle and begin to drive
away, the system performs several diagnostic checks
to ensure there are no problems. You may hear or
feel the system working. This is normal and does not
mean there is a problem with your vehicle. The system
should initialize before the vehicle reaches 20 mph
(32 km/h). In some cases, it may take approximately
two miles of driving before the system initializes.
If the system fails to turn on or activate, the STABILITY
SYS DISABLED or SERVICE STABILITY message
will be displayed. If the vehicle has gone through heavy
acceleration or braking during the �rst two miles after
starting your vehicle, the STABILITY SYS DISABLED
message may appear. If this is the case, your
vehicle does not need servicing. Turn your vehicle off
and back on again to reset the system.If either message appears on the Driver Information
Center (DIC), and your vehicle hasn’t gone through hard
acceleration or braking in the �rst two miles, your vehicle
should be taken in for service.
The STABILITY SYS ACTIVE message will appear on
the Driver Information Center (DIC) only when the
system is both on and activated. You may also feel or
hear the system working; this is normal. For more
information on the stability messages, seeDriver
Information Center (DIC) on page 3-51.
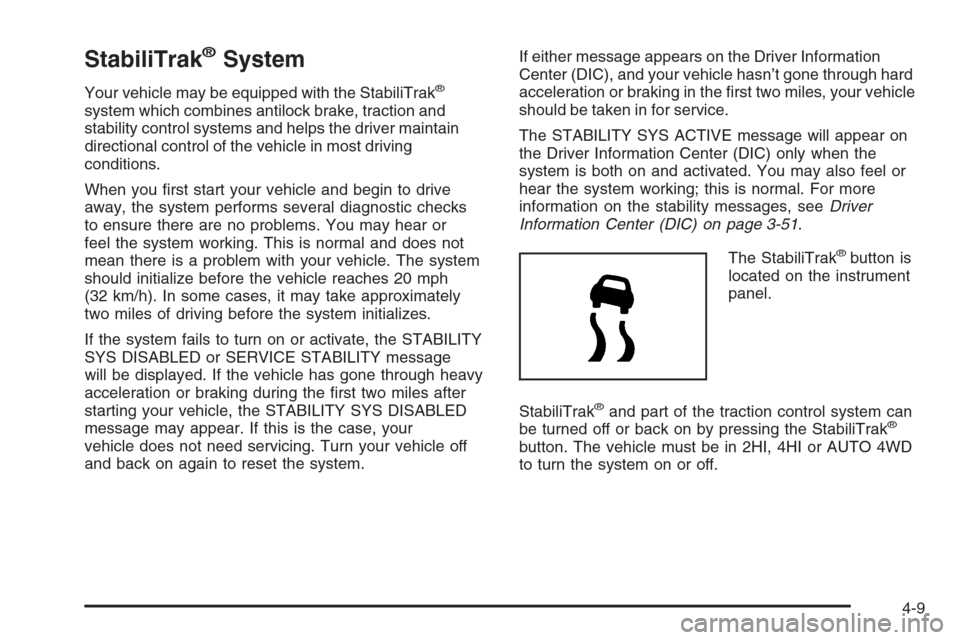
The StabiliTrak
®button is
located on the instrument
panel.
StabiliTrak
®and part of the traction control system can
be turned off or back on by pressing the StabiliTrak®
button. The vehicle must be in 2HI, 4HI or AUTO 4WD
to turn the system on or off.
4-9
Page 301 of 540
If the brake traction-control system activates constantly
or if the brakes have heated up due to high speed
braking, brake traction-control will be disabled and the
TRACTION SYS LIMITED message will be displayed.
In the limited mode, the traction-control system will only
use engine traction-control and is limited in it’s ability
to provide optimal performance since the system will
not utilize brake traction-control to control slip on
the drive wheels. The system will return to normal
operation after the brakes have cooled. This can take
up to two minutes or longer depending on brake usage.
Notice:If you allow the wheel(s) of one axle to
spin excessively while the traction off, ABS
and brake warning lights and the SERVICE
STABILITY message are displayed, you could
damage the transfer case. The repairs would not
be covered by your warranty. Reduce engine power
and do not spin the wheel(s) excessively while
these lights and this message are displayed.
The traction control system may activate on dry or
rough roads or under conditions such as heavy
acceleration while turning or abrupt upshifts/downshifts
of the transmission. When this happens, you may
notice a reduction in acceleration, or may hear a noise
or vibration. This is normal.If your vehicle is in cruise control when the system
activates, the STABILITY SYS ACTIVE message will
appear on the Driver Information Center (DIC), and
the cruise control will automatically disengage. When
road conditions allow you to use cruise again, you
may re-engage the cruise control. SeeCruise Control
on page 3-11.
StabiliTrak
®may also turn off automatically if it
determines that a problem exists with the system.
If the problem does not clear itself after restarting the
vehicle, you should see your dealer for service.
All-Wheel Drive (AWD) System
If your vehicle has this feature, engine power is sent
to all four wheels all the time.
This is like four-wheel drive, but there is no separate
lever or switch to engage or disengage the front axle.
It is fully automatic, and adjusts itself as needed for
road conditions.
4-11
Page 309 of 540
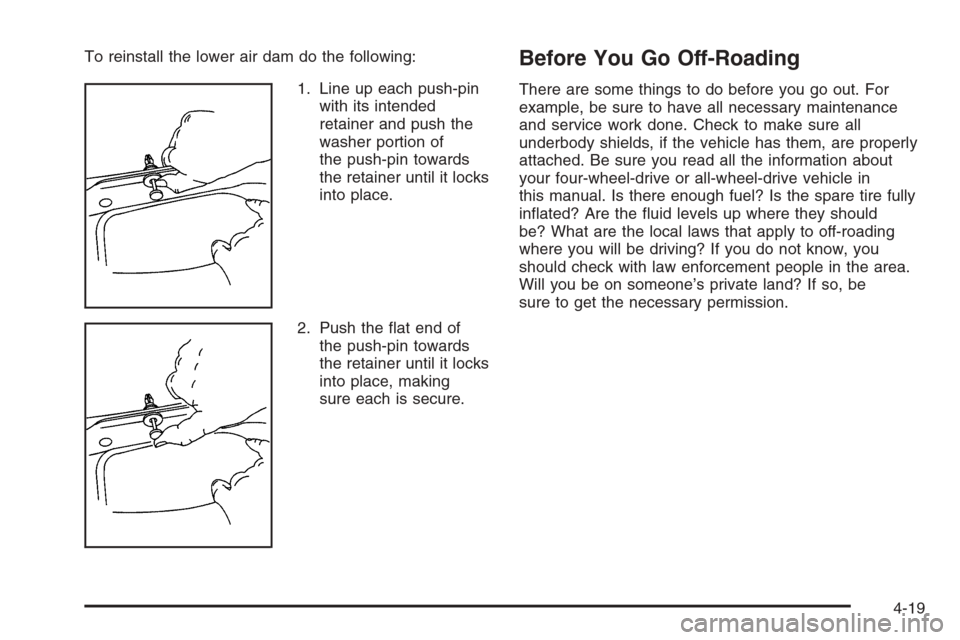
To reinstall the lower air dam do the following:
1. Line up each push-pin
with its intended
retainer and push the
washer portion of
the push-pin towards
the retainer until it locks
into place.
2. Push the �at end of
the push-pin towards
the retainer until it locks
into place, making
sure each is secure.Before You Go Off-Roading
There are some things to do before you go out. For
example, be sure to have all necessary maintenance
and service work done. Check to make sure all
underbody shields, if the vehicle has them, are properly
attached. Be sure you read all the information about
your four-wheel-drive or all-wheel-drive vehicle in
this manual. Is there enough fuel? Is the spare tire fully
in�ated? Are the �uid levels up where they should
be? What are the local laws that apply to off-roading
where you will be driving? If you do not know, you
should check with law enforcement people in the area.
Will you be on someone’s private land? If so, be
sure to get the necessary permission.
4-19