2006 CHEVROLET SUBURBAN mirror
[x] Cancel search: mirrorPage 140 of 540
Passenger Airbag Indicator
The mirror may be equipped with a passenger airbag
indicator on the mirror glass, just above the buttons.
If the vehicle has this feature, the mirror will display the
word ON, or an airbag symbol in Canada, when the
passenger airbag is enabled. SeePassenger Sensing
System on page 1-82for more information.
Cleaning the Mirror
Use a paper towel or similar material dampened with
glass cleaner. Do not spray glass cleaner directly on the
mirror as that may cause the liquid cleaner to enter
the mirror housing.
Outside Manual Mirrors
Adjust your outside mirrors so you can just see the side of
your vehicle and have a clear view of objects behind you.
The mirrors can be folded in to enter narrow areas.
The use of hood-mounted air de�ectors and add-on
convex mirror attachments may adversely affect mirror
performance.
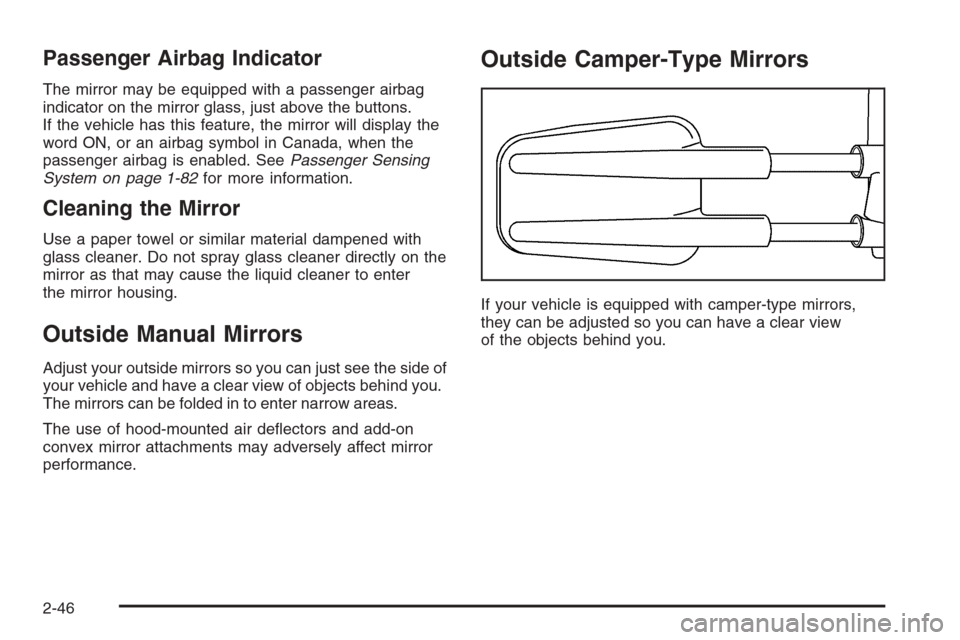
Outside Camper-Type Mirrors
If your vehicle is equipped with camper-type mirrors,
they can be adjusted so you can have a clear view
of the objects behind you.
2-46
Page 141 of 540
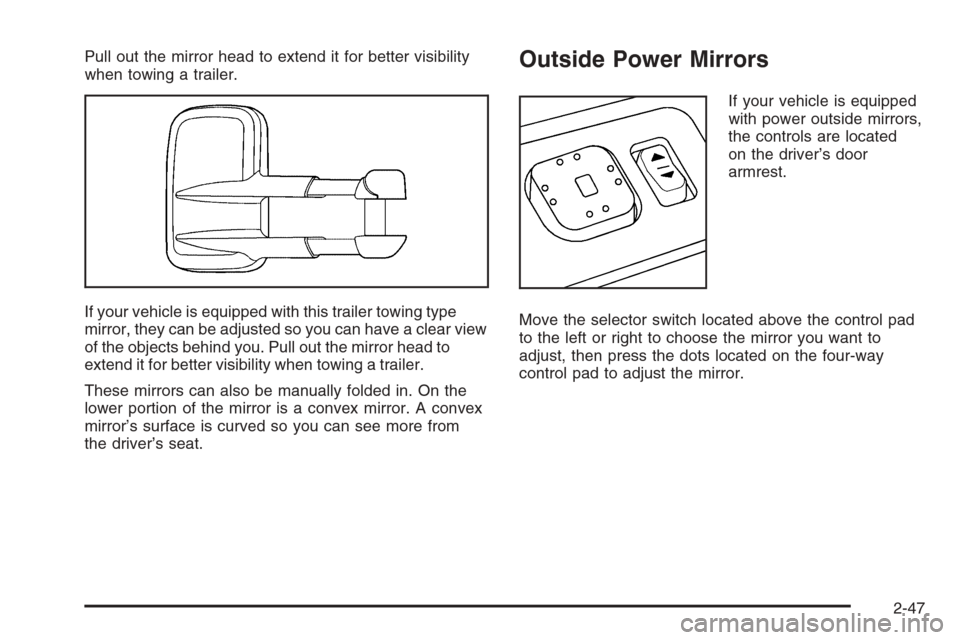
Pull out the mirror head to extend it for better visibility
when towing a trailer.
If your vehicle is equipped with this trailer towing type
mirror, they can be adjusted so you can have a clear view
of the objects behind you. Pull out the mirror head to
extend it for better visibility when towing a trailer.
These mirrors can also be manually folded in. On the
lower portion of the mirror is a convex mirror. A convex
mirror’s surface is curved so you can see more from
the driver’s seat.Outside Power Mirrors
If your vehicle is equipped
with power outside mirrors,
the controls are located
on the driver’s door
armrest.
Move the selector switch located above the control pad
to the left or right to choose the mirror you want to
adjust, then press the dots located on the four-way
control pad to adjust the mirror.
2-47
Page 142 of 540
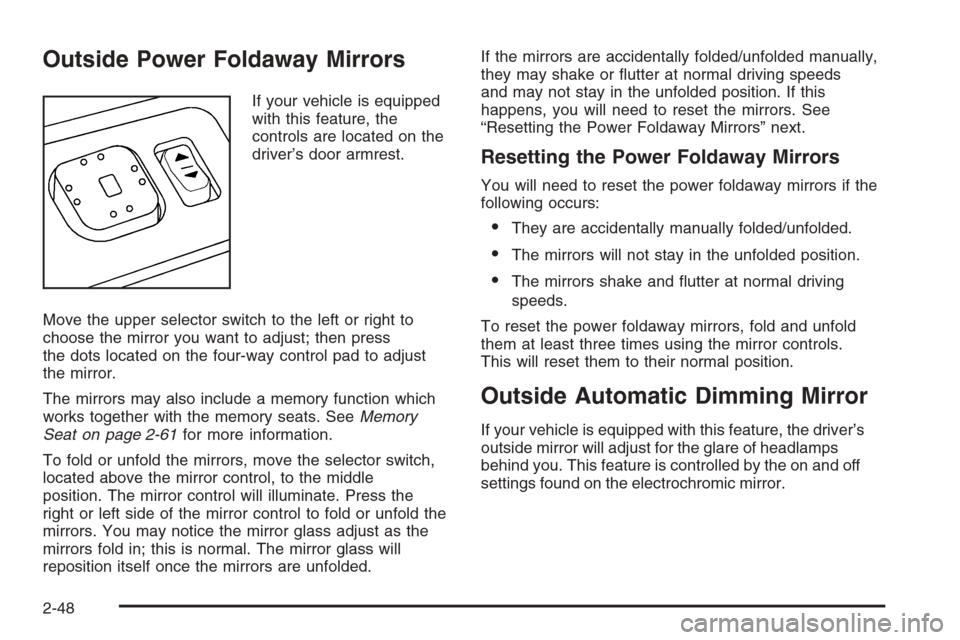
Outside Power Foldaway Mirrors
If your vehicle is equipped
with this feature, the
controls are located on the
driver’s door armrest.
Move the upper selector switch to the left or right to
choose the mirror you want to adjust; then press
the dots located on the four-way control pad to adjust
the mirror.
The mirrors may also include a memory function which
works together with the memory seats. SeeMemory
Seat on page 2-61for more information.
To fold or unfold the mirrors, move the selector switch,
located above the mirror control, to the middle
position. The mirror control will illuminate. Press the
right or left side of the mirror control to fold or unfold the
mirrors. You may notice the mirror glass adjust as the
mirrors fold in; this is normal. The mirror glass will
reposition itself once the mirrors are unfolded.If the mirrors are accidentally folded/unfolded manually,
they may shake or �utter at normal driving speeds
and may not stay in the unfolded position. If this
happens, you will need to reset the mirrors. See
“Resetting the Power Foldaway Mirrors” next.
Resetting the Power Foldaway Mirrors
You will need to reset the power foldaway mirrors if the
following occurs:
They are accidentally manually folded/unfolded.
The mirrors will not stay in the unfolded position.
The mirrors shake and �utter at normal driving
speeds.
To reset the power foldaway mirrors, fold and unfold
them at least three times using the mirror controls.
This will reset them to their normal position.
Outside Automatic Dimming Mirror
If your vehicle is equipped with this feature, the driver’s
outside mirror will adjust for the glare of headlamps
behind you. This feature is controlled by the on and off
settings found on the electrochromic mirror.
2-48
Page 143 of 540
Outside Curb View Assist Mirrors
If the vehicle has the memory package, the outside
mirrors are able to perform the curb view assist mirror
function. This feature will cause the passenger’s
and/or driver’s mirror to tilt to a preselected position
when the vehicle is in REVERSE (R). This feature may
be useful in allowing the driver to view the curb when
parallel parking. When the vehicle is shifted out of
REVERSE (R) and a short delay has occurred,
the passenger’s and/or driver’s mirror will return to its
original position.
To change the preselected tilt position, adjust the
mirrors to the desired position while the vehicle is in
REVERSE (R). When the vehicle is shifted out of
REVERSE (R), this new position is saved in memory
as the tilt position.
This feature can be turned on or off through the Driver
Information Center (DIC). SeeDriver Information
Center (DIC) on page 3-51for more information.
Outside Convex Mirror
Your passenger’s side mirror is convex. A convex
mirror’s surface is curved so you can see more from
the driver’s seat.
{CAUTION:
A convex mirror can make things (like other
vehicles) look farther away than they really are.
If you cut too sharply into the right lane, you
could hit a vehicle on your right. Check your
inside mirror or glance over your shoulder
before changing lanes.
Outside Heated Mirrors
The vehicle may have outside heated mirrors which
help clear them of condensation, snow, and ice.
When the rear window defogger button is pressed, the
heated mirrors are also turned on. See “Rear Window
Defogger” underDual Automatic Climate Control System
on page 3-25orDual Climate Control System on
page 3-22for more information.
2-49
Page 155 of 540
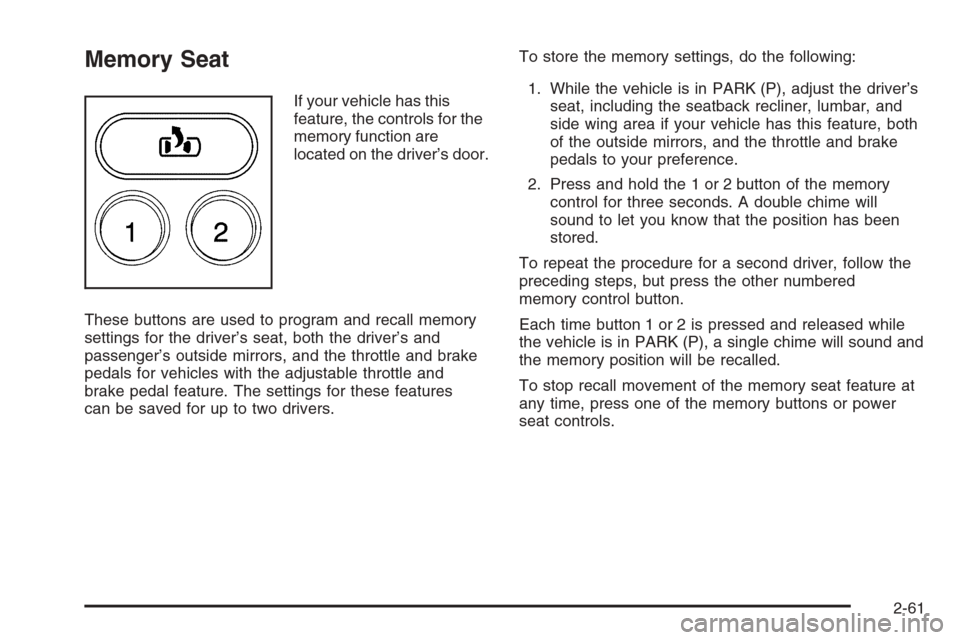
Memory Seat
If your vehicle has this
feature, the controls for the
memory function are
located on the driver’s door.
These buttons are used to program and recall memory
settings for the driver’s seat, both the driver’s and
passenger’s outside mirrors, and the throttle and brake
pedals for vehicles with the adjustable throttle and
brake pedal feature. The settings for these features
can be saved for up to two drivers.To store the memory settings, do the following:
1. While the vehicle is in PARK (P), adjust the driver’s
seat, including the seatback recliner, lumbar, and
side wing area if your vehicle has this feature, both
of the outside mirrors, and the throttle and brake
pedals to your preference.
2. Press and hold the 1 or 2 button of the memory
control for three seconds. A double chime will
sound to let you know that the position has been
stored.
To repeat the procedure for a second driver, follow the
preceding steps, but press the other numbered
memory control button.
Each time button 1 or 2 is pressed and released while
the vehicle is in PARK (P), a single chime will sound and
the memory position will be recalled.
To stop recall movement of the memory seat feature at
any time, press one of the memory buttons or power
seat controls.
2-61
Page 180 of 540
Defogging and Defrosting
Fog on the inside of the windows is a result of high
humidity (moisture) condensing on the cool window
glass. This can be minimized if the climate control
system is used properly. There are two modes to choose
from to clear fog or frost from your windshield. Use
the defog mode to clear the windows of fog or moisture
and warm the passengers. Use the defrost mode to
remove fog or frost from the windshield more quickly.
Turn the right knob to select one of the following modes:
-(Defog):This mode directs the air to the �oor
outlets, windshield and the side window vents. The
air conditioning compressor will run automatically to
dehumidify the air to prevent window fogging. The
recirculation mode cannot be selected while in the
defog mode.
1(Defrost):This mode directs most of the air to the
windshield and the side window vents, with only a
little air directed to the �oor vents. The air conditioning
compressor will run automatically to dehumidify the
air to prevent window fogging. The recirculation mode
cannot be selected while in defrost mode.
Do not drive the vehicle until all the windows are clear.
Rear Window Defogger
The lines you see on the rear window warm the glass.
The rear window defogger uses a warming grid to
remove fog from the rear window.
<(Rear):Press this button to turn the rear window
defogger on or off. An indicator light in the button
will come on to let you know that the rear window
defogger is activated.
The rear window defogger will automatically turn off
several minutes after the button is pressed. Pressing the
button while the defogger is running can also turn off
the defogger.
If your vehicle is equipped with heated mirrors this
button will activate them.
Notice:Do not use anything sharp on the inside of
the rear window. If you do, you could cut or damage
the warming grid, and the repairs would not be
covered by your warranty. Do not attach a temporary
vehicle license, tape, a decal or anything similar to
the defogger grid.
3-24
Page 186 of 540
Rear Window Defogger
If your vehicle has this feature, the lines you see on
the rear window warm the glass. The rear window
defogger uses a warming grid to remove fog from the
rear window.
<(Rear):Press this button to turn the rear window
defogger on or off. An indicator light in the button
will come on to let you know that the rear window
defogger is activated.
The rear window defogger will turn off about 10 minutes
after the button is pressed. If you need additional
warming time, press the button again.
If your vehicle is equipped with heated mirrors, this
button will activate them.
Notice:Do not use a razor blade or sharp object
to clear the inside rear window. Do not adhere
anything to the defogger grid lines in the rear glass.
These actions may damage the rear defogger.
Repairs would not be covered by your warranty.
Outlet Adjustment
Use the air outlets located in the center and on the side
of your instrument panel to direct the air�ow.
Operation Tips
Keep the hood and front air inlets free of ice, snow,
or any other obstruction (such as leaves). The
heater and defroster will work far better, reducing
the chance of fogging the inside of your windows.
When you enter a vehicle in cold weather, turn the
fan knob all the way to the right for a few moments
before driving. This helps clear the intake ducts
of snow and moisture, and reduces the chance of
fogging the inside of your window.
Keep the air path under the front seats clear of
objects. This helps air to circulate throughout
your vehicle.
Adding outside equipment to the front of your
vehicle, such as hood-air de�ectors, may affect the
performance of the heating and air conditioning
system. Check with your dealer before adding
equipment to the outside of your vehicle.
3-30
Page 193 of 540
Airbag Readiness Light
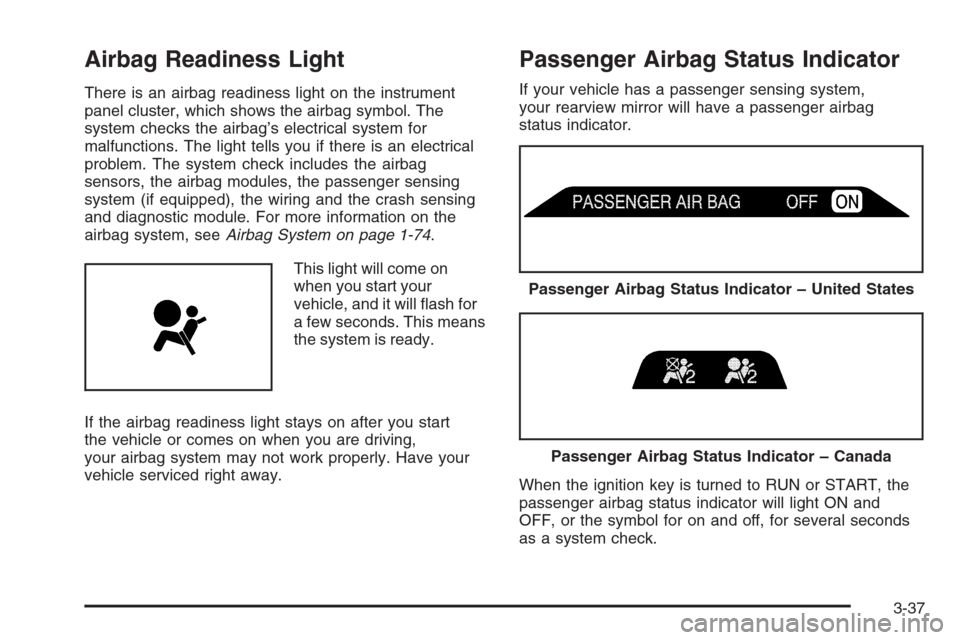
There is an airbag readiness light on the instrument
panel cluster, which shows the airbag symbol. The
system checks the airbag’s electrical system for
malfunctions. The light tells you if there is an electrical
problem. The system check includes the airbag
sensors, the airbag modules, the passenger sensing
system (if equipped), the wiring and the crash sensing
and diagnostic module. For more information on the
airbag system, seeAirbag System on page 1-74.
This light will come on
when you start your
vehicle, and it will �ash for
a few seconds. This means
the system is ready.
If the airbag readiness light stays on after you start
the vehicle or comes on when you are driving,
your airbag system may not work properly. Have your
vehicle serviced right away.
Passenger Airbag Status Indicator
If your vehicle has a passenger sensing system,
your rearview mirror will have a passenger airbag
status indicator.
When the ignition key is turned to RUN or START, the
passenger airbag status indicator will light ON and
OFF, or the symbol for on and off, for several seconds
as a system check.
Passenger Airbag Status Indicator – United States
Passenger Airbag Status Indicator – Canada
3-37