2006 CHEVROLET MALIBU tow
[x] Cancel search: towPage 116 of 442
Mirrors
Manual Rearview Mirror
This mirror can be adjusted two ways. First, to adjust
the angle of the mirror, move the mirror to a position
that allows you to see out of the back window. To adjust
the height of the mirror, adjust the arm that connects
the mirror to the windshield.
To reduce glare from lights behind you, move the lever
toward you to the night position.
Manual Rearview Mirror with
OnStar
®
If your vehicle has this feature, this mirror has a knob
located at the bottom of the mirror. It is used to change
the mirror from day to night position. To reduce glare
from headlamps behind you while driving at night,
rotate the knob clockwise. For daytime driving, turn
the knob counterclockwise.
There are also three OnStar
®buttons located at the
bottom of the mirror face. See your dealer for more
information on the system and how to subscribe
to OnStar
®. SeeOnStar®System on page 2-44for
more information about the services OnStar®provides.
Automatic Dimming Rearview Mirror
with OnStar
®
Your vehicle may have an automatic dimming rearview
mirror with OnStar®. This feature enables the mirror
to sense nighttime glare from vehicle headlamps from
behind and automatically dim to reduce the glare to
a safe level.
The automatic dimming feature turns on each time the
vehicle is started. Press the OFF button once and
the green indicator light located to the left of the button
will go out indicating the feature is off. To turn the
feature back on, press and release the AUTO button
and the green indicator light will come on.
There are also three OnStar
®buttons located at
the bottom of the mirror face. See your dealer for
information on the system and how to subscribe
to OnStar
®. SeeOnStar®System on page 2-44for
more information about the services OnStar®provides.
2-38
Page 121 of 442
Outside Power Mirrors
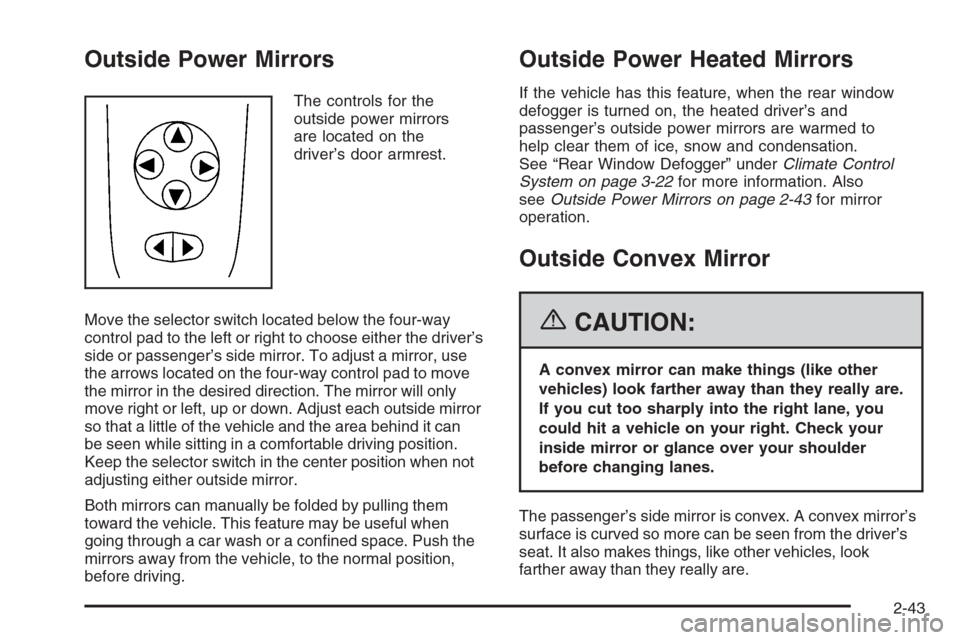
The controls for the
outside power mirrors
are located on the
driver’s door armrest.
Move the selector switch located below the four-way
control pad to the left or right to choose either the driver’s
side or passenger’s side mirror. To adjust a mirror, use
the arrows located on the four-way control pad to move
the mirror in the desired direction. The mirror will only
move right or left, up or down. Adjust each outside mirror
so that a little of the vehicle and the area behind it can
be seen while sitting in a comfortable driving position.
Keep the selector switch in the center position when not
adjusting either outside mirror.
Both mirrors can manually be folded by pulling them
toward the vehicle. This feature may be useful when
going through a car wash or a con�ned space. Push the
mirrors away from the vehicle, to the normal position,
before driving.
Outside Power Heated Mirrors
If the vehicle has this feature, when the rear window
defogger is turned on, the heated driver’s and
passenger’s outside power mirrors are warmed to
help clear them of ice, snow and condensation.
See “Rear Window Defogger” underClimate Control
System on page 3-22for more information. Also
seeOutside Power Mirrors on page 2-43for mirror
operation.
Outside Convex Mirror
{CAUTION:
A convex mirror can make things (like other
vehicles) look farther away than they really are.
If you cut too sharply into the right lane, you
could hit a vehicle on your right. Check your
inside mirror or glance over your shoulder
before changing lanes.
The passenger’s side mirror is convex. A convex mirror’s
surface is curved so more can be seen from the driver’s
seat. It also makes things, like other vehicles, look
farther away than they really are.
2-43
Page 140 of 442
Turn and Lane-Change Signals
The turn signal has two upward (for right) and
two downward (for left) positions. These positions
allow you to signal a turn or a lane change.
To signal a turn, move the lever all the way up or
down to the latched position. When the turn is �nished,
the lever will return automatically.
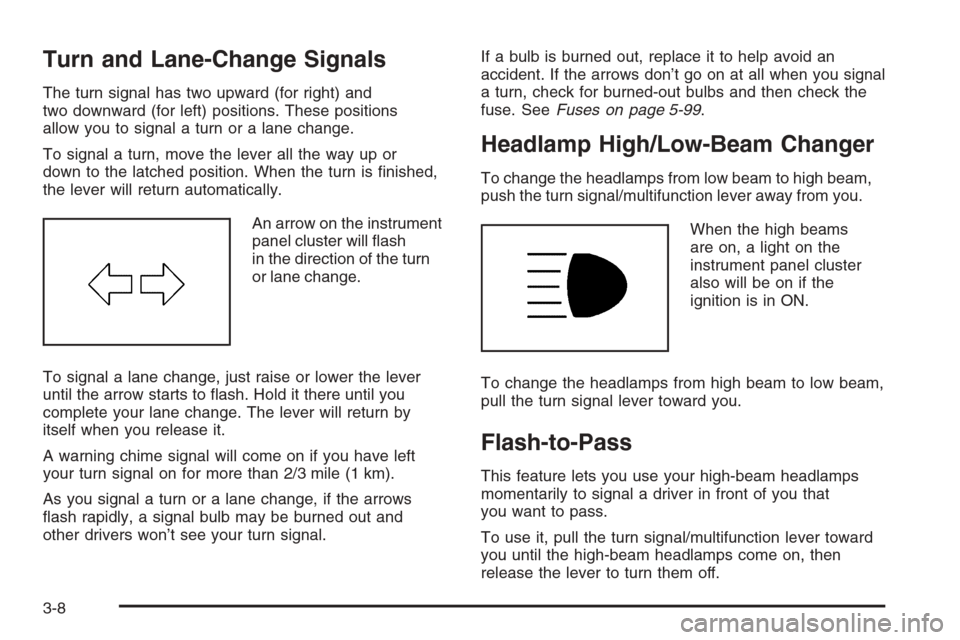
An arrow on the instrument
panel cluster will �ash
in the direction of the turn
or lane change.
To signal a lane change, just raise or lower the lever
until the arrow starts to �ash. Hold it there until you
complete your lane change. The lever will return by
itself when you release it.
A warning chime signal will come on if you have left
your turn signal on for more than 2/3 mile (1 km).
As you signal a turn or a lane change, if the arrows
�ash rapidly, a signal bulb may be burned out and
other drivers won’t see your turn signal.If a bulb is burned out, replace it to help avoid an
accident. If the arrows don’t go on at all when you signal
a turn, check for burned-out bulbs and then check the
fuse. SeeFuses on page 5-99.
Headlamp High/Low-Beam Changer
To change the headlamps from low beam to high beam,
push the turn signal/multifunction lever away from you.
When the high beams
are on, a light on the
instrument panel cluster
also will be on if the
ignition is in ON.
To change the headlamps from high beam to low beam,
pull the turn signal lever toward you.
Flash-to-Pass
This feature lets you use your high-beam headlamps
momentarily to signal a driver in front of you that
you want to pass.
To use it, pull the turn signal/multifunction lever toward
you until the high-beam headlamps come on, then
release the lever to turn them off.
3-8
Page 155 of 442
To change the air delivery settings, turn the right knob
to select one of the following:
H(Vent):This mode directs air to the instrument
panel outlets.
)(Bi-Level):This mode directs half of the air to
the instrument panel outlets, and the remaining air to
the �oor outlets. Some air may be directed toward
the side windows.
6(Floor):This mode directs most of the air to the
�oor outlets with some air directed to the side window
outlets and windshield.
:(Outside Air):Press the right side of this button
to turn the outside air mode on. When this mode is
selected, air from outside the vehicle will circulate
throughout your vehicle. When the button is pressed,
an indicator light will come on to let you know that
it is activated. The outside air mode can be used
with all modes, but it cannot be used with the
recirculation mode. Pressing this button will cancel
the recirculation mode.
?(Recirculation):Press the left side of the button
to turn the recirculation mode on. When recirculation
mode is selected, the air inside the vehicle will be
recirculated through the climate control system and
the vehicle, not from outside your vehicle. This mode
is helpful when you are trying to limit odors from
entering your vehicle and for maximum air conditioning
performance in hot weather. When the button is
pressed, an indicator light above the button will come
on to let you know that it is activated. The recirculation
indicator light will blink three times if you try to use
recirculation in a mode that it can not be used in.
Only use this mode when it is needed for comfort,
since window fogging will rapidly occur if the air
conditioning compressor is not engaged.
Pressing this button will cancel the outside air mode.
When you switch to the defog or defrost modes
the system will automatically move from recirculation
to outside air. When the vehicle or fan is turned off
and back on, the system will default to outside air
automatically. Only use recirculation mode when it is
needed for comfort, since window fogging may occur.
3-23
Page 169 of 442
The Driver Information Center (DIC) may display a
BRAKE FLUID message. SeeDIC Warnings and
Messages on page 3-50for more information.
If the light comes on while you are driving, pull off the
road and stop carefully. You may notice that the pedal
is harder to push or the pedal may go closer to the
�oor. It may take longer to stop. Try turning off
and restarting the vehicle one or two times, if the
light is still on, have the vehicle towed for service.
SeeTowing Your Vehicle on page 4-39.
{CAUTION:
Your brake system may not be working
properly if the brake system warning light is
on. Driving with the brake system warning light
on can lead to an accident. If the light is still
on after you have pulled off the road and
stopped carefully, have the vehicle towed
for service.
Anti-Lock Brake System
Warning Light
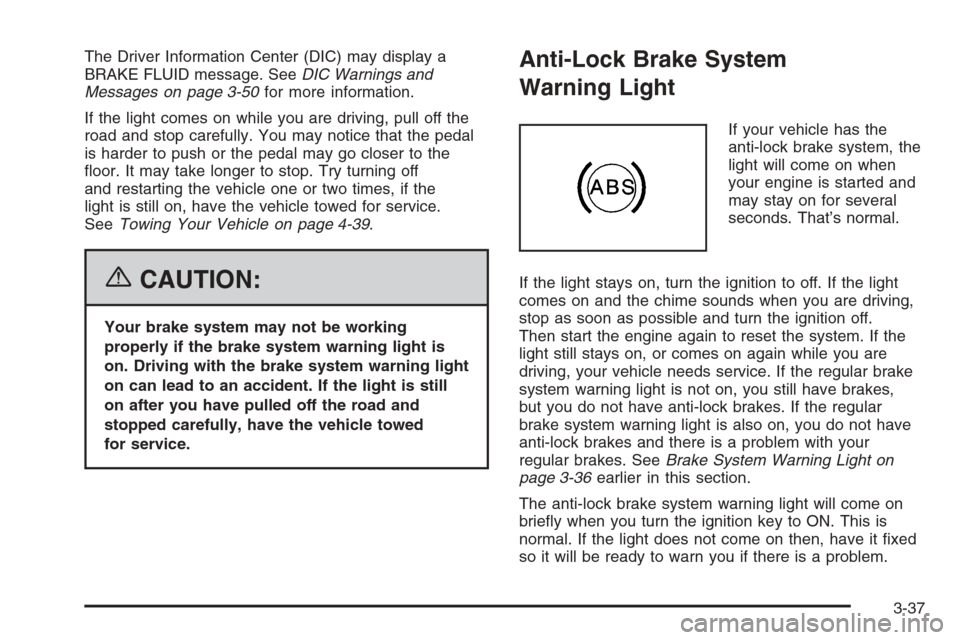
If your vehicle has the
anti-lock brake system, the
light will come on when
your engine is started and
may stay on for several
seconds. That’s normal.
If the light stays on, turn the ignition to off. If the light
comes on and the chime sounds when you are driving,
stop as soon as possible and turn the ignition off.
Then start the engine again to reset the system. If the
light still stays on, or comes on again while you are
driving, your vehicle needs service. If the regular brake
system warning light is not on, you still have brakes,
but you do not have anti-lock brakes. If the regular
brake system warning light is also on, you do not have
anti-lock brakes and there is a problem with your
regular brakes. SeeBrake System Warning Light on
page 3-36earlier in this section.
The anti-lock brake system warning light will come on
brie�y when you turn the ignition key to ON. This is
normal. If the light does not come on then, have it �xed
so it will be ready to warn you if there is a problem.
3-37
Page 174 of 442
If the Light is Flashing
The following may prevent more serious damage to
your vehicle:
Reducing vehicle speed
Avoiding hard accelerations
Avoiding steep uphill grades
If you are towing a trailer, reduce the amount of
cargo being hauled as soon as it is possible
If the light stops �ashing and remains on steady,
see “If the Light Is On Steady” following.
If the light continues to �ash, when it is safe to do
so, stop the vehicle. Find a safe place to park your
vehicle. Turn the key off, wait at least 10 seconds and
restart the engine. If the light remains on steady, see
“If the Light Is On Steady” following. If the light is
still �ashing, follow the previous steps, and see your
dealer for service as soon as possible.
If the Light Is On Steady
You may be able to correct the emission system
malfunction by considering the following:
Did you recently put fuel into your vehicle?
If so, reinstall the fuel cap, making sure to fully
install the cap. SeeFilling the Tank on page 5-8.
The diagnostic system can determine if the fuel cap
has been left off or improperly installed. A loose
or missing fuel cap will allow fuel to evaporate into the
atmosphere. A few driving trips with the cap properly
installed should turn the light off.
Did you just drive through a deep puddle of water?
If so, your electrical system may be wet. The condition
will usually be corrected when the electrical system
dries out. A few driving trips should turn the light off.
3-42
Page 190 of 442
Adjusting the Speakers (Balance/Fade)
BAL/FADE /S(Balance/Fade):To adjust the
balance between the right and the left speakers, press
and release the balance and fade button until BAL
appears on the display. Turn the ADJ knob to move the
sound toward the right or the left speakers.
To adjust the fade between the front and the rear
speakers, press and release the balance and fade
button until FADE appears on the display. Then turn
the ADJ knob to move the sound toward the front or
the rear speakers.
To adjust the balance or the fade to the middle position,
select BAL or FADE. Then press and hold the balance
and fade button for more than two seconds. You
will hear a beep and the level will be adjusted to the
middle position.
To adjust the speaker controls to the middle position,
�rst end out of balance and fade by pressing another
button, causing the radio to perform that function, or by
waiting �ve seconds for the display to return to the
default display. Then press and hold the balance and
fade button for more than two seconds until you hear a
beep. ALL CENTERED will appear on the display.
Radio Messages
CALIBRATE:The audio system has been calibrated for
your vehicle from the factory. If CALIBRATE appears
on the display it means that the radio has not been
con�gured properly for your vehicle and must be
returned to your GM dealer for service.
LOCKED:This message is displayed when the
THEFTLOCK
®system has locked up. Take the vehicle
to your GM dealer for service.
If any error occurs repeatedly or if an error cannot be
corrected, contact your GM dealer.
Playing a CD
Insert a CD partway into the slot, label side up. The
player will pull it in and the CD should begin playing.
If you want to insert a CD with the ignition off, �rst press
the eject button or the DISP knob.
As each new track starts to play, the track number will
appear on the display.
If the ignition or radio is turned off with a CD in the
player, it will stay in the player. When the ignition
or radio is turned on, the CD will start playing, where
it stopped, if it was the last selected audio source.
3-58
Page 196 of 442
Setting the Tone
(Bass/Midrange/Treble)
TONE /P/Q(Bass/Treble):Press and release this
button until BASS, MID, or TREB appears on the
display. Turn the ADJ knob to increase or to decrease.
The display will show the bass, midrange, or treble
level. If a station is weak or noisy, decrease the treble.
To adjust bass, midrange, or treble to the middle
position, select BASS, MID, or TREB. Then press and
hold the tone button for more than two seconds. You will
hear one beep and the tone control will be adjusted to
the middle position.
To adjust all tone controls to the middle position, press
and hold the tone button when no tone control is
displayed. ALL CENTERED will appear on the display
and you will hear a beep. The bass, midrange, and
treble will be adjusted to the middle position.
AUTO TONE/AUTO EQ (Automatic Equalization):
Press this button to select customized equalization
settings designed for country, jazz, talk, pop, rock,
and classical.
To return to the manual mode, press the AUTO TONE or
AUTO EQ button until CUSTOM appears on the display.
You can also manually adjust the bass, midrange, and
treble using the tone button.
Adjusting the Speakers (Balance/Fade)
BAL/FADE /S(Balance/Fade):To adjust
the balance between the right and the left speakers,
push and release the balance and fade button until
BAL appears on the display. Turn the ADJ knob to
move the sound toward the right or the left speakers.
To adjust the fade between the front and the rear
speakers, push and release the balance and fade
button until FADE appears on the display. Turn the
ADJ knob to move the sound toward the front or the
rear speakers.
To adjust balance or fade to the middle position,
select BAL or FADE. Then press and hold the balance
and fade button for more than two seconds. You will
hear one beep and the speaker control will be adjusted
to the middle position.
To adjust both speaker controls to the middle position,
push and hold the tone button when no speaker
control is displayed. ALL CENTERED will appear on
the display and you will hear one beep. The balance
and fade will be adjusted to the middle position.
3-64